
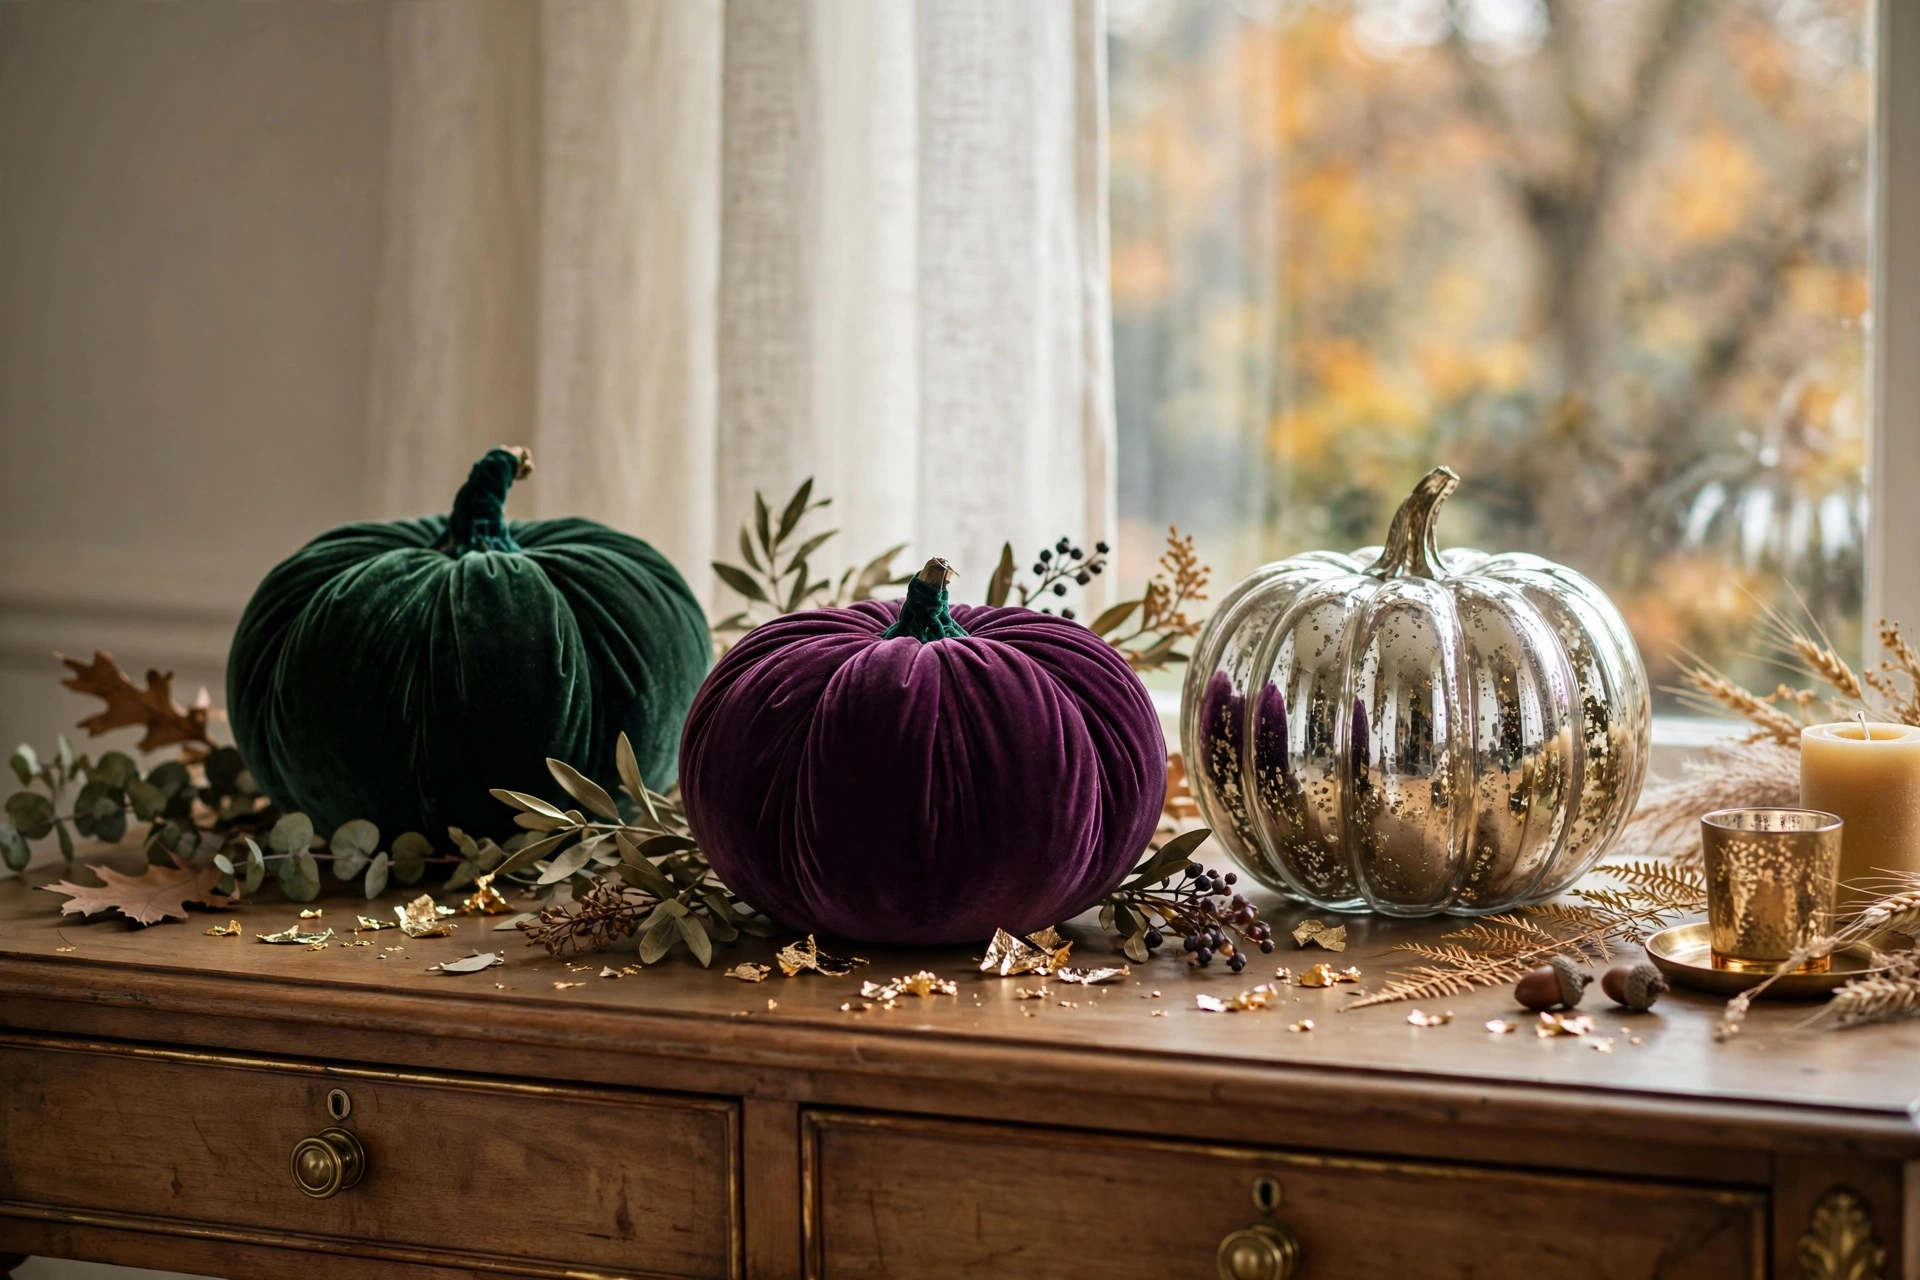
The secret to pumpkin decor that looks expensive is all in the finish. With the right paint techniques and materials, a $3 foam pumpkin can pass for mercury glass, aged stone, or hand-thrown ceramic. These DIY pumpkin decor ideas focus on elevated textures and designer looks — no cheesy orange in sight unless you want it.
Each project below lists what you need and roughly what it costs. Most come in under $15 per pumpkin, and many use supplies you probably already own.
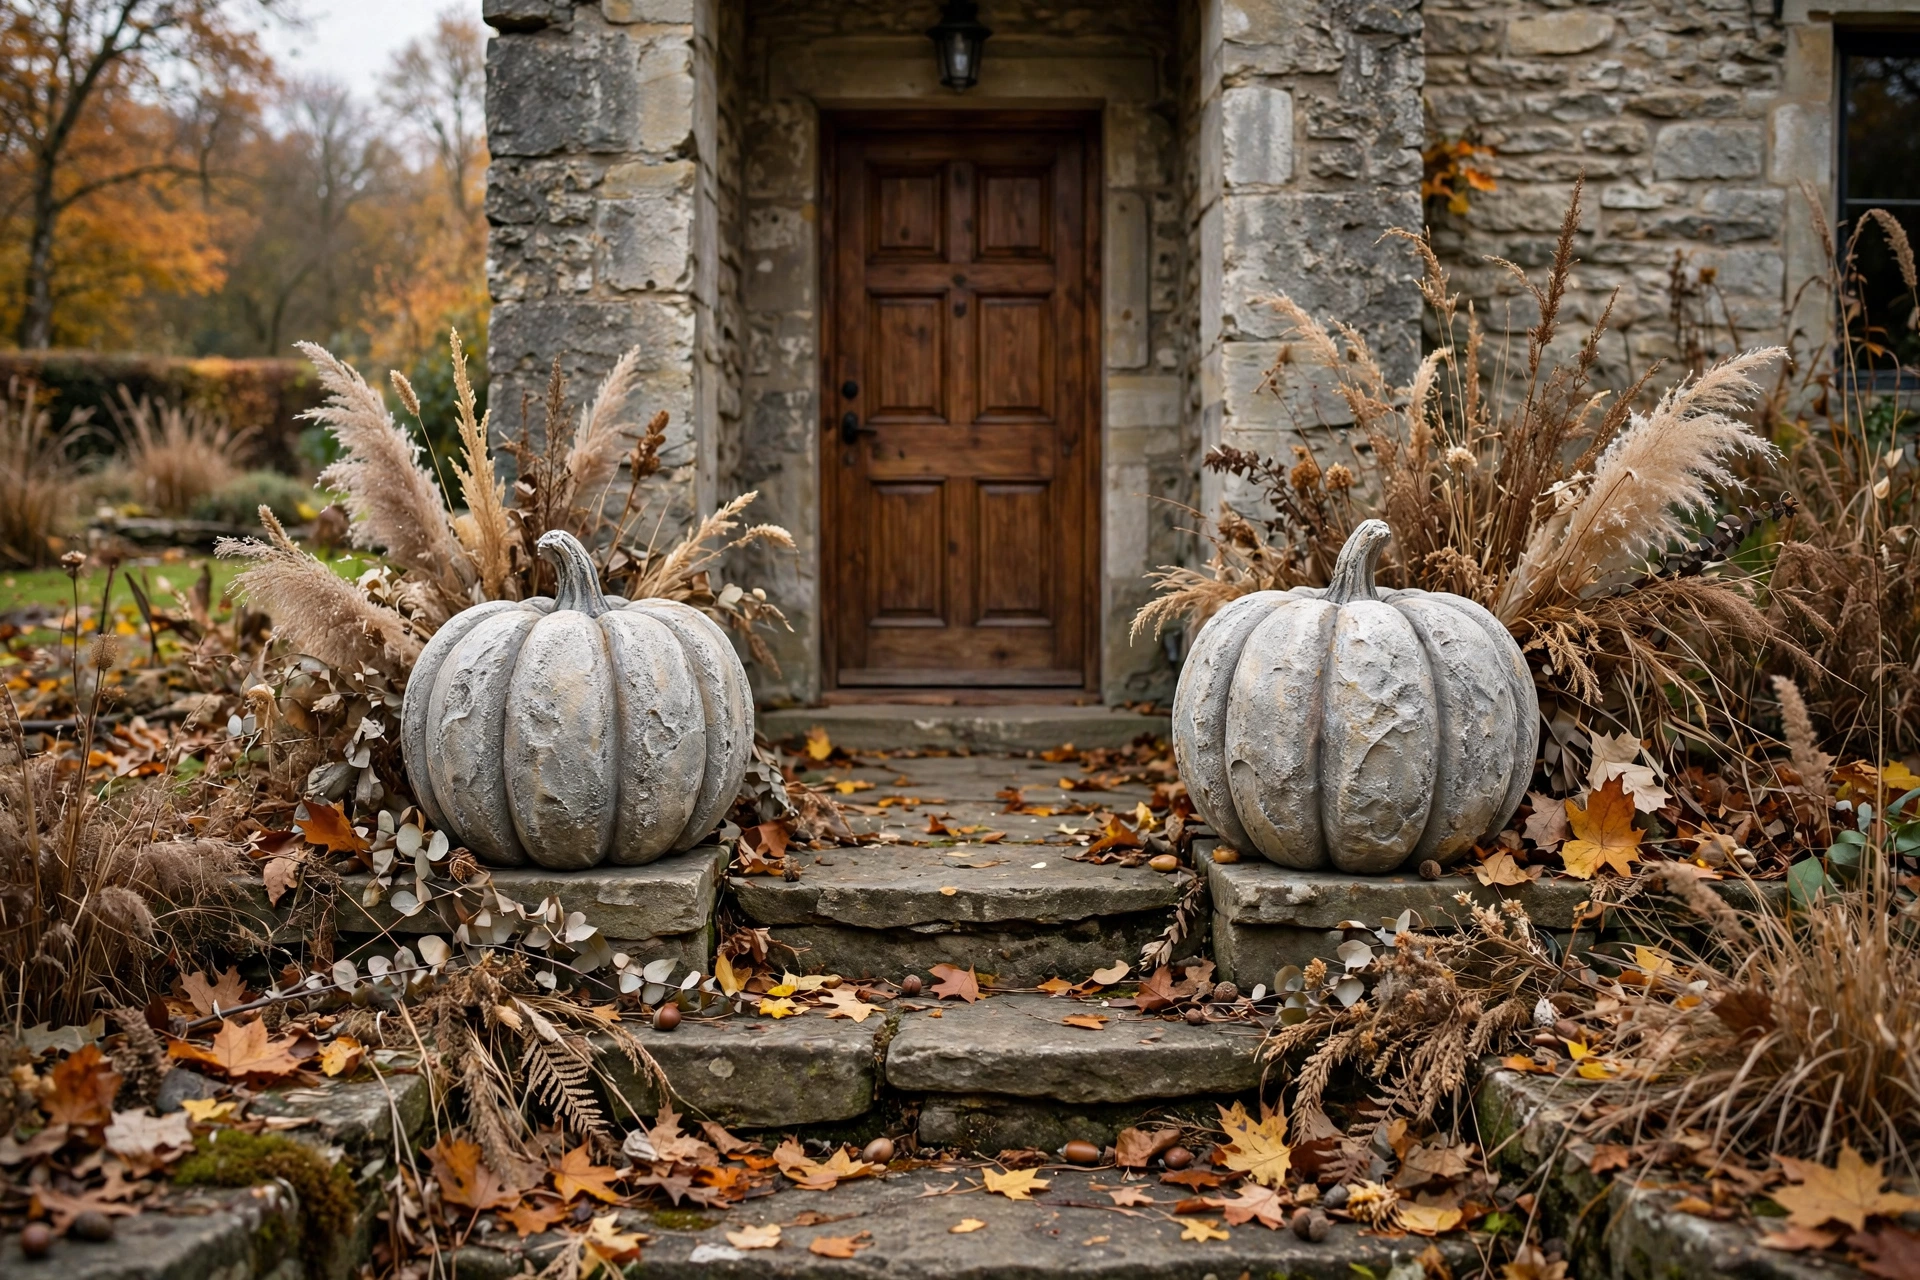
1. Faux stone pumpkins
Coat a foam pumpkin with textured stone spray paint, then dry-brush gray acrylic over the high points for an aged limestone look. Two light coats of the texture spray ($7 a can, covers three pumpkins) create a convincingly heavy stone finish. These look incredible flanking a doorway.
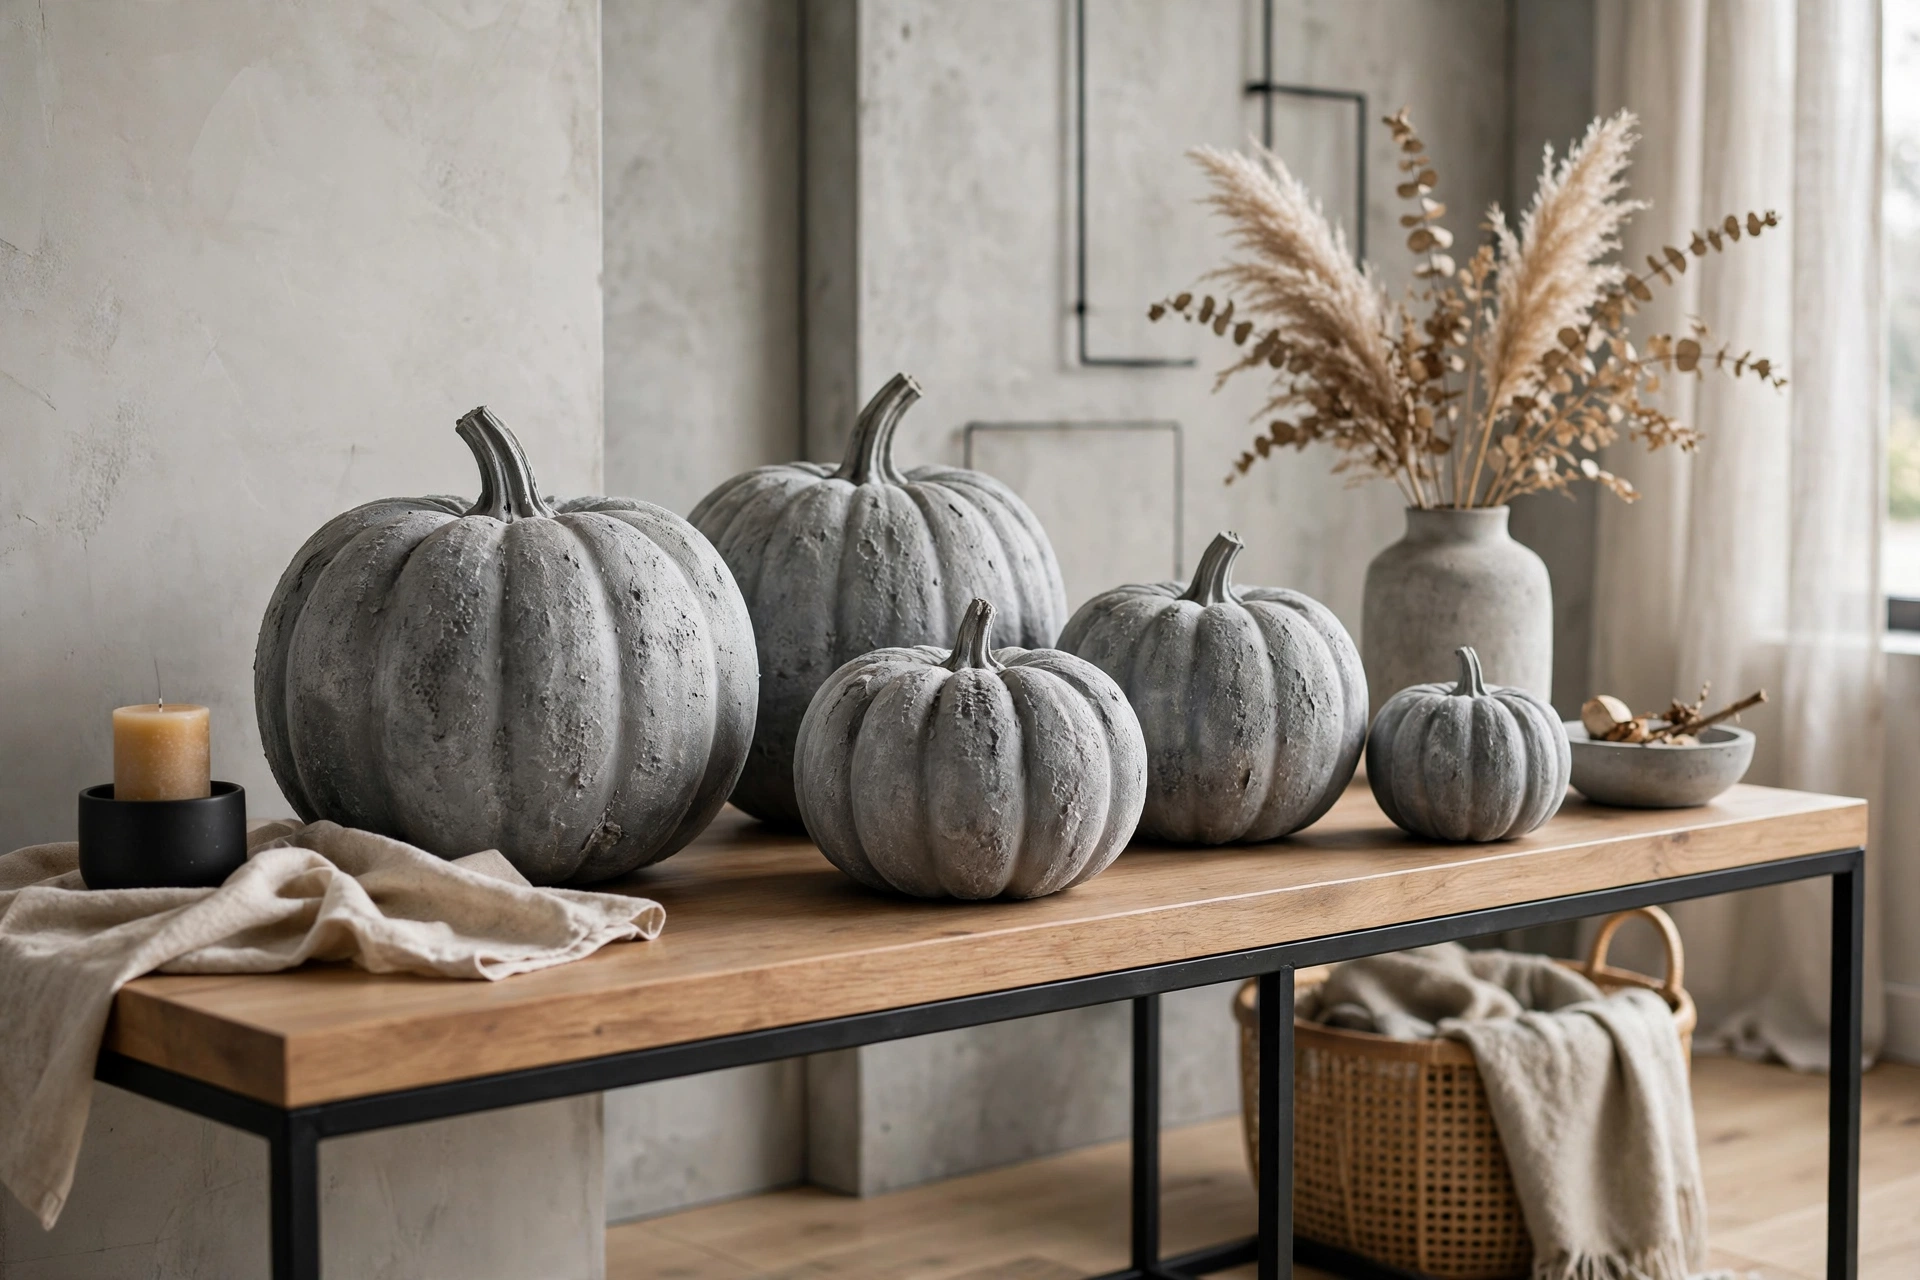
2. Concrete-look pumpkins
Mix baking soda into gray acrylic paint (about one part soda to two parts paint) for a gritty concrete texture, then apply two coats. Sand lightly between coats for a smooth industrial finish. The whole project costs under $5 per pumpkin and suits modern and minimalist homes.
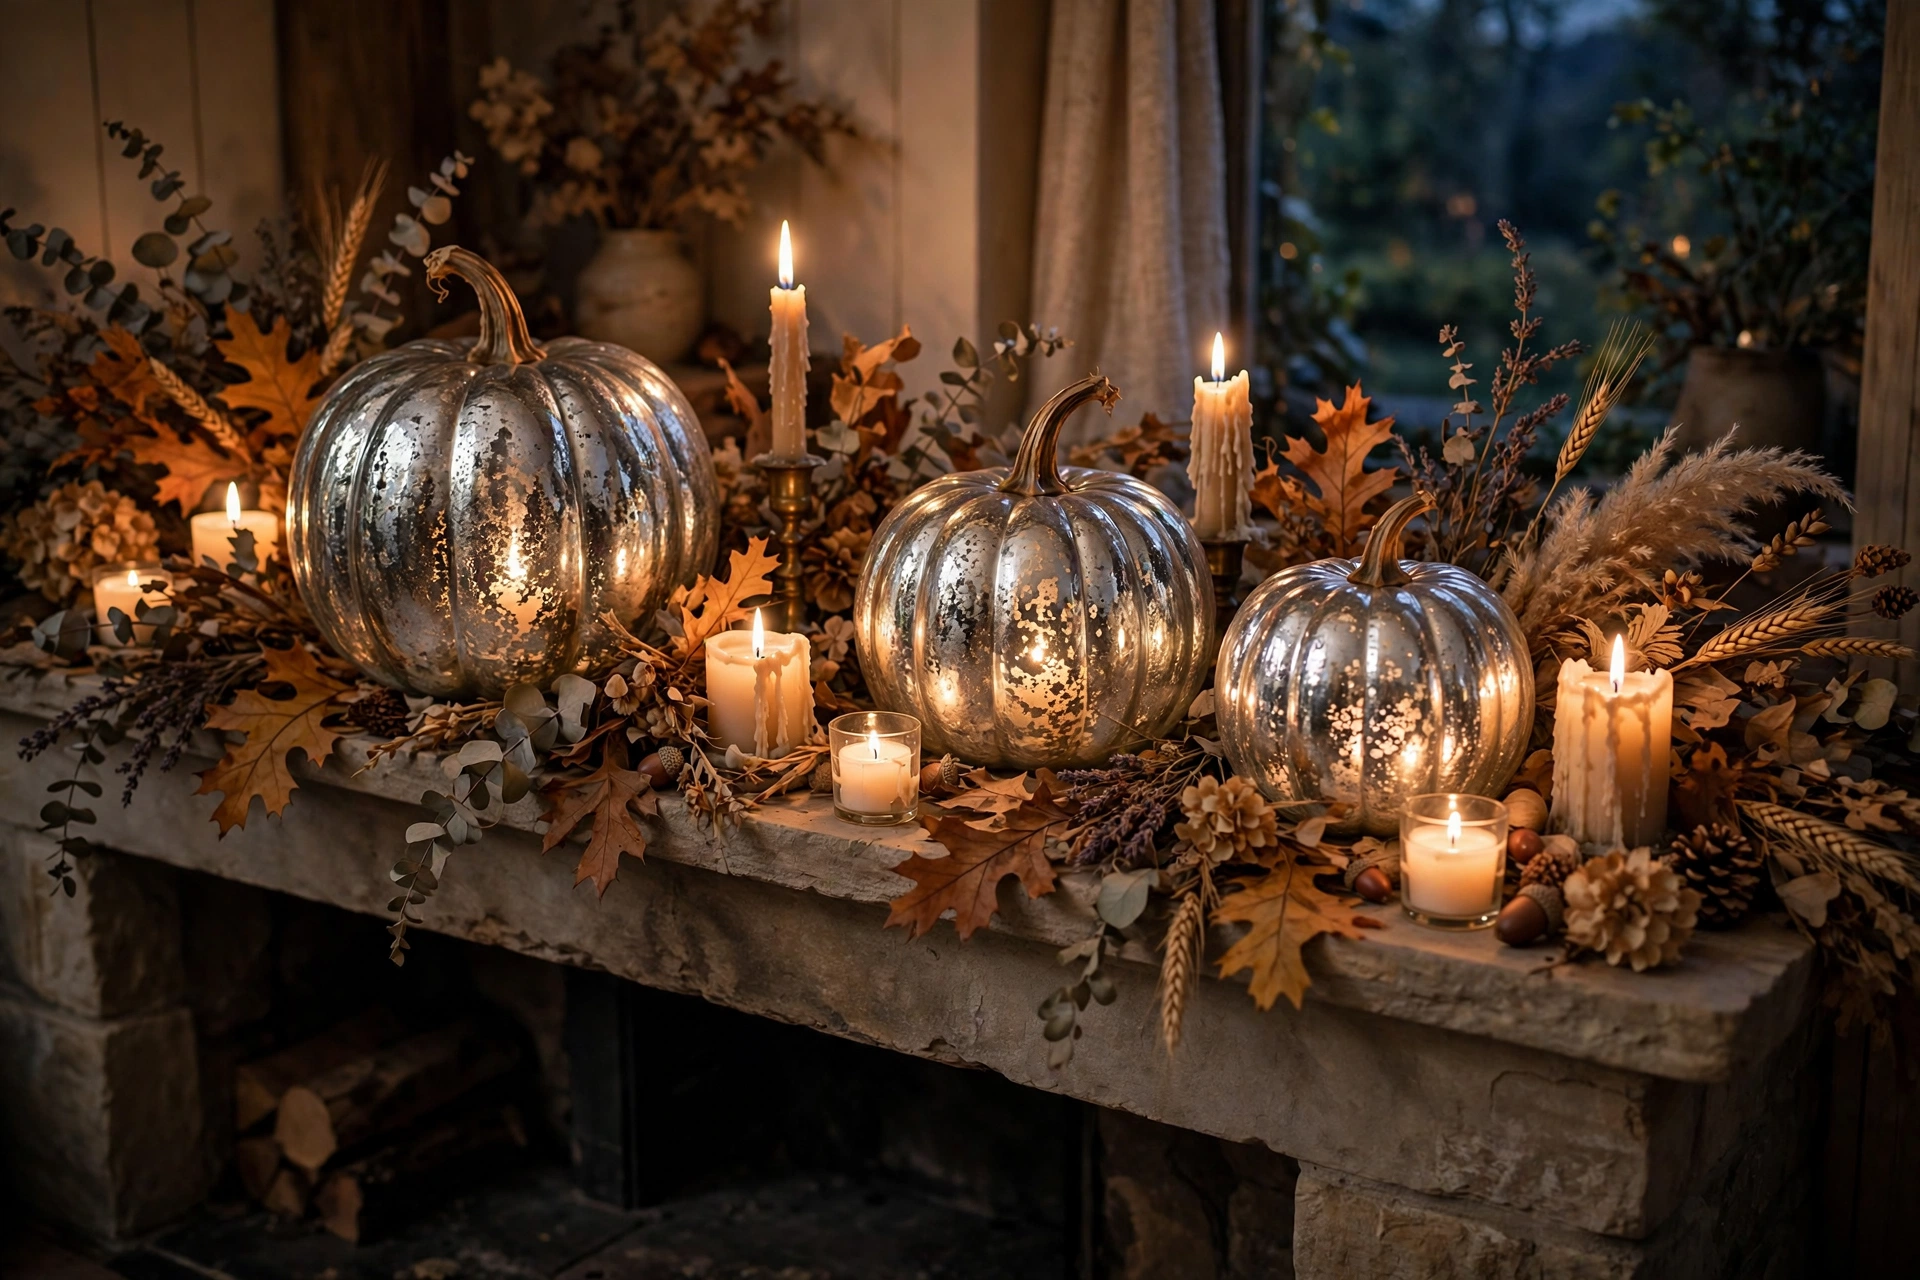
3. Mercury glass pumpkins
Spray a glass or glossy ceramic pumpkin with mirror-effect spray paint, then lightly mist water droplets on the surface before a second coat for the mottled antique look. Work in a ventilated area and wear a mask. The result genuinely glows like vintage mercury glass.
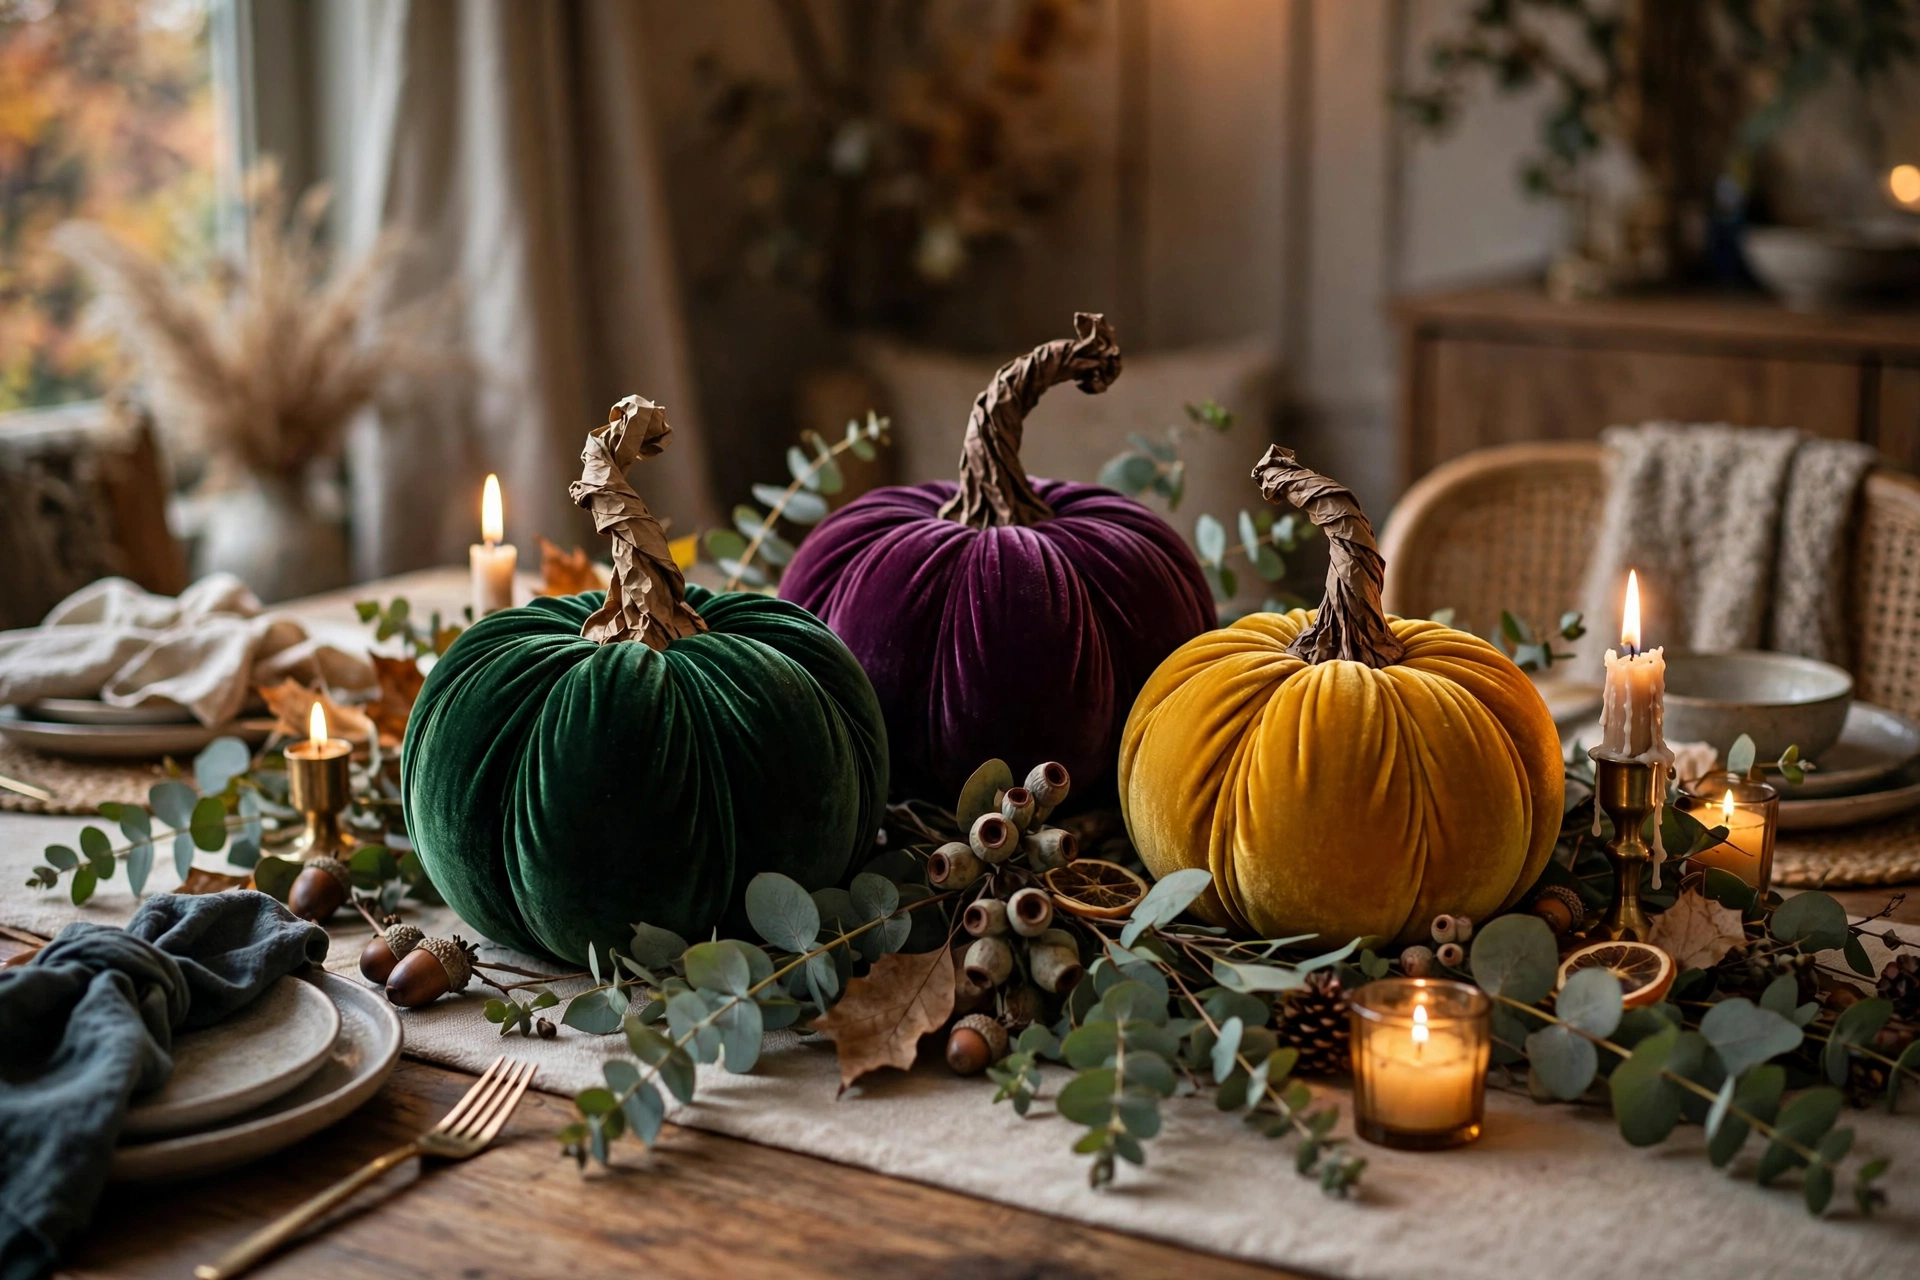
4. Velvet pumpkins with twisted stems
Wrap foam pumpkins in stretch velvet and top with a twisted brown paper stem sealed with glue for a realistic finish. Choose jewel tones — emerald, plum, mustard — for a rich, collected look. At about $4 in materials each, these are the best value on this list.
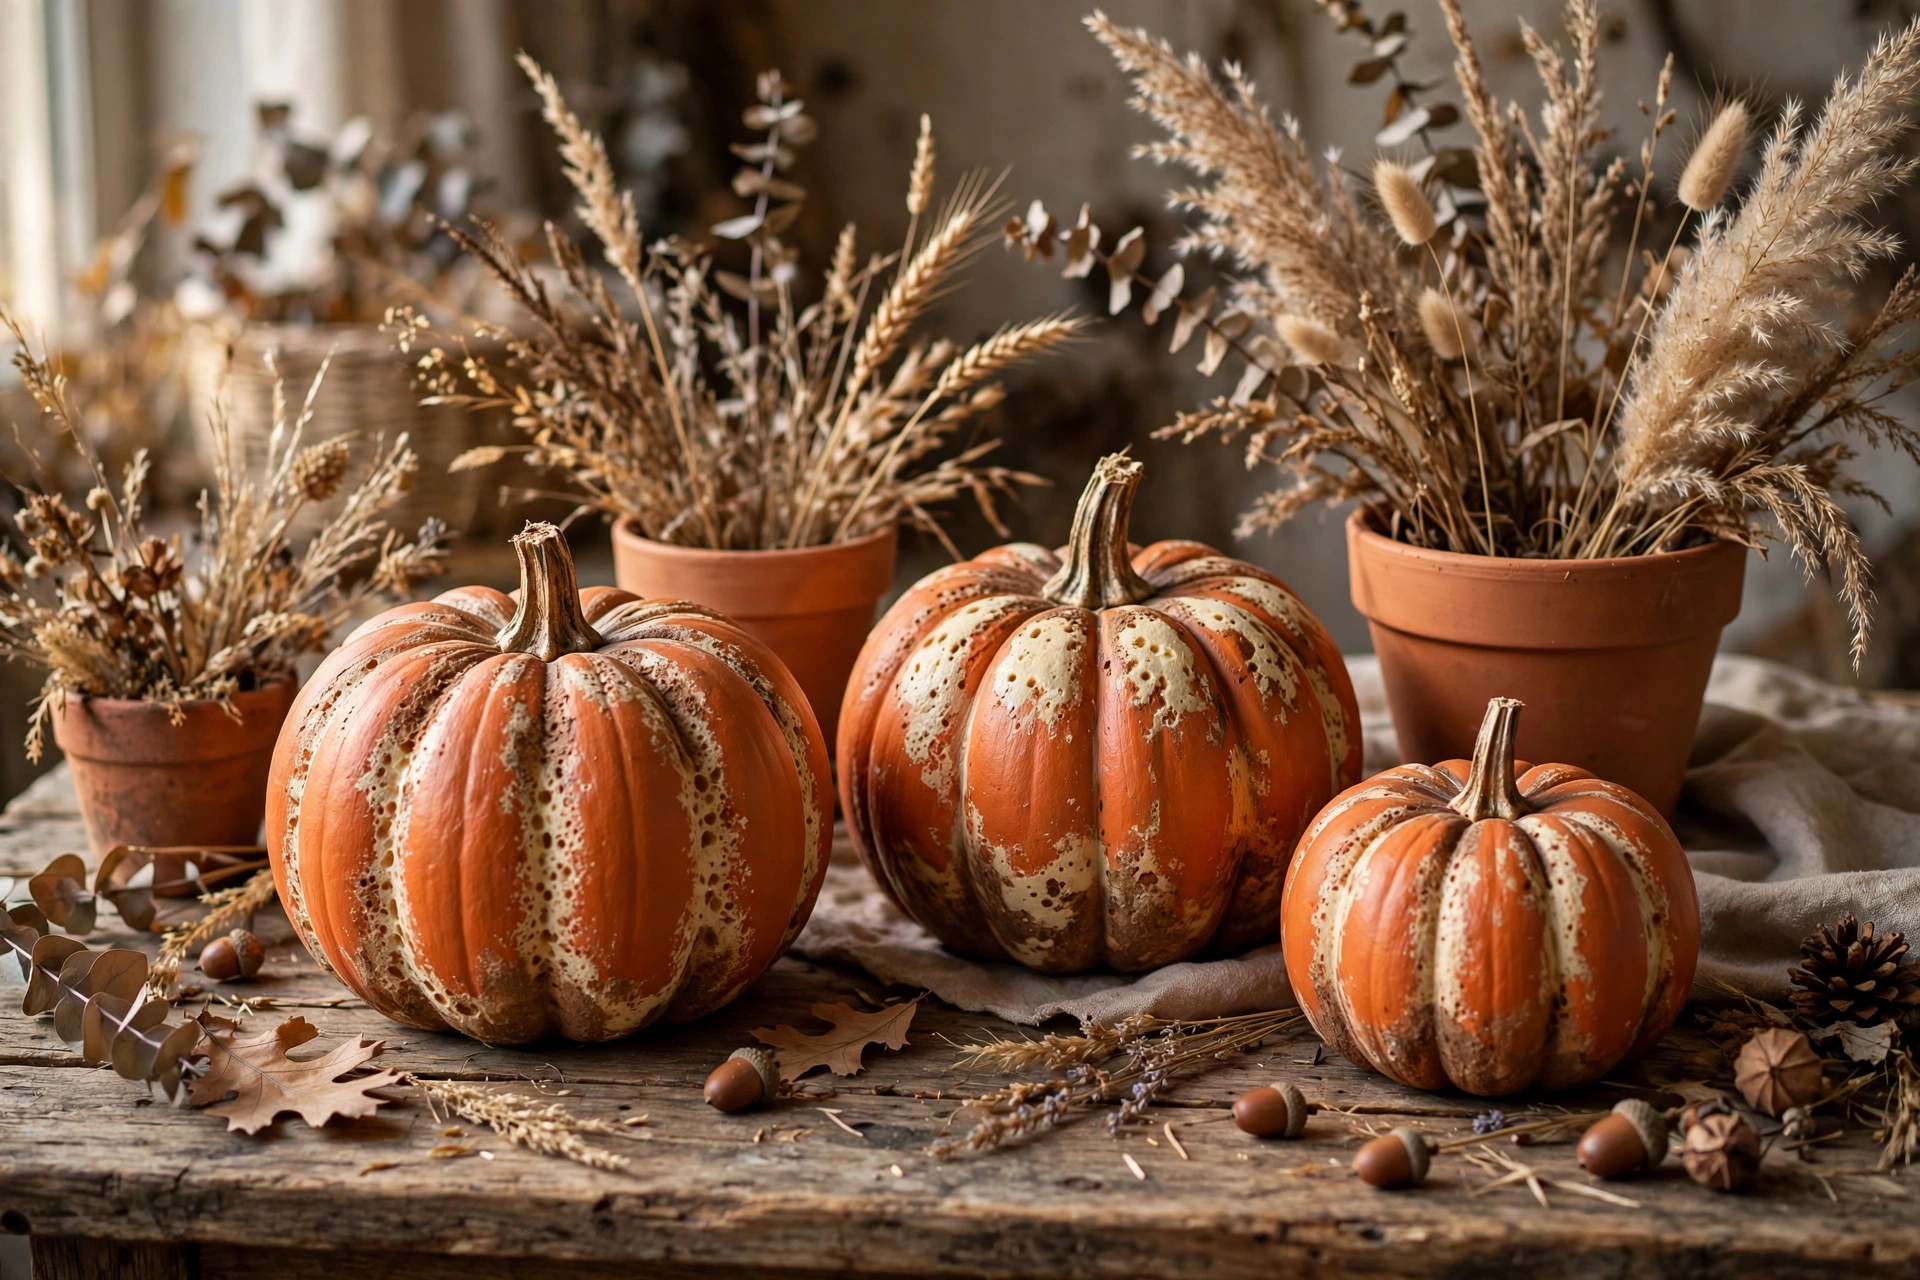
5. Aged terracotta pumpkins
Paint pumpkins in terracotta orange, then sponge on cream and brown accents to mimic sun-aged clay pots. Focus the aging on the ribs and base where wear would naturally occur. They pair beautifully with real terracotta pots and dried grasses.
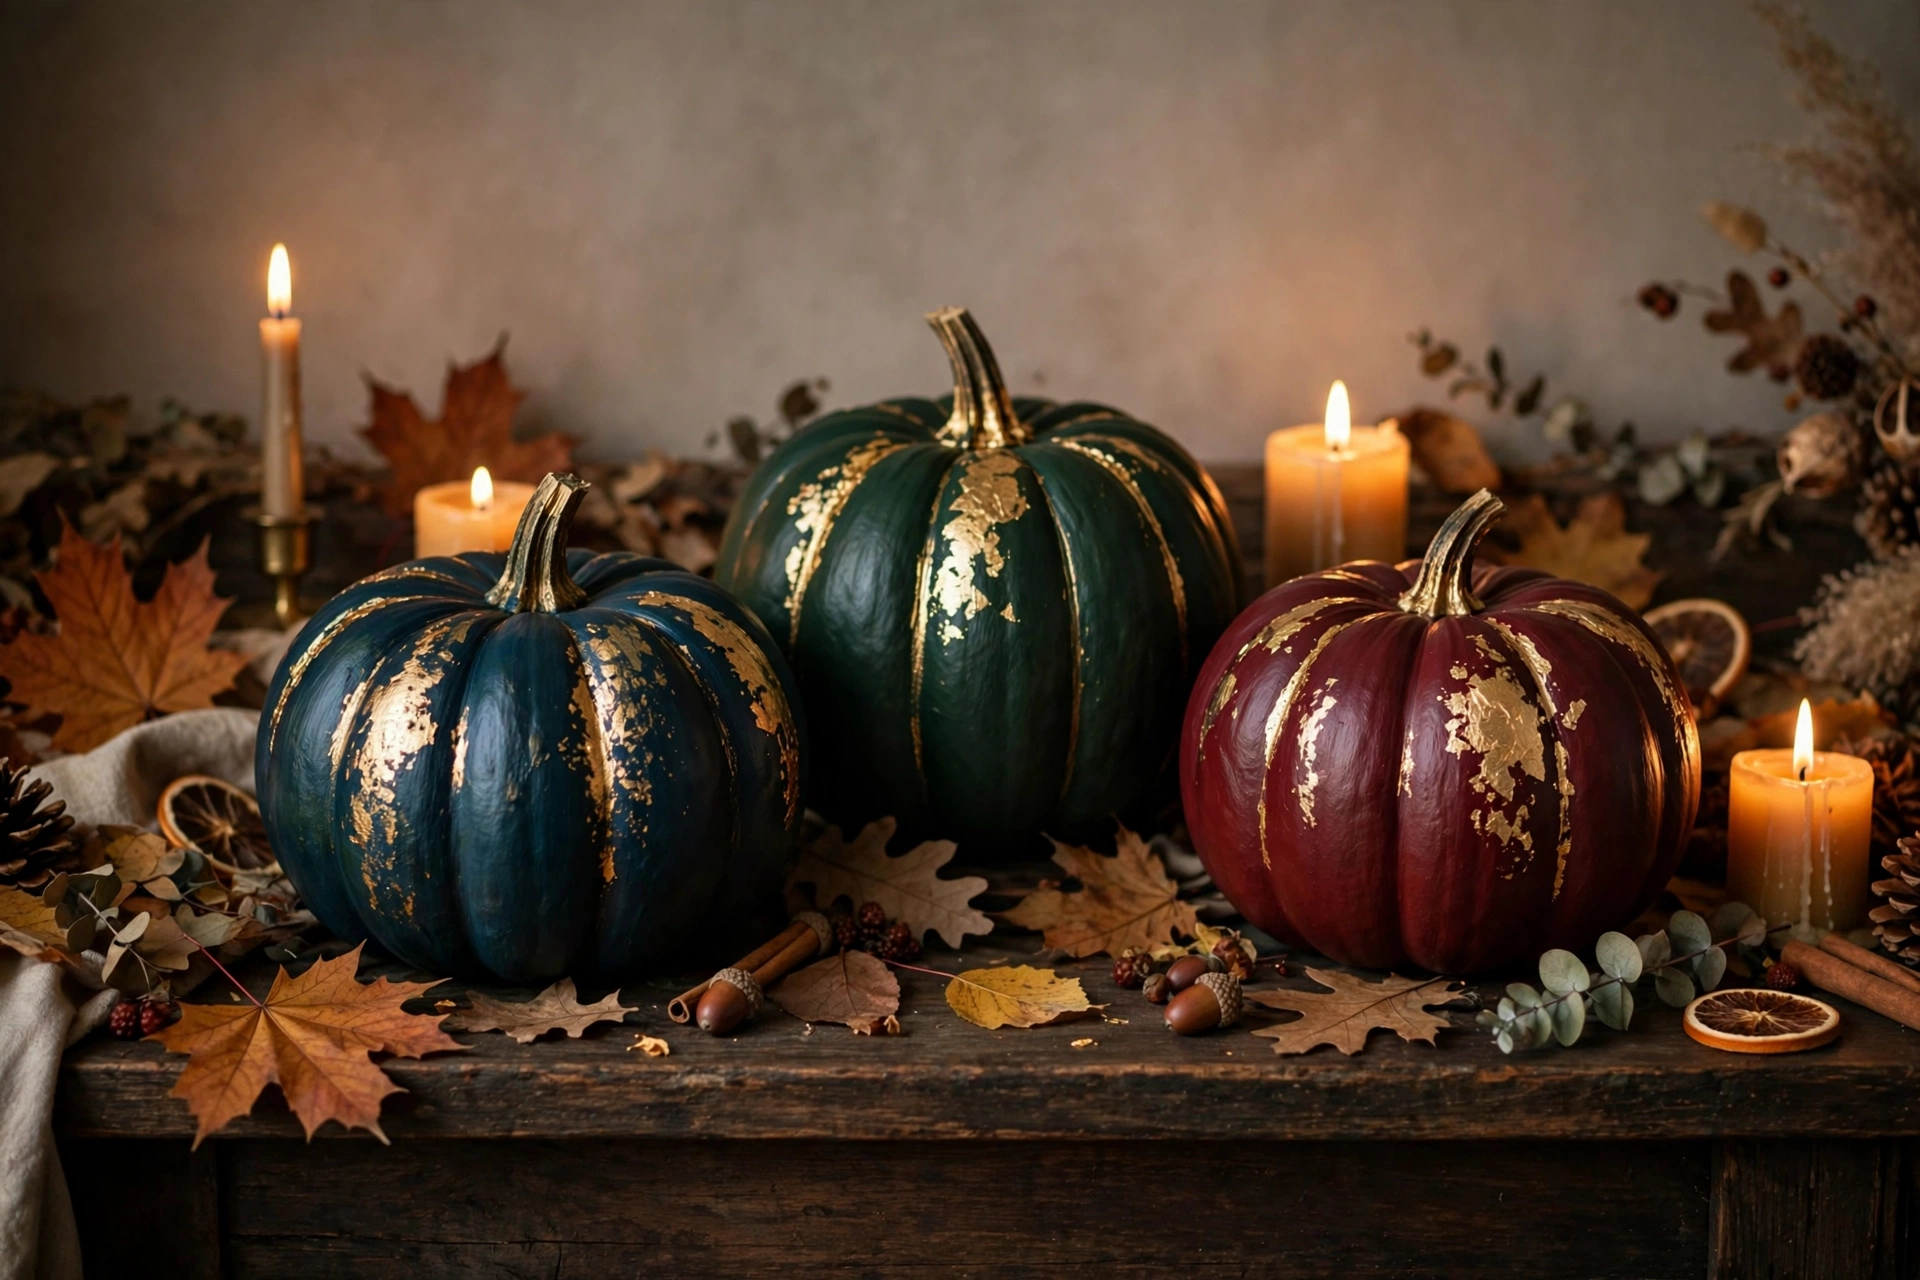
6. Gilded pumpkins
Brush craft adhesive onto select ribs of a painted pumpkin and press on gold leaf, leaving most of the base color showing. The partial coverage looks intentional and artistic rather than gaudy. One $5 leaf pack gilds six to eight pumpkins.
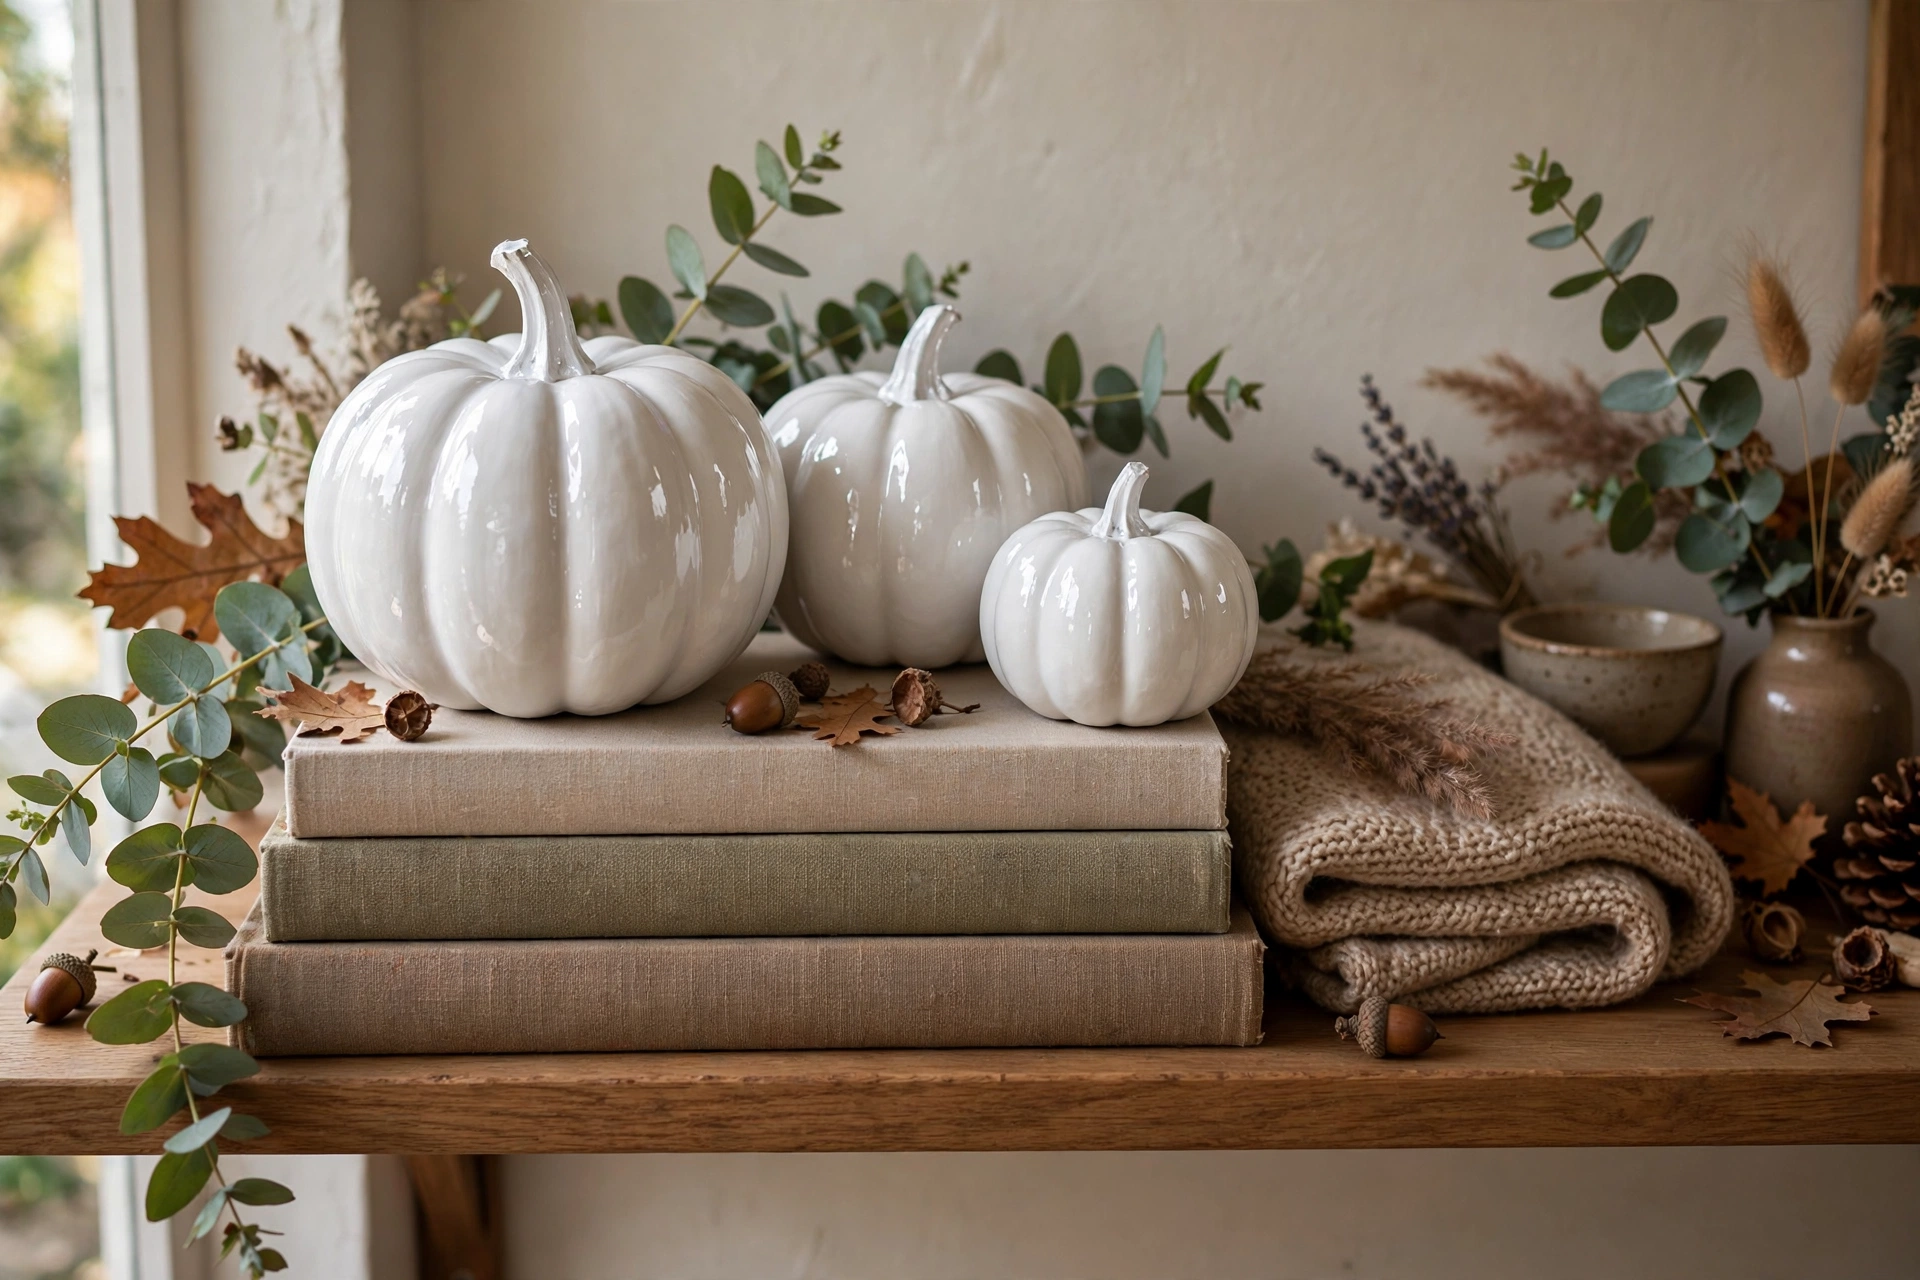
7. Ceramic-look pumpkins
The baking-soda-paint trick (one part soda to two parts paint) in glossy white creates a convincing ceramic glaze effect. Add a clear gloss sealer on top for extra shine. Display on a stack of coffee-table books for a curated shelf look.
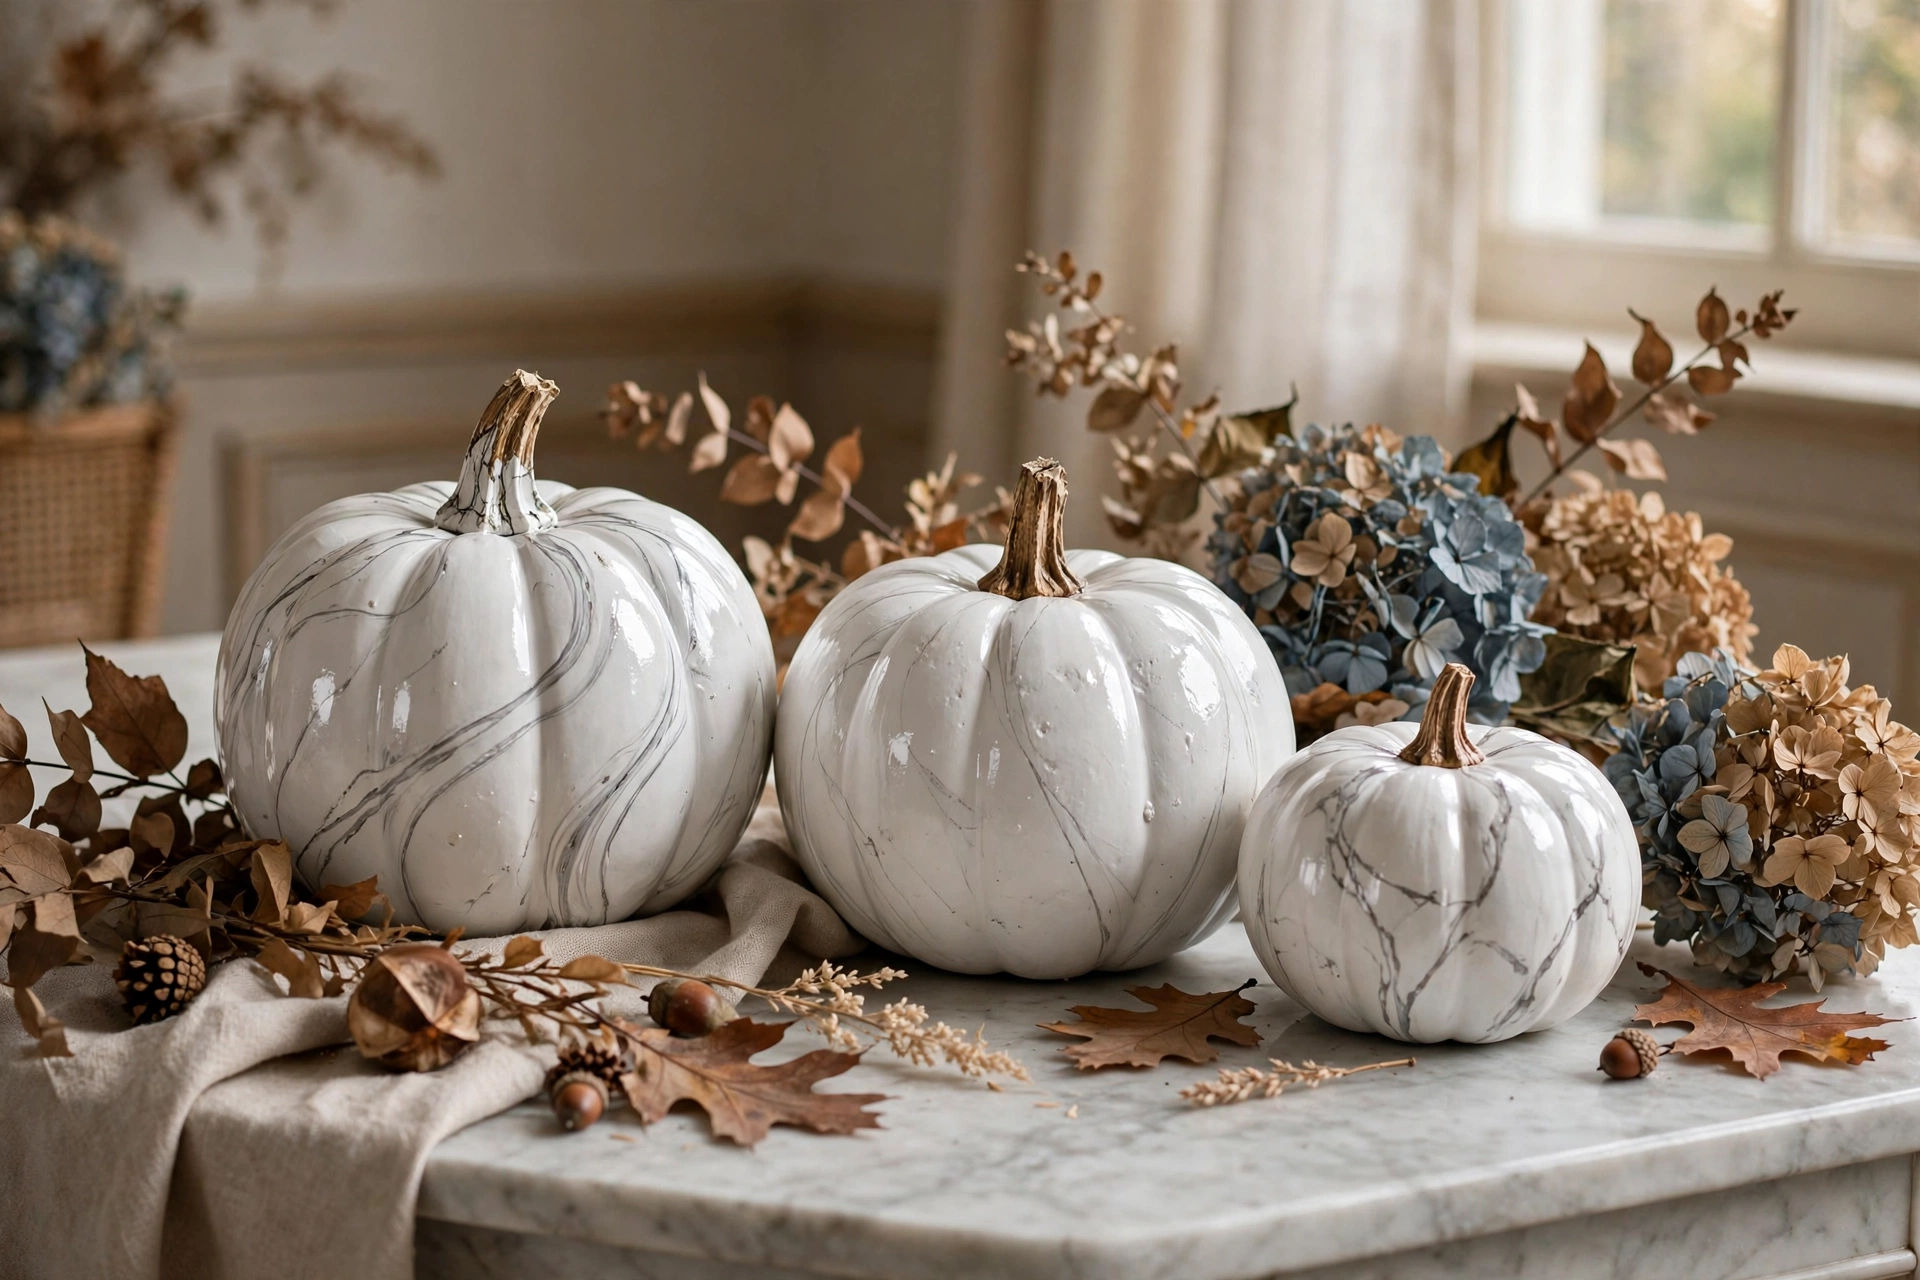
8. Marble-effect pumpkins
Base-coat in white, then drag a feather through thin gray paint in wandering veins, softening with a dry brush. Seal with gloss varnish. Each pumpkin takes about 30 minutes of active work and looks like carved stone from across the room.
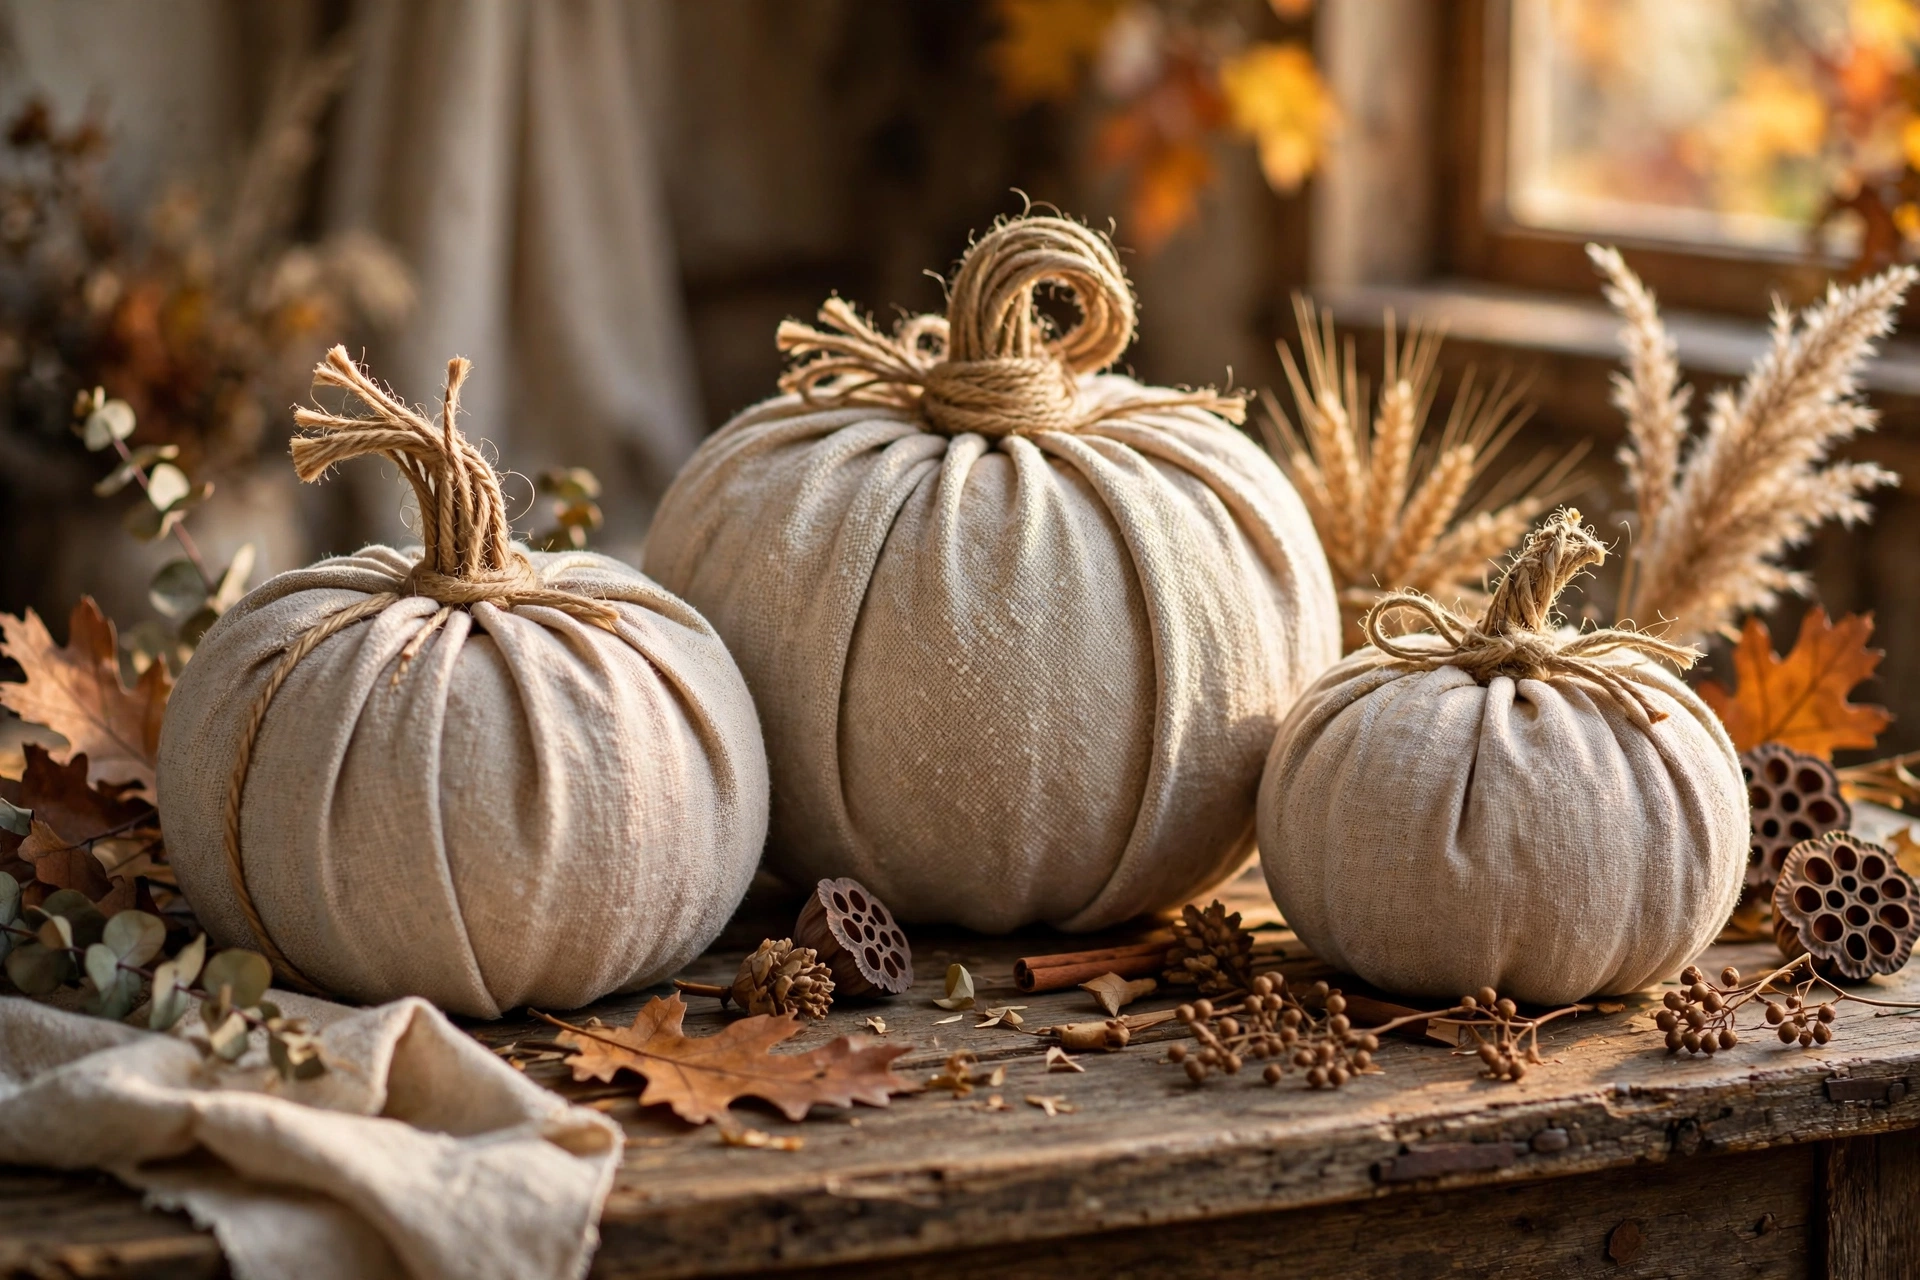
9. Linen-covered pumpkins
Stretch natural linen over foam pumpkins and glue underneath, then add a jute twine stem. The nubby texture reads as high-end organic decor. A half-yard of linen ($4) covers three medium pumpkins.
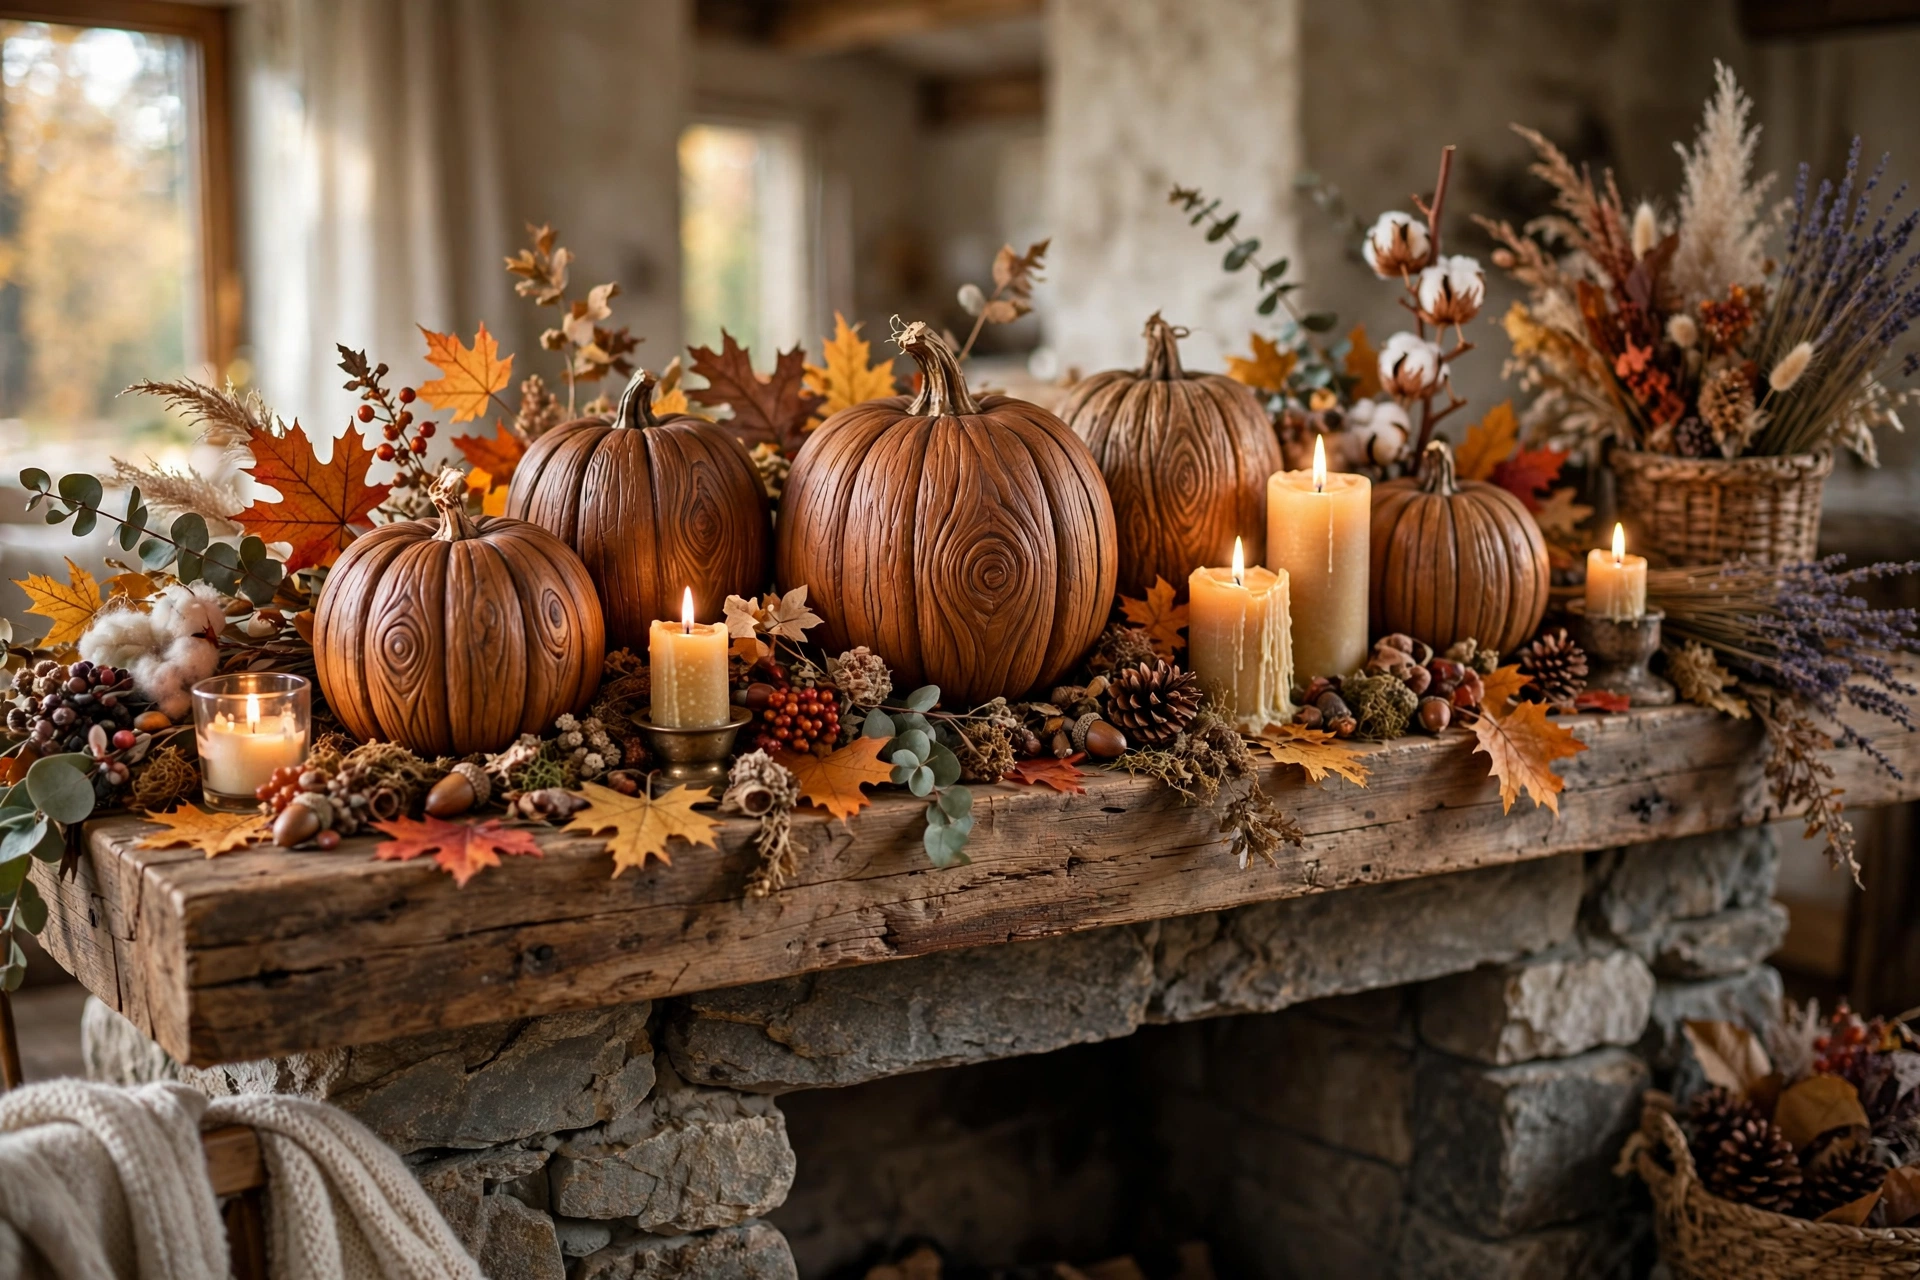
10. Wood-grain pumpkins
Paint a base coat of warm brown, then drag a wood-grain rocker tool through a darker glaze for realistic grain lines. This technique takes practice on a test surface first, but the result is a showstopper on a rustic mantel.
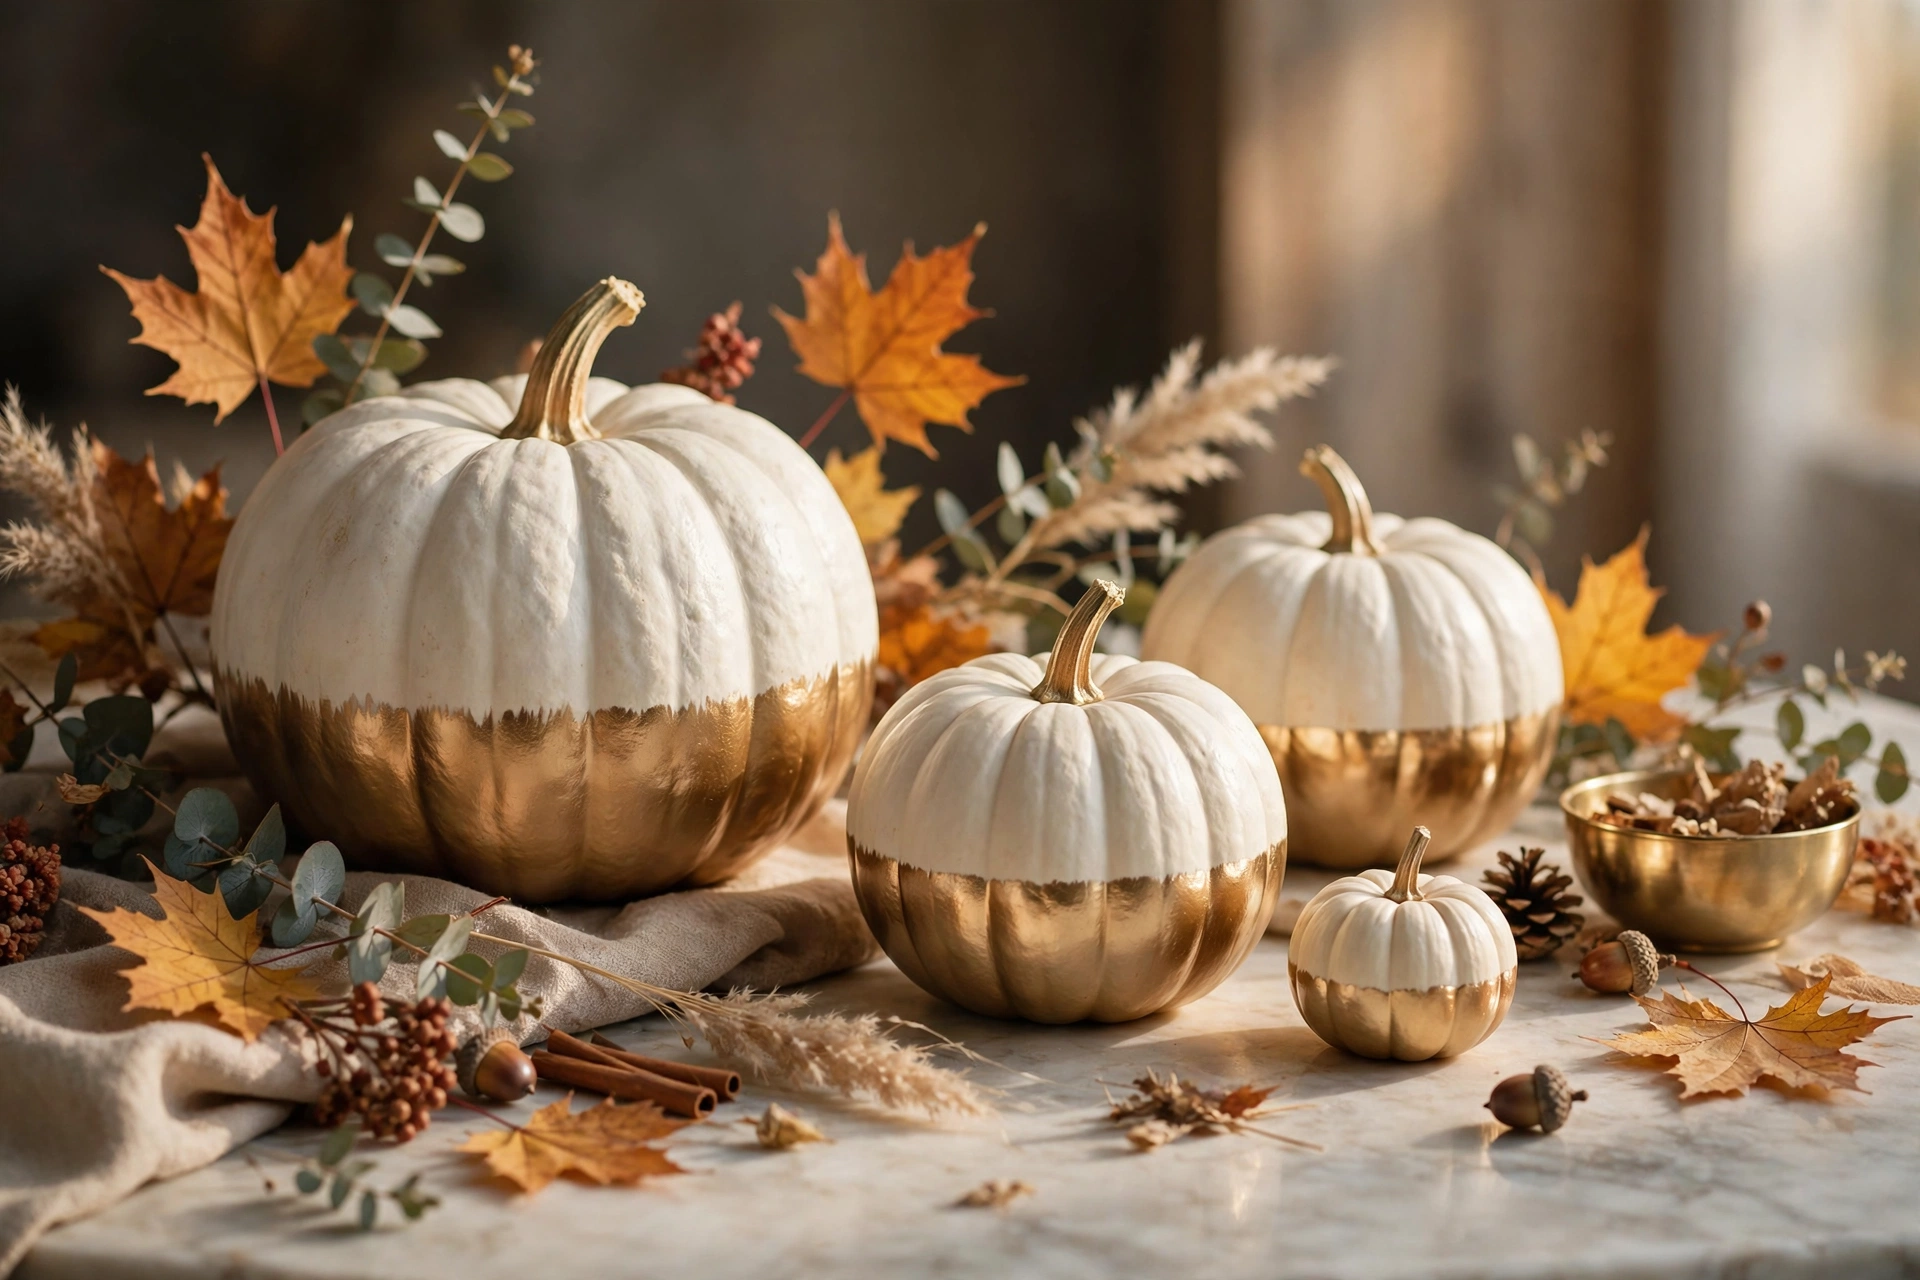
11. Brass-dipped pumpkins
Spray the bottom half of a white pumpkin with metallic brass paint, masking a clean line with painter’s tape. The two-tone dipped effect is straight out of a designer catalog. Let each coat dry fully to keep the line crisp.
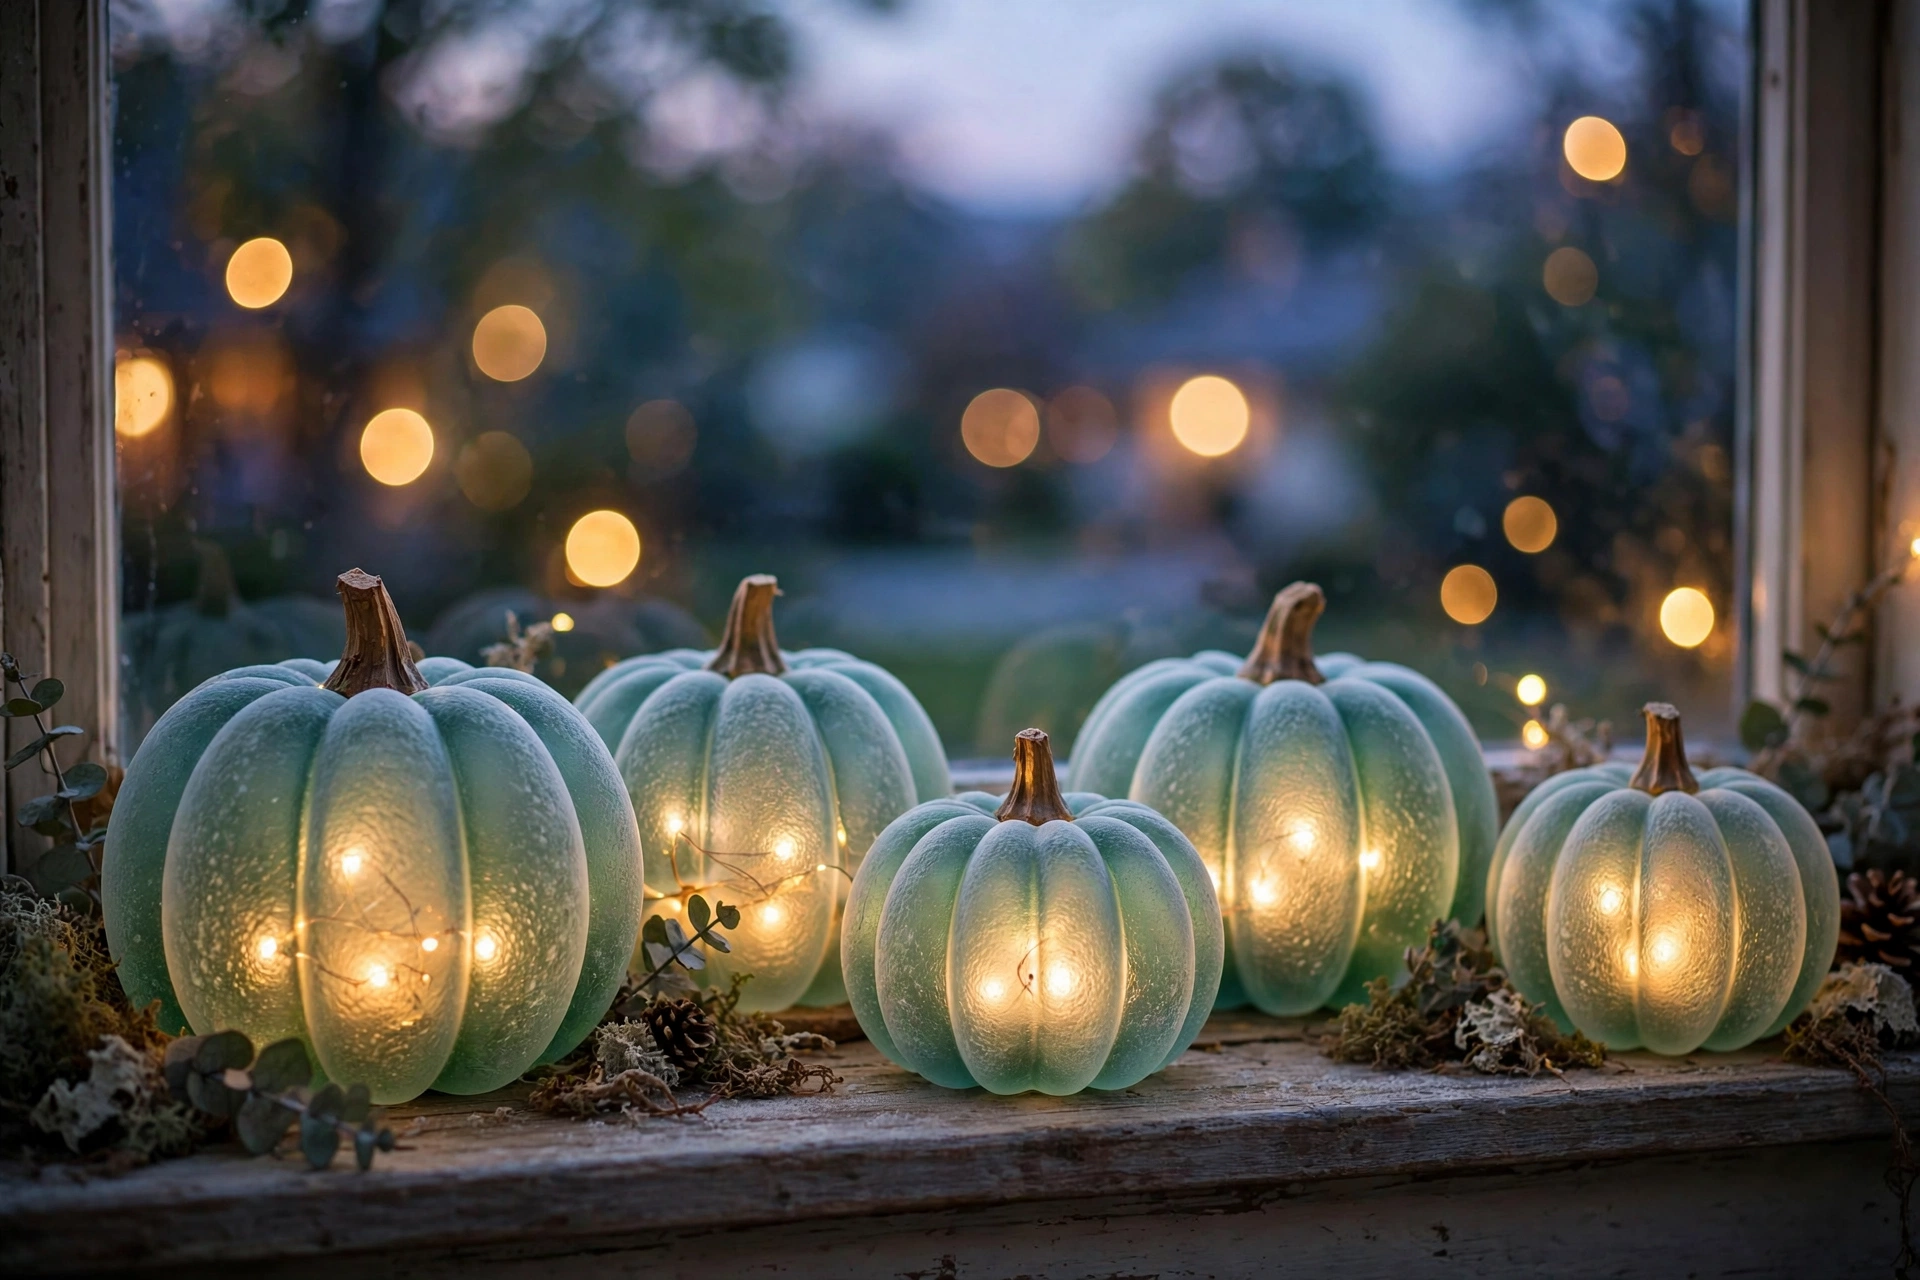
12. Frosted glass pumpkins
Apply frosted-glass spray to clear glass pumpkins for a soft sea-glass glow, then tuck a battery fairy light inside. They look beautiful lit on a windowsill at dusk. One can of frost spray ($6) covers four pumpkins.
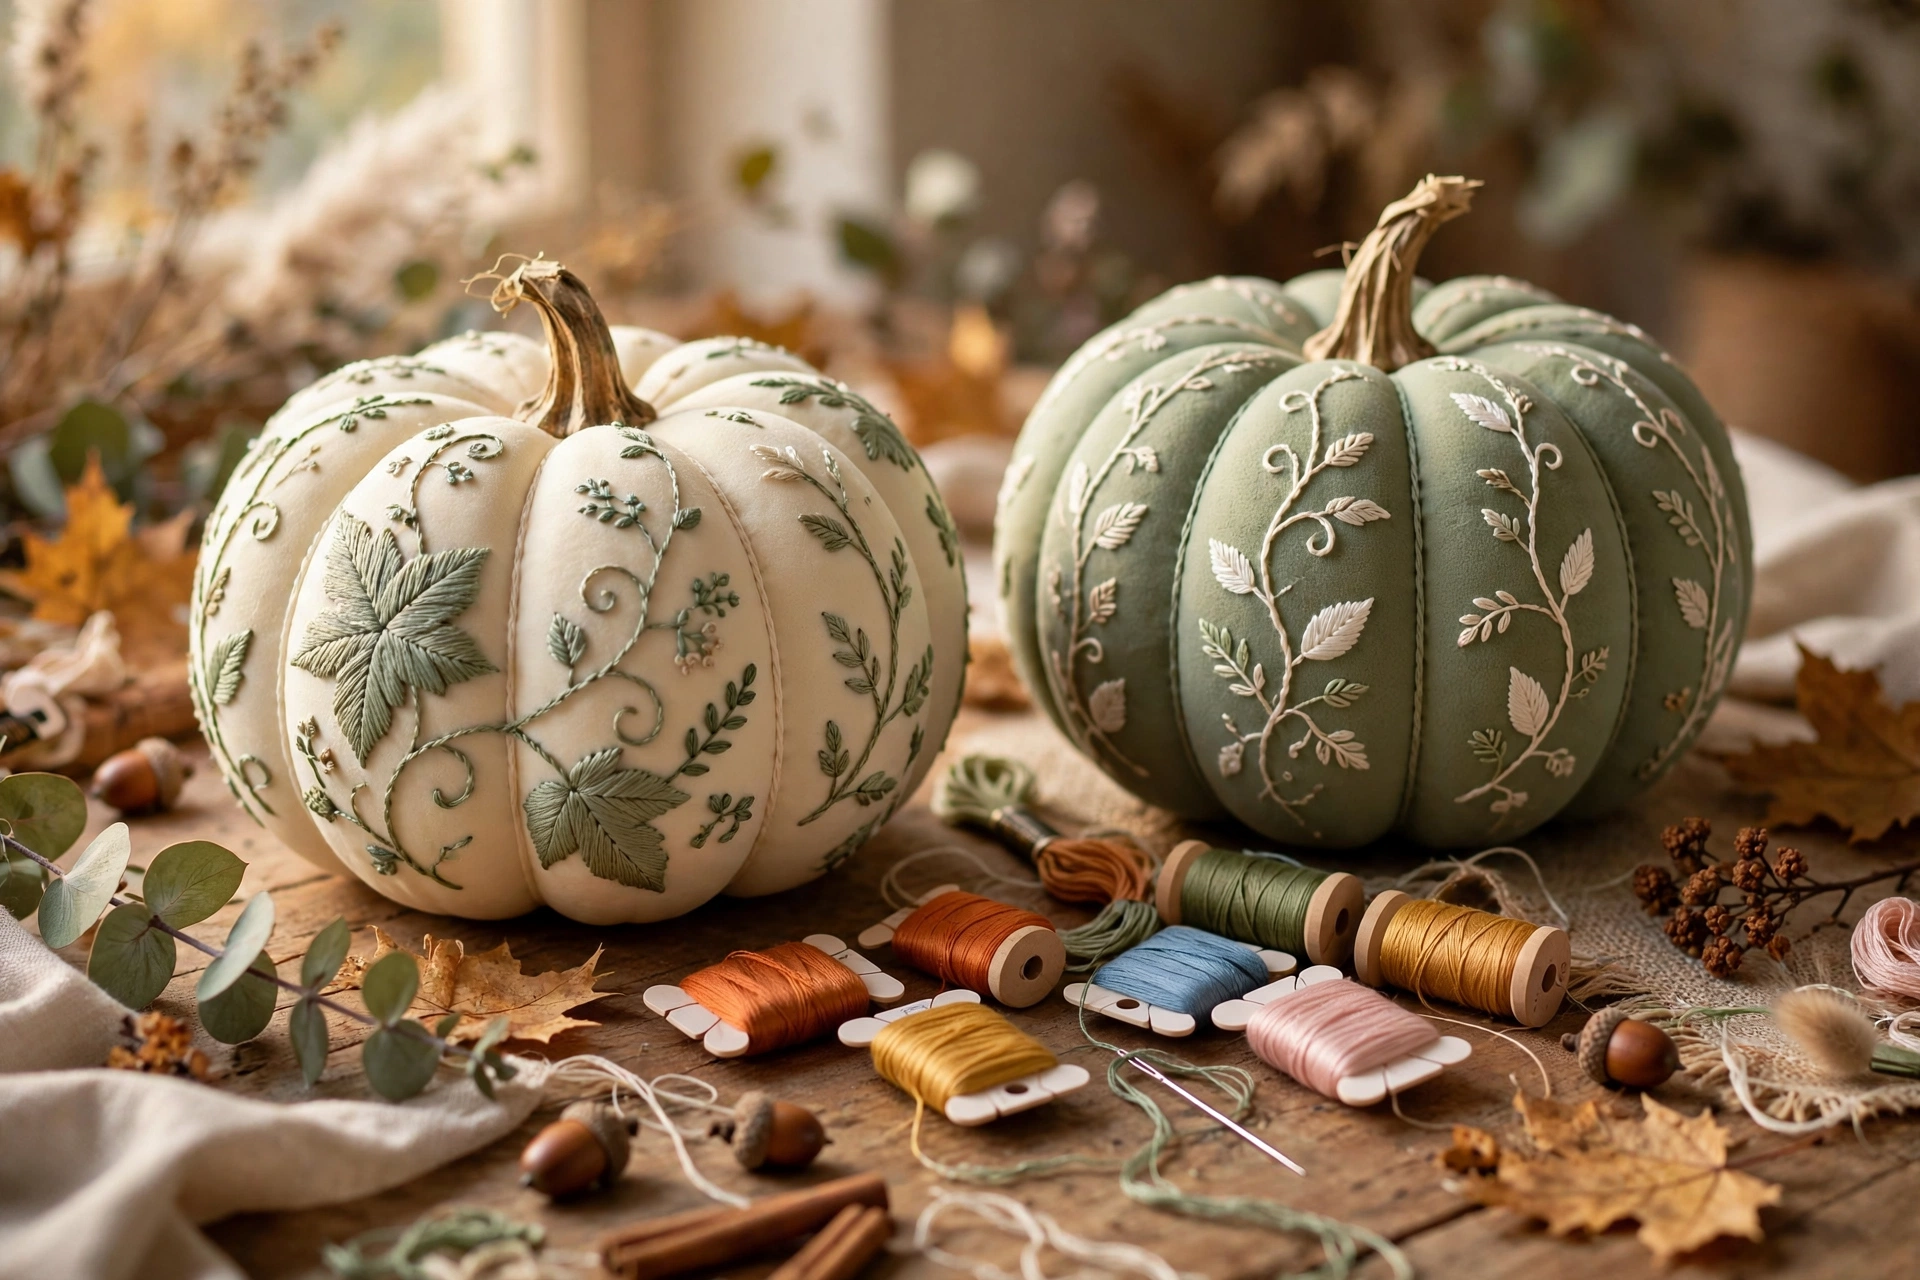
13. Embroidered pumpkins
Use a needle and embroidery floss to stitch simple leaf or vine patterns directly into a foam pumpkin’s surface. The slight give of the foam makes stitching easy. A hoop-sized design takes about an hour and looks completely bespoke.
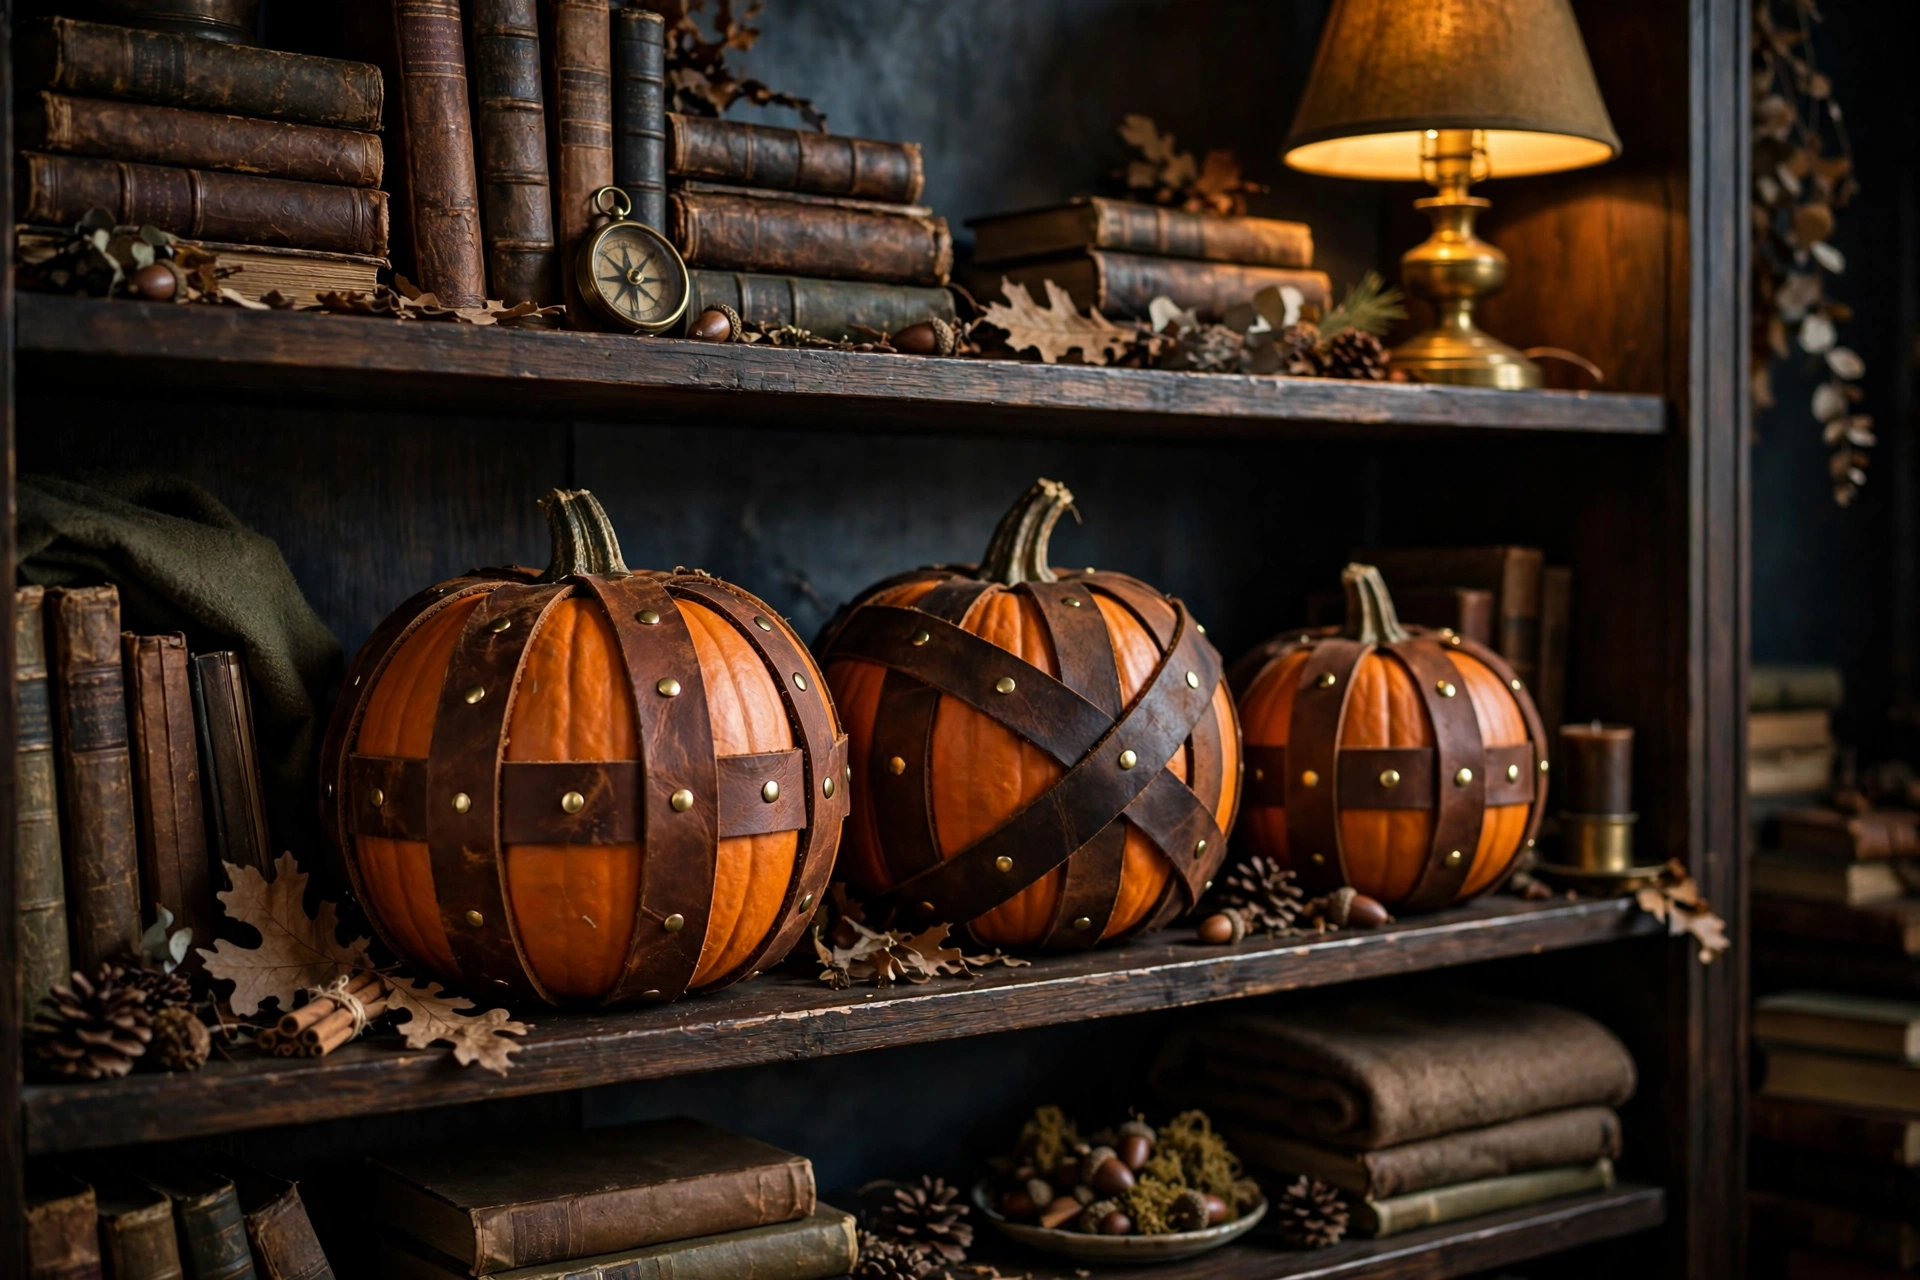
14. Leather-wrapped pumpkins
Cut strips from an old leather belt or faux-leather fabric and wrap a pumpkin, securing with upholstery tacks. The rich brown tones suit studies, libraries, and masculine fall decor. Thrifted belts keep the cost under $3 per pumpkin.
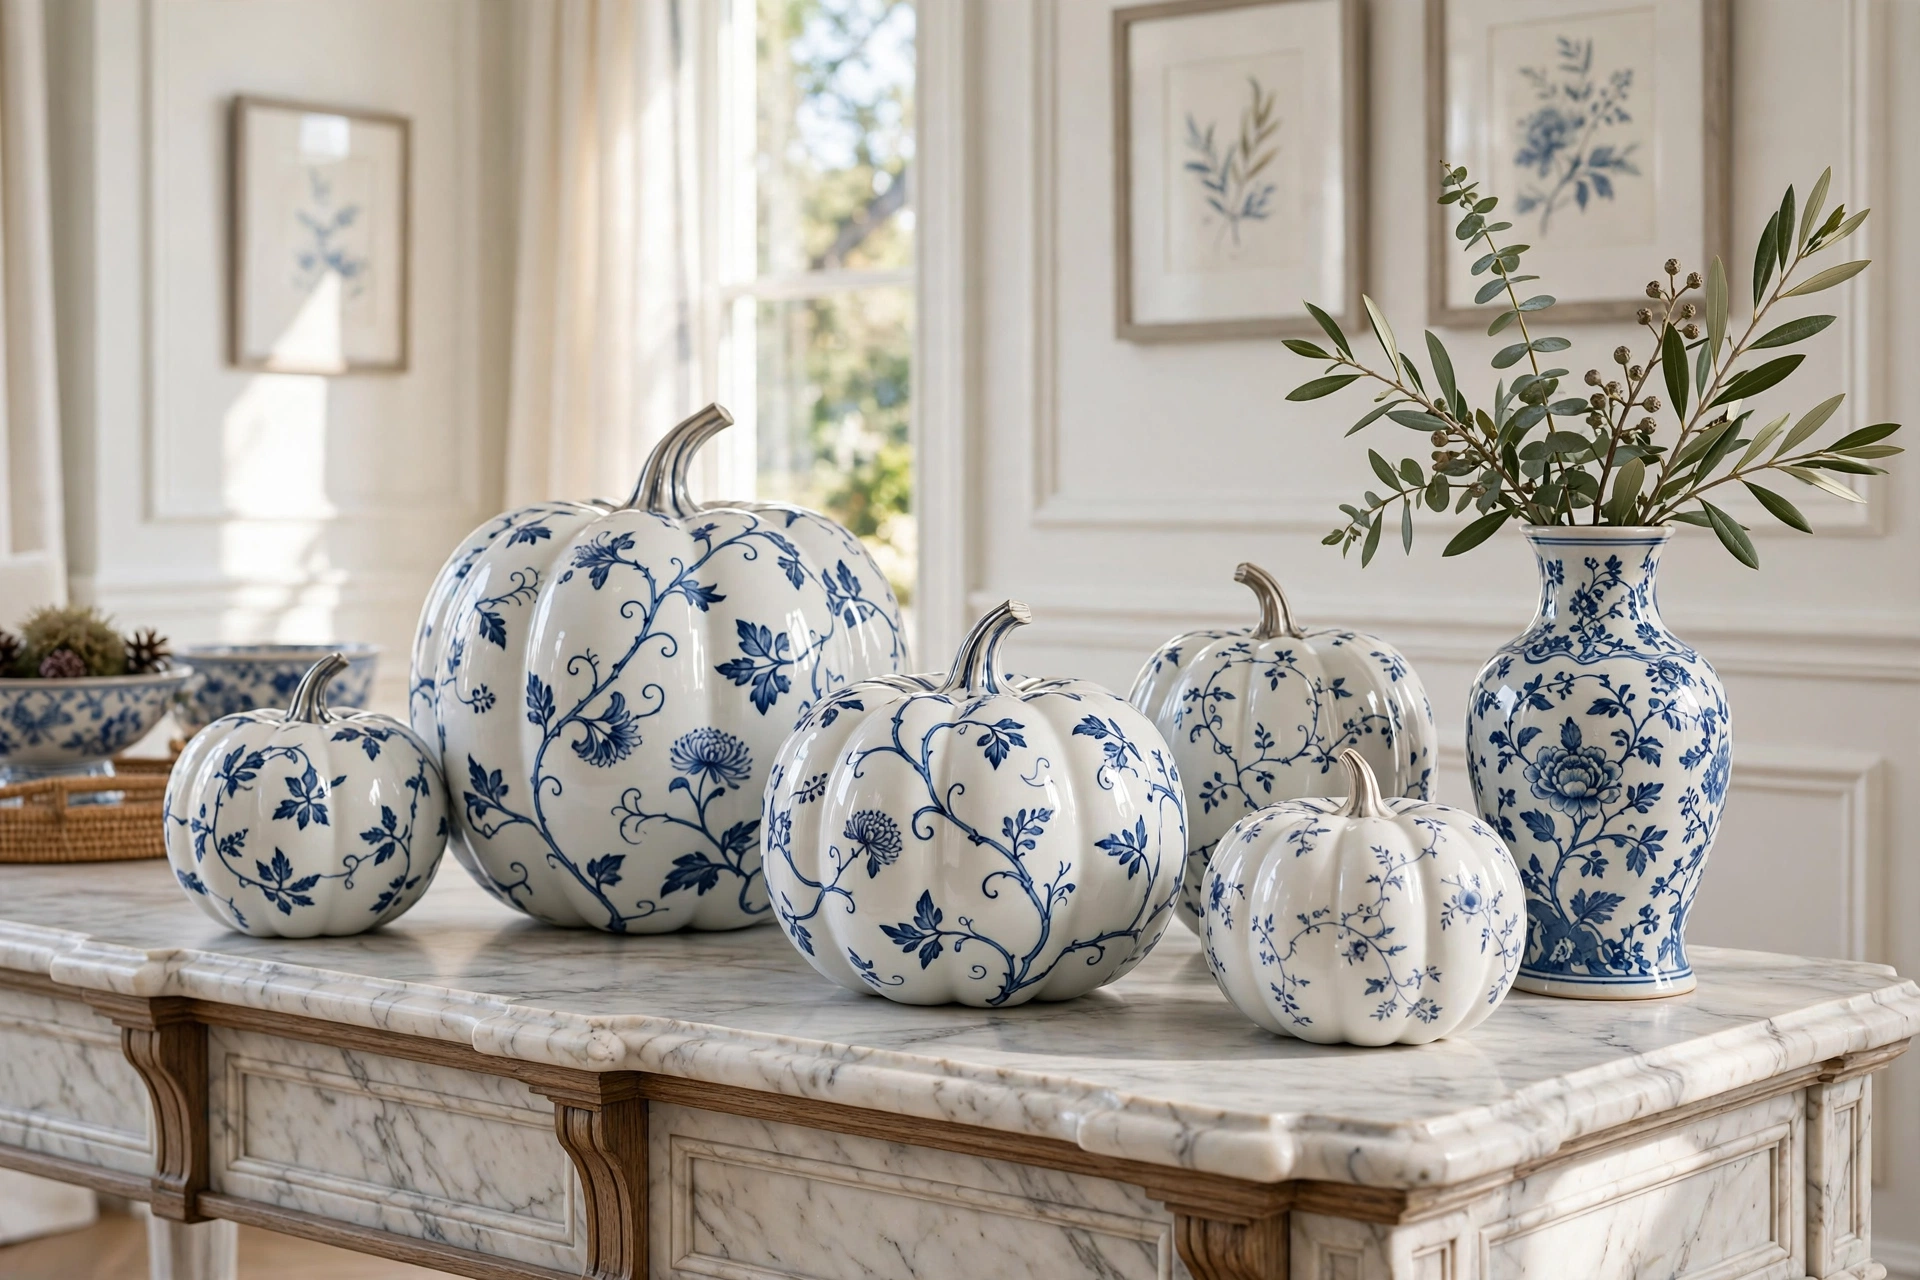
15. Porcelain-look pumpkins
Multiple thin coats of high-gloss white paint, sanded between coats with fine grit, build a porcelain-like shell. Add a delicate blue vine pattern with a fine brush for a chinoiserie feel. Patience is the main ingredient — allow full drying between coats.
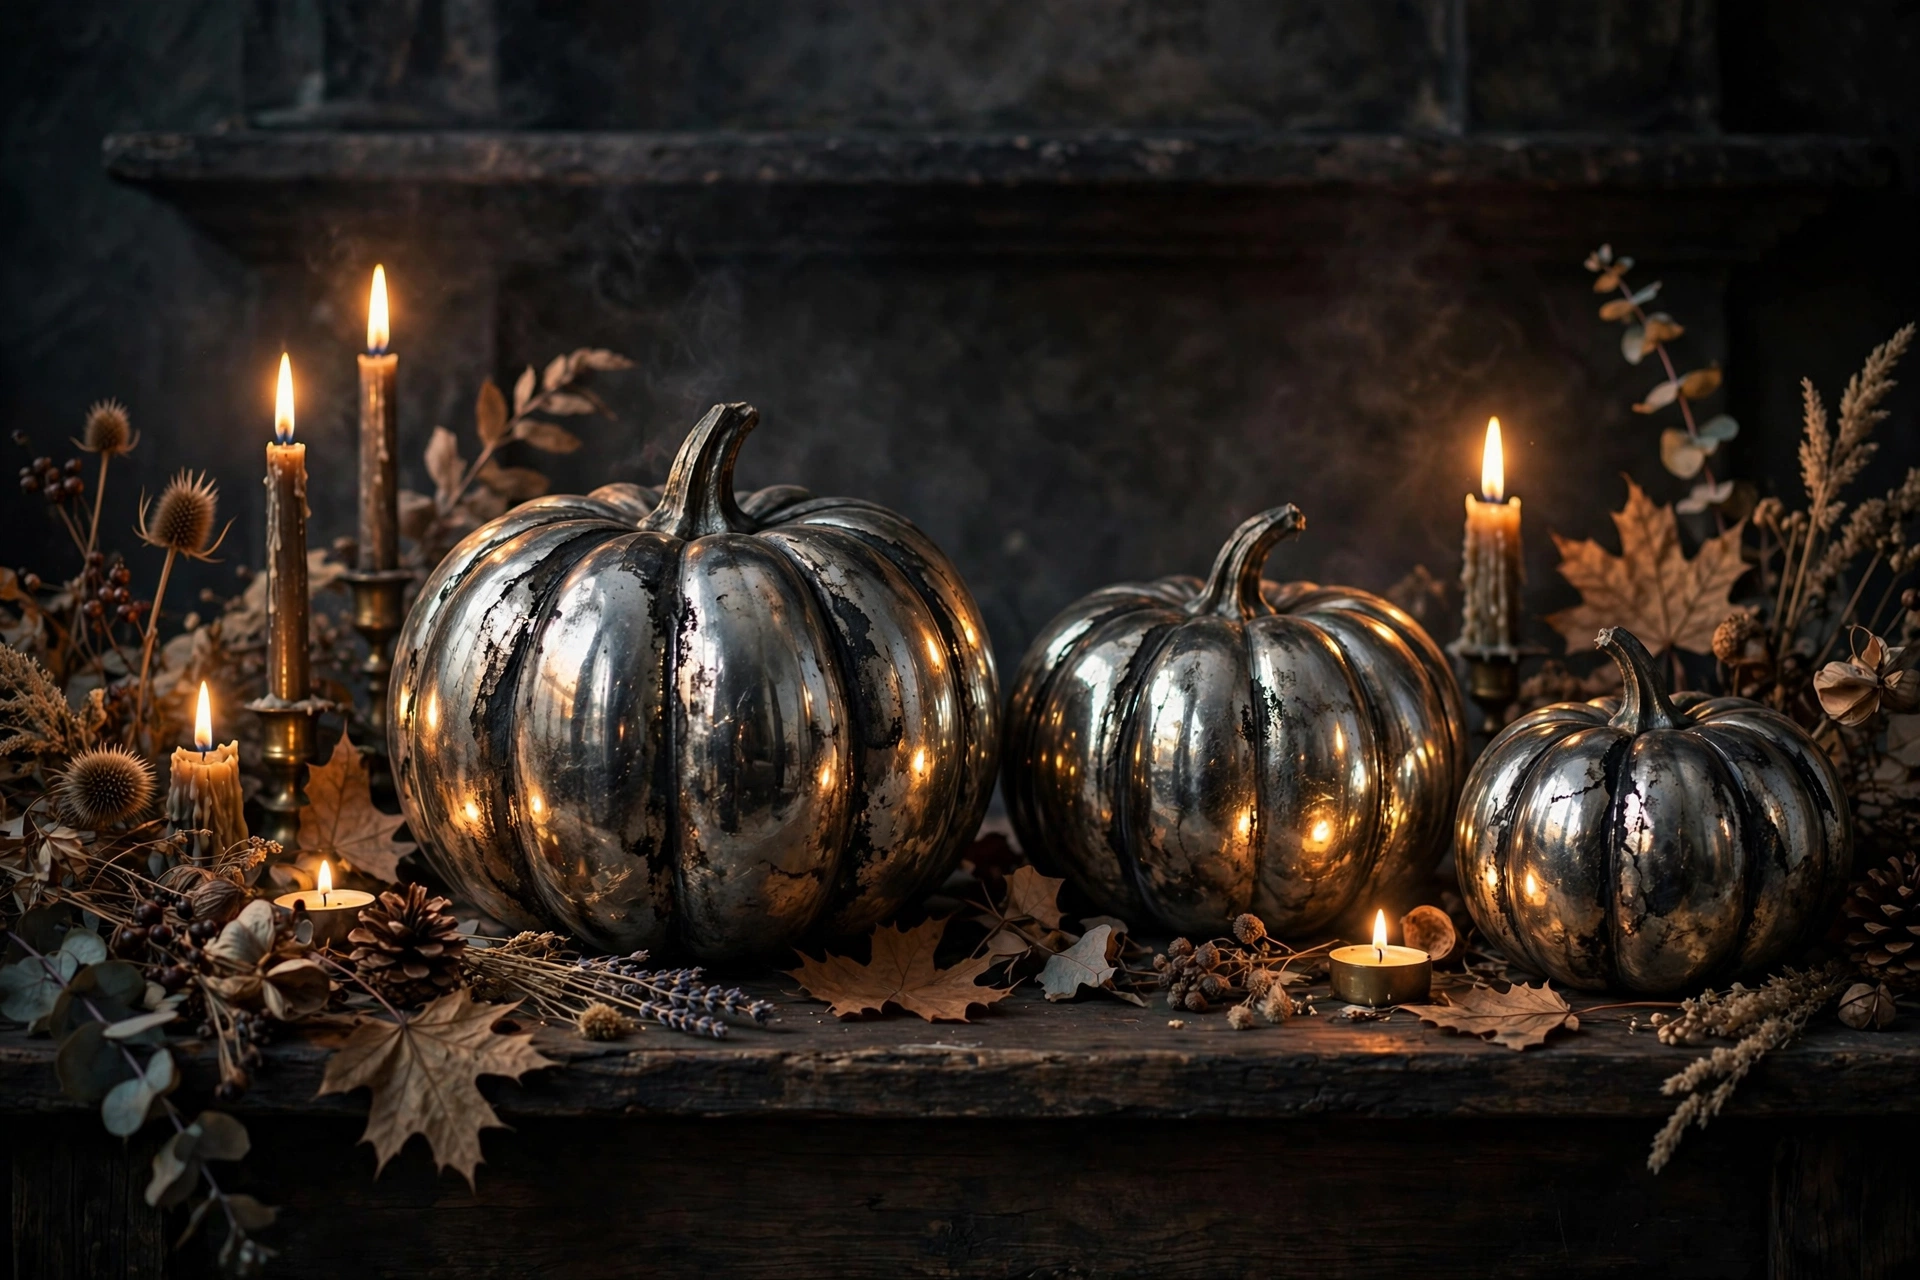
16. Antiqued mirror pumpkins
Apply mirror-effect spray, then dab dark antiquing glaze into the crevices before it fully cures for an aged, smoky finish. These catch candlelight beautifully and look far more expensive than their $8 material cost.
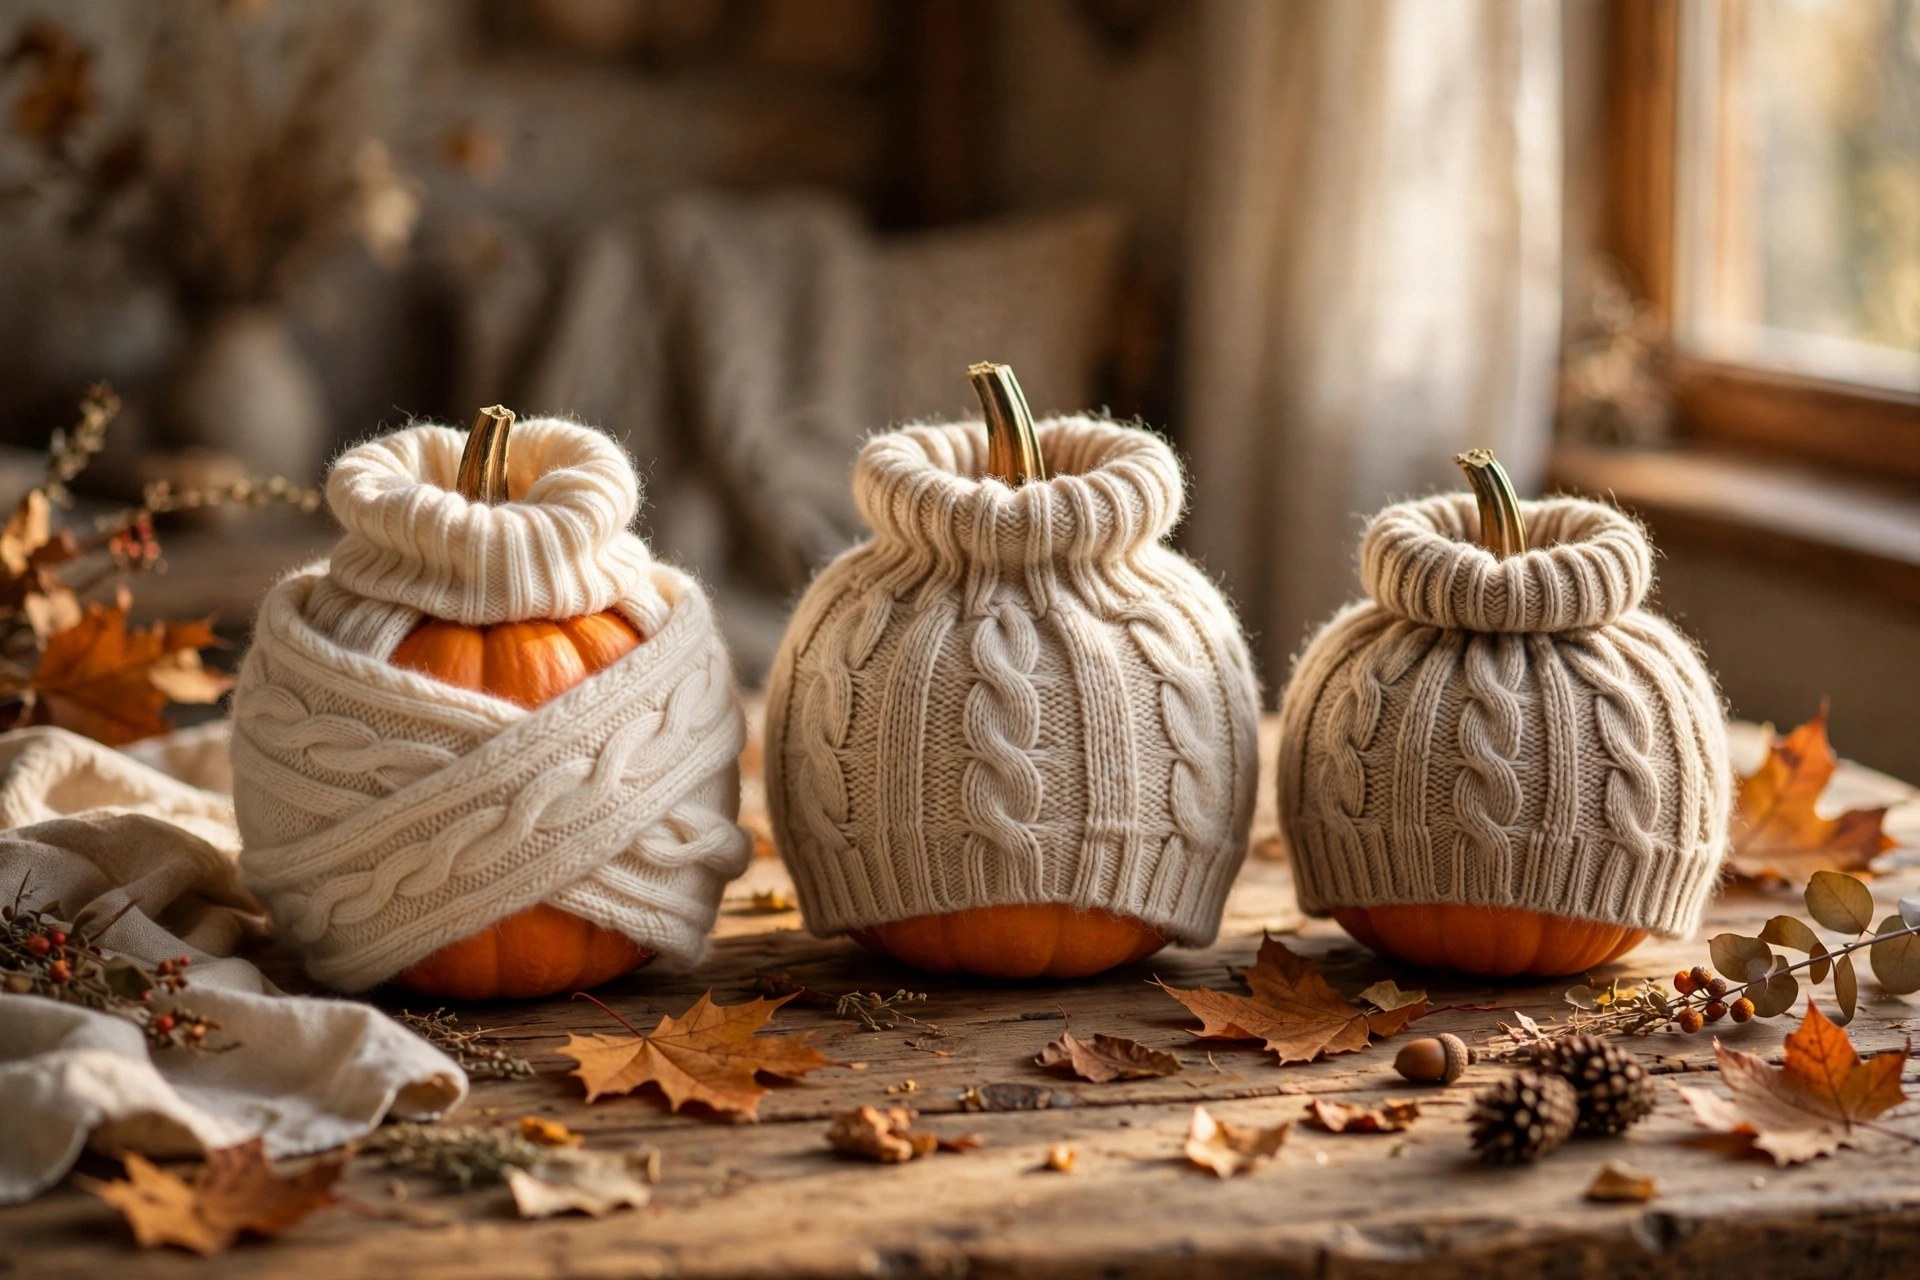
17. Cashmere-sweater pumpkins
Cut the sleeves off an old knit sweater, slip them over foam pumpkins, and gather at the top with the cuff as a collar. Cable knits look especially cozy. This is essentially free if you thrift the sweater, and each takes 10 minutes.
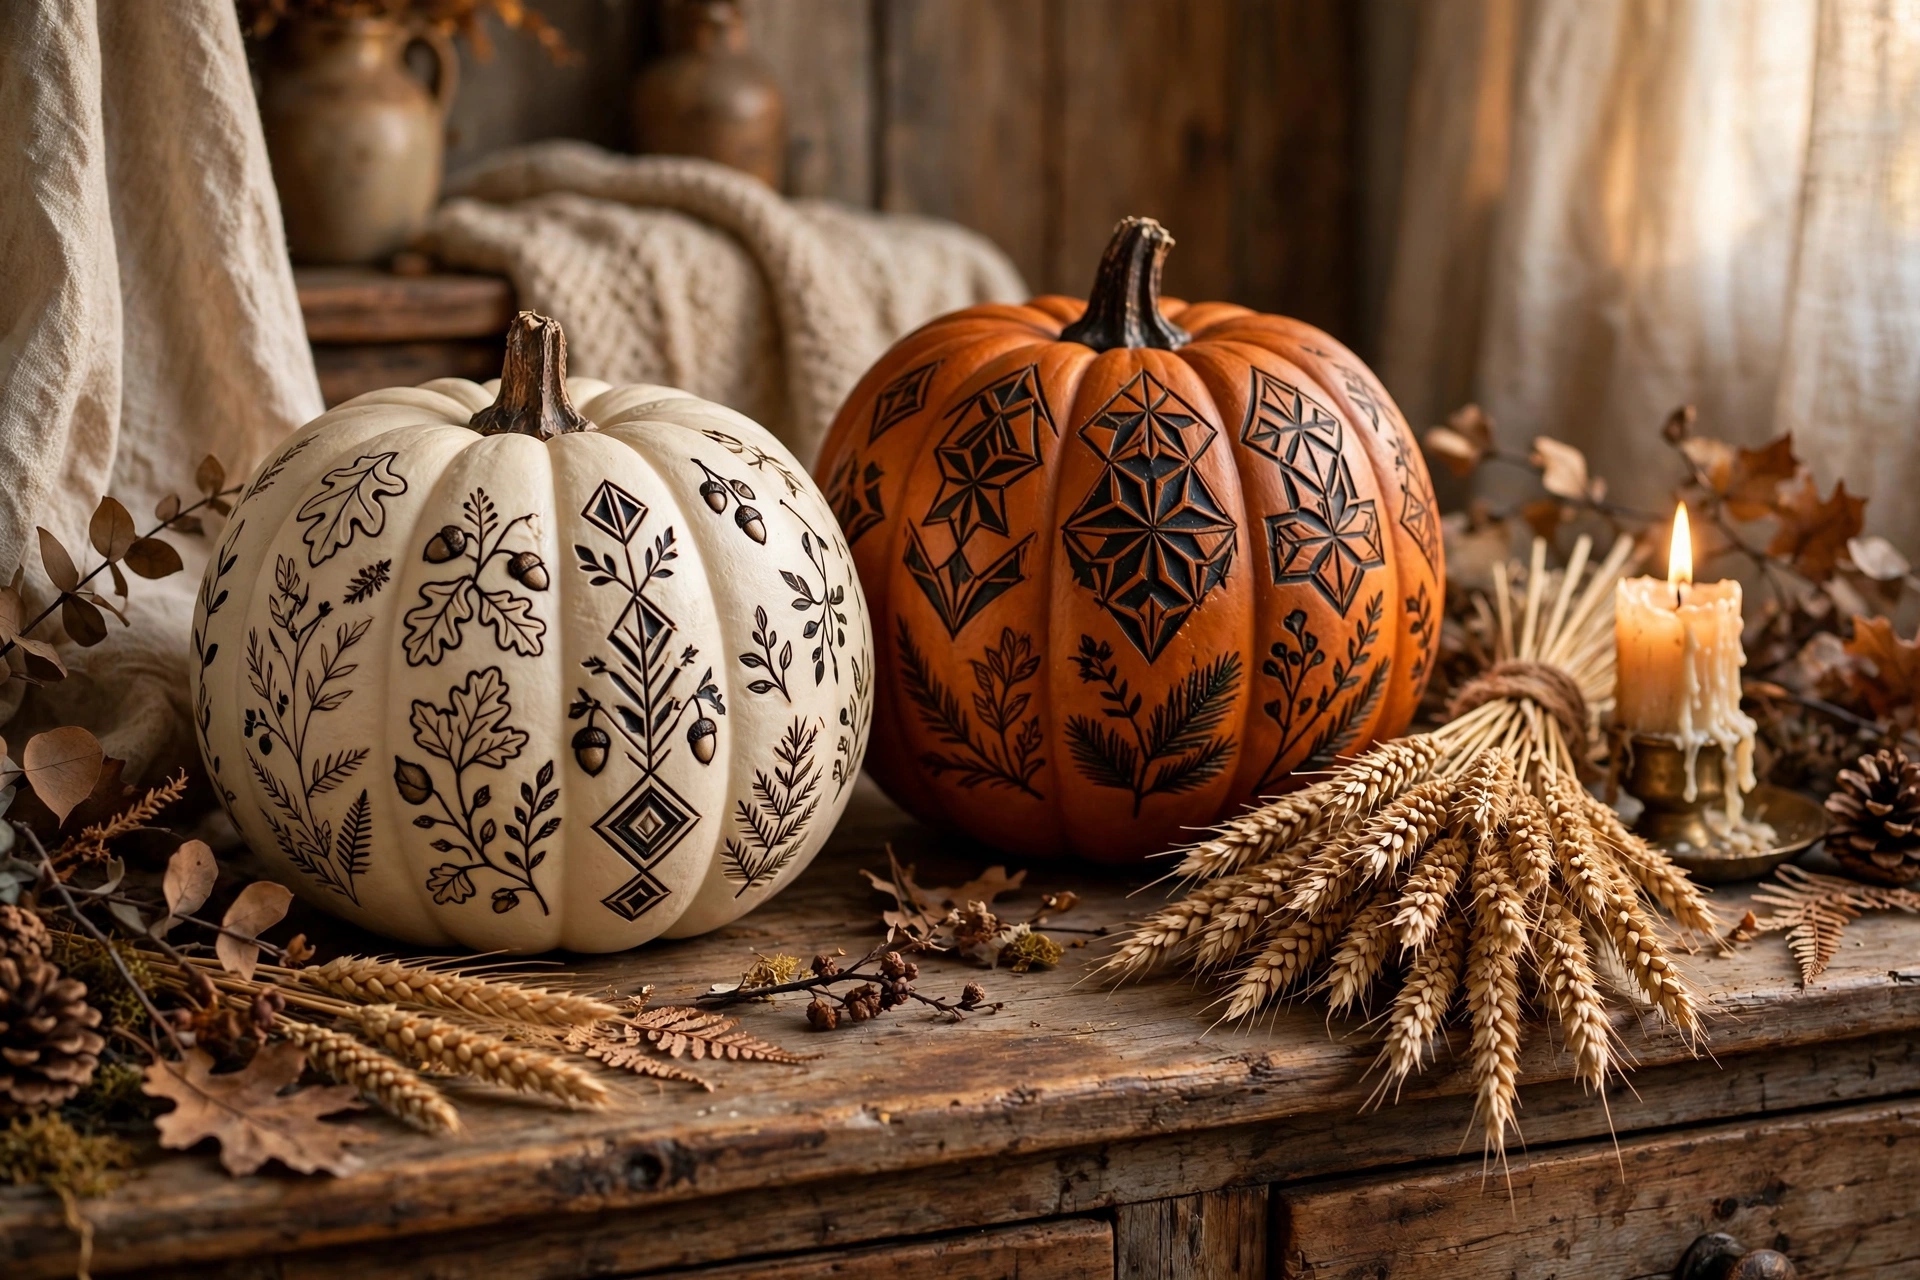
18. No-carve etched pumpkins
Use a linoleum cutter or craft knife to etch shallow patterns into a faux pumpkin’s surface without cutting through. Geometric and botanical patterns both work. Rub dark wax into the etched lines to make the design pop.
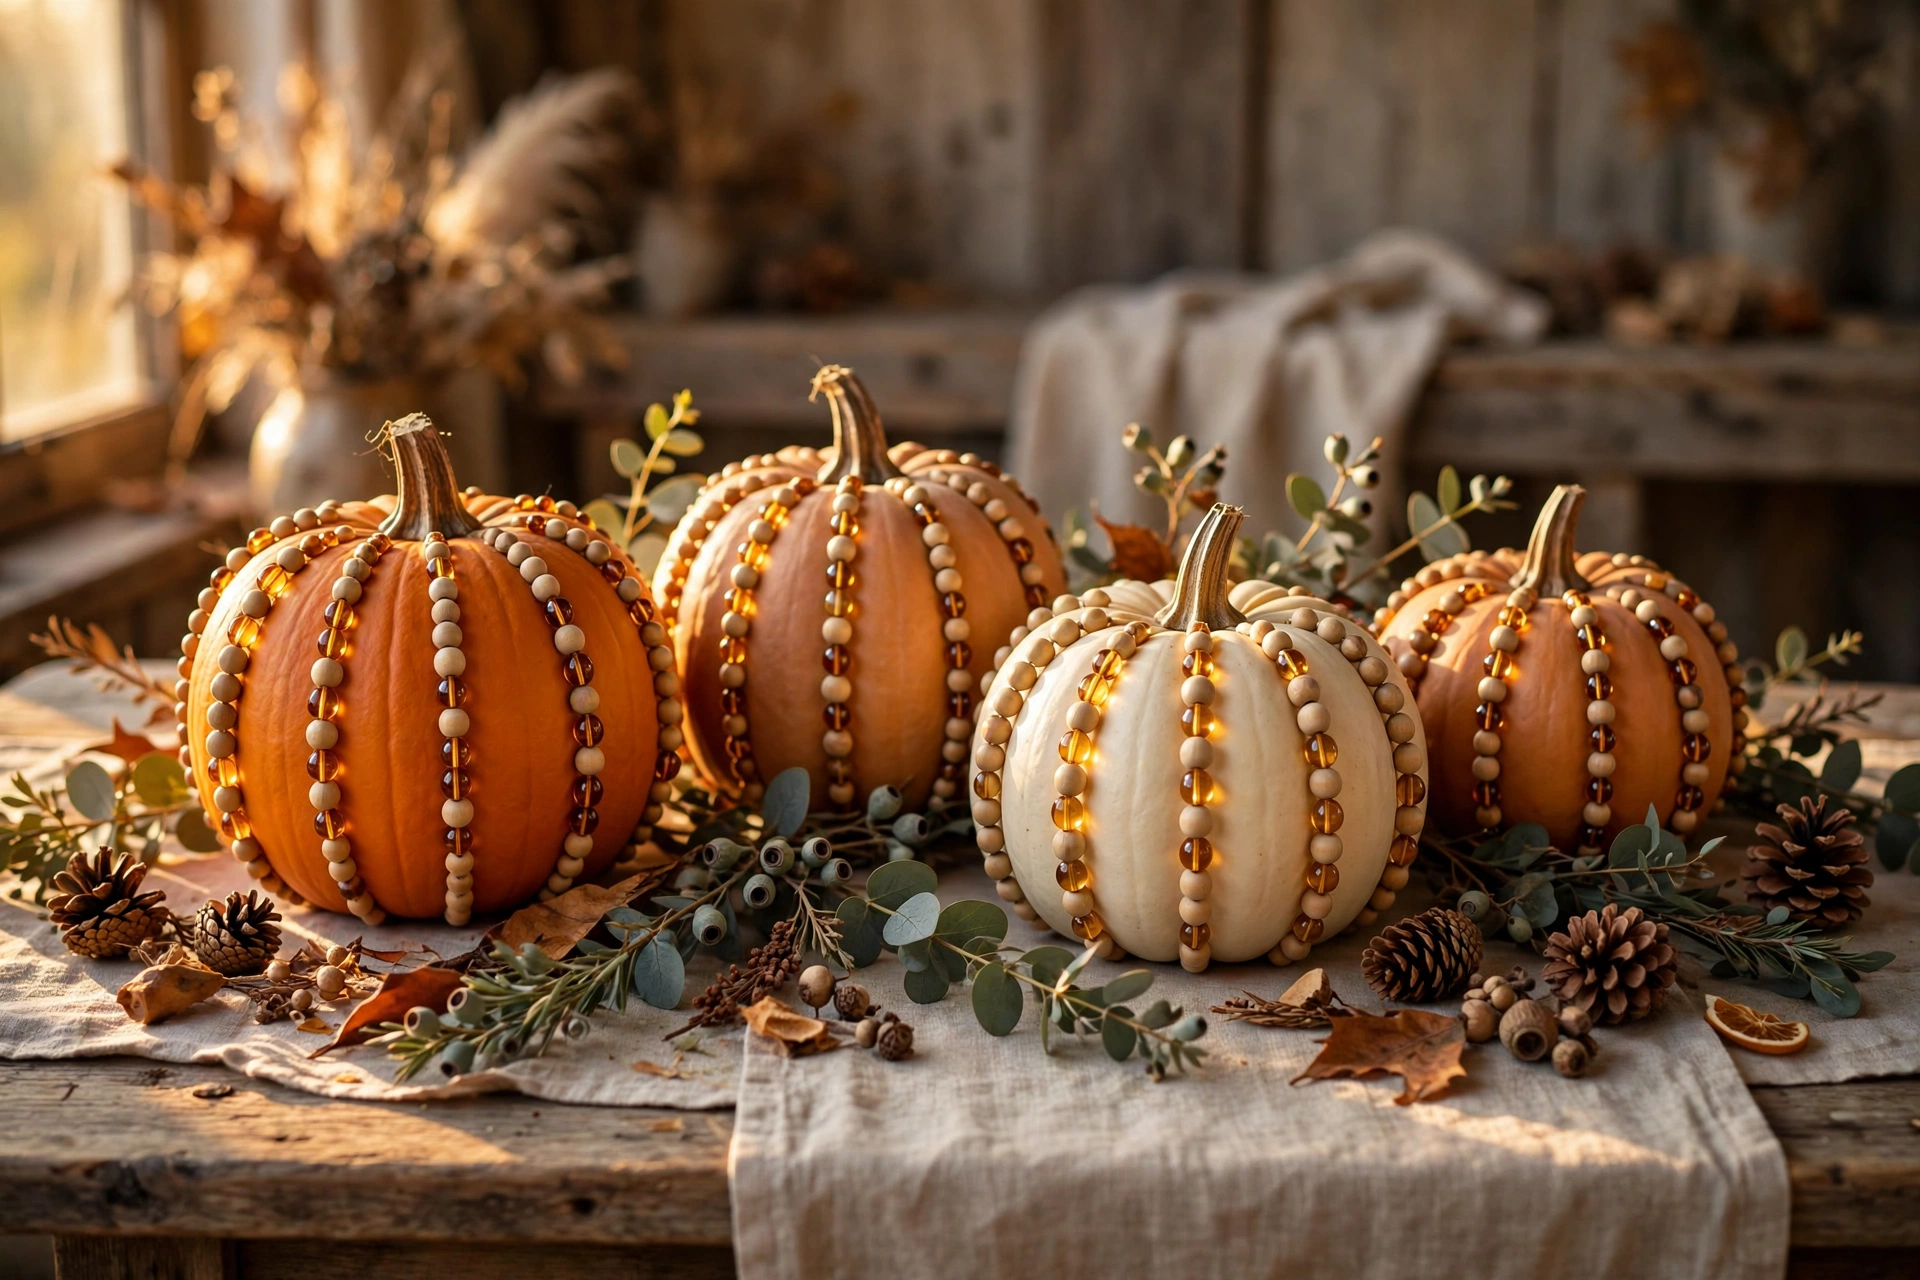
19. Beaded pumpkins
Glue strands of wooden or glass beads in vertical lines following the pumpkin’s ribs. Start at the stem and work down for even spacing. A $4 bag of wooden beads covers one medium pumpkin in about an hour of relaxing, repetitive work.
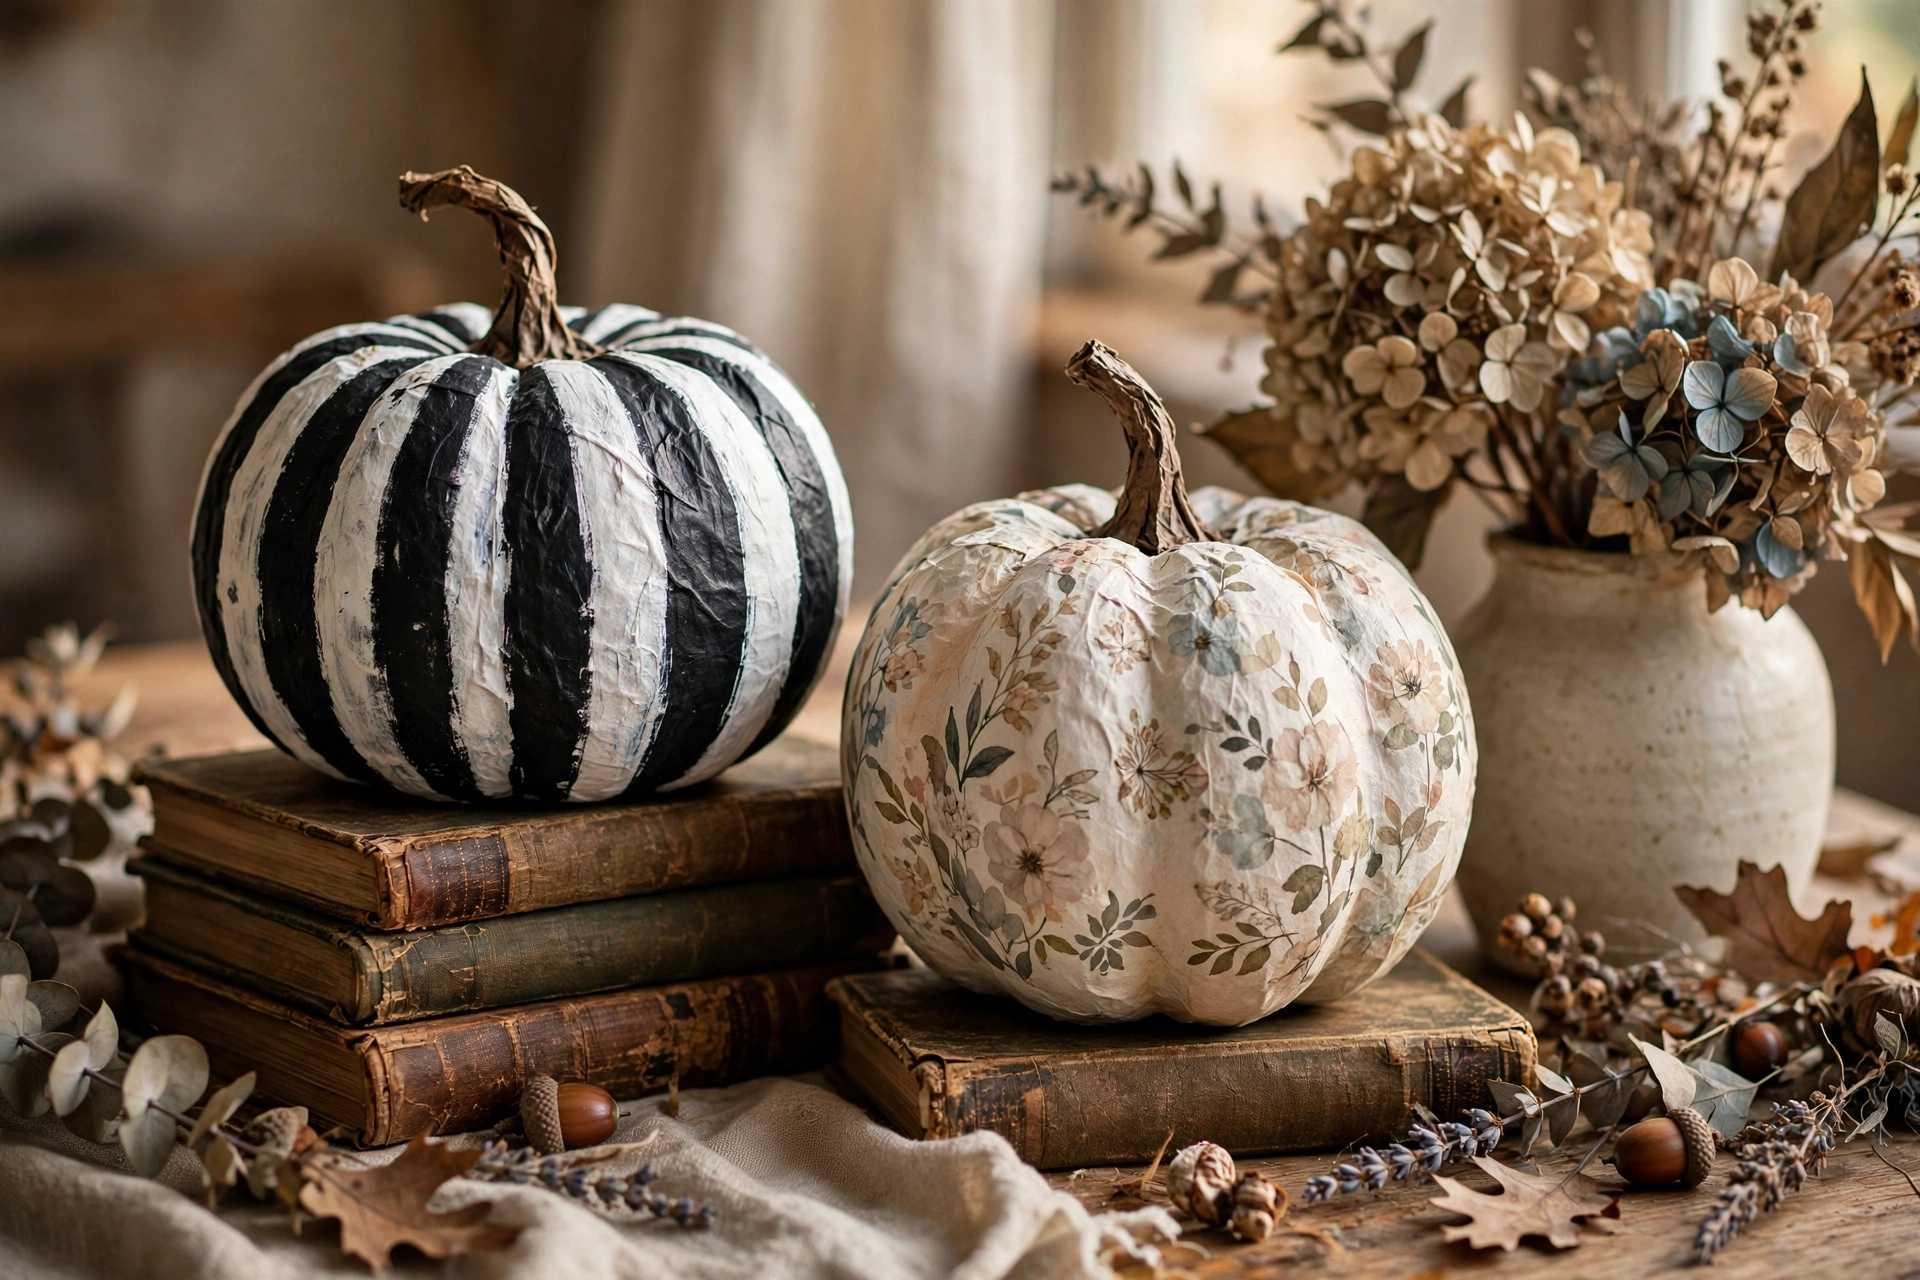
20. Papier-mâché designer pumpkins
Build a pumpkin form from a balloon and newspaper strips, then paint in a designer pattern — try black and white stripes or muted florals. The handmade shape has an organic charm that foam pumpkins lack. Allow two days for drying between layers.
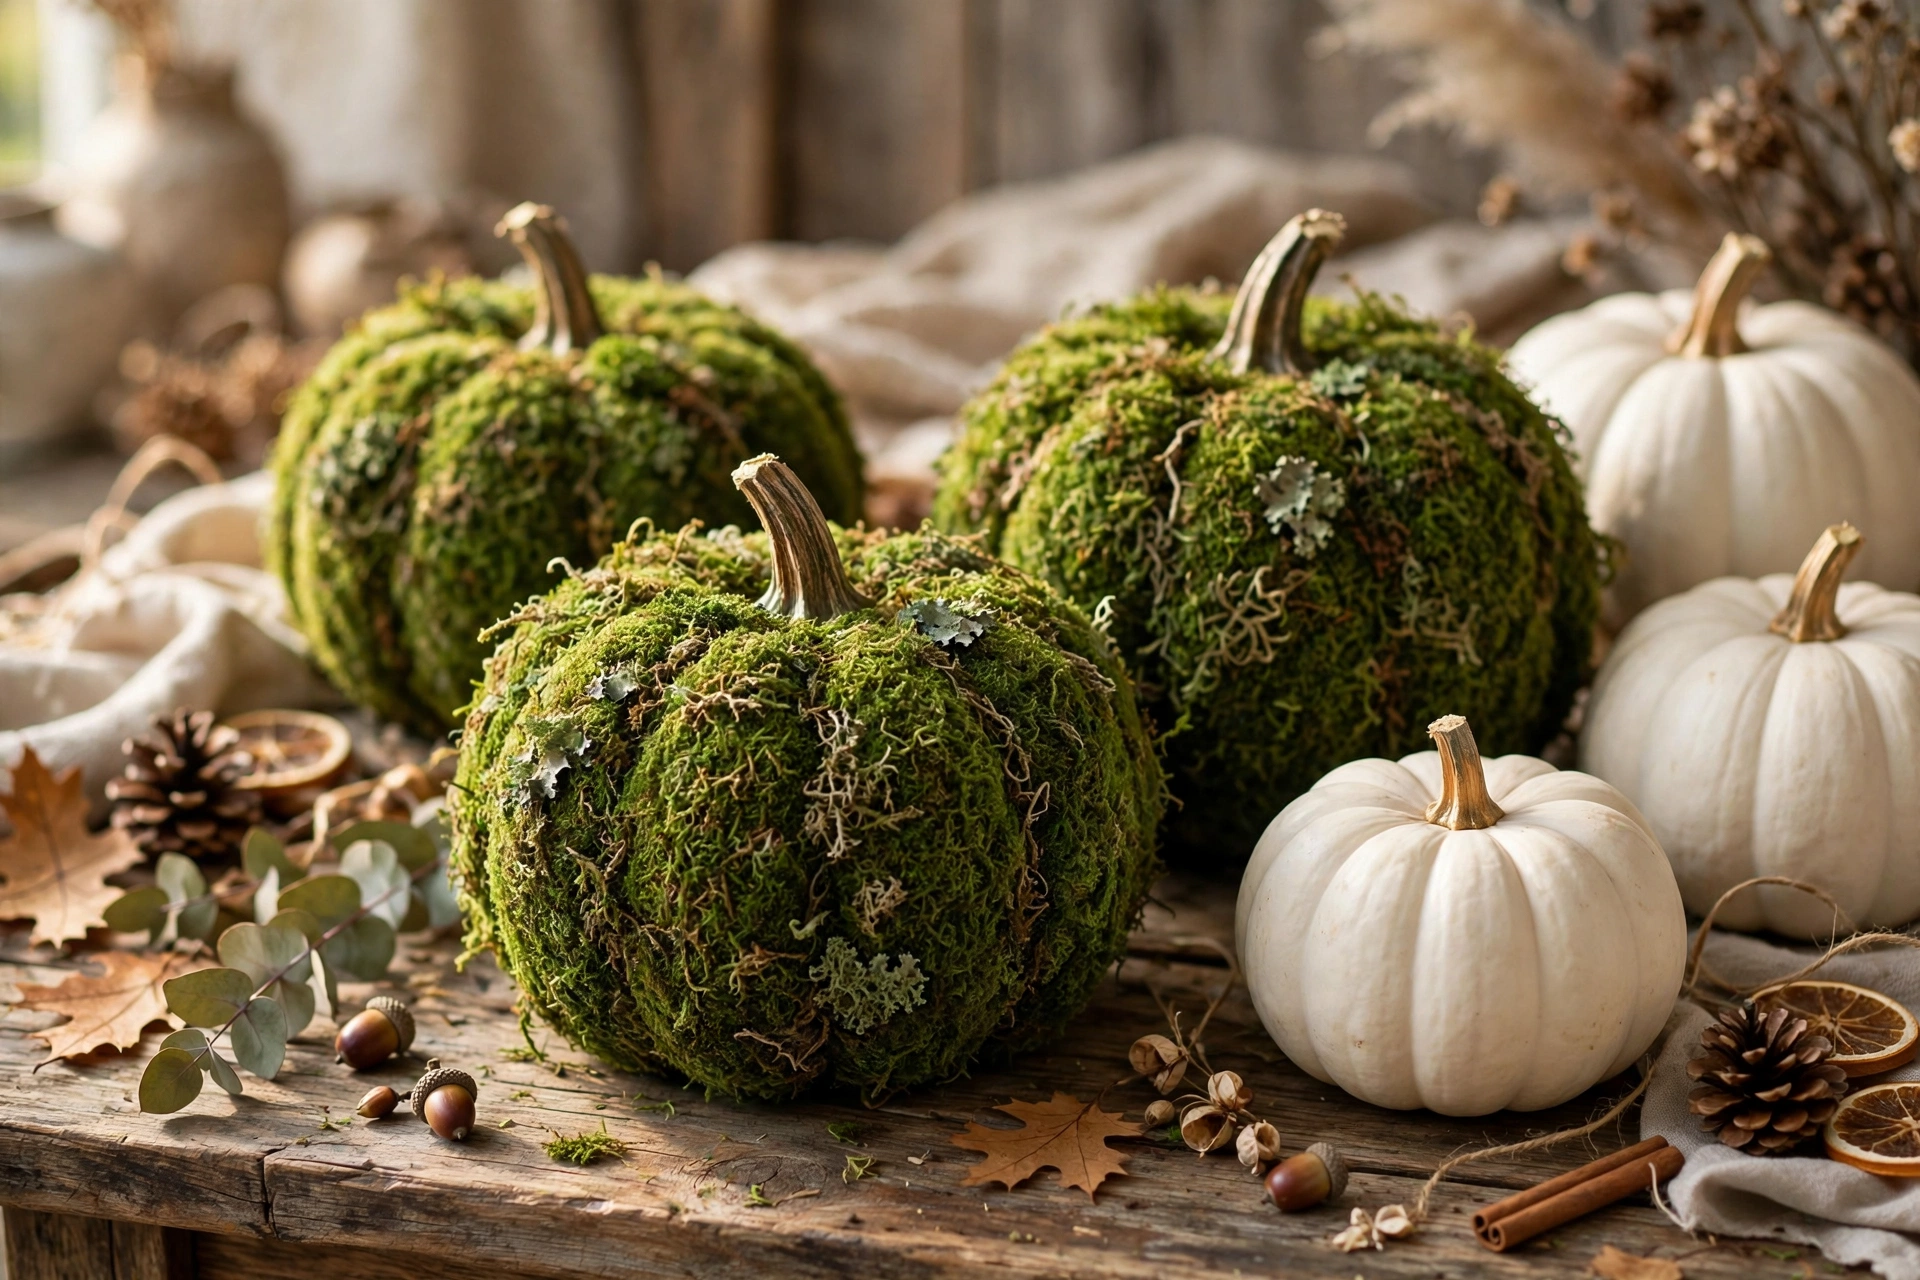
21. Moss-covered pumpkins
Coat a foam pumpkin with craft glue and press on preserved sheet moss, working in small sections. The lush green texture is unexpected for fall and gorgeous with white pumpkins nearby. A $6 bag of moss covers two medium pumpkins.
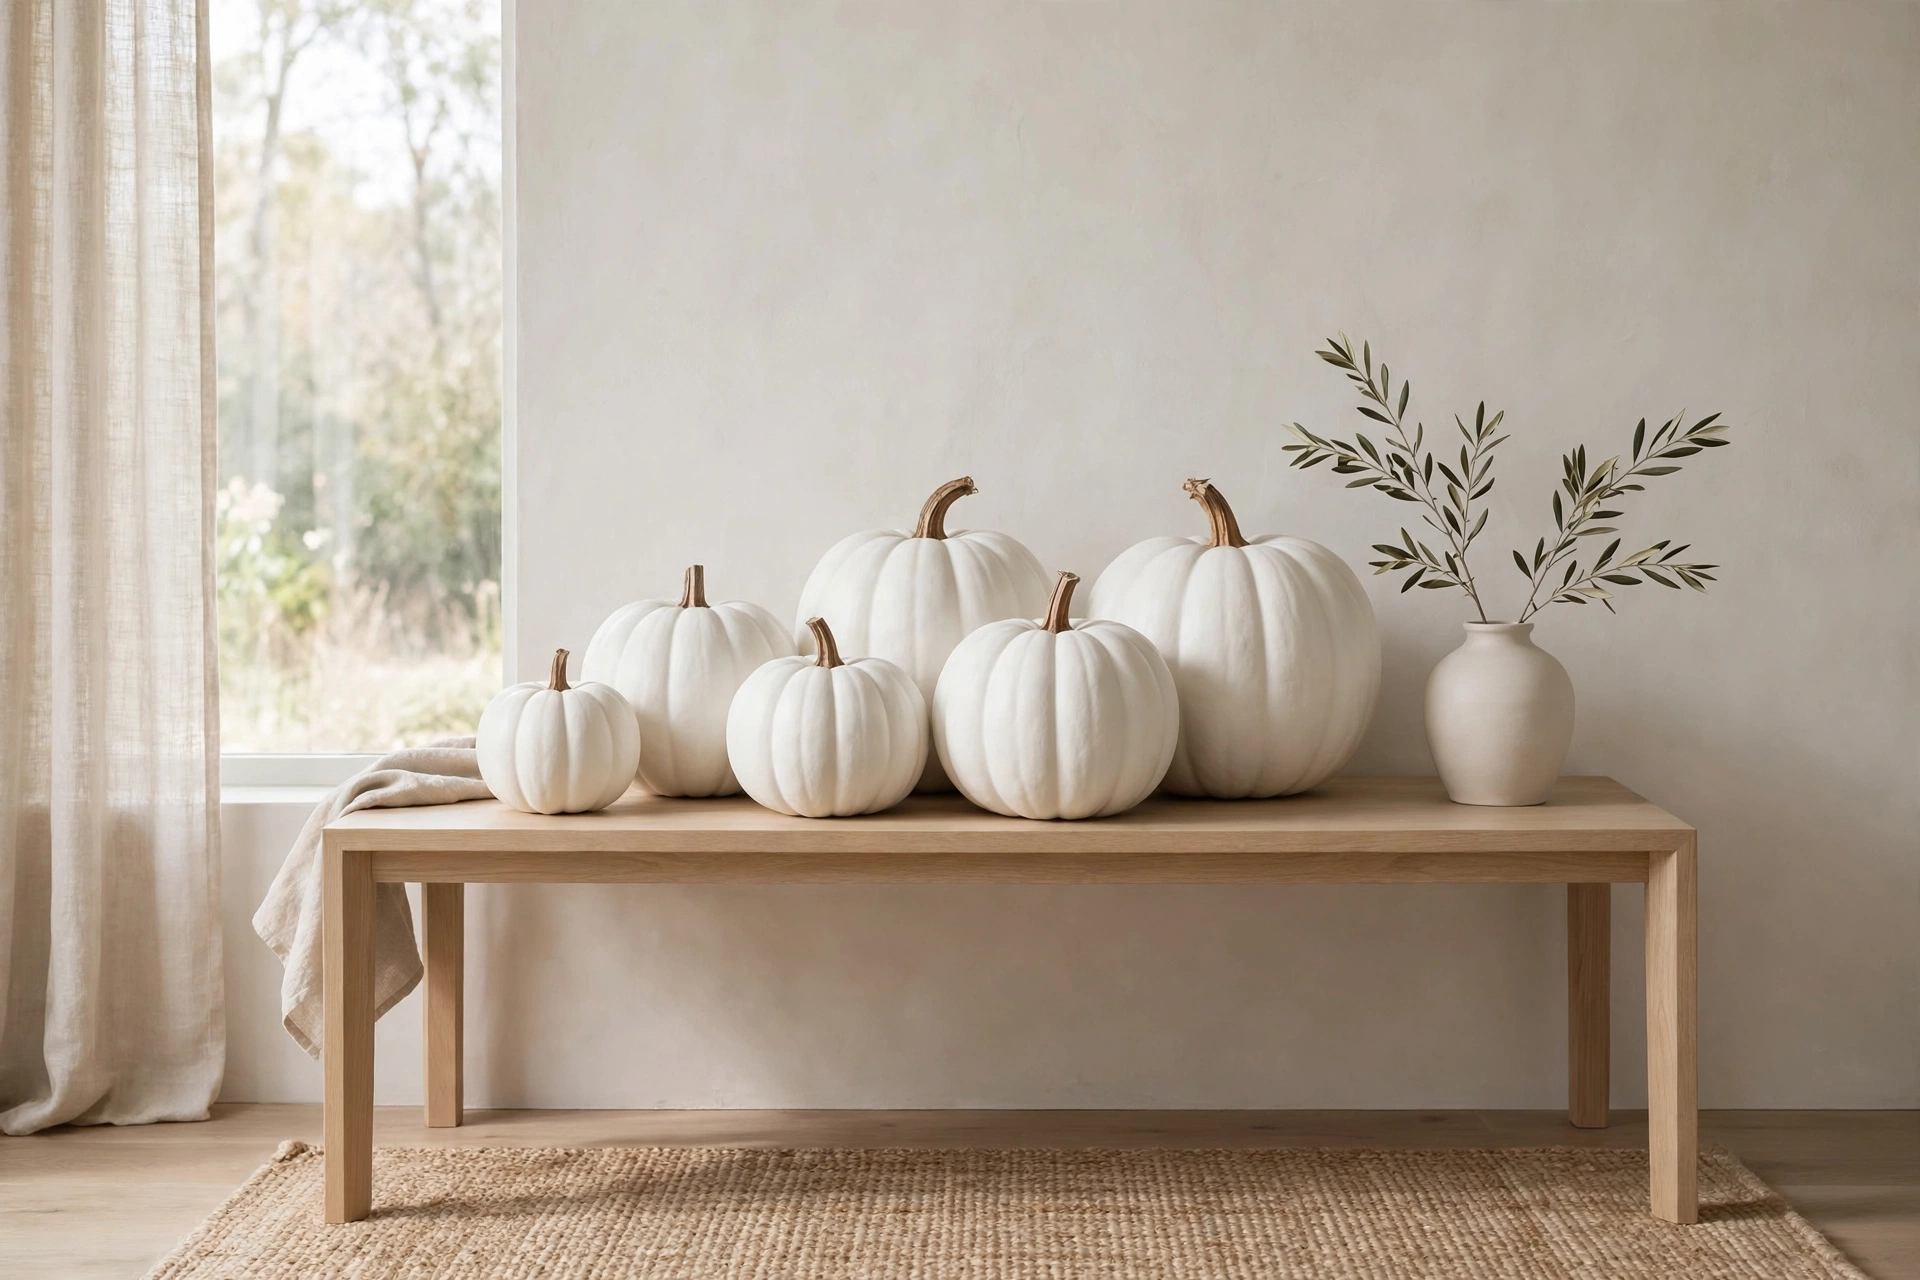
22. Sculptural white pumpkins
Group five to seven plain white pumpkins of graduated sizes with no embellishment at all. The restraint is the design — this minimalist cluster looks like a gallery installation on a console table. Sometimes the most expensive-looking decor is the simplest.
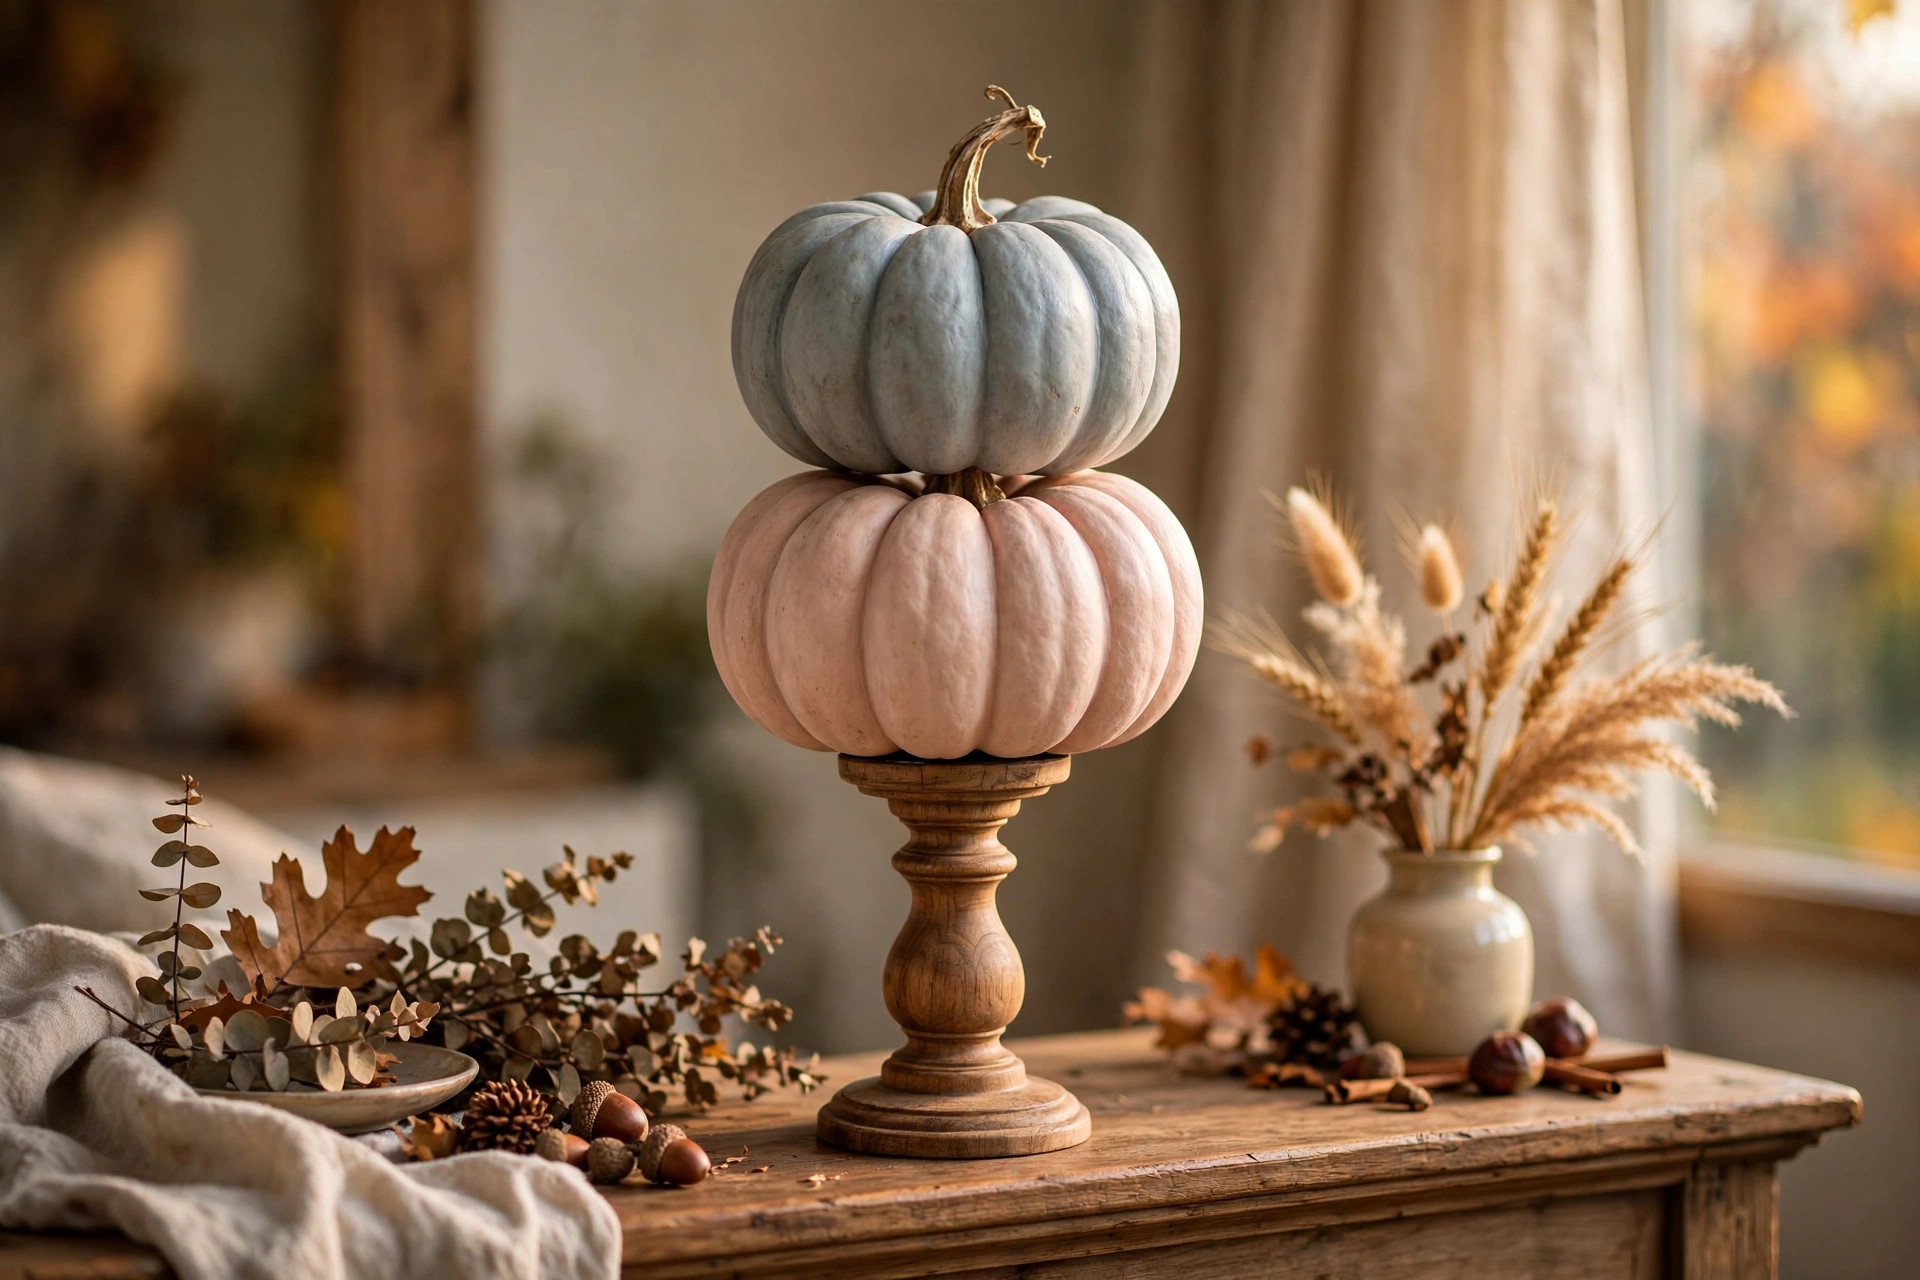
23. Heirloom-style stacked pumpkins
Stack two faux pumpkins in muted heirloom colors (pale blue-gray, blush) on a turned-wood candlestick for height. The vertical composition draws the eye and fills empty shelf space elegantly. Thrifted candlesticks keep this project under $10.
Quick Crafting Tips
- Start with quality foam pumpkins. Denser foam holds paint better and carves cleaner; the cheapest ones can crumble under texture techniques.
- Test finishes first. Try every new paint or texture on the pumpkin’s bottom before committing to the visible sides.
- Seal everything. A matte or gloss clear coat (matched to your finish) protects your work and deepens the color.
- Light them from within. A $2 battery tea light turns any hollow or glass pumpkin into evening decor that looks triple the price.
- Buy finishes, not pumpkins. One can of specialty spray paint transforms pumpkins you already own — the finish is what sells the look.
- Photograph in natural light. If you are making these to sell or share, shoot near a window; metallic and glass finishes need soft daylight to read correctly.
- Store carefully. Wrap finished pumpkins in tissue and keep them in rigid bins so delicate finishes survive until next fall.
Frequently Asked Questions
Which faux pumpkins look the most realistic?
Denser foam pumpkins with molded ribbing and matte finishes look best. Avoid shiny plastic ones — paint adheres poorly and they read as cheap even after crafting.
How do I make painted pumpkins look less “crafty”?
Stick to a limited palette of two or three sophisticated colors, use matte or satin finishes instead of gloss (unless going for ceramic), and add realistic details like proper stems.
Will these techniques work on real pumpkins?
Most paint and wrap techniques work on real pumpkins, but texture sprays and anything requiring carving into foam do not. Real pumpkins also have a shorter display life.
Where do I find cheap supplies for these projects?
Thrift stores (sweaters, belts, candlesticks), dollar stores (paint, ribbon, faux leaves), and end-of-season craft store clearance (foam pumpkins up to 70 percent off) are the holy trinity of budget crafting.
The difference between crafty and classy is usually just restraint — a sophisticated color palette and one beautiful texture. Pick the finish that matches your home, and enjoy the compliments when guests assume you bought them at a boutique.