
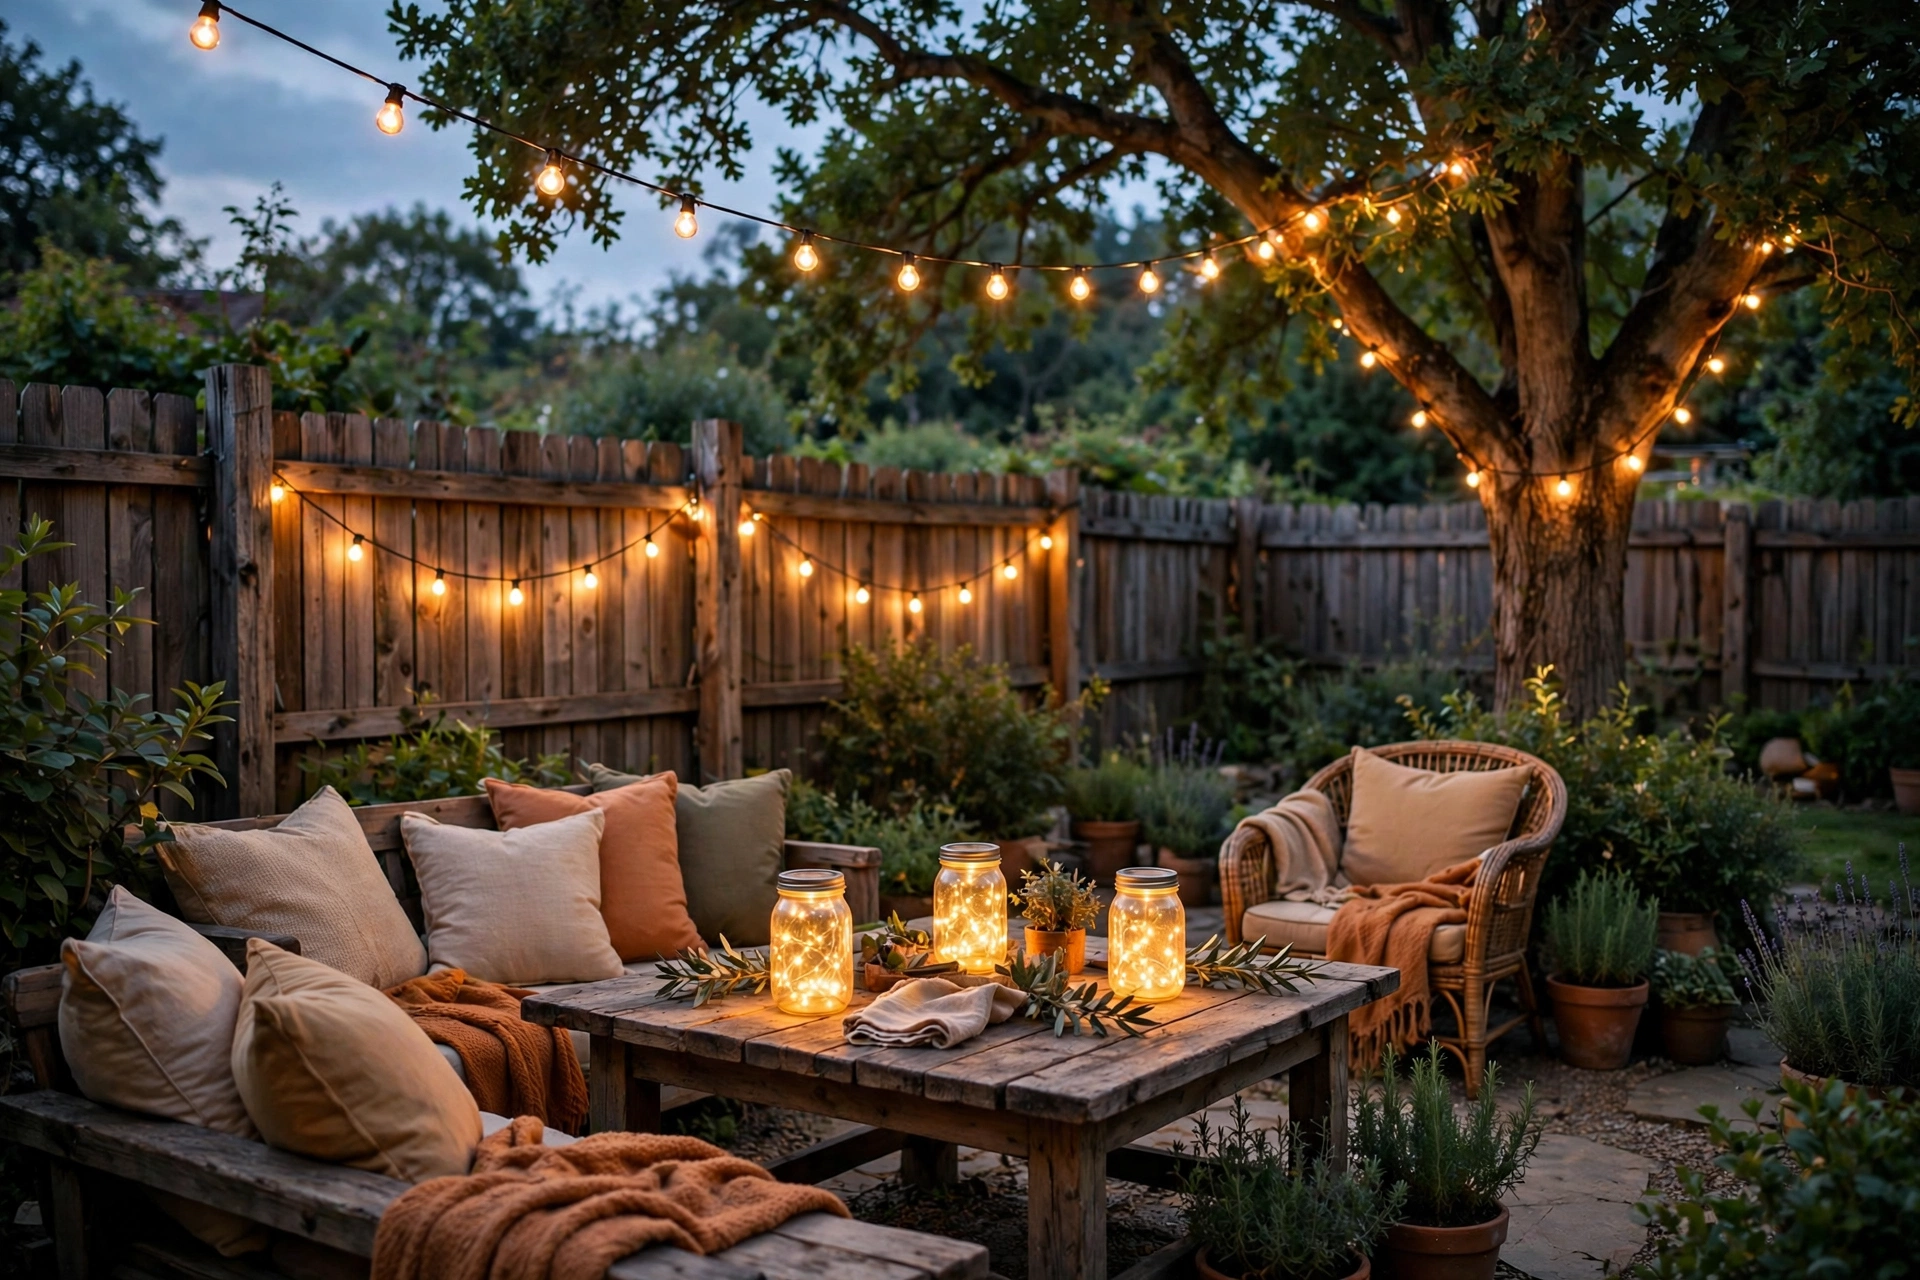
Here is a secret landscape designers know: the most expensive-looking backyard lighting is often the cheapest to install. A few strands of well-chosen backyard string lights, hung with intention, can make a modest yard look like a boutique hotel terrace. The difference between “cheap” and “chic” is never the price tag, it is the plan.
Expensive-looking light has a few hallmarks: warm color, even spacing, deliberate patterns, and layers at different heights. Every idea below delivers those qualities on a DIY budget, with honest notes on what to buy and how to hang it.
1. Cafe Light Canopy on Wooden Poles
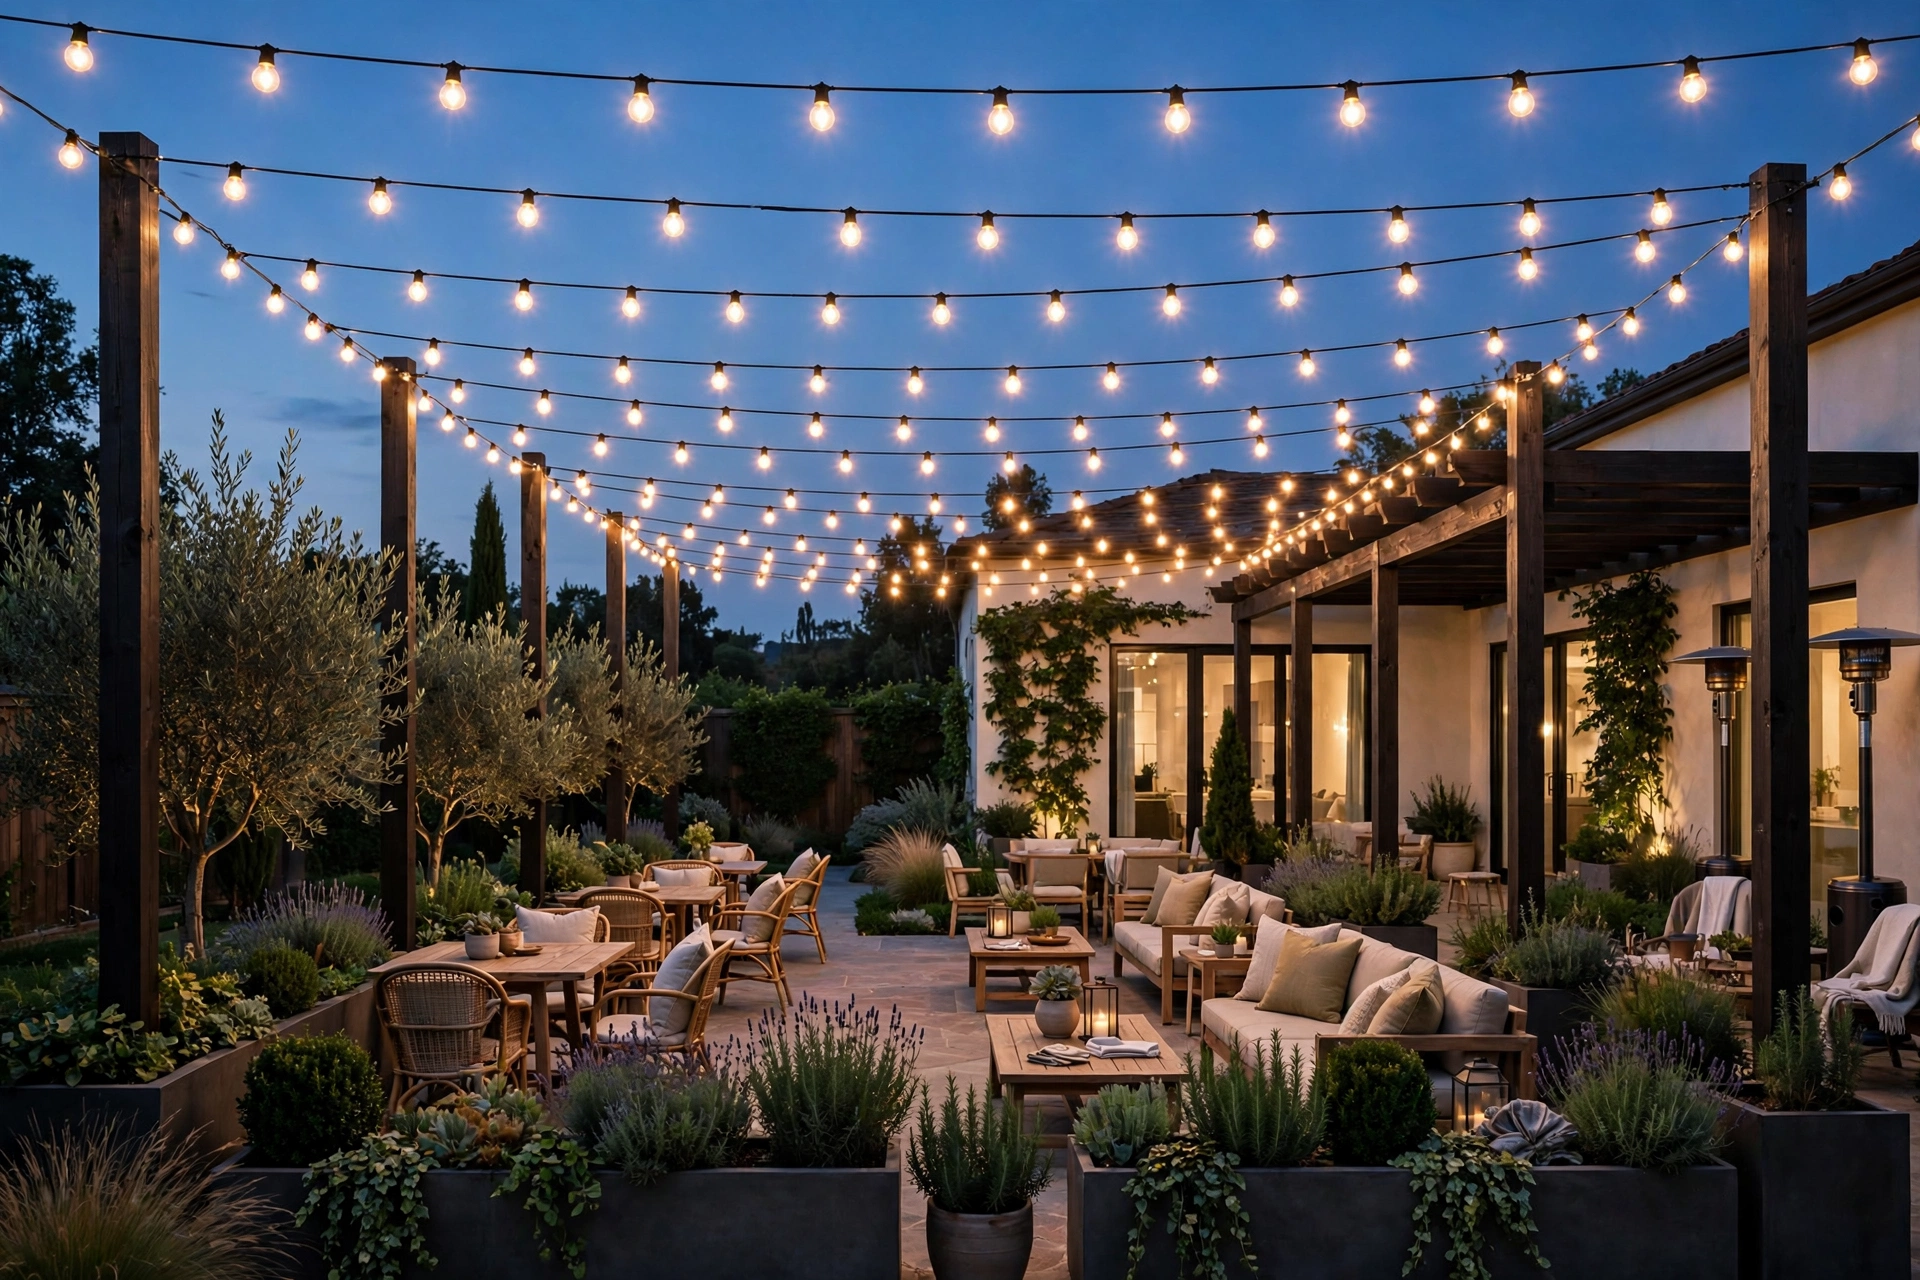
String classic cafe lights between stained wooden posts to create a bistro canopy that looks custom-built. Use 4×4 cedar or pressure-treated posts set in deck footings or half-barrel planters, stain them dark for a high-end look, and run the lights in straight parallel lines. Dark posts plus warm bulbs is the combination that reads as expensive.
2. Mason Jar Chandelier Cluster
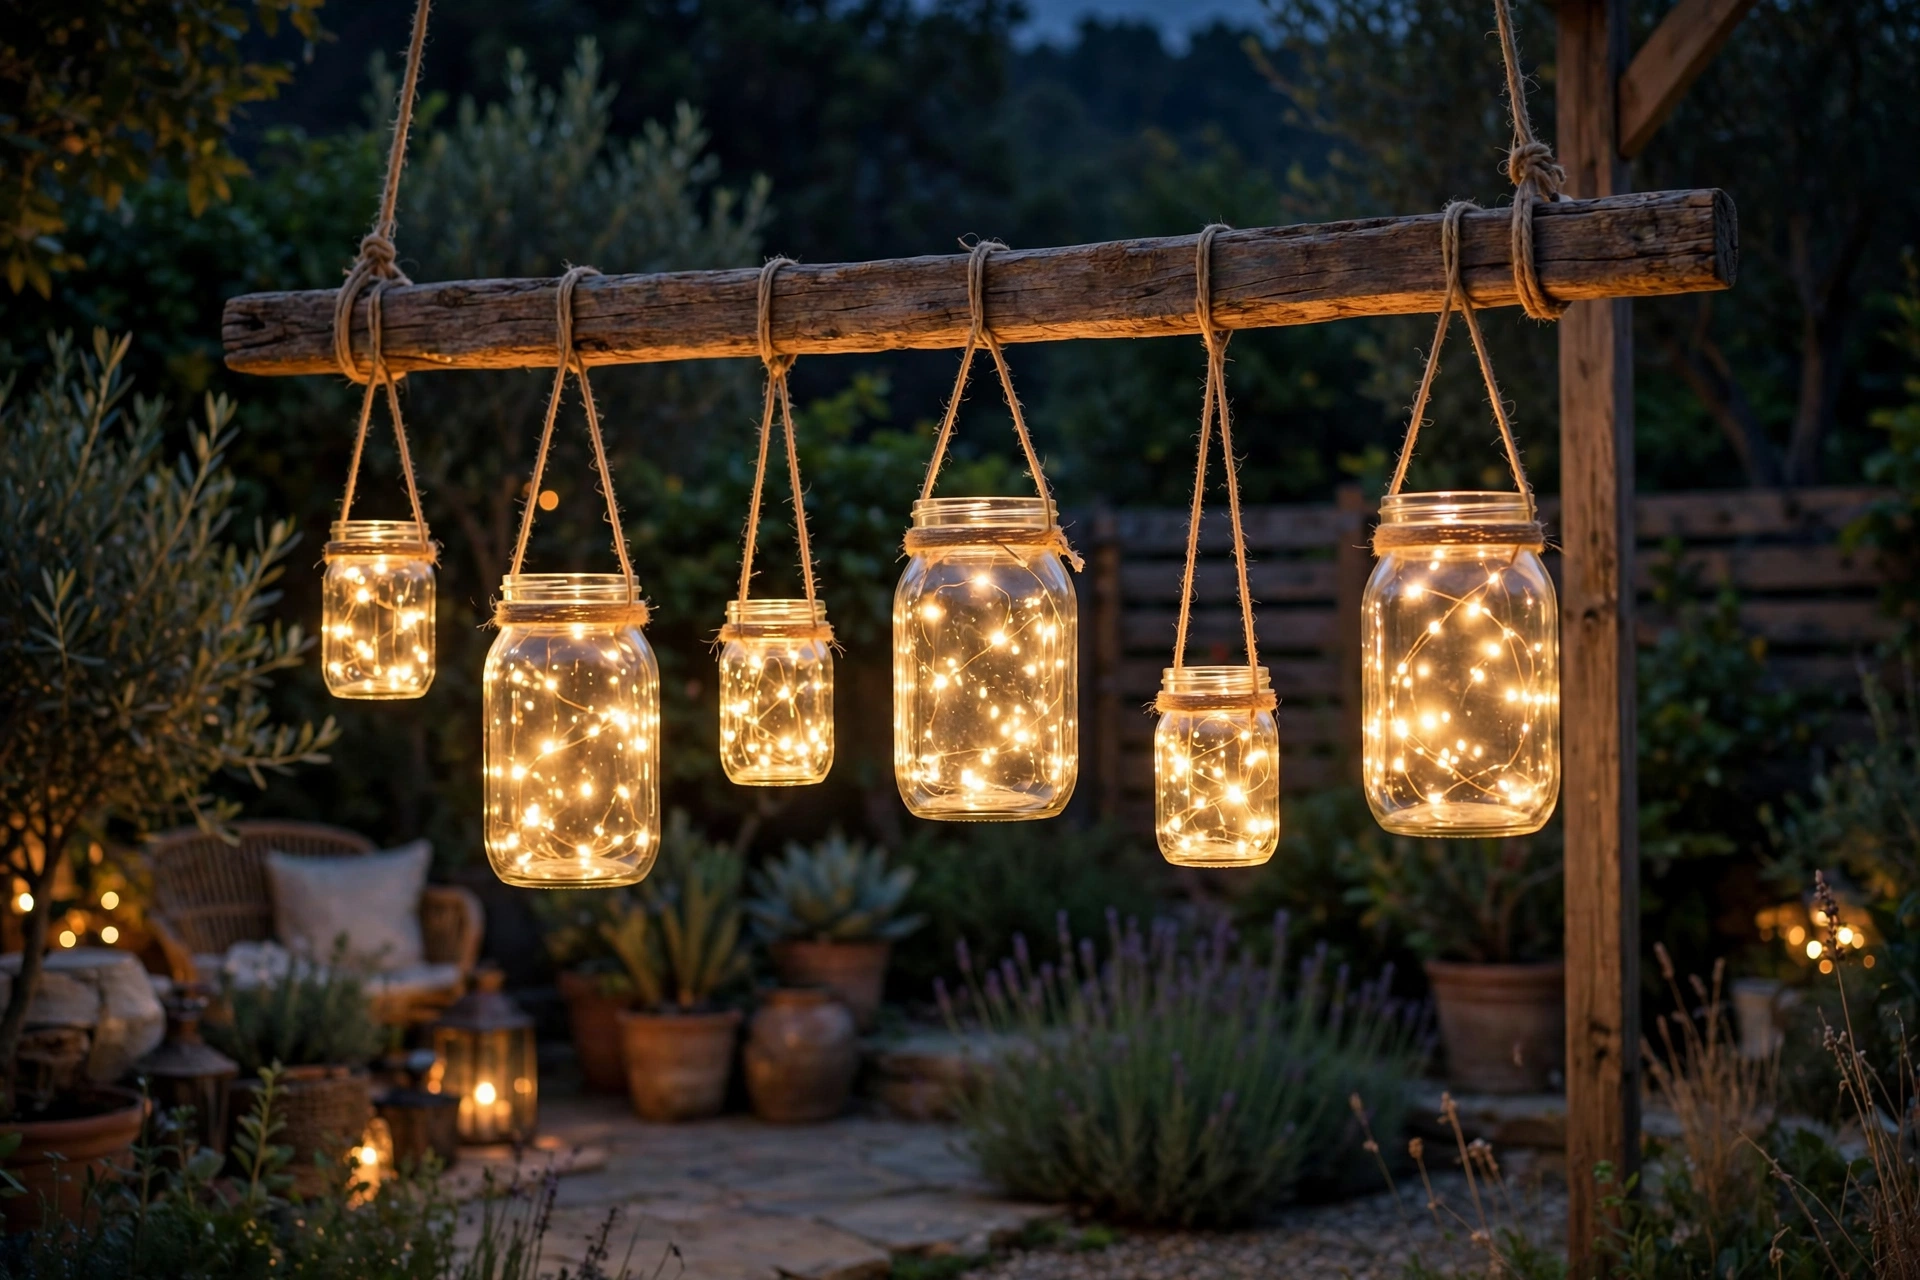
Group 5 to 7 mason jars filled with fairy lights at staggered heights from a single beam or branch to make a rustic chandelier. The cluster reads as a designer fixture but costs a few dollars per jar. Use jars in two sizes for visual interest, hang them with varying lengths of twine between 1 and 2.5 feet, and hide the battery packs inside the largest jar.
3. Draped Swags With Perfect Spacing
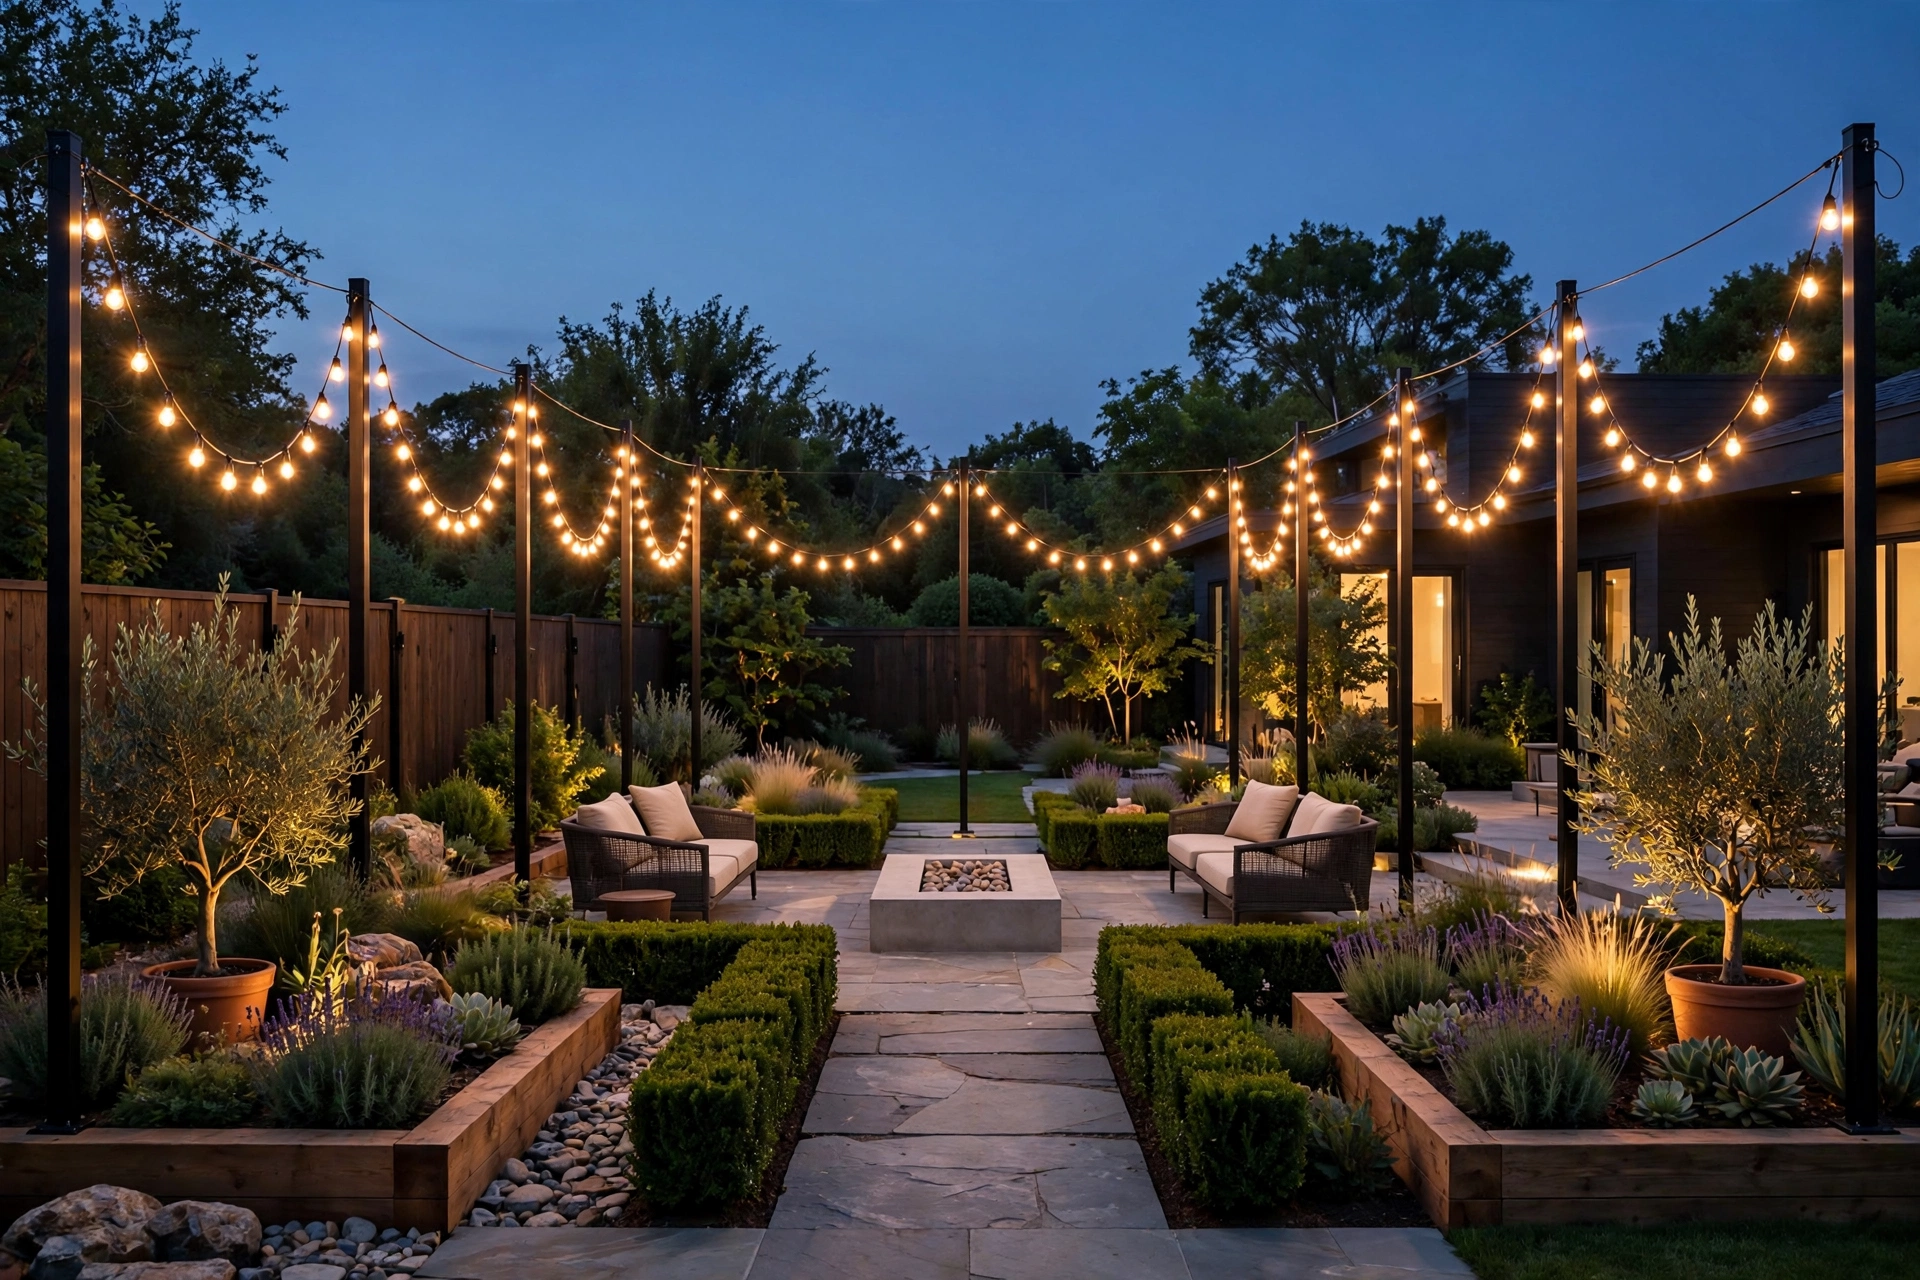
Hang string lights in deep, even swags between anchor points, keeping every swag identical in depth and every attachment point evenly spaced. This symmetry is what separates professional-looking installs from random ones. Mark your attachment points with tape first, aim for swags that dip about one-third of the span length, and step back frequently to check the rhythm.
4. Layered Heights: High Canopy Plus Low Accents
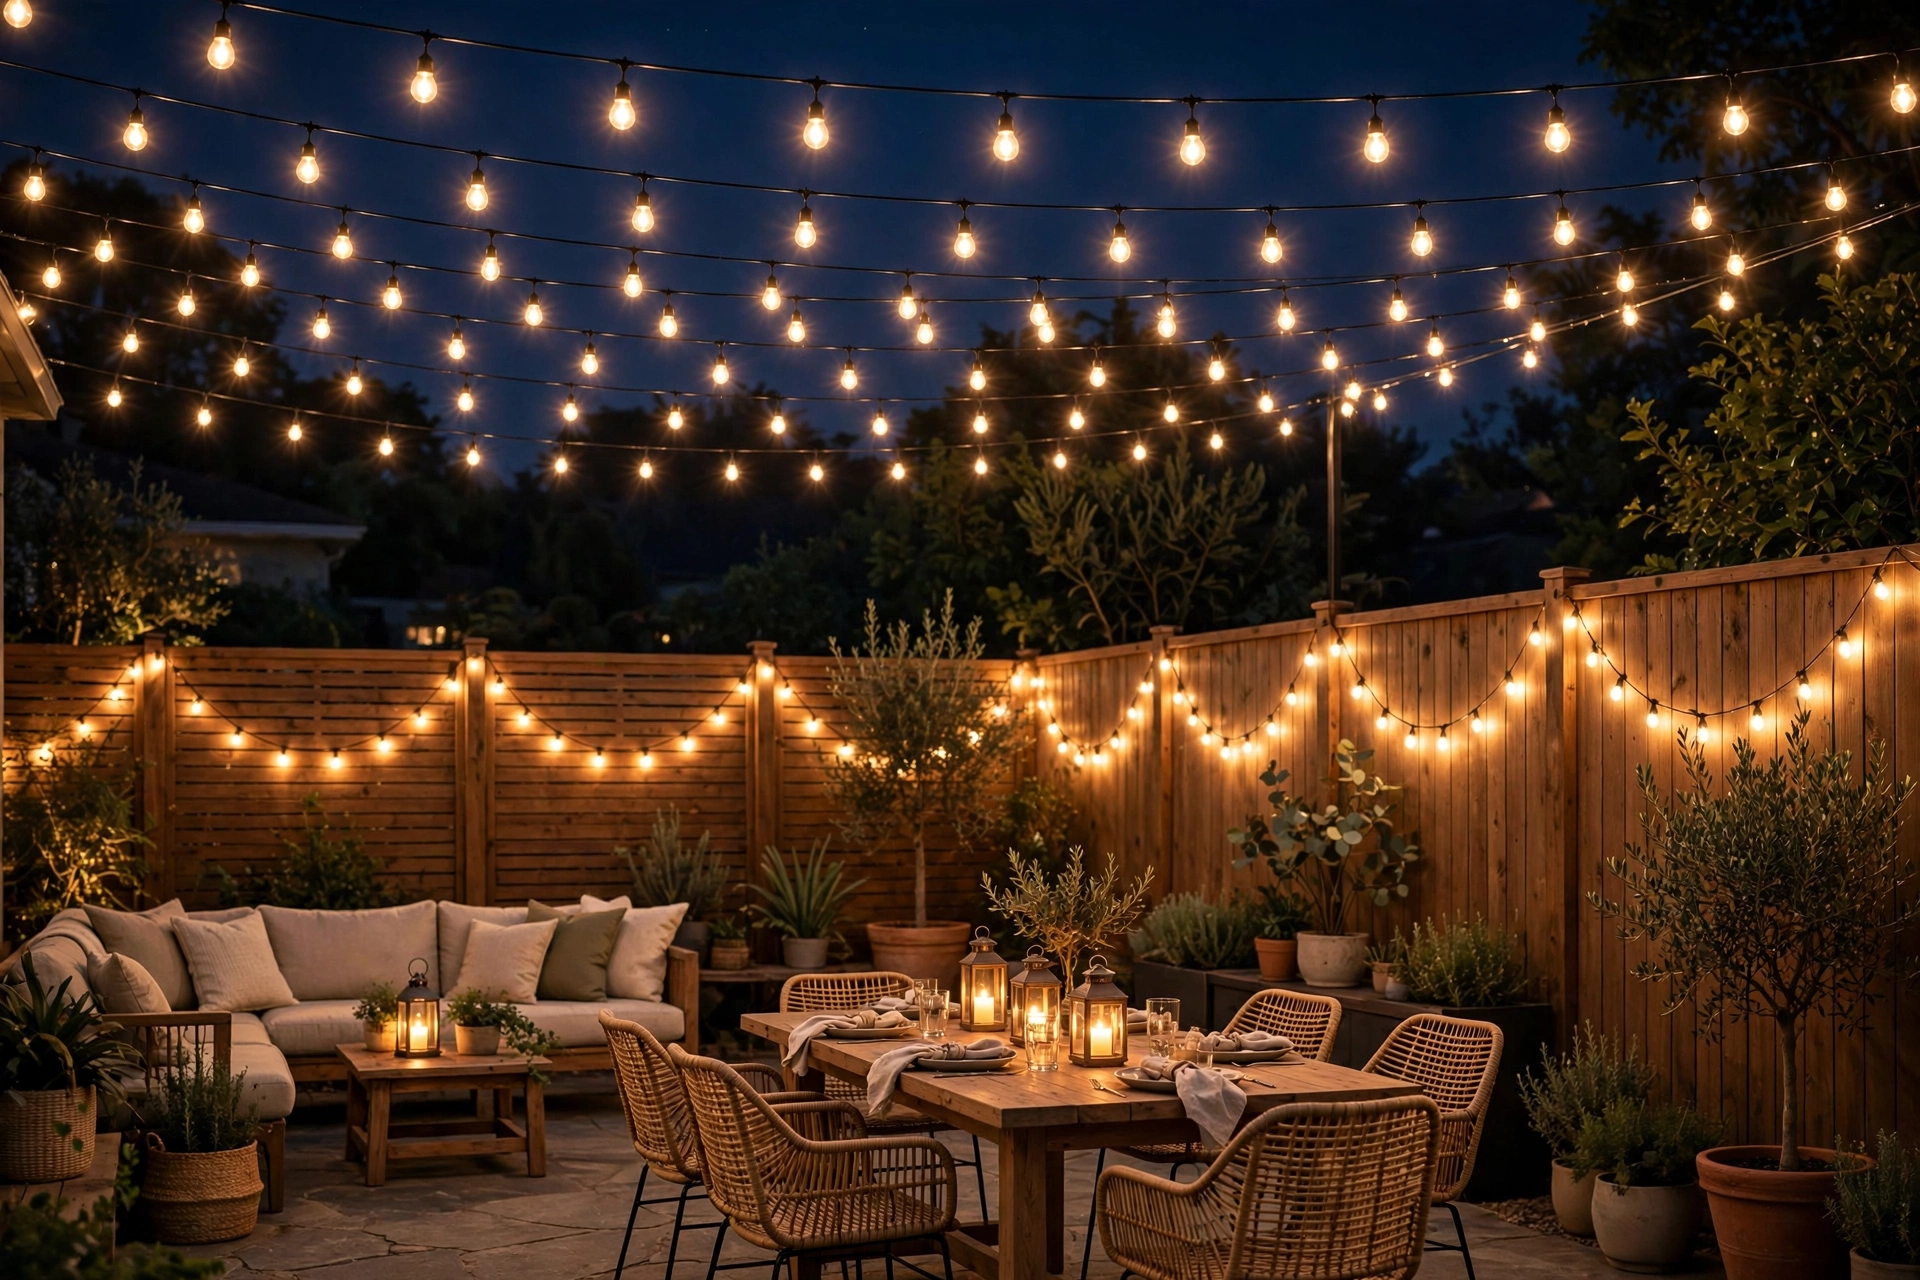
Combine one high overhead run of lights with a second, lower layer, like fence-mounted swags or table-level lanterns. Layered light looks designed because it is; single-height lighting looks flat. Keep at least 3 feet of vertical separation between layers so each one reads distinctly, and use the same warm color temperature throughout.
5. Edison Bulbs on Black Wire
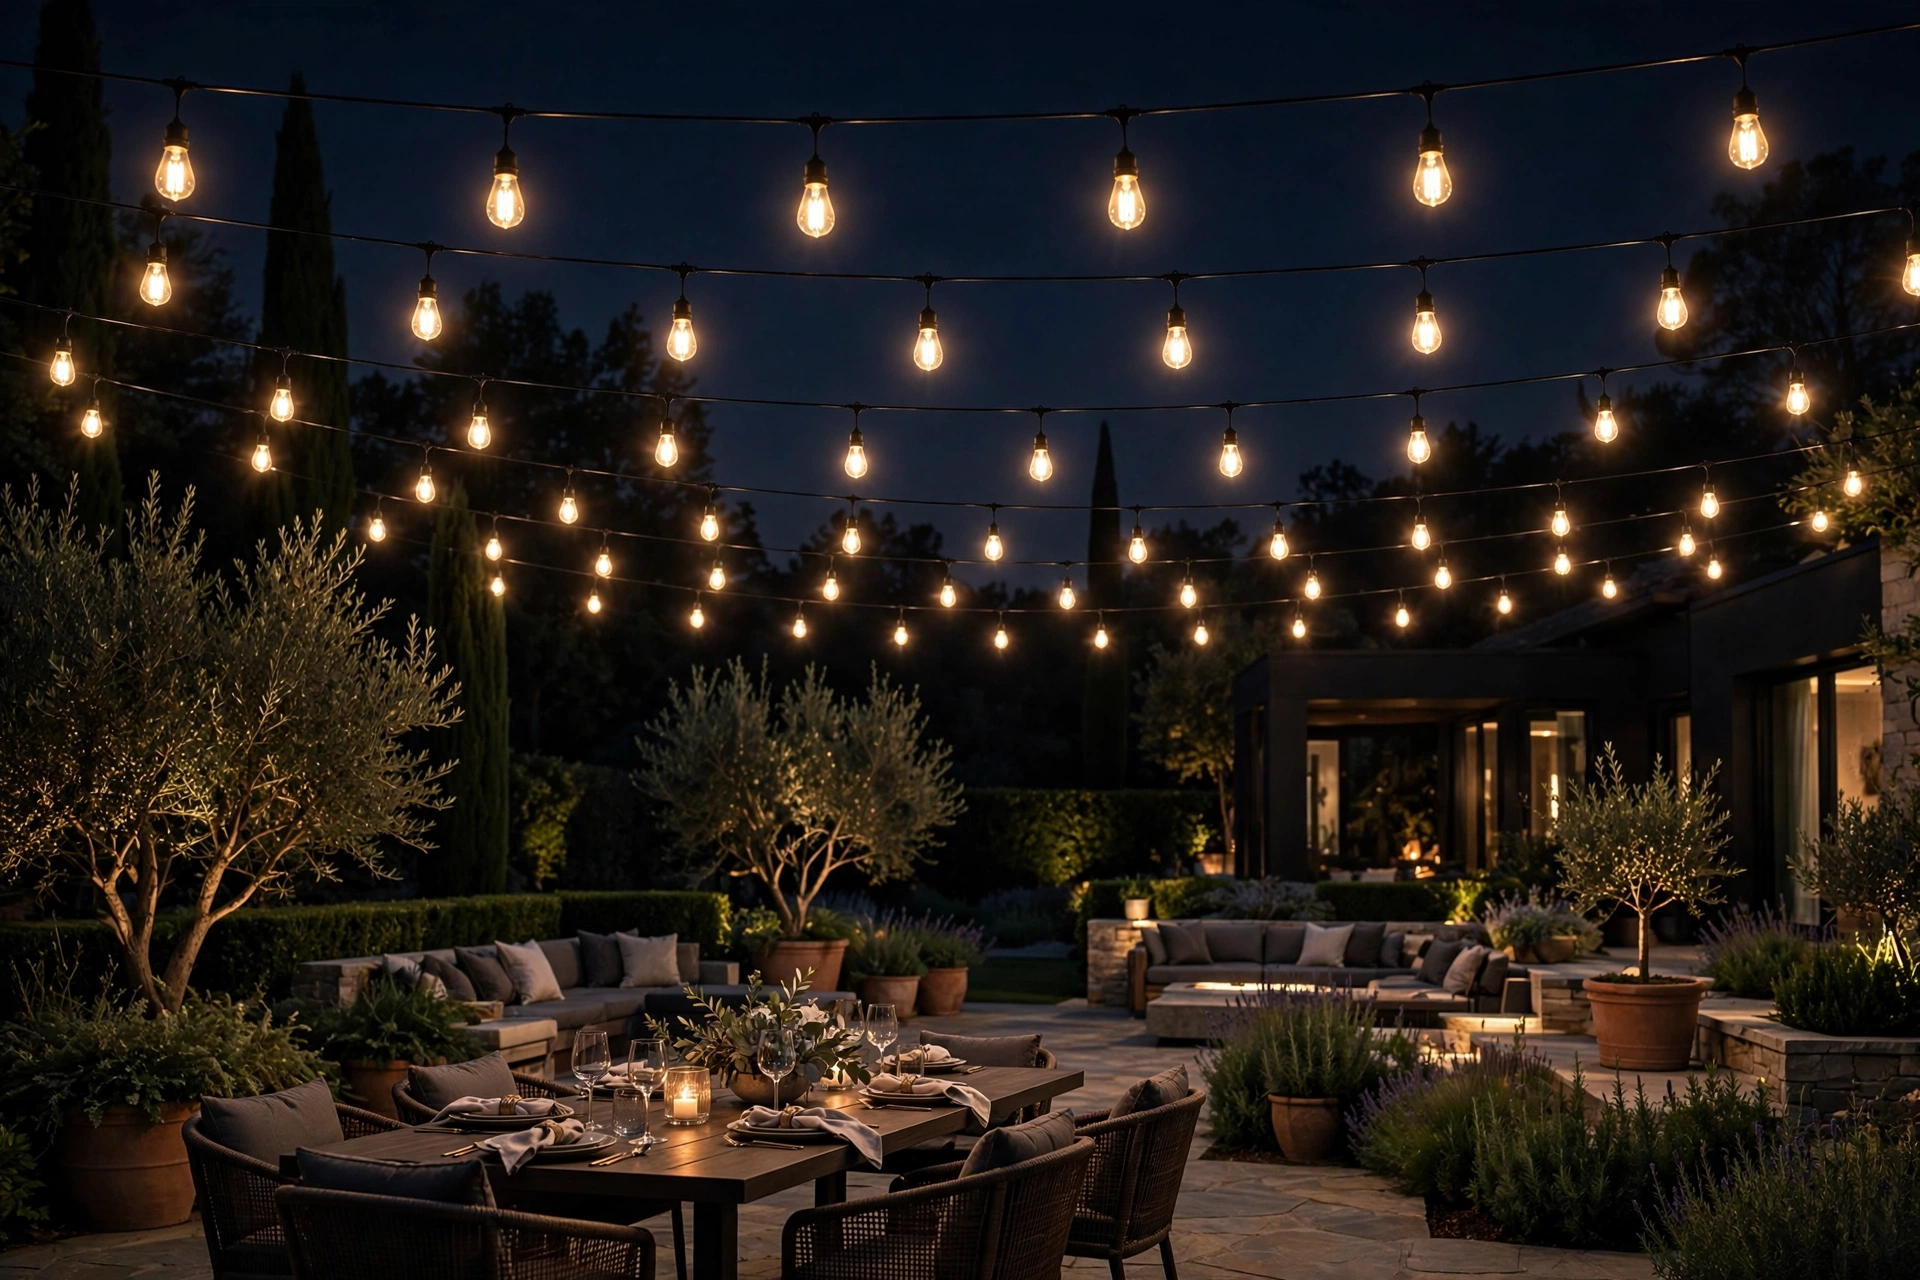
Choose Edison-style LED bulbs on dark wire instead of white wire with mini bulbs. The vintage filament look and the nearly invisible black cord are the two fastest upgrades to perceived quality. Black wire disappears against the night sky, hang the strands with the bulbs facing down, and space them so each glowing filament gets its moment.
6. Paper Lantern Covers Over Bulbs
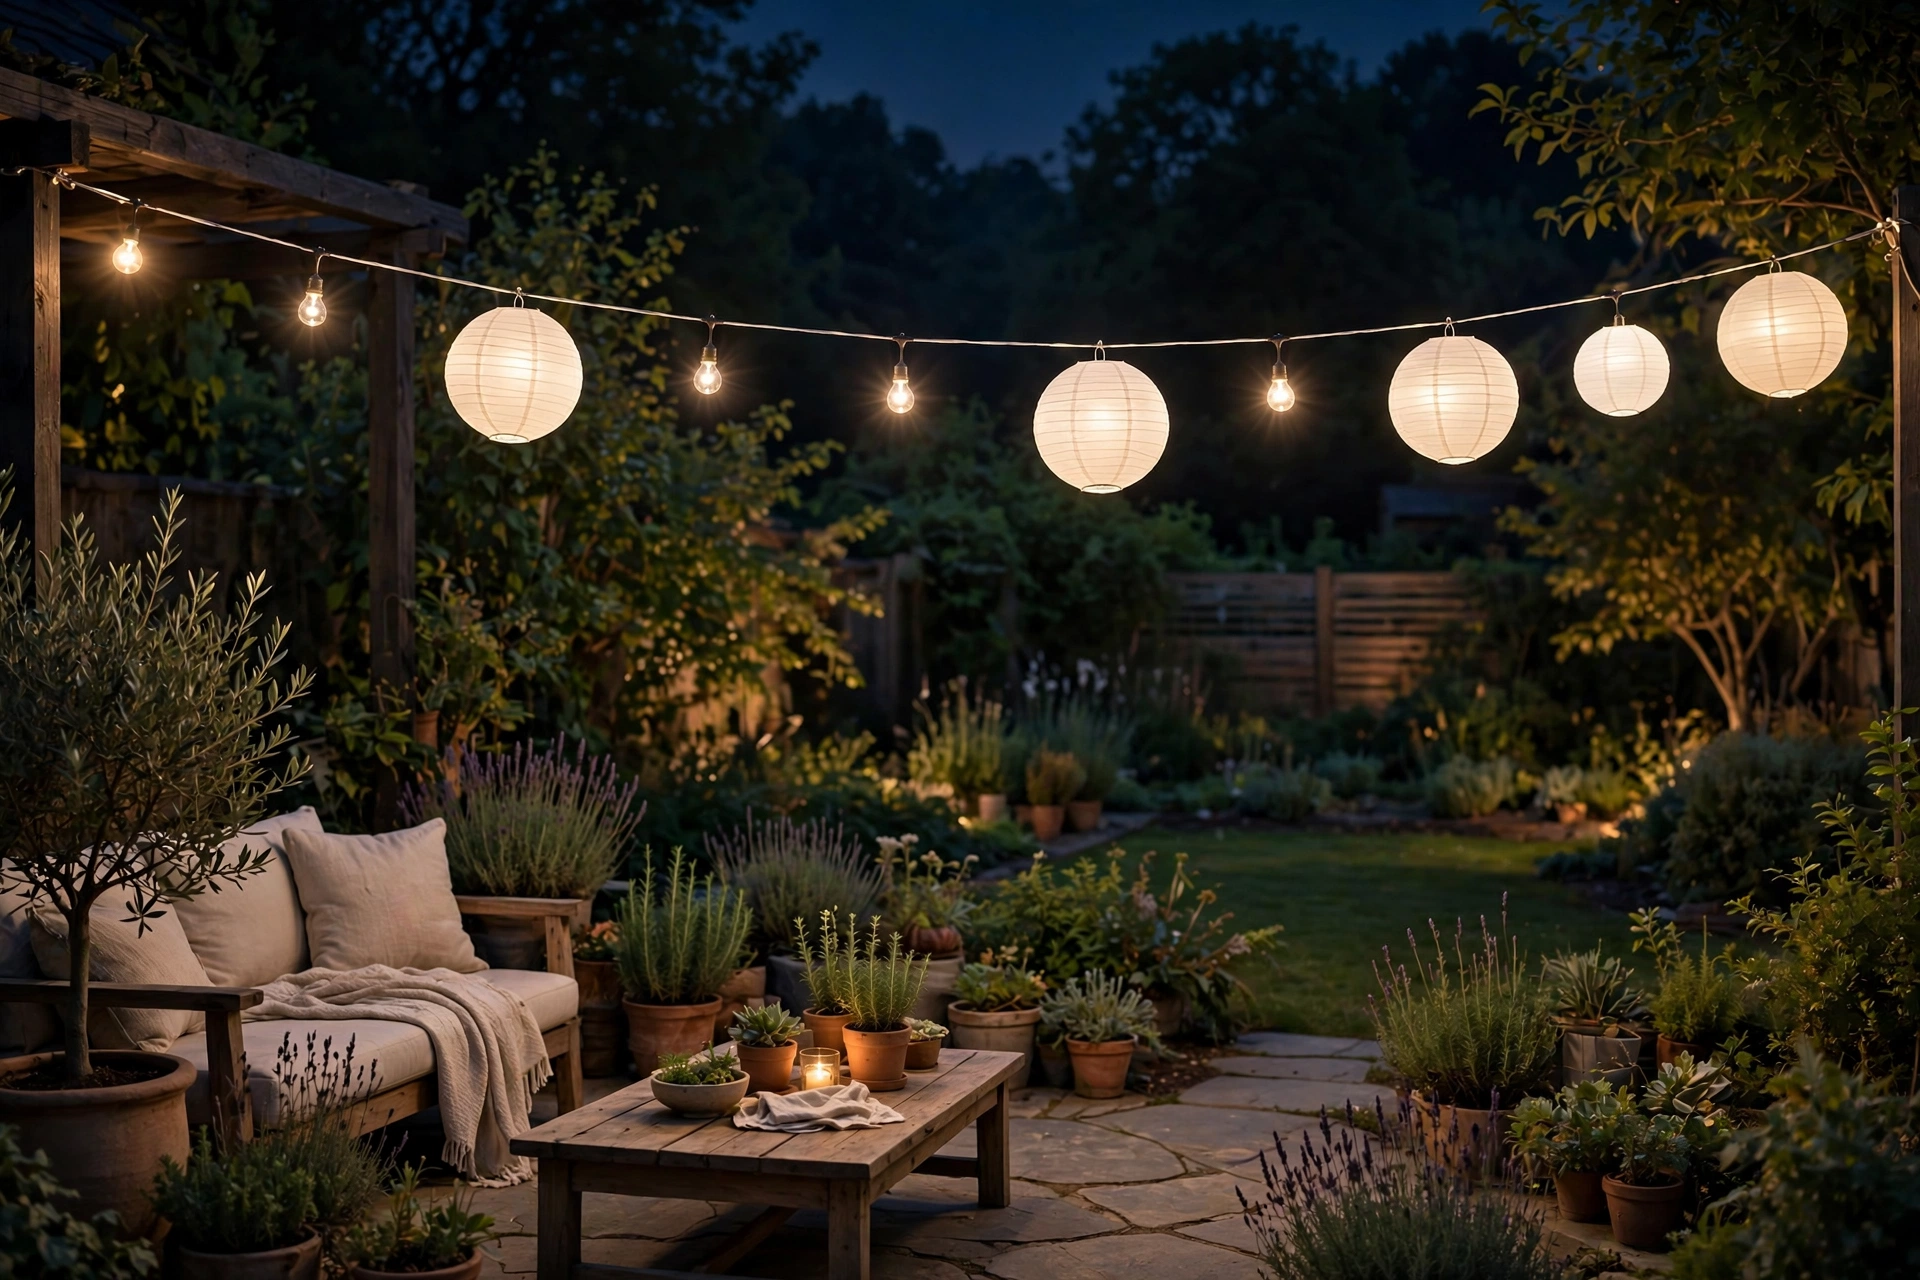
Slip inexpensive white or cream paper lanterns over every third or fourth bulb on a strand for a soft, diffused glow that looks like custom fixtures. The lanterns hide the bulb shape and spread the light beautifully. Use outdoor-safe nylon lanterns rather than true paper if rain is possible, size them 8 to 10 inches so they do not overwhelm the strand, and secure each with its built-in wire frame.
7. Mirror and Water Reflections
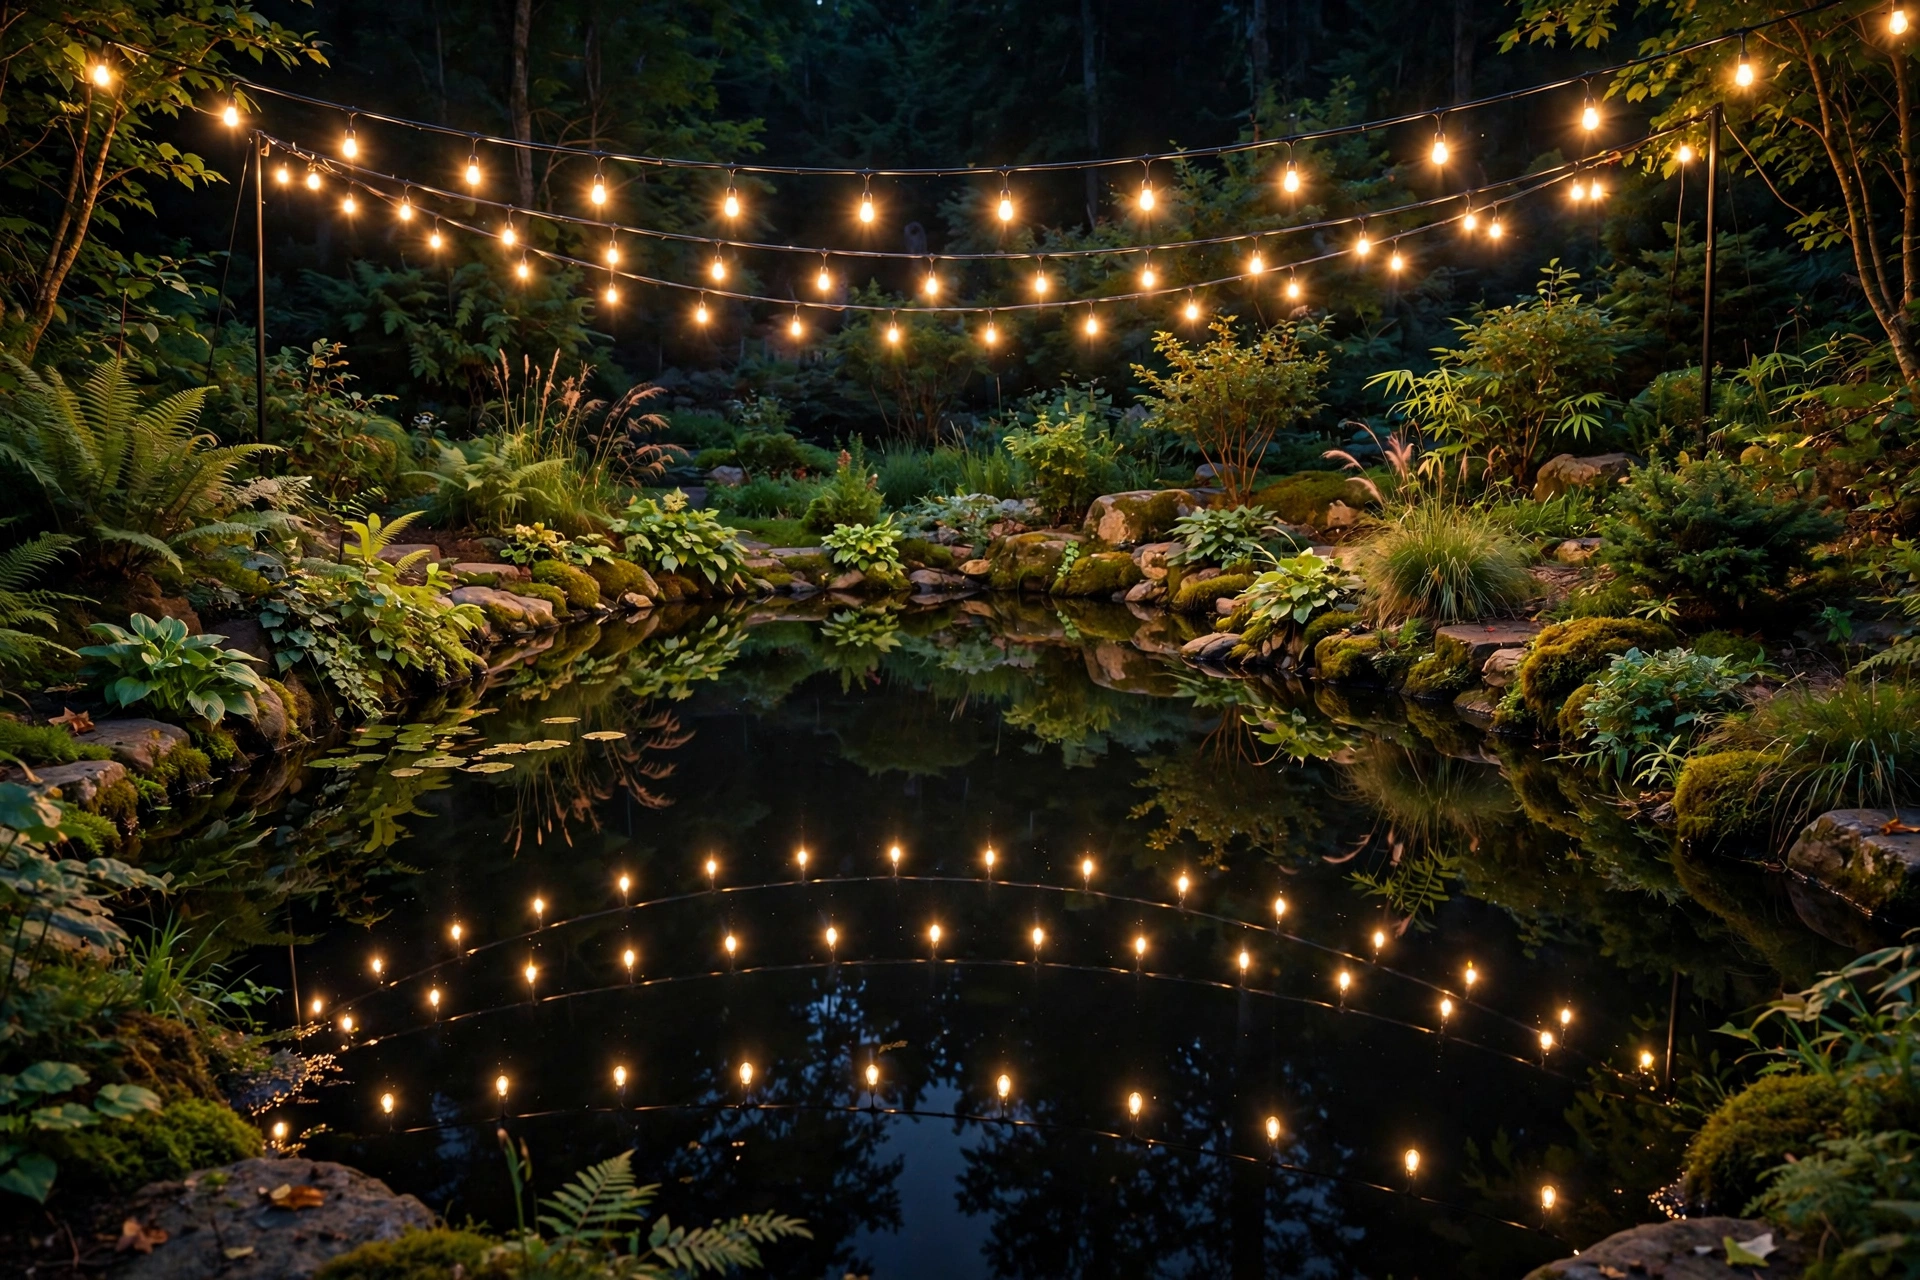
Hang string lights where they reflect: over a small pond, near a mirrored garden ball, or above a dark patio table. Reflected light doubles the visual impact for free and looks incredibly lush. Position strands 6 to 8 feet above the reflective surface for the clearest mirror image, and keep the area around the reflection uncluttered so the doubled glow is the star.
8. Wrapped Tree Trunks in Warm White
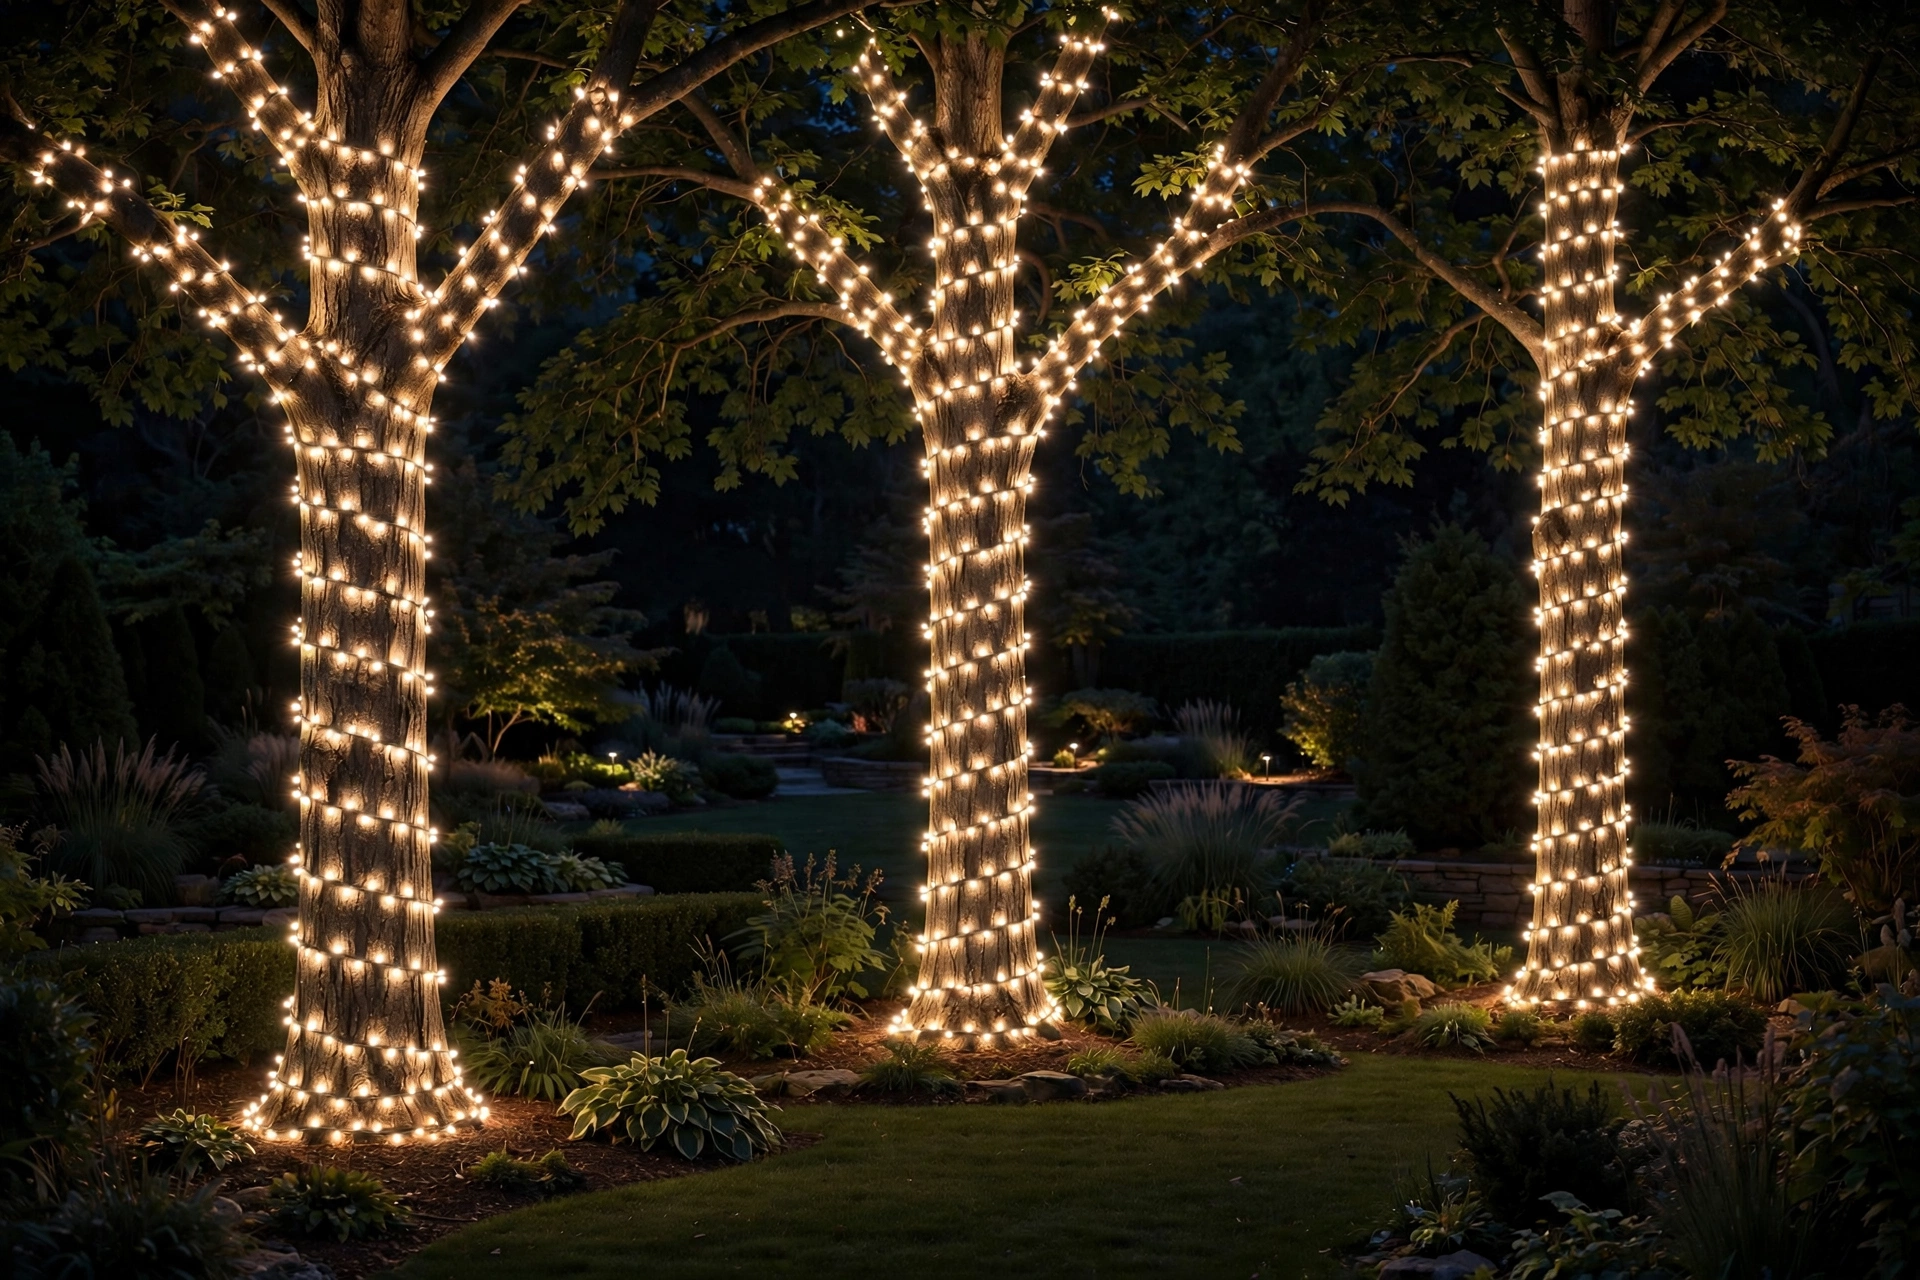
Spiral warm white lights up the trunks of two or three key trees to create glowing sculptures that anchor the yard. Lit trees are a hallmark of professionally designed landscapes. Use one strand per 6 to 8 feet of trunk height, keep the spiral even, and light an odd number of trees, three reads as intentional, two can look like a mistake.
9. Pergola Beam Weave
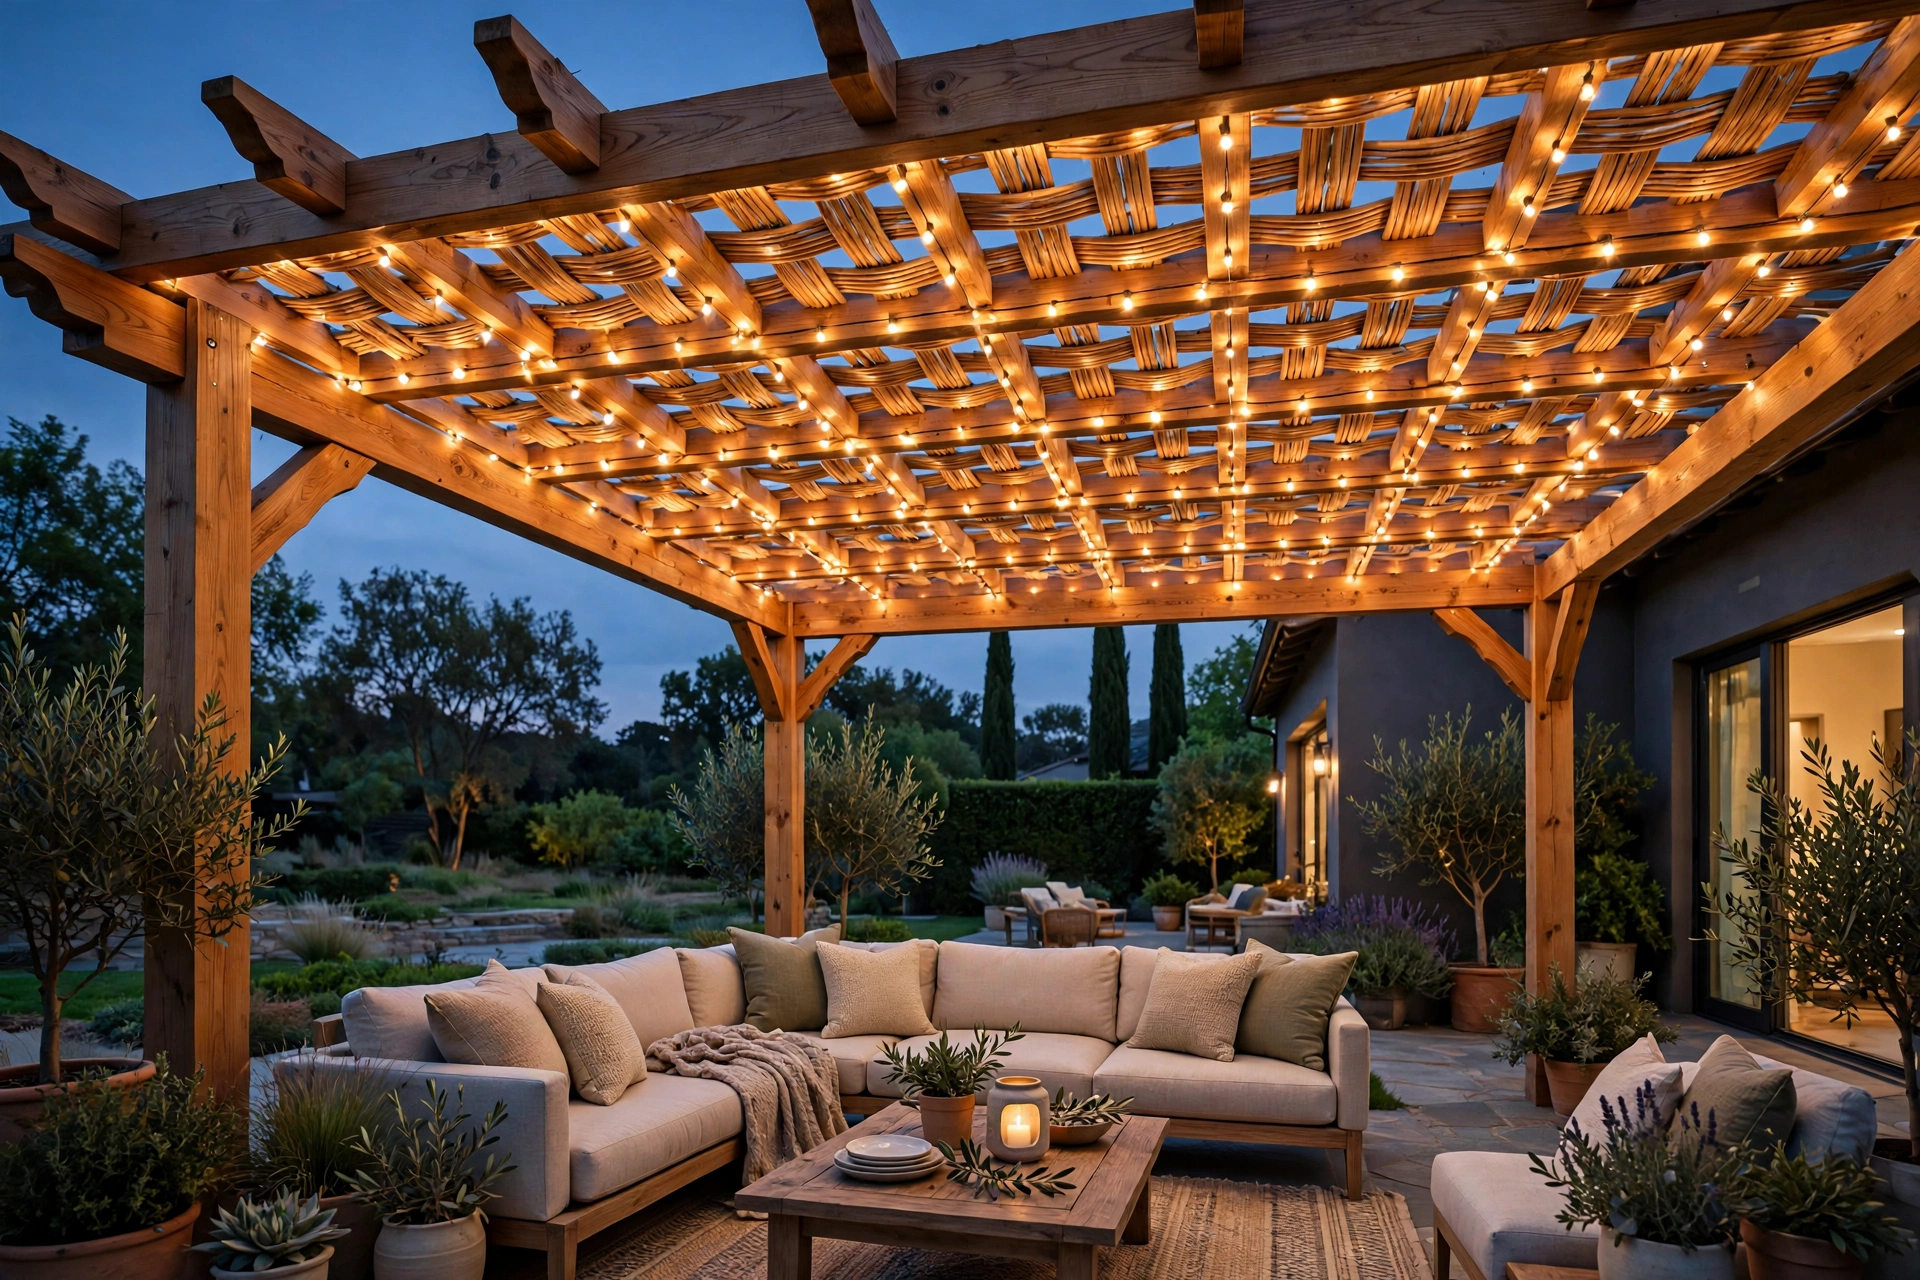
Weave string lights over and under the beams of a pergola in a tight basket pattern rather than just draping them across. The woven look is dense, even, and clearly deliberate. Plan on roughly twice as much strand length as a simple drape, work from one end to the other without cutting, and secure the strand at every beam crossing with a small zip tie.
10. Pathway Border of Low Lights
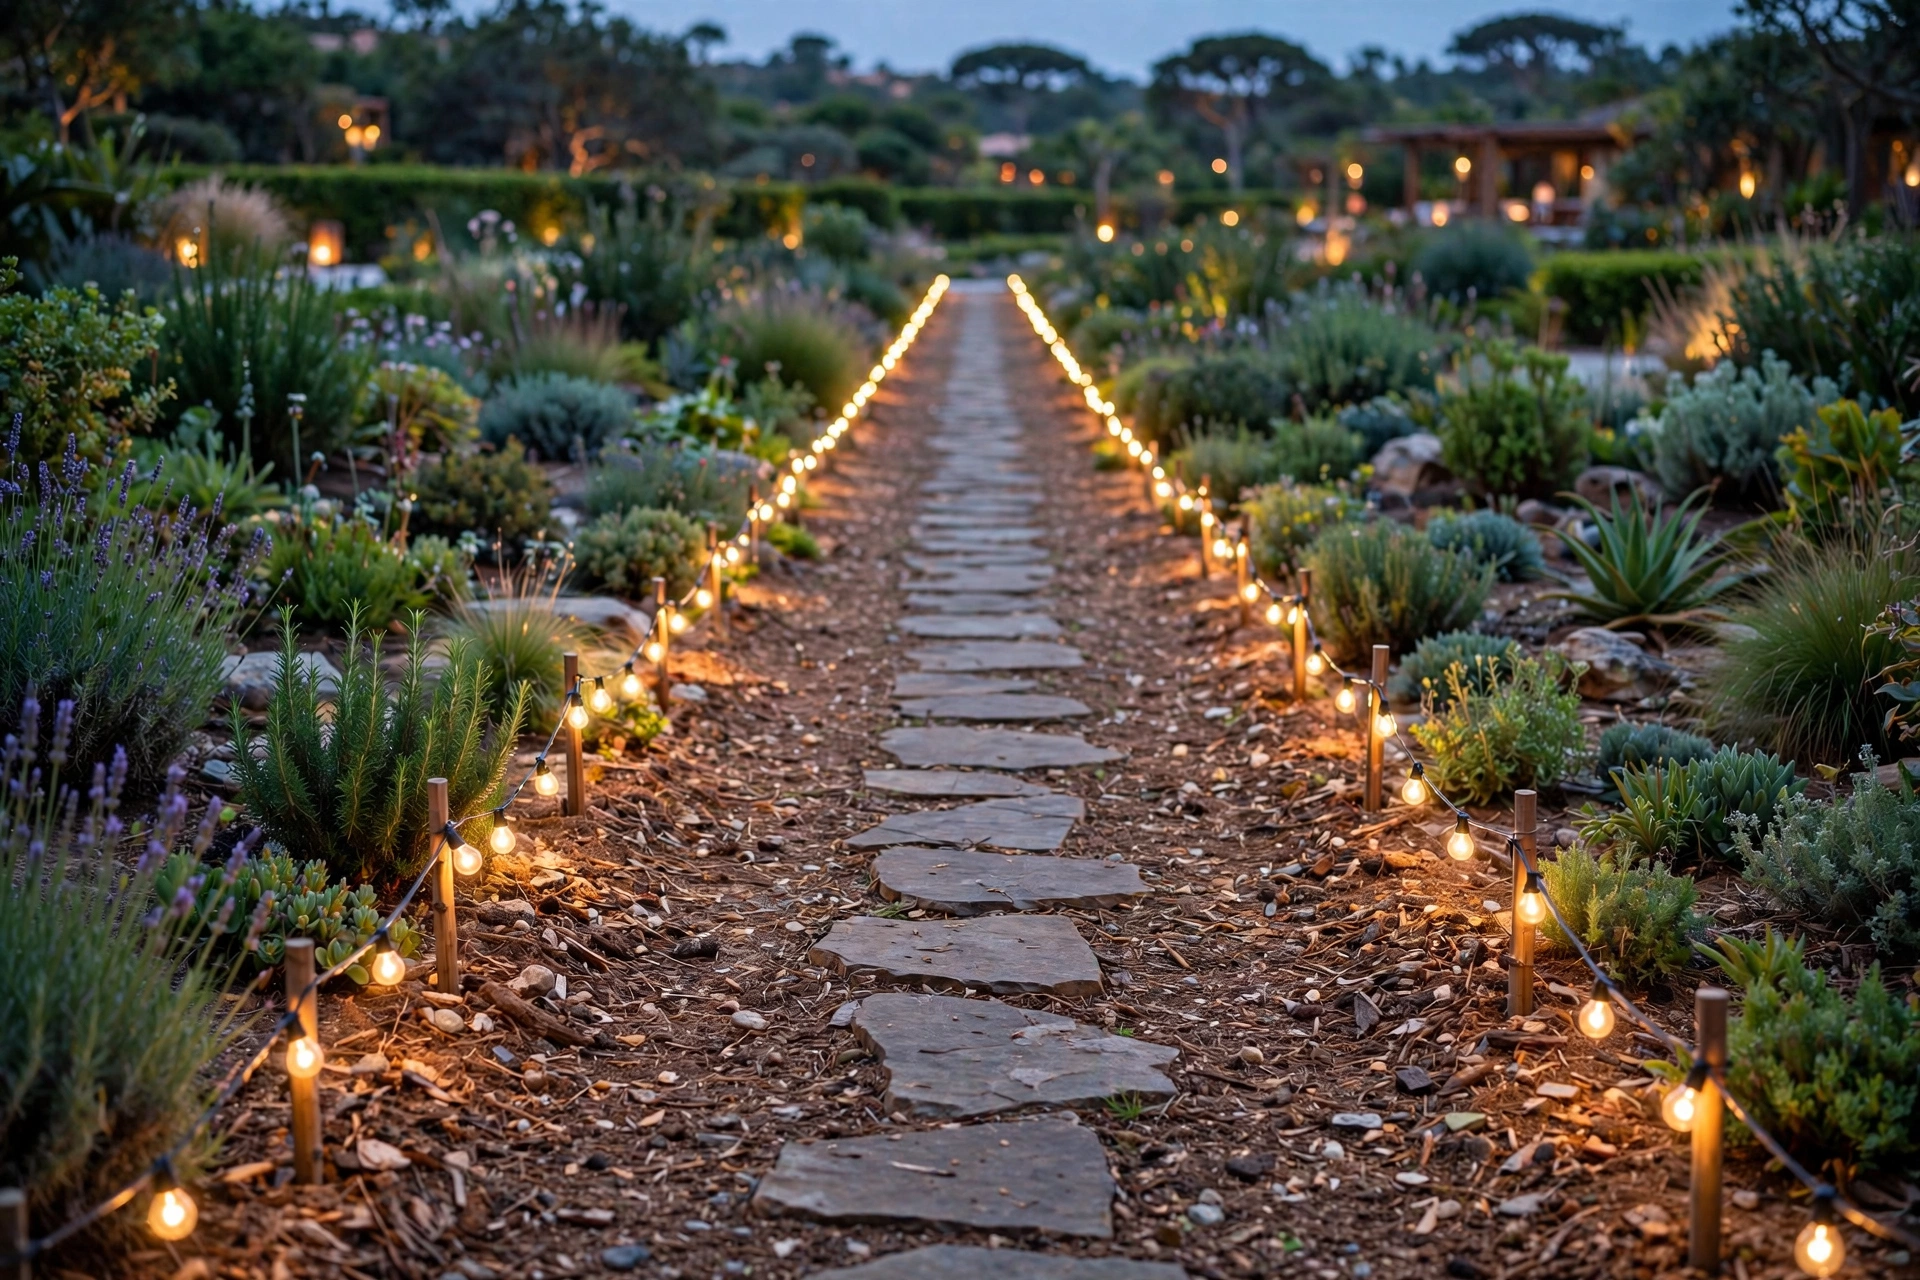
Line garden beds or pathways with low string lights on short 12-inch stakes for a runway effect that looks straight out of a resort. The low angle grazes plants and mulch with light, adding texture. Space stakes 2 to 3 feet apart, keep the lights just above the mulch line, and use this as a second layer beneath a higher canopy for the full layered effect.
11. Dimmer-Controlled Zones
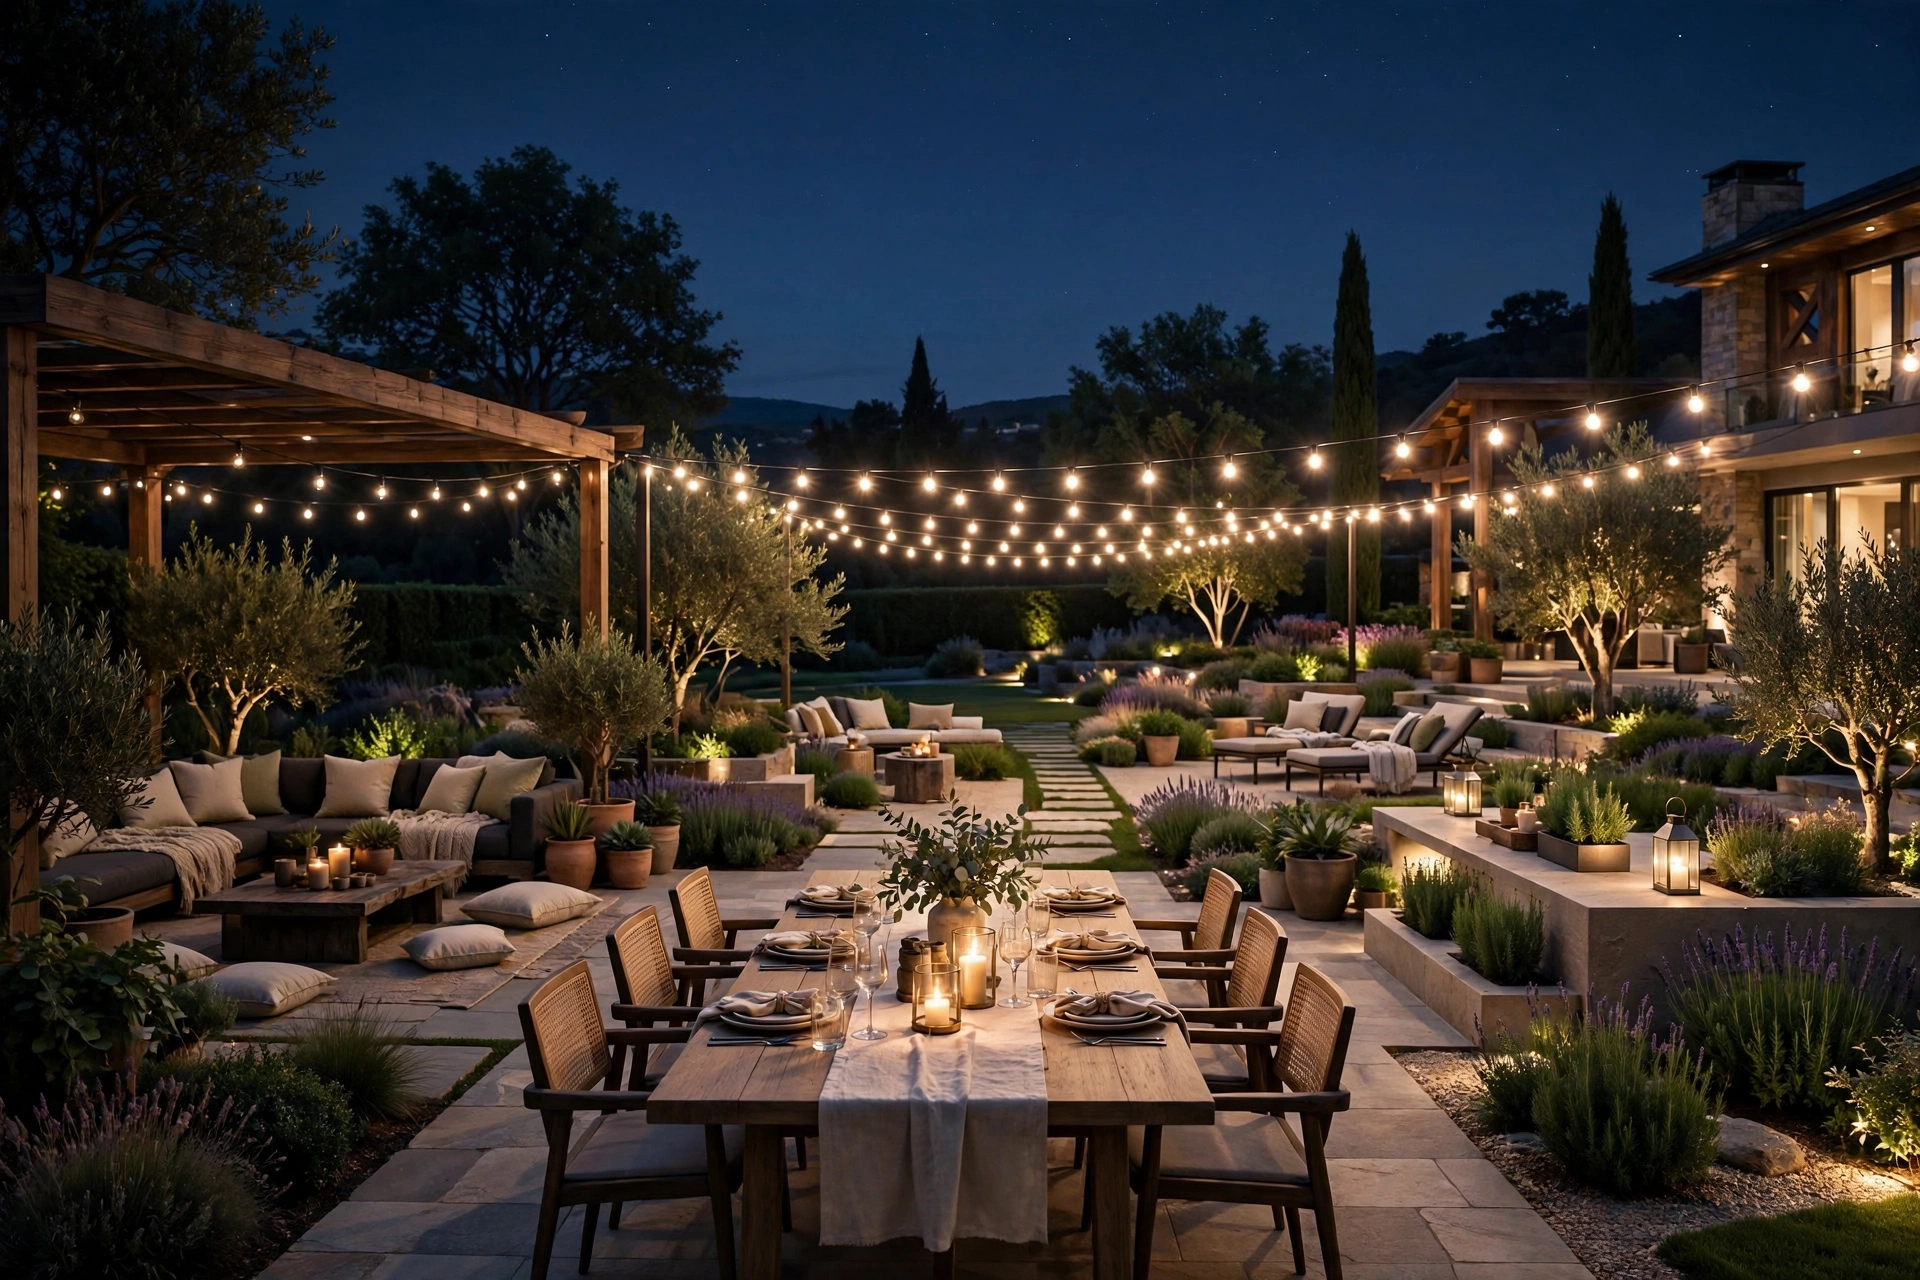
Put your backyard lights on two or three separate outdoor dimmers so you can set bright for dinner and low for late night. Adjustable light is a luxury cue; a single on-off switch is not. Group strands by zone, dining, lounging, pathways, on separate plugs, label everything, and test the dimming range at night before guests arrive.
12. Hide Every Cord and Plug
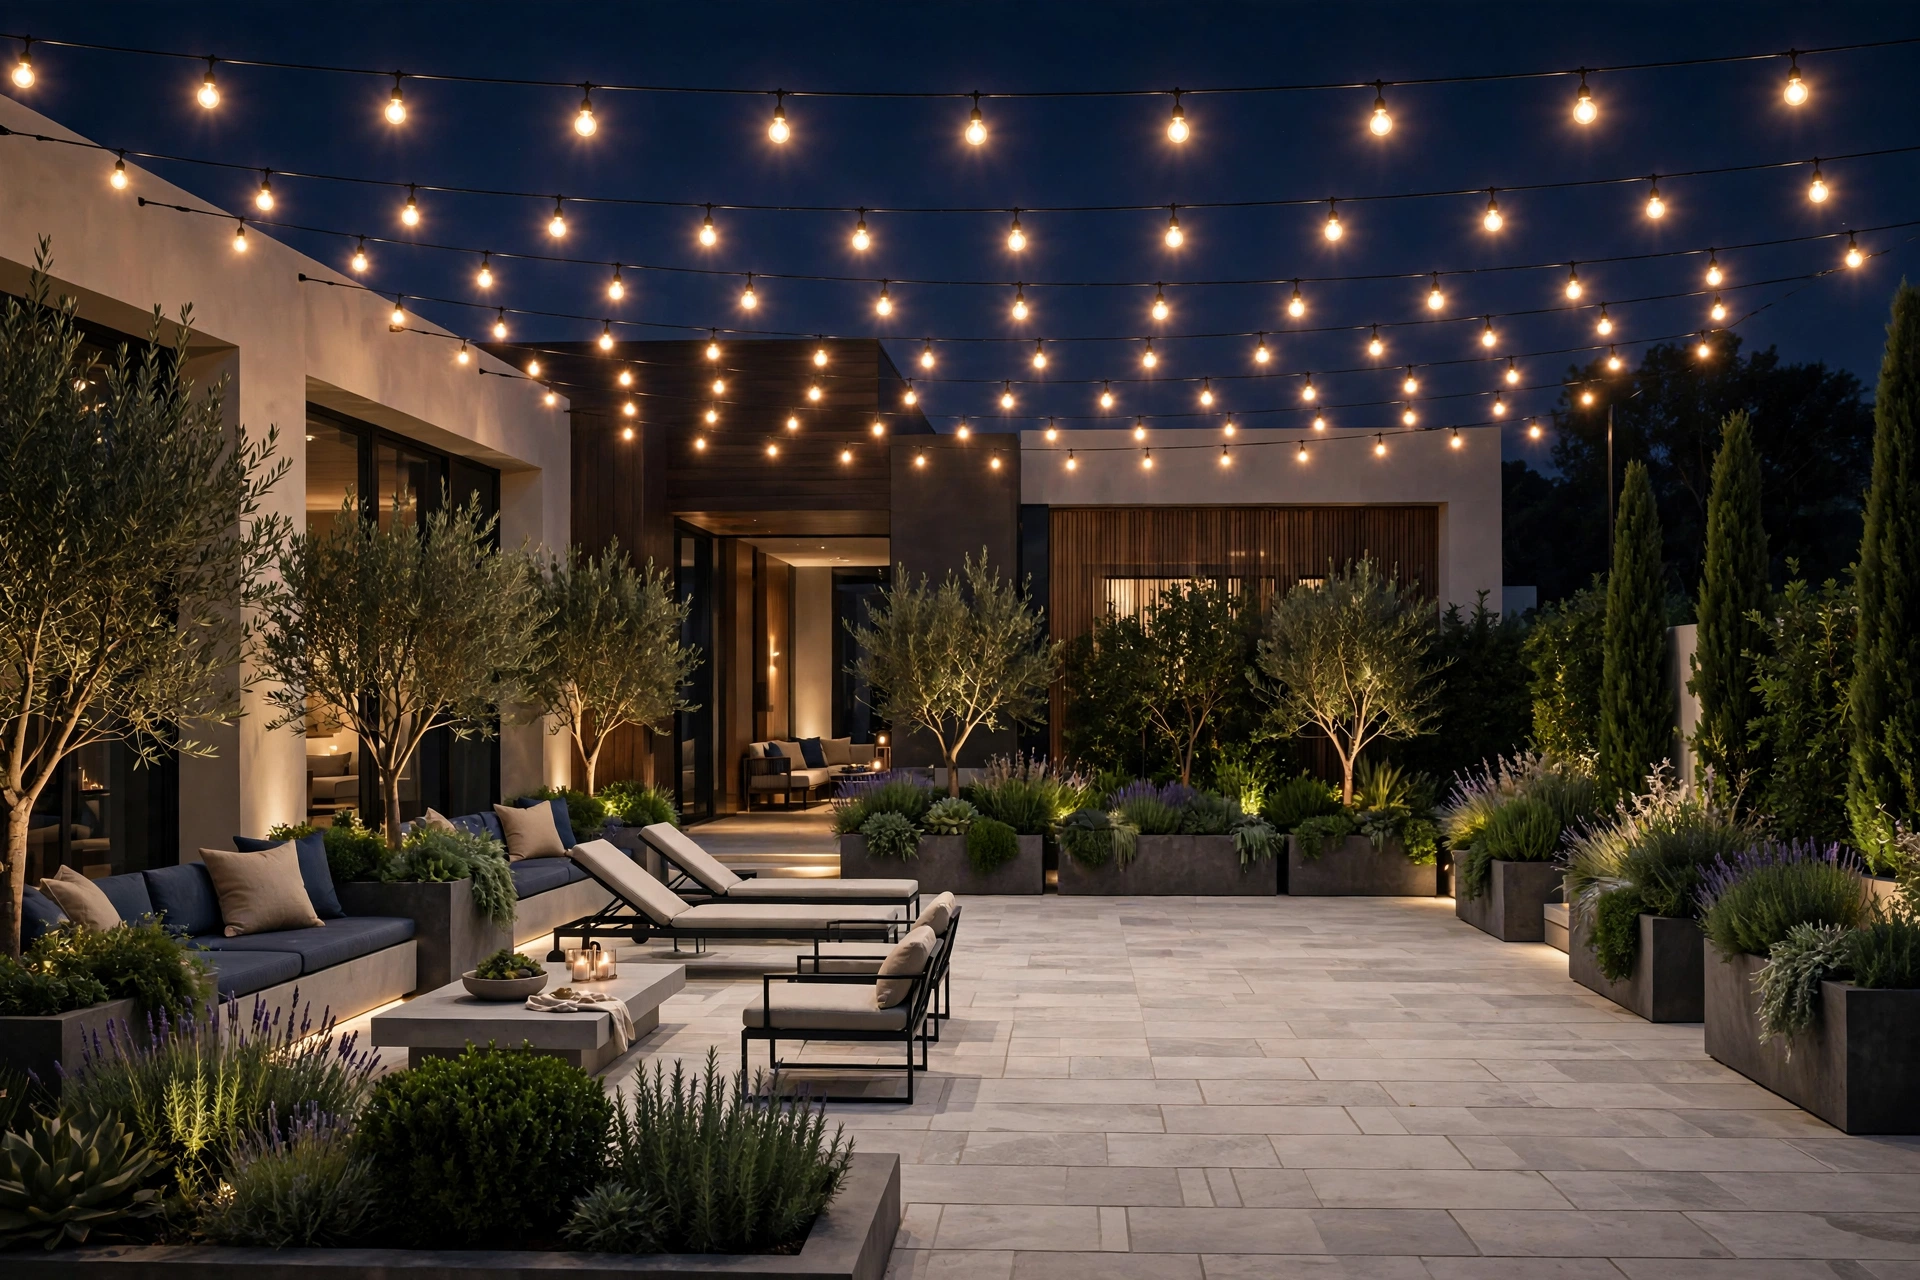
The single cheapest luxury upgrade: make all hardware disappear. Run cords along fence rails, bury them under mulch, paint visible conduit to match, and tuck transformers behind planters. Nothing breaks the expensive illusion faster than a bright orange extension cord. Walk your yard at night after install and fix every glowing plug and visible wire you spot.
Quick Buying & Safety Tips
- LED is non-negotiable: LEDs cost less to run, stay cool, and let you connect long runs safely. For a luxe look, choose warm white Edison-style LEDs at 2700K.
- Buy outdoor-rated, commercial grade if you can: Heavier-gauge wire and sturdier sockets survive seasons of use and look better than flimsy bargain strands.
- Use timers or smart plugs: Automate dusk on, bedtime off. It saves energy and means your yard looks intentional every single night, not just when you remember.
- Respect connection limits: Check the box for maximum connectable strands and never exceed it. When in doubt, start a new run from a separate outlet.
- Keep cords out of walkways: Run cords along edges and structures, cover crossings with cord ramps, and never run them where mowers or trimmers will find them.
- Anchor for wind: Use guide wire between tall posts, tighten turnbuckles seasonally, and take down paper lantern covers before storms. A sagging strand instantly looks cheap.
- Do not overload outlets: Total the wattage per circuit, keep plugs dry and elevated, and know which breaker controls your outdoor outlets before the big reveal night.
FAQs
How much does it cost to make backyard string lights look expensive?
Most of these ideas cost $50 to $150 total: two to four strands of quality LED cafe lights, a few wooden posts or planters, and basic hardware. The expensive look comes from planning and symmetry, not spending.
What color string lights look most expensive?
Warm white, around 2700K, with visible filament-style bulbs. It flatters skin tones, complements wood and greenery, and reads as intentional. Avoid cool white or multicolor if the goal is an upscale look.
Can I install these without an electrician?
Yes for everything on this list, as long as you plug into existing outdoor outlets and respect connection limits. Call an electrician only if you need new outdoor outlets or dedicated circuits installed.
How do I keep the lights looking good year after year?
Buy commercial-grade strands, take lantern covers down in storms, check and tighten anchors each spring, and replace individual bulbs rather than whole strands. Store any seasonal extras loosely coiled, never wound tight.
Closing
An expensive-looking backyard is not about spending more, it is about deciding where every light goes and why. Pick two or three ideas from this list, hang them with care and symmetry, hide the hardware, and your yard will glow like a place that cost ten times what you spent.