
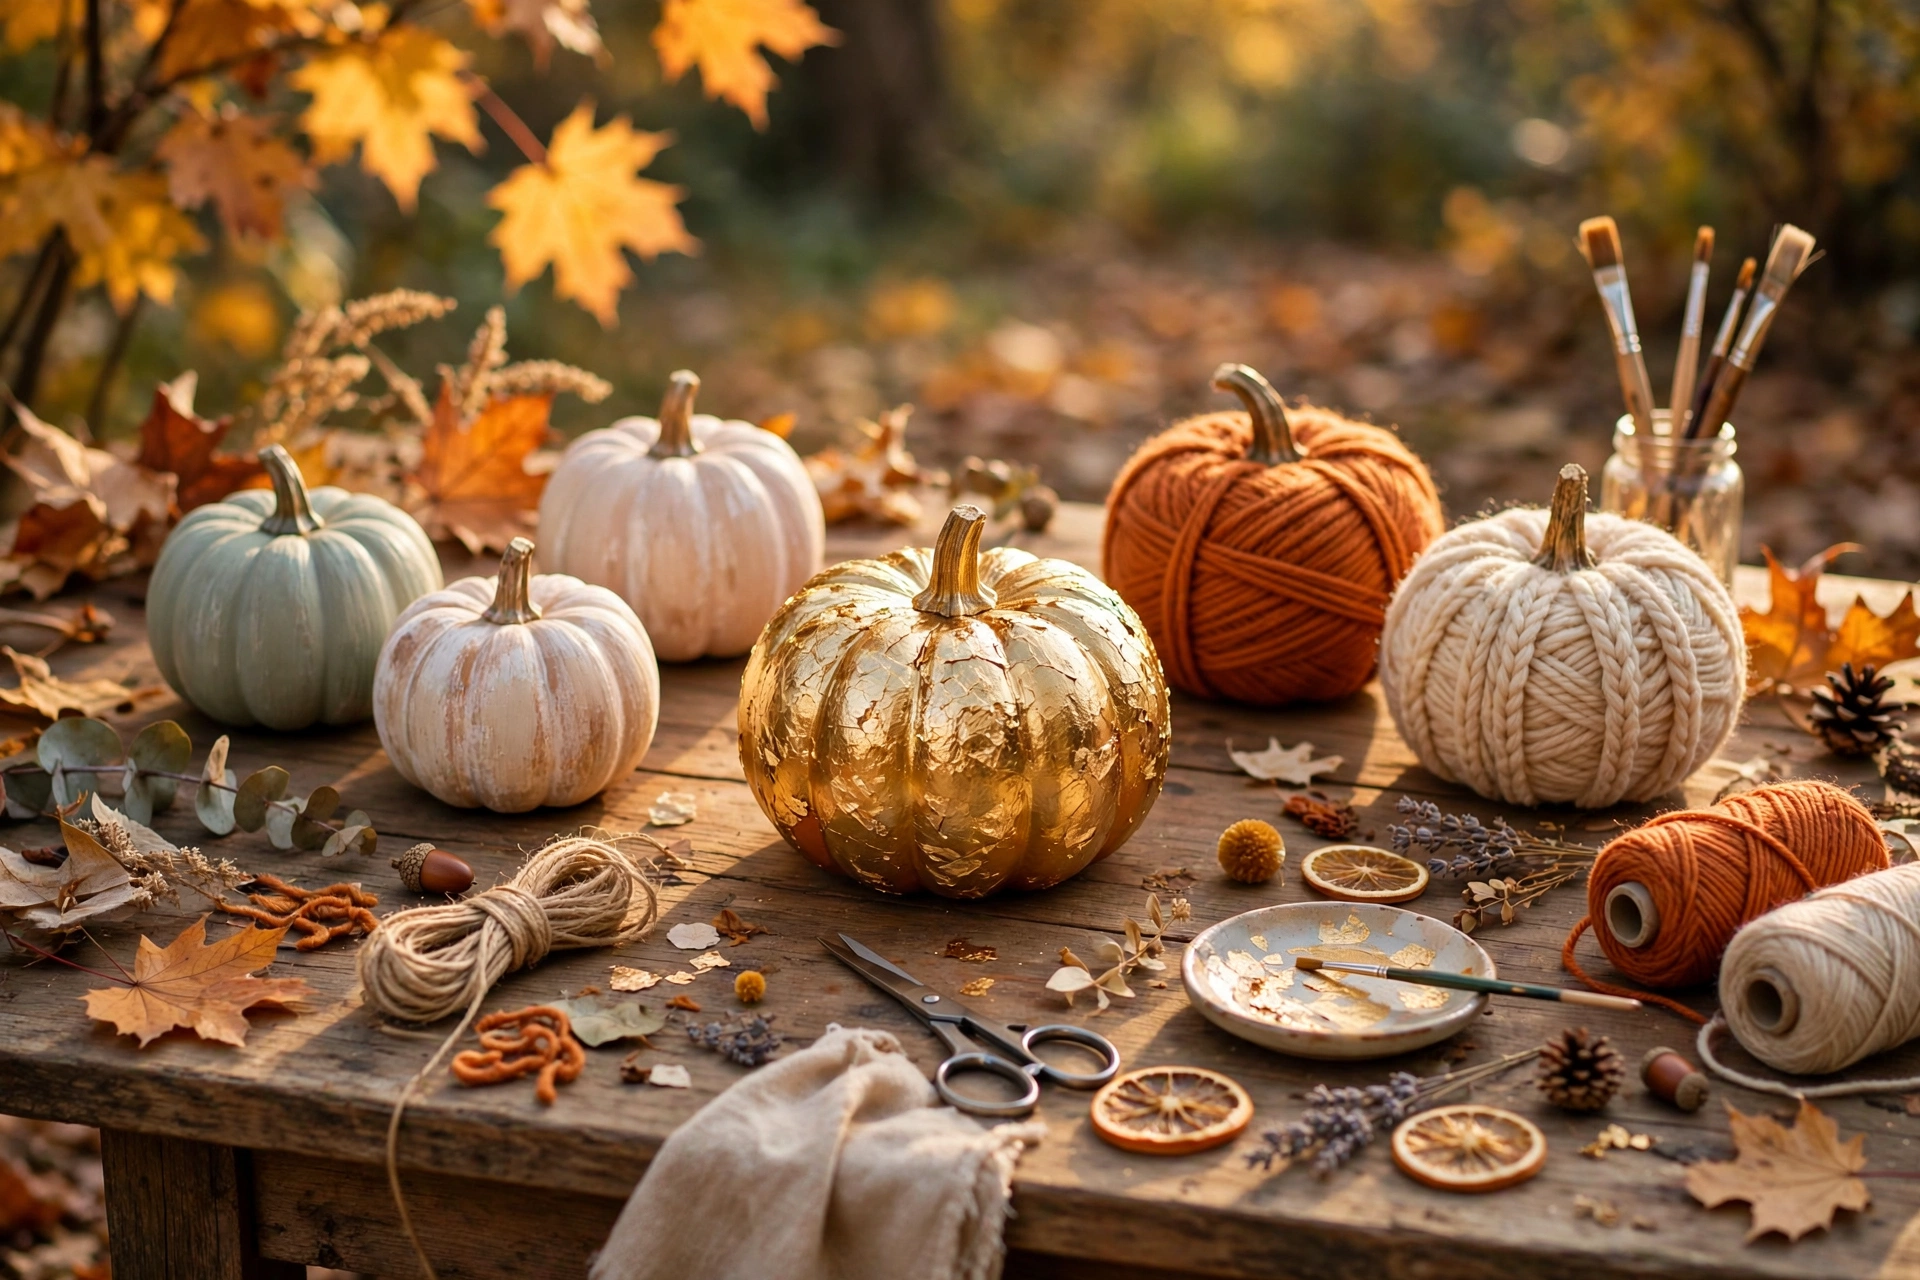
Fall decorating does not have to eat your whole weekend. With a few craft pumpkins (or real ones), some paint, and supplies you probably already own, you can finish any of these DIY pumpkin decorations in a single afternoon. These DIY pumpkin decorations skip the messy carving and the power tools — every project below is a one-day, beginner-friendly craft.
The secret to one-day pumpkin crafts is choosing no-carve techniques. Painting, wrapping, decoupage, and simple embellishments all dry or set within hours, so your pumpkins are mantel-ready by dinner. Grab a pumpkin and pick your favorite idea to start.
1. Chalk-Painted Mini Pumpkins
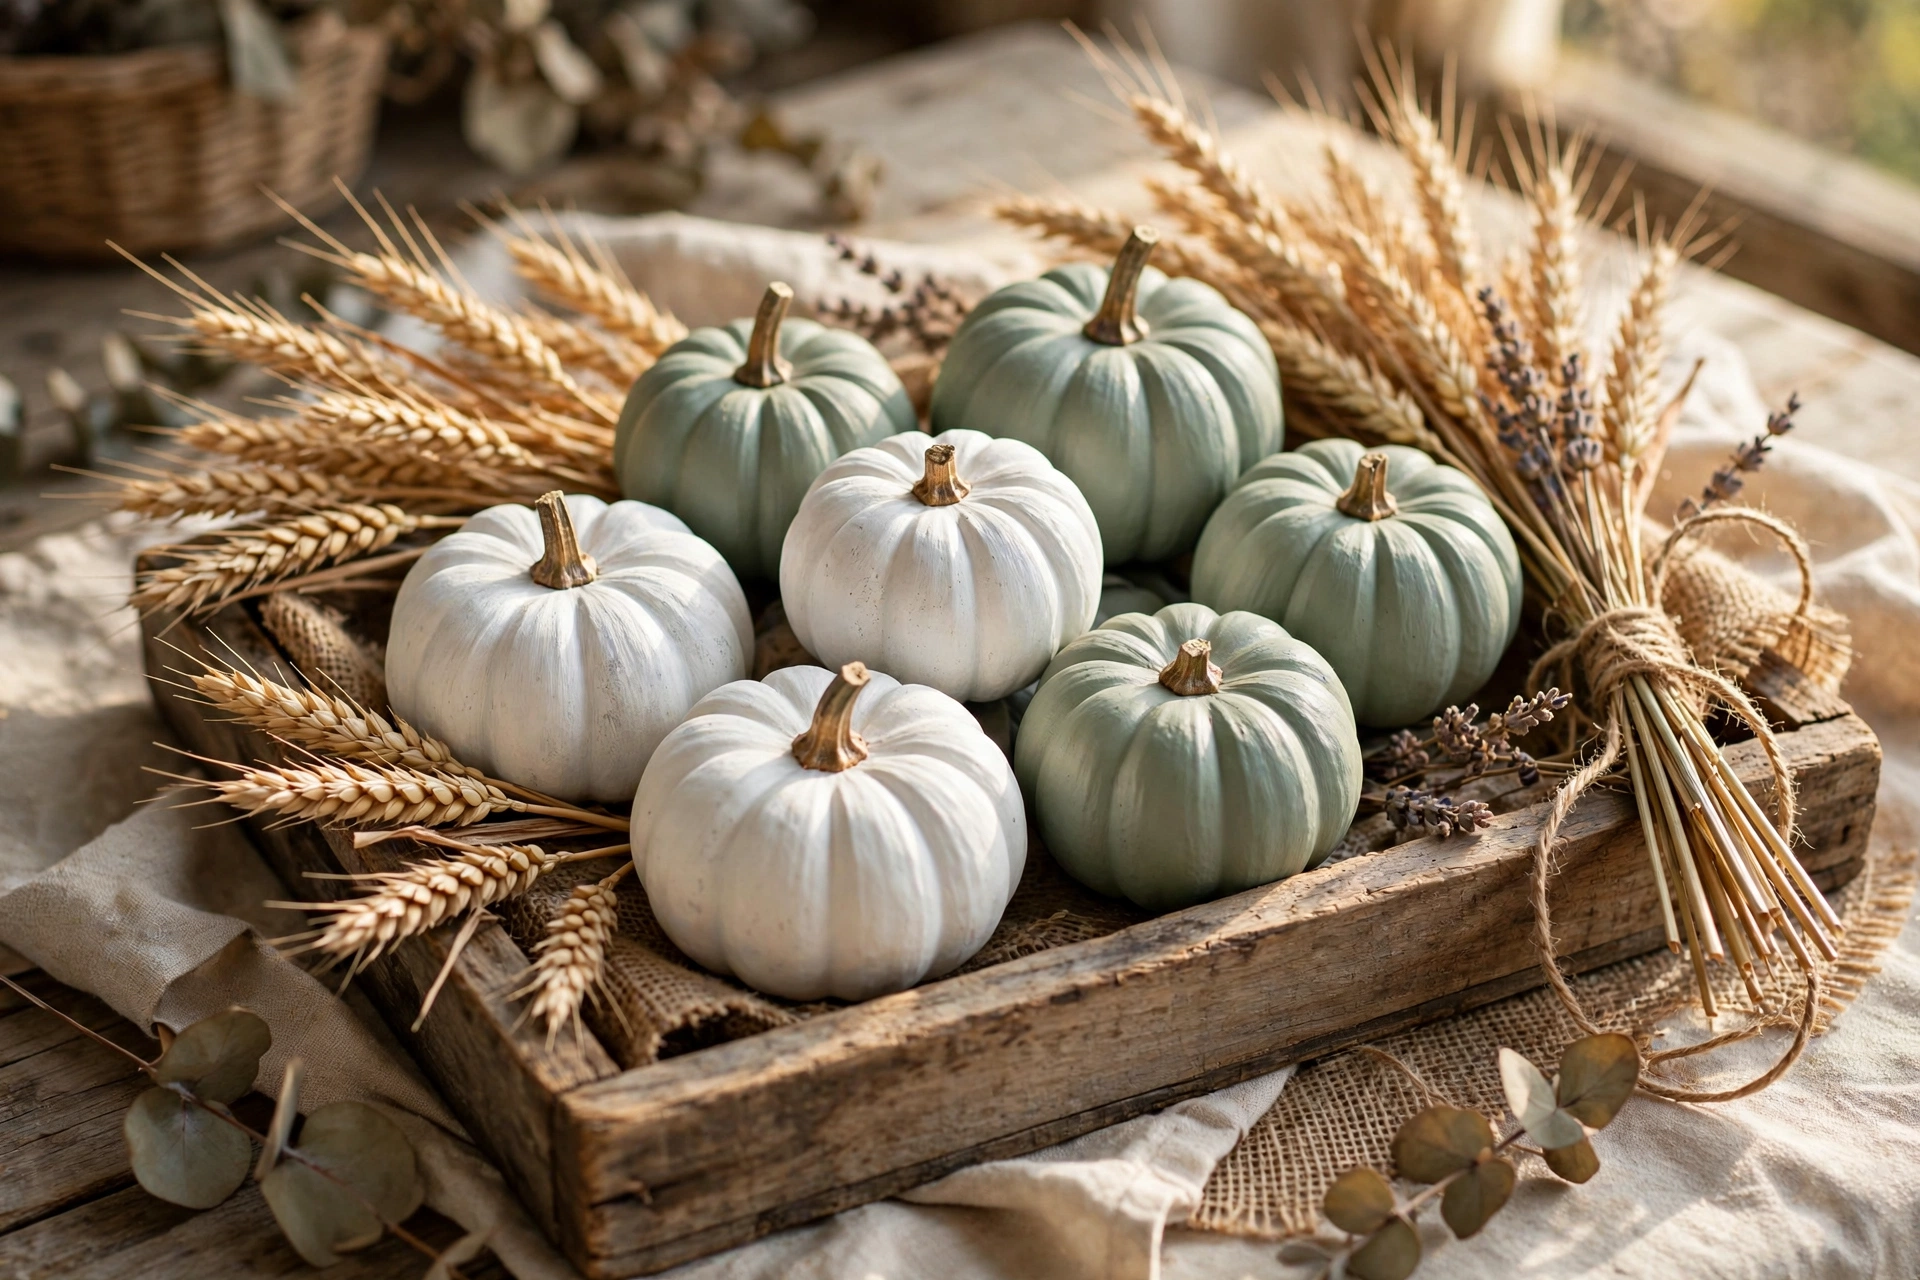
Chalk paint is the fastest way to give orange pumpkins a soft, matte, farmhouse finish. Brush on one coat of white or sage chalk paint, let it dry for 30 minutes, then add a second coat if you want full coverage. Cost: under $10 for a bag of mini pumpkins and a small jar of paint. Time: about 1 hour including drying.
2. Gold-Leaf Accent Pumpkins
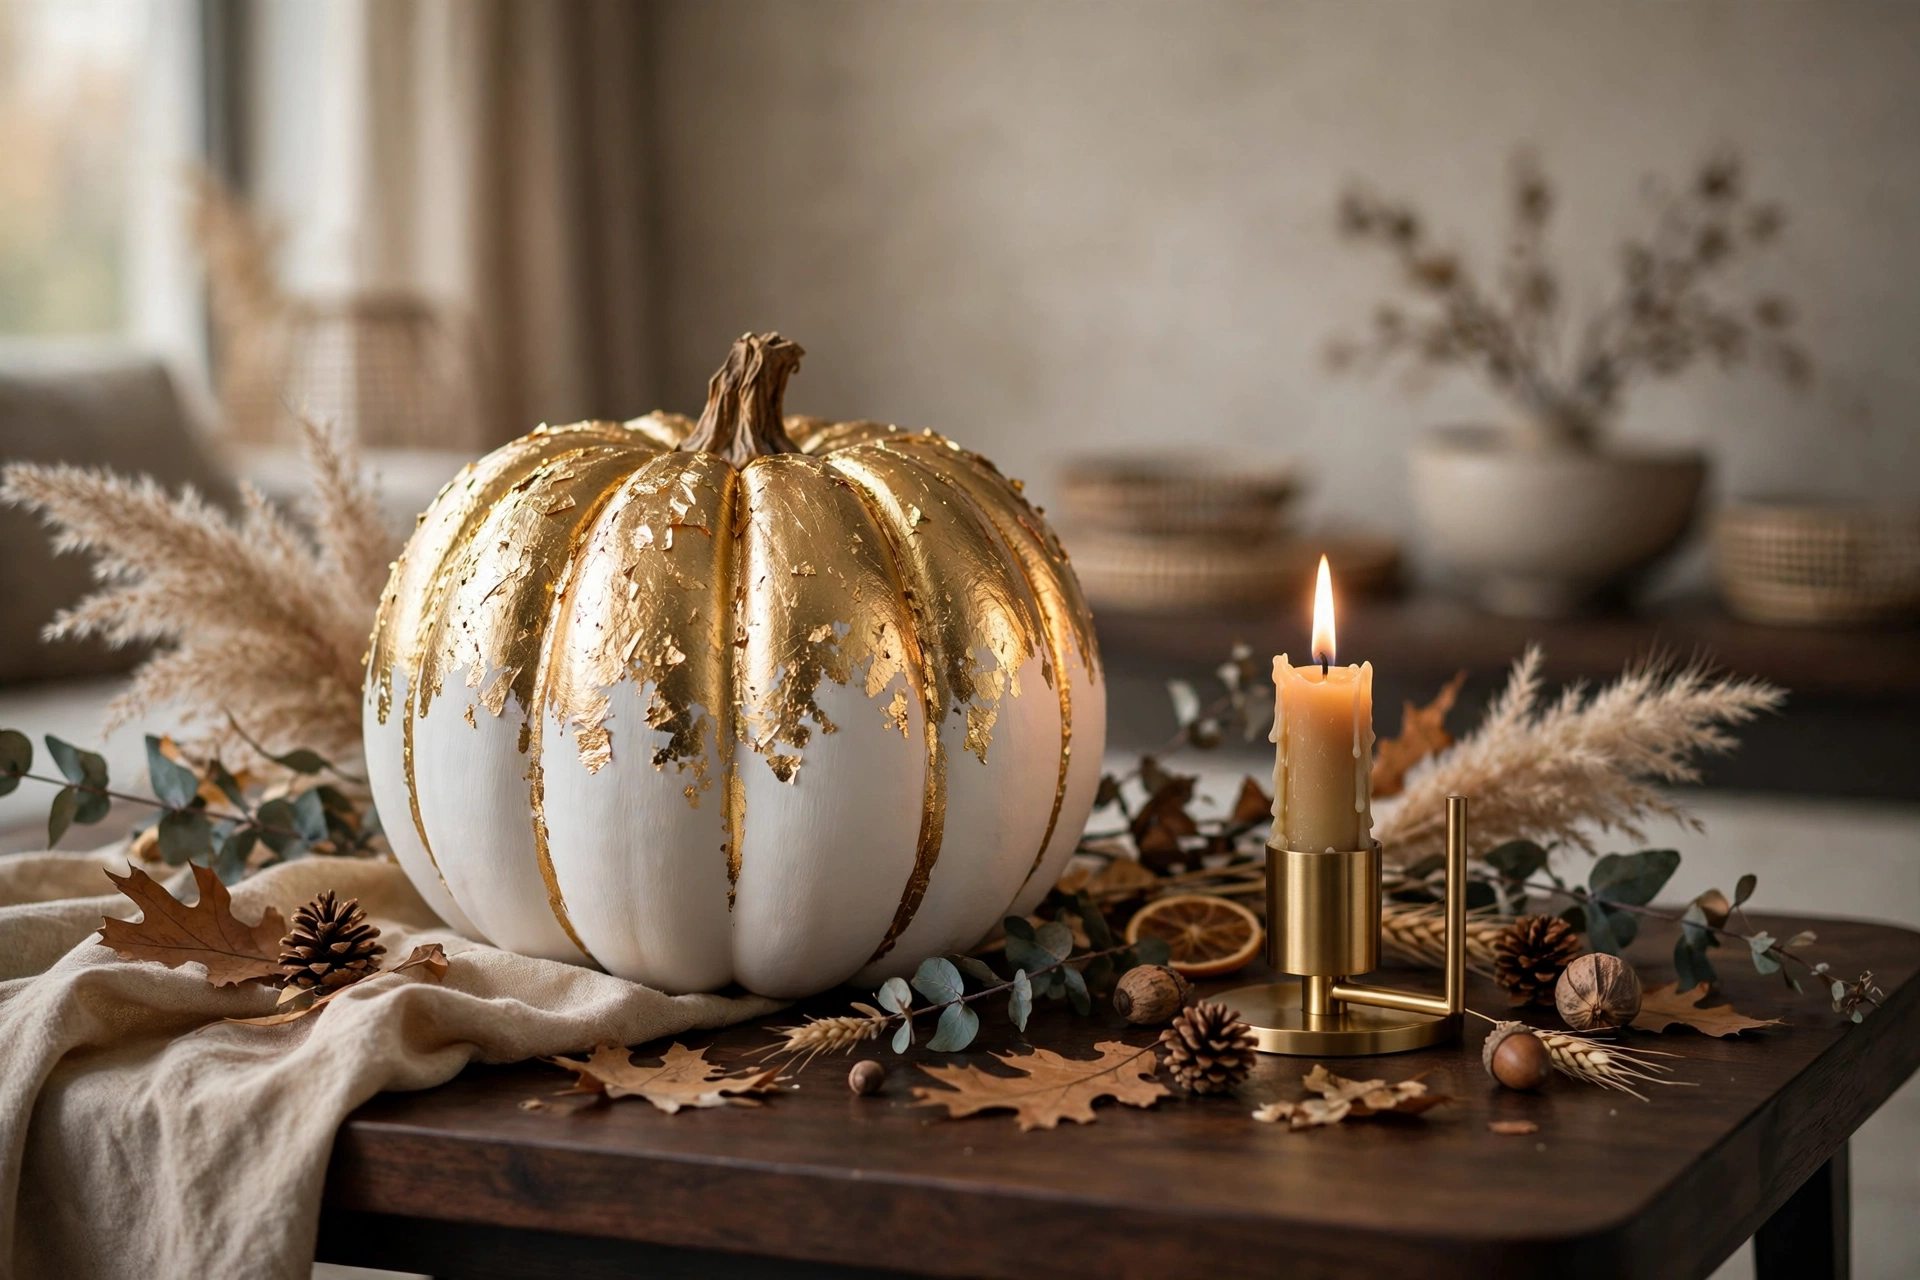
Gold leaf sheets turn a plain craft pumpkin into something that looks store-bought and expensive. Brush craft glue onto the areas you want gilded, press on the gold leaf, and gently brush away the excess with a soft dry brush. Focus on the top half or the ridges for an elegant, modern look. Time: 45 minutes. Cost: about $12 for a gold leaf kit.
3. Decoupage Napkin Pumpkins
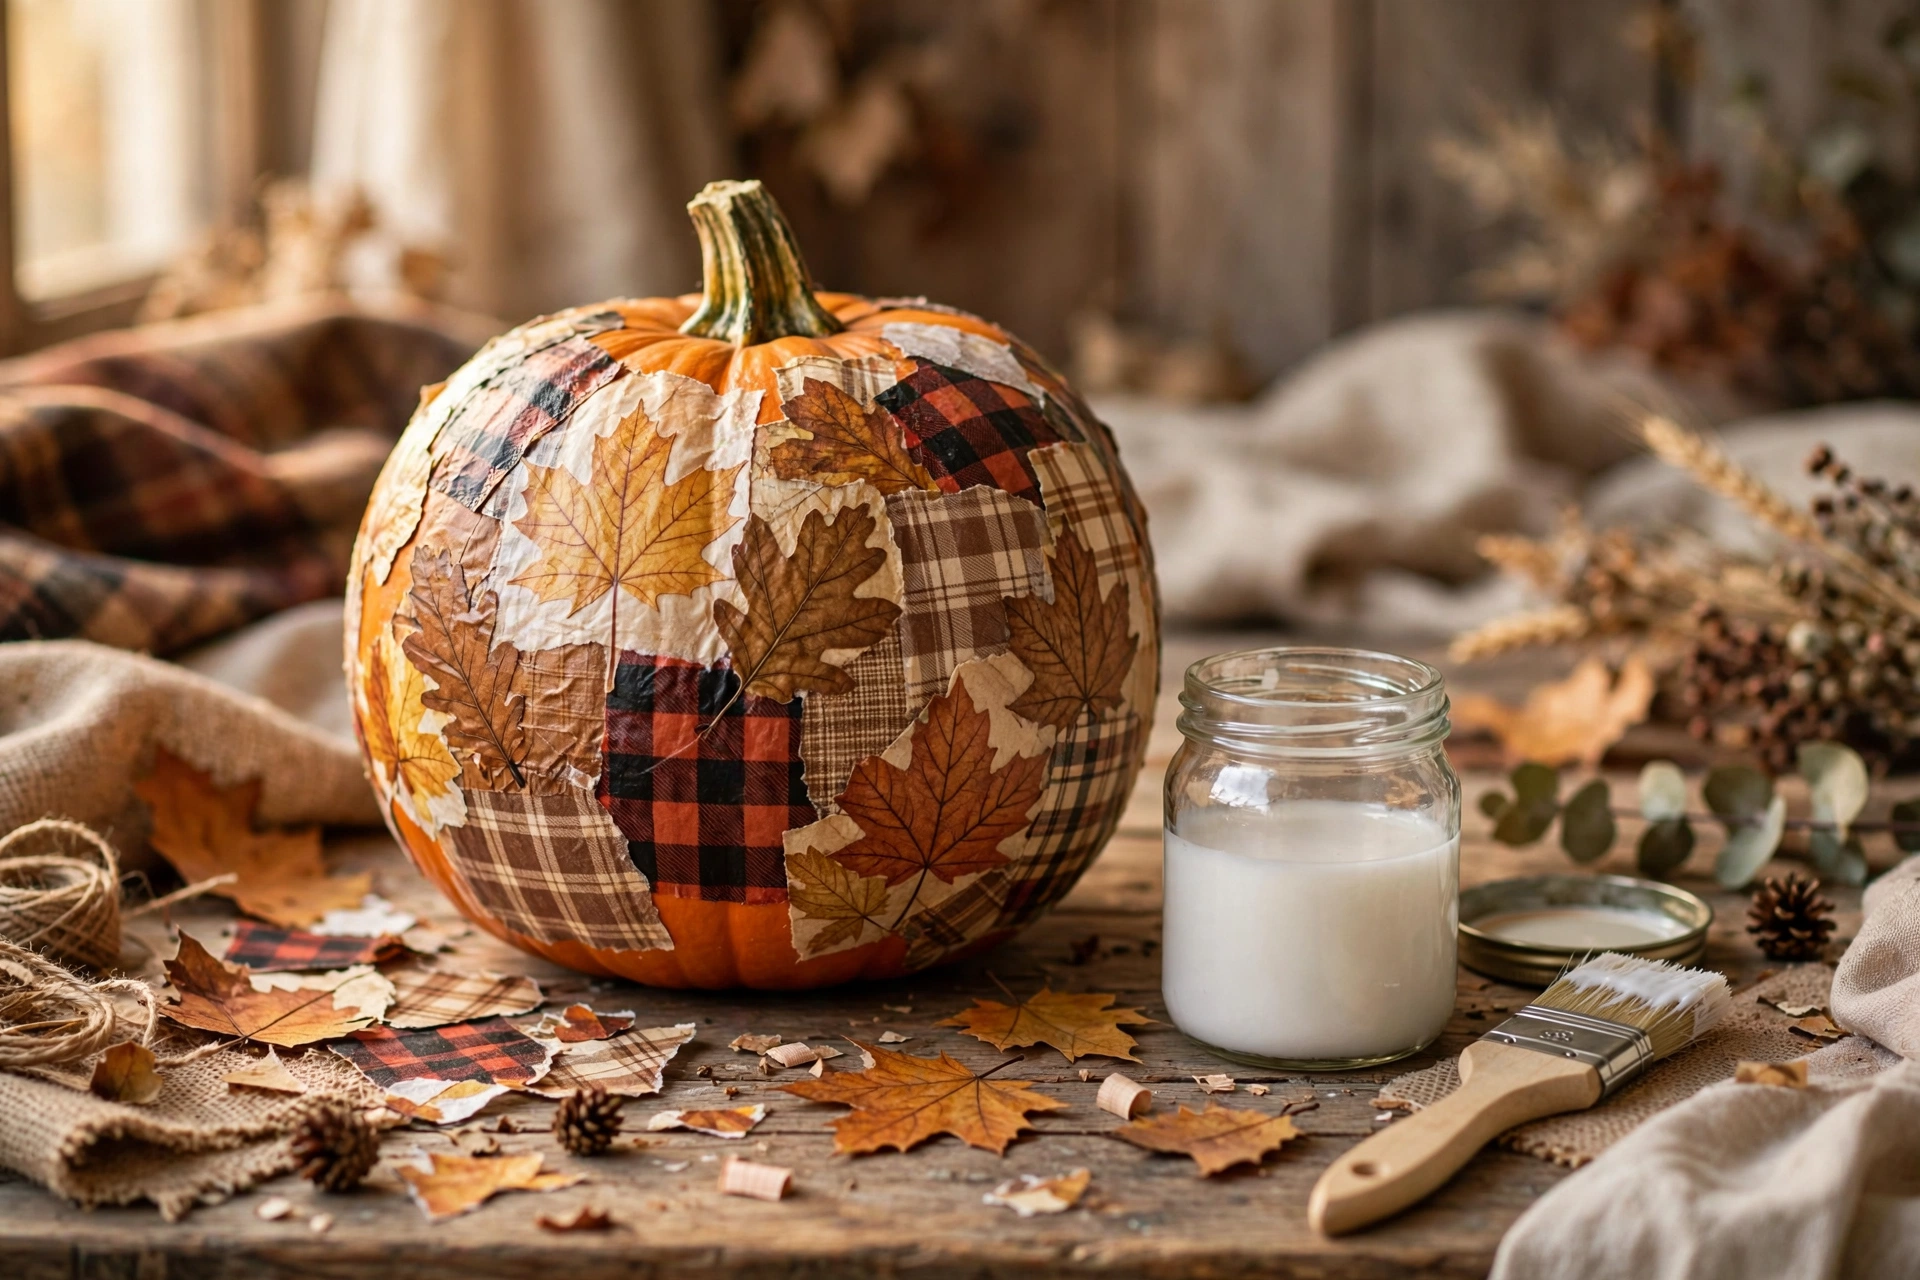
Pick pretty fall napkins, peel them down to the single printed layer, and glue them onto a pumpkin with decoupage medium. Tear the napkin into pieces for a patchwork effect or use whole motifs centered on each side. Seal with a final coat of decoupage medium and let dry for one hour. Cost: under $8 using dollar-store napkins. Time: about 1.5 hours.
4. Yarn-Wrapped Pumpkins
Wrap a foam or real pumpkin in chunky yarn for instant cozy texture. Glue the yarn end at the stem, then wind it around and around, dabbing glue every few rows to hold it in place. Cream, rust, or mustard yarn all read beautifully for fall. Time: 1 hour per pumpkin. Cost: one skein of yarn covers 2 to 3 small pumpkins.
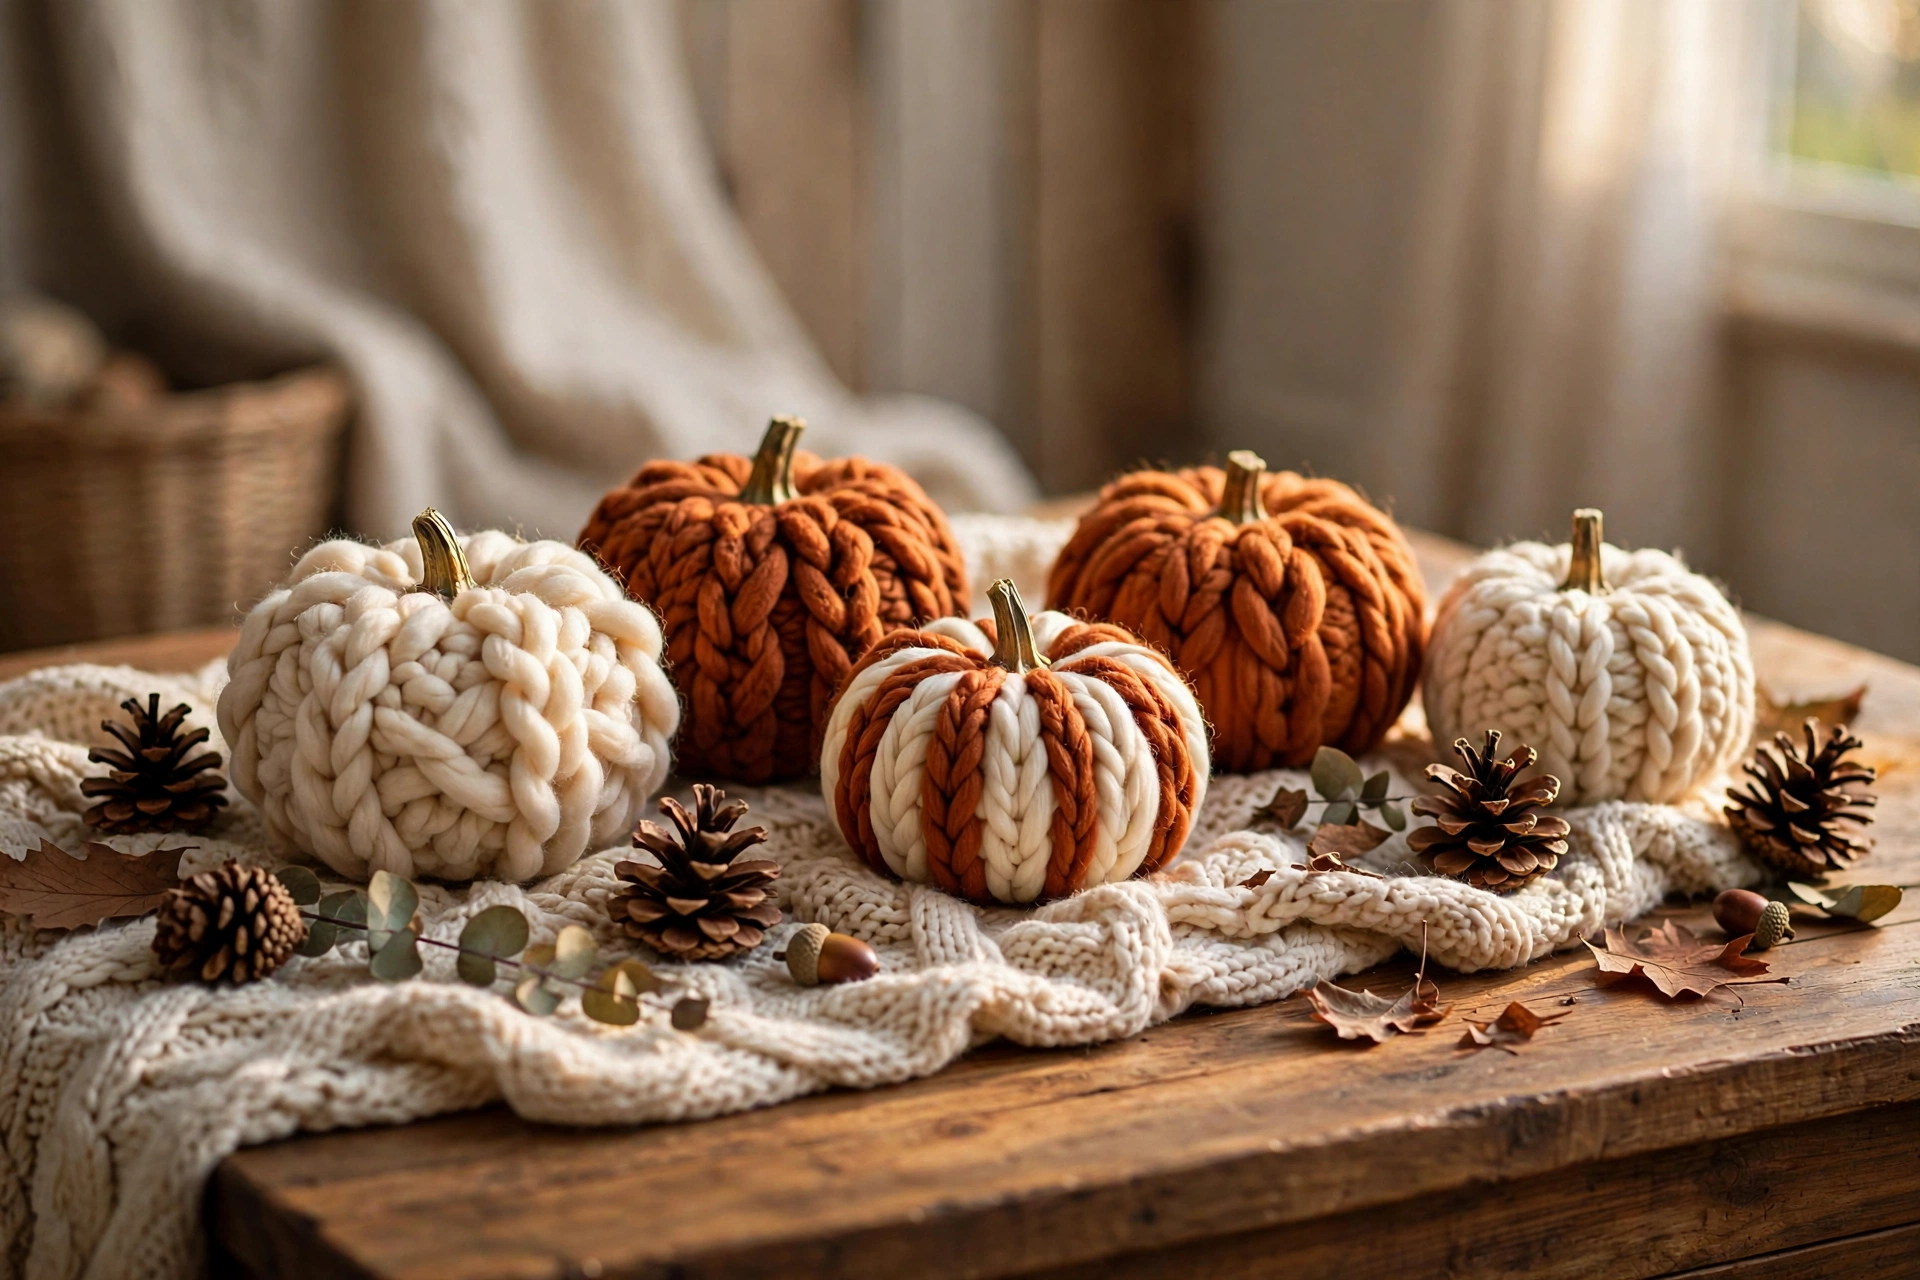
5. Stenciled Monogram Pumpkins
A single initial makes a pumpkin feel personal and polished. Position an adhesive letter stencil on the front of the pumpkin, dab on acrylic paint with a foam pouncer, and peel the stencil while the paint is still slightly tacky. Black on white pumpkins looks crisp and modern. Time: 30 minutes. Cost: under $5 if you already own paint.
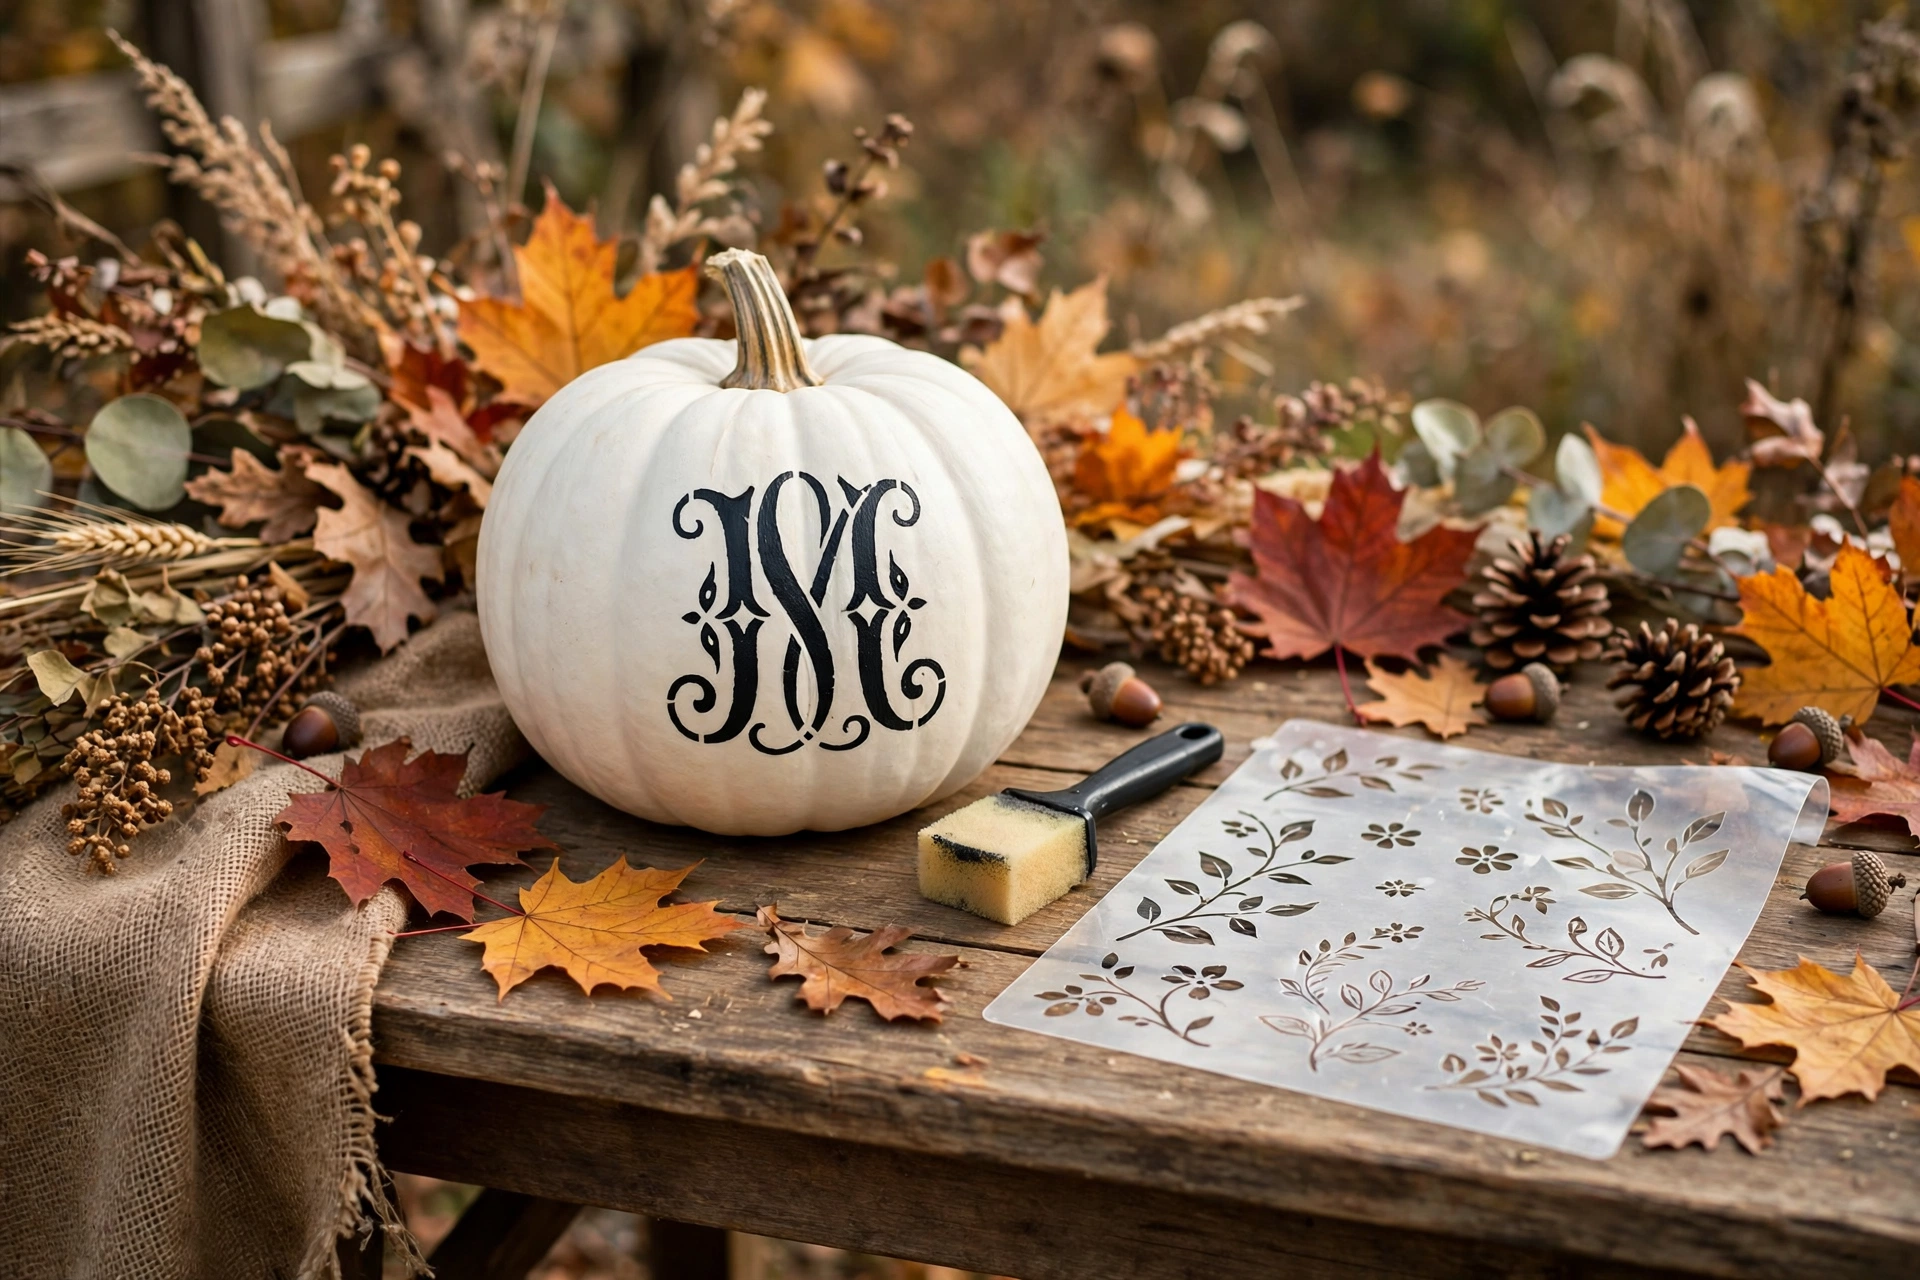
6. Glitter-Dipped Pumpkins
For glam fall style, brush the bottom half of a pumpkin with craft glue and roll it in fine glitter. Gold, copper, or champagne glitter over a white pumpkin is stunning on a mantel. Shake off the excess and let dry for one hour, then seal with clear spray sealer so the glitter stays put. Time: 45 minutes. Cost: about $6.
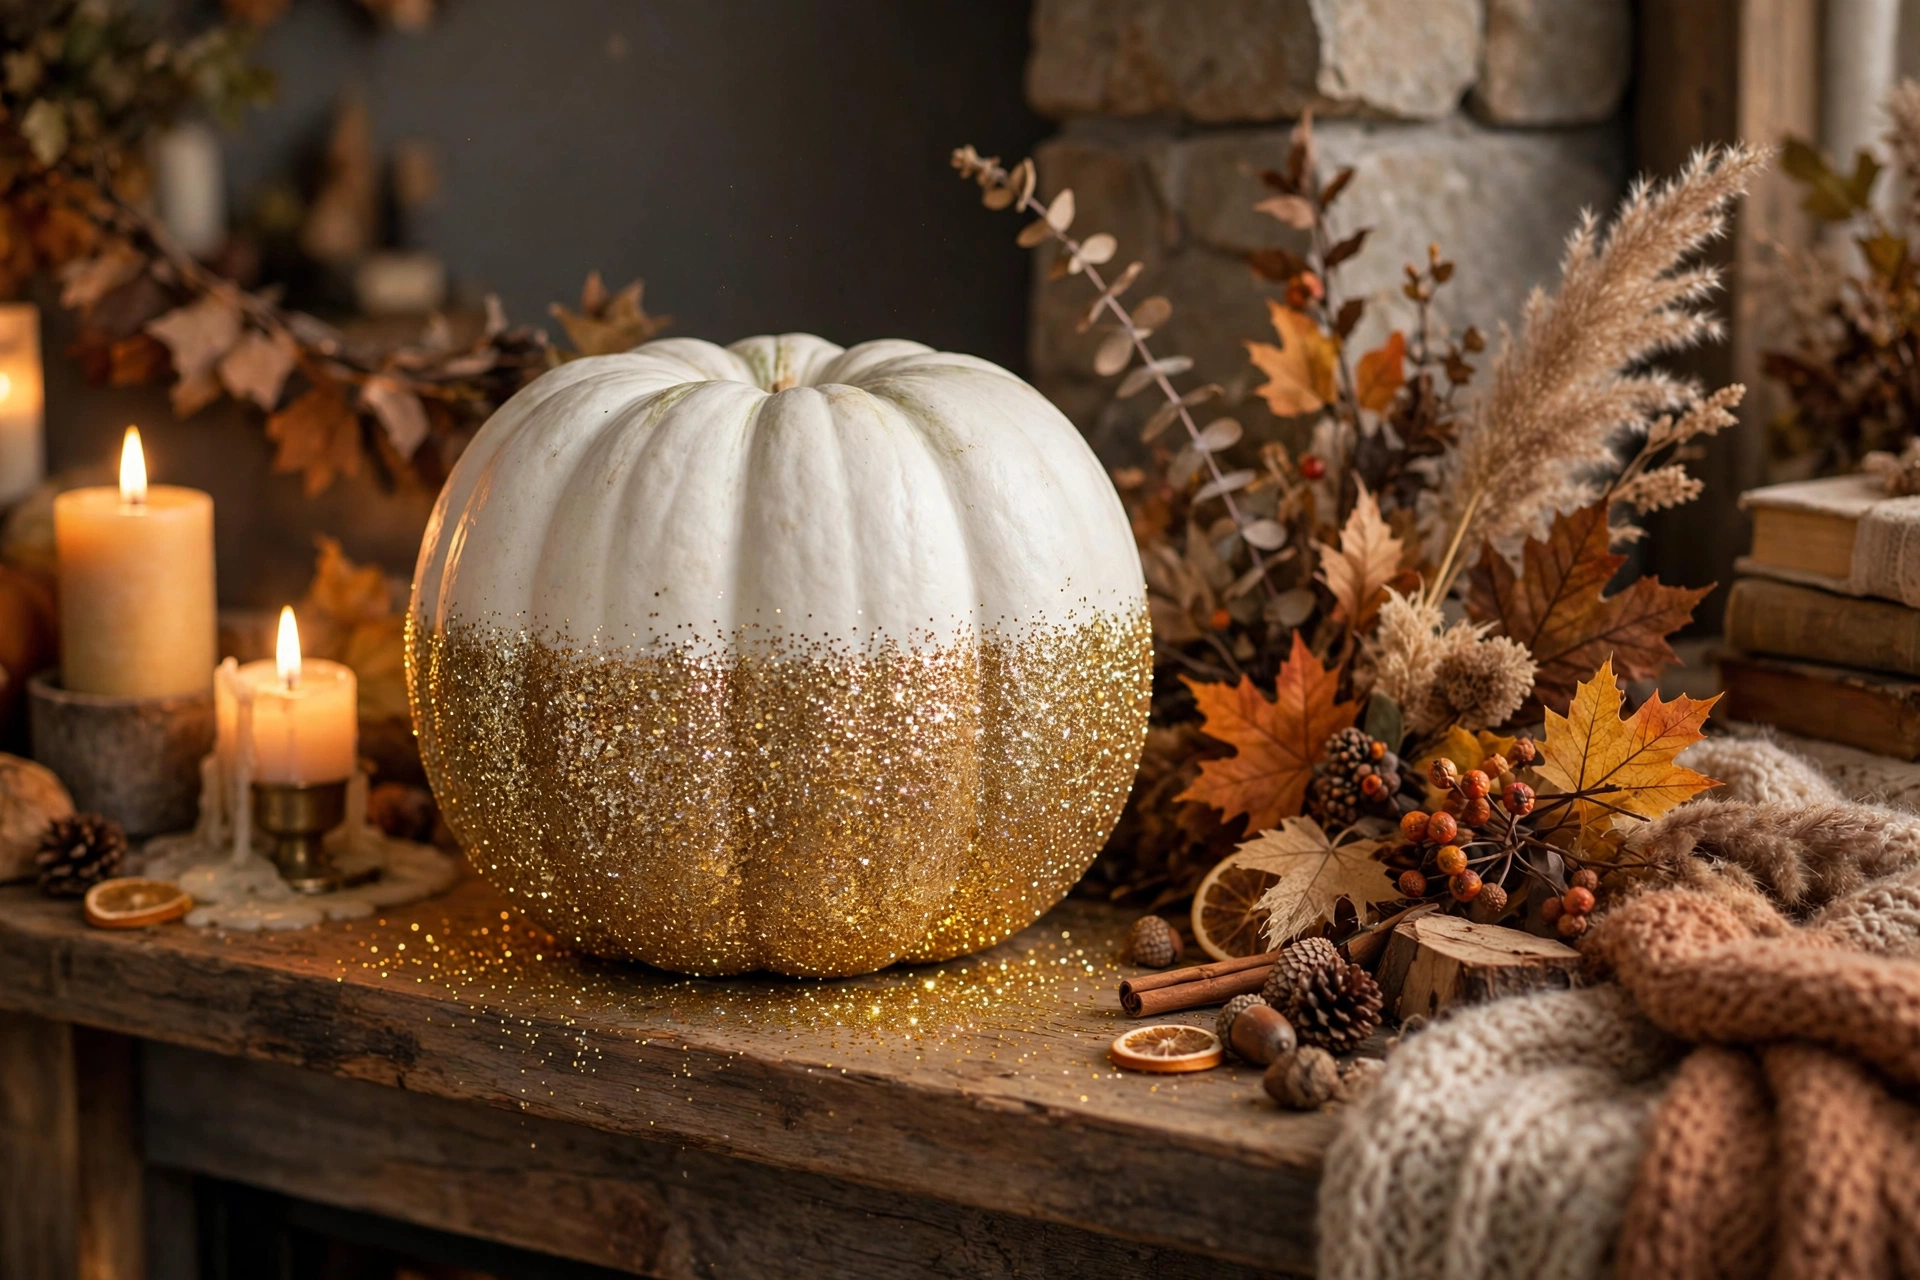
7. Thumbtack-Studded Pumpkins
Push decorative upholstery tacks into a craft pumpkin in a pattern — try a chevron, polka dots, or a simple band around the middle. Brass tacks on a white pumpkin look especially chic. No glue or drying time needed, so this is the fastest project on the list. Time: 20 minutes. Cost: a box of 100 tacks costs about $5.
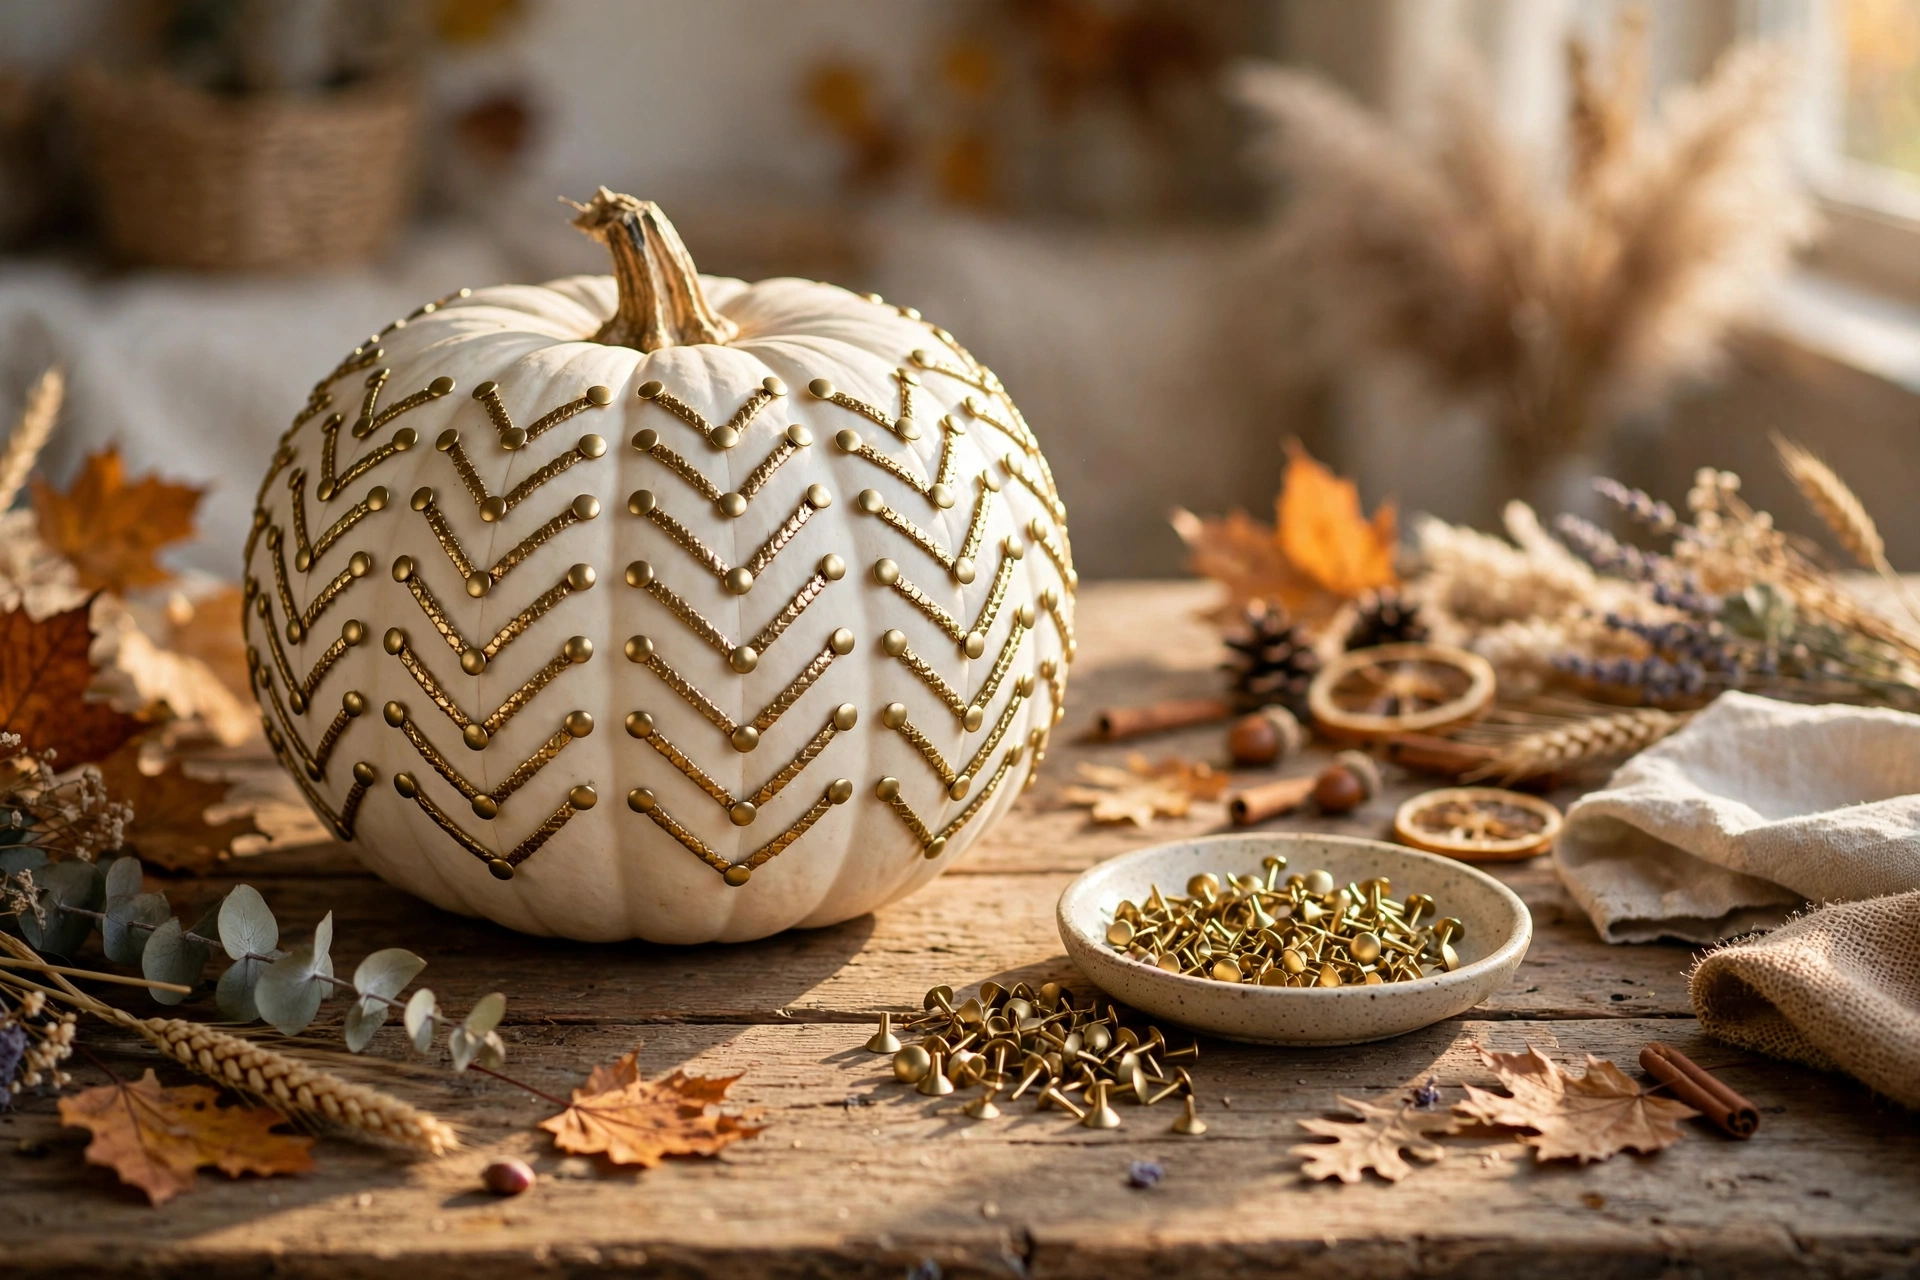
8. Fabric-Wrapped Pumpkins
No-sew fabric pumpkins are a classic for a reason. Lay a fat quarter of fall fabric right-side down, set a foam pumpkin in the center, gather the fabric up around it, and secure with a rubber band tucked under the stem. Tuck the raw edges inside for a clean finish. Time: 15 minutes per pumpkin. Cost: fat quarters run about $3 each.
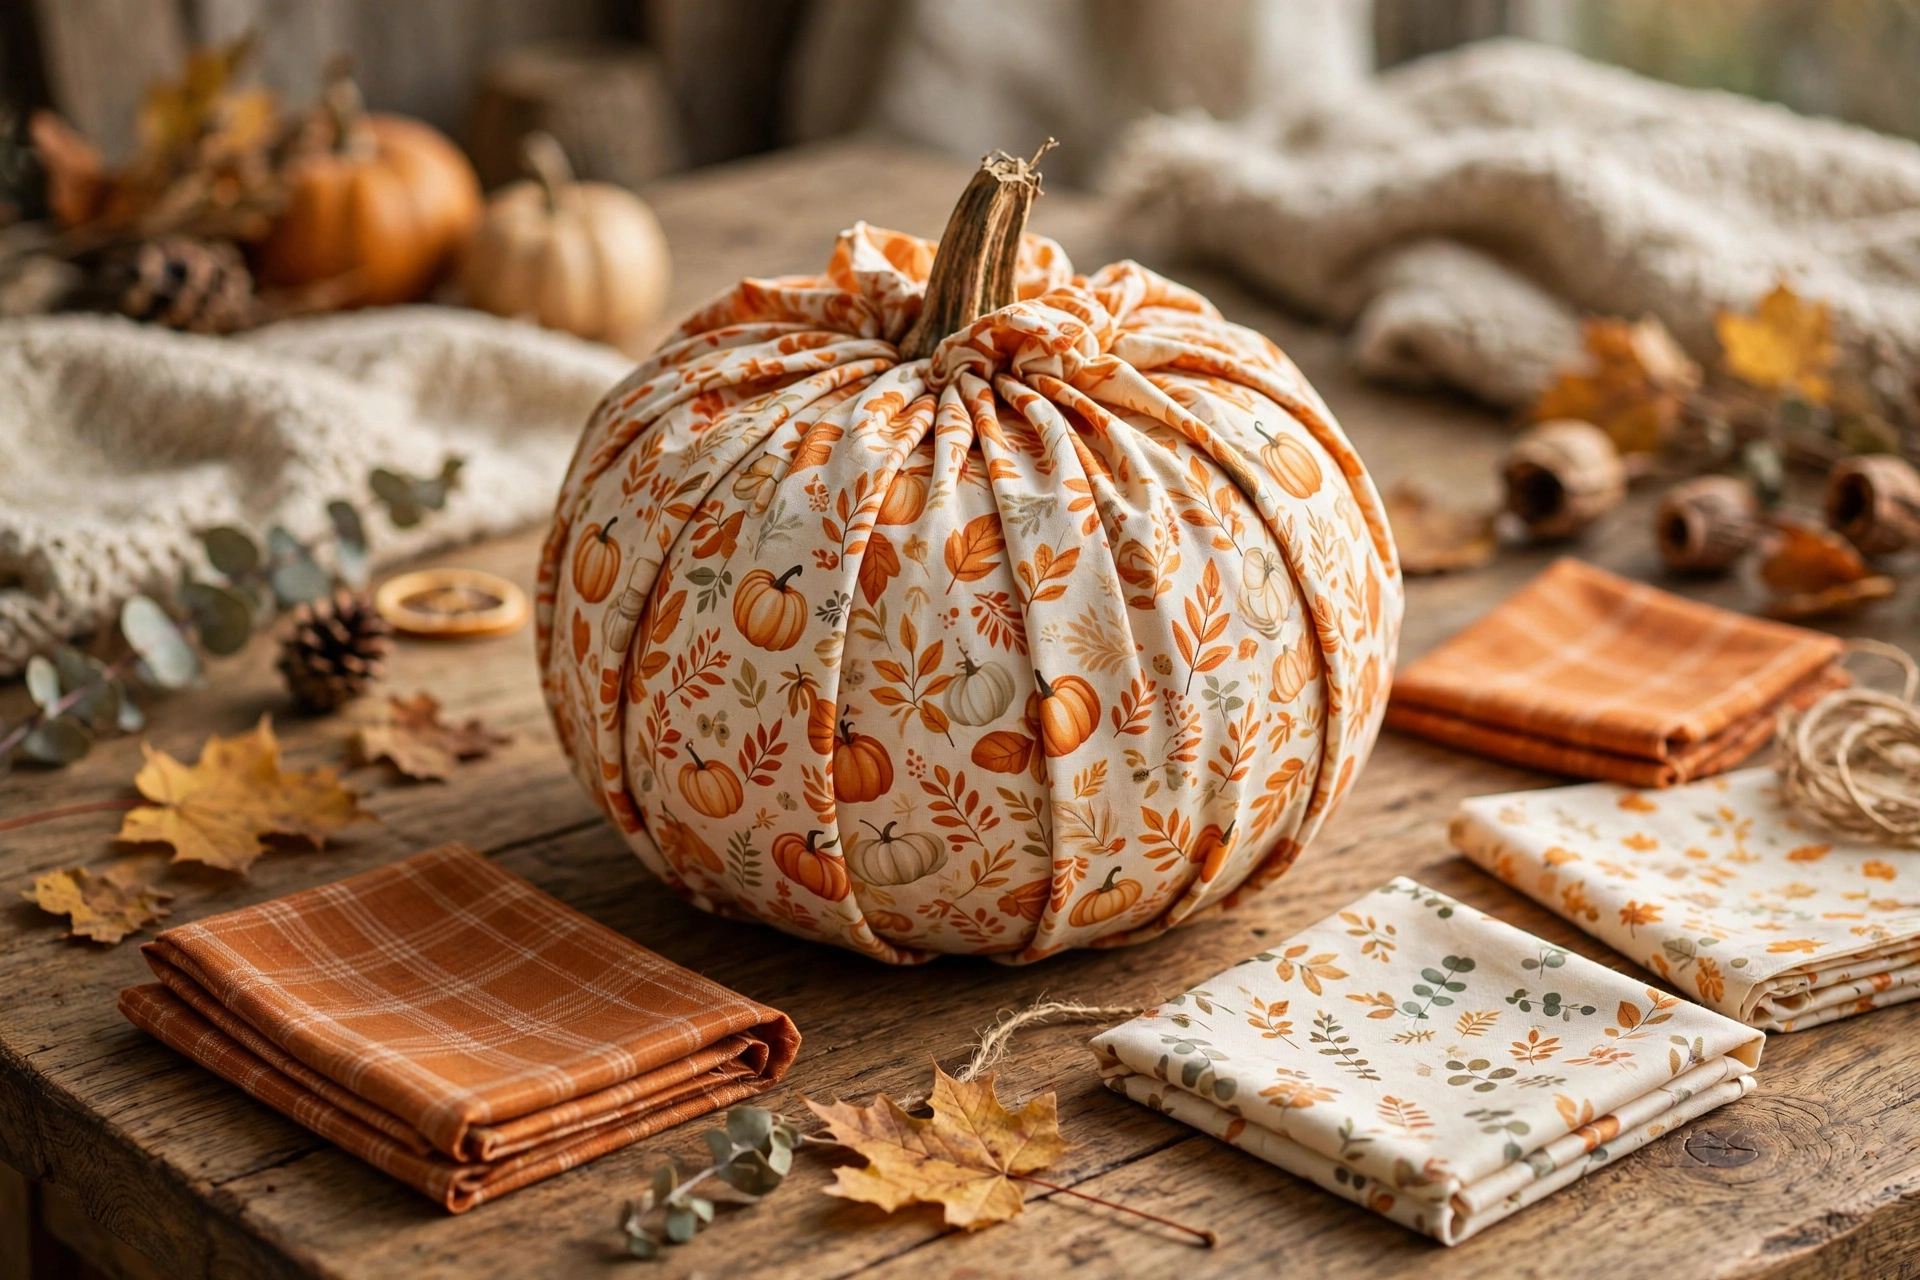
9. Painted Plaid Pumpkins
Plaid reads instantly cozy. Paint the pumpkin a base color, let dry, then use painter’s tape to mask off stripes and paint a second and third color over them. Peel the tape while the last coat is tacky for crisp lines. Time: 2 hours with drying between coats. Cost: under $10 for craft paint.
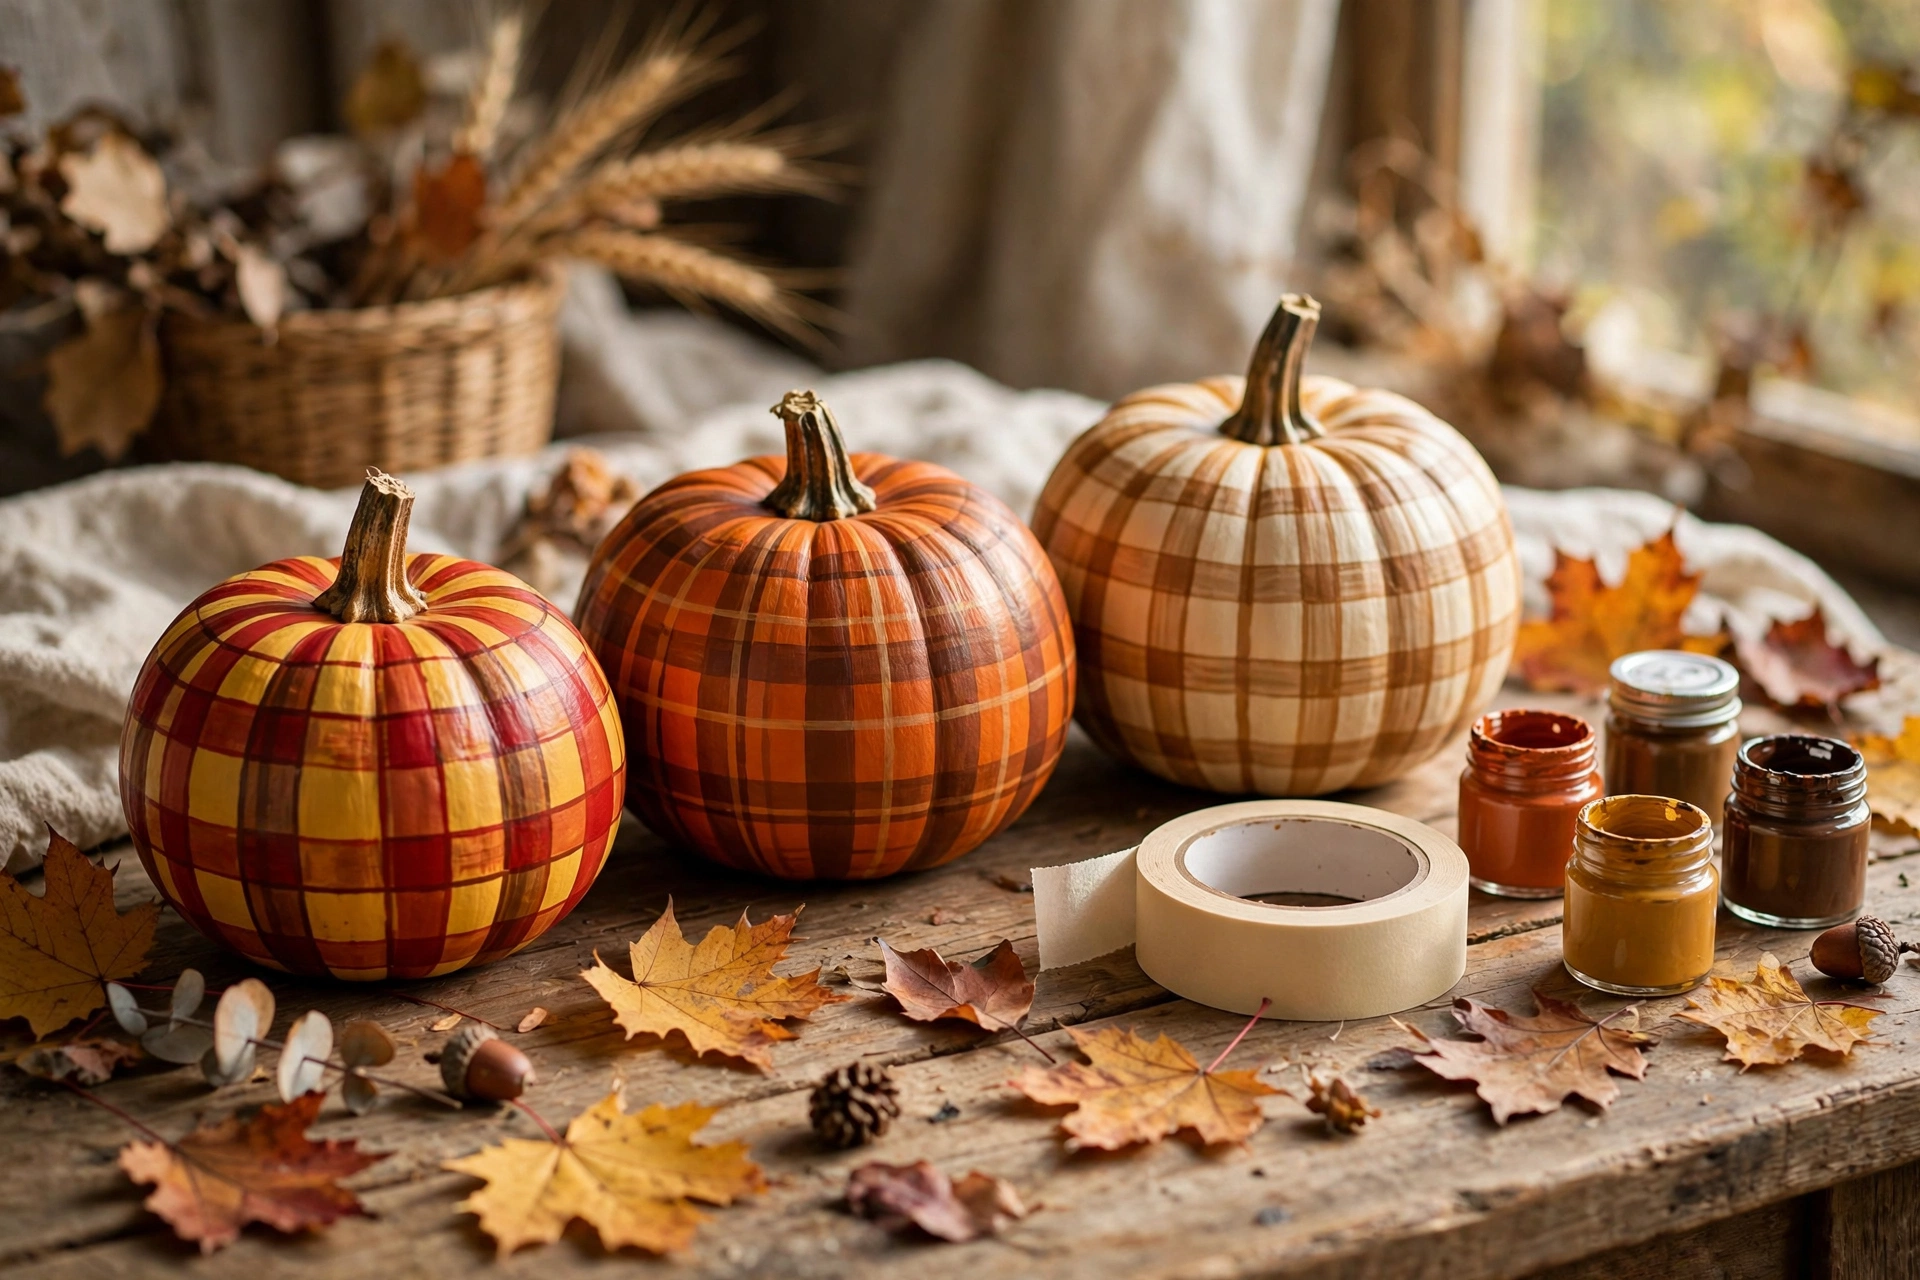
10. Succulent-Topped Pumpkins
Glue a ring of moss to the top of a pumpkin with hot glue, then nestle in faux succulents of varying sizes. Mist the moss lightly if using real preserved moss. This no-carve centerpiece lasts for weeks indoors. Time: 45 minutes. Cost: about $15 for faux succulents and moss.
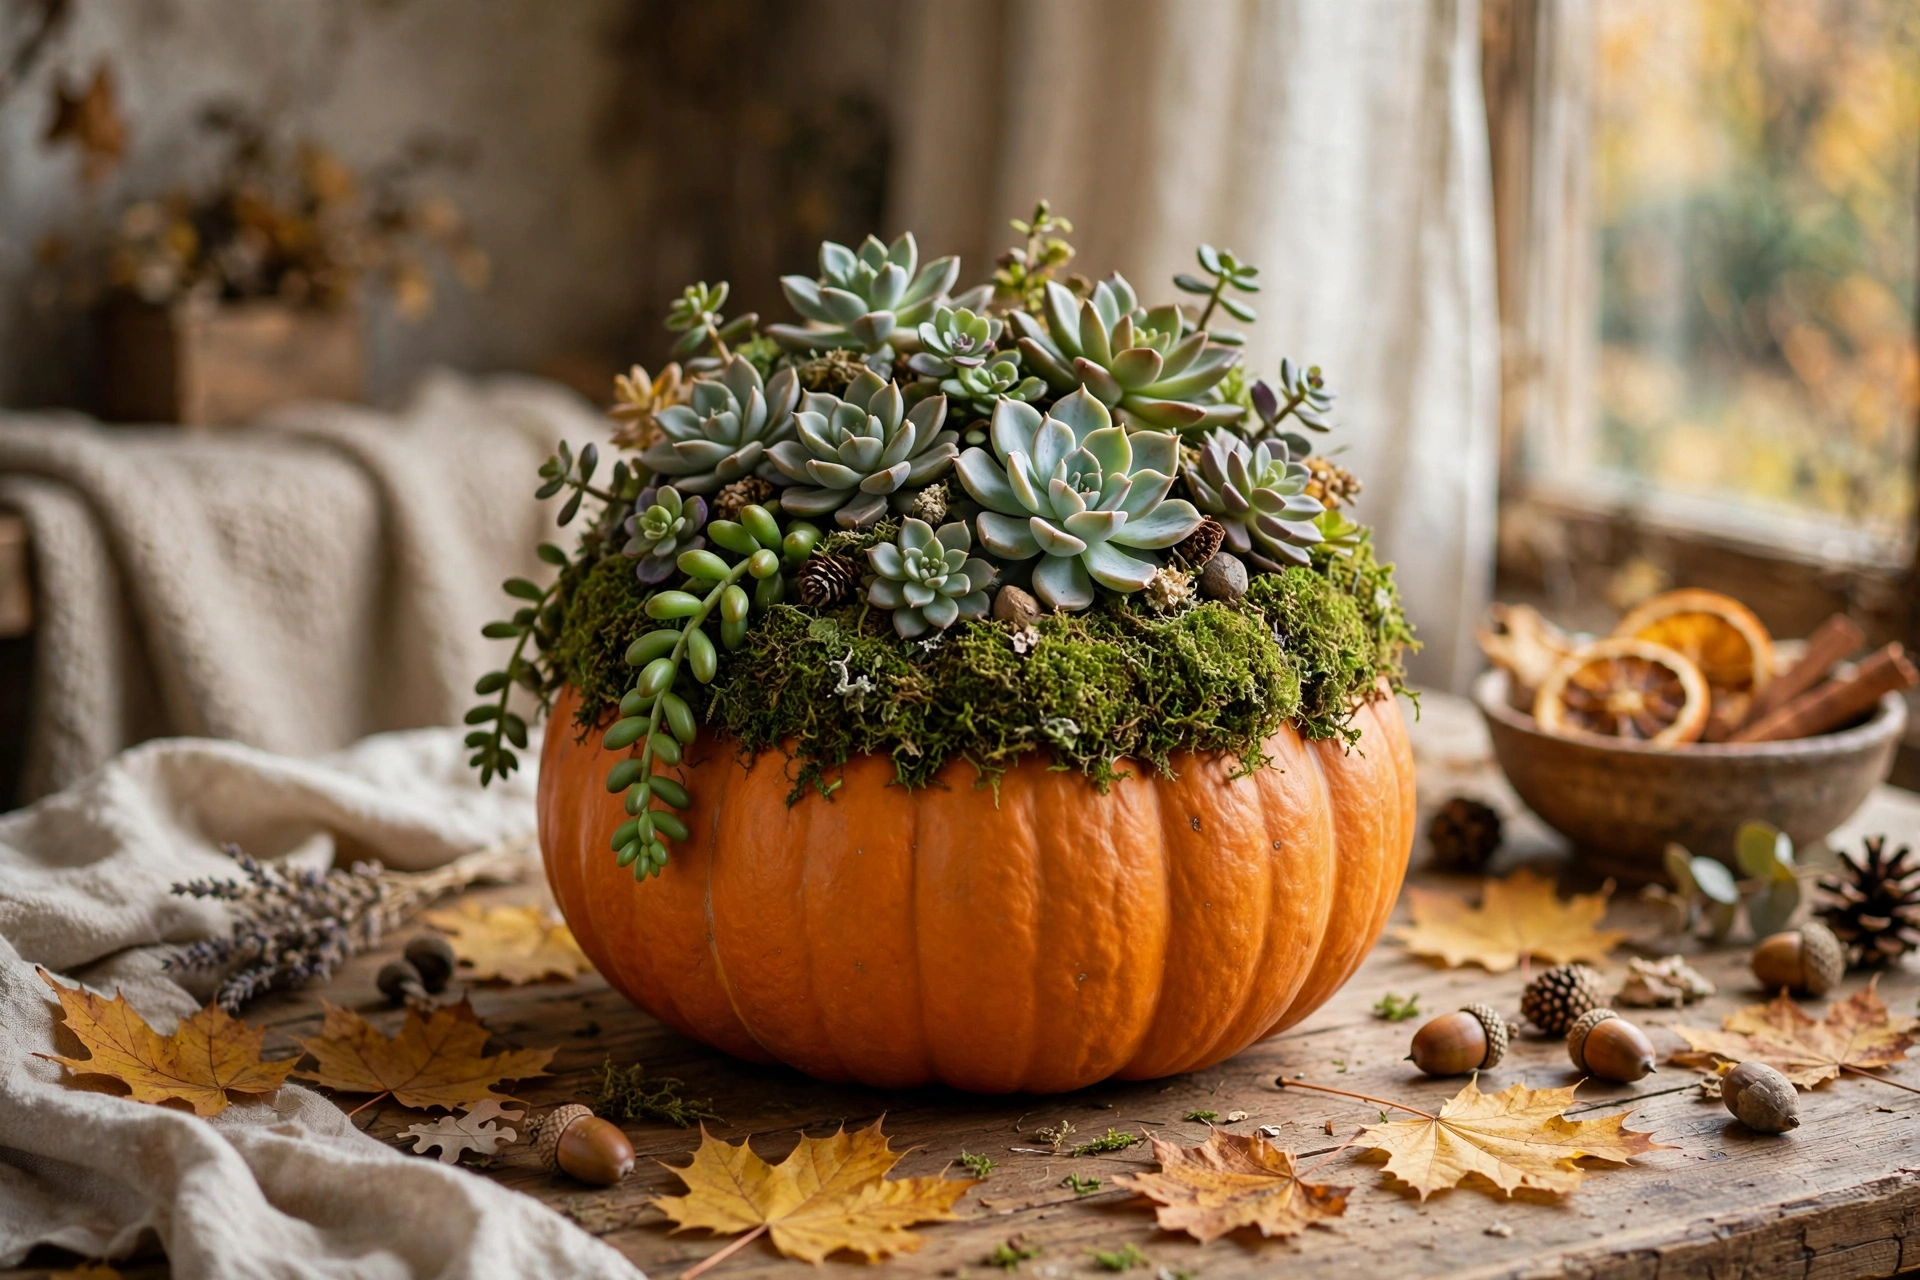
11. Dried-Flower Crown Pumpkins
Hot-glue dried lavender, wheat stems, and small dried blooms around the stem of a pumpkin to make a floral crown. Work in a circle, layering stems so no glue shows. This is gorgeous for a dining table centerpiece. Time: 1 hour. Cost: $8 to $12 for dried flower bundles.
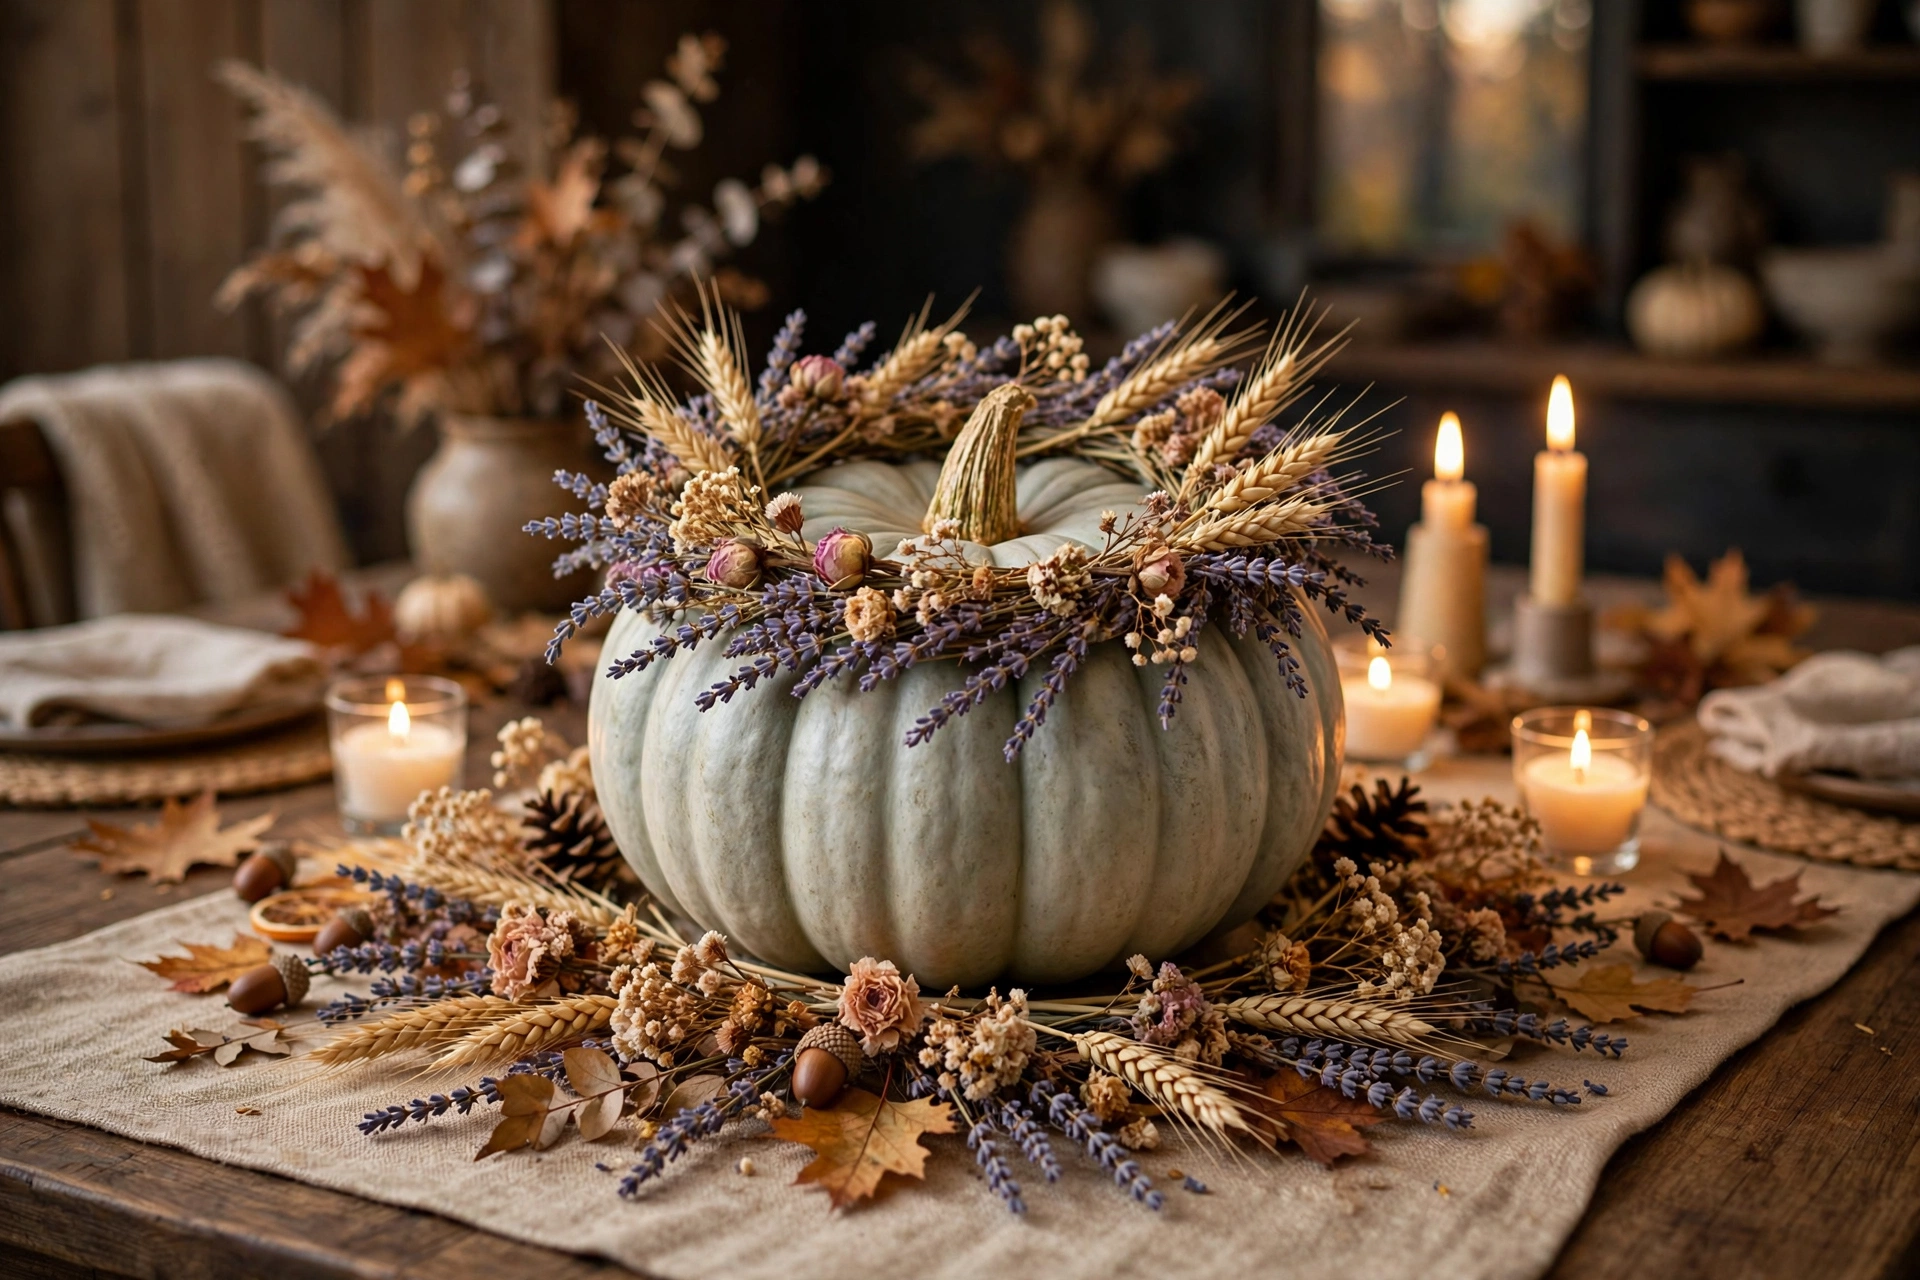
12. Twine-Wrapped Stem Pumpkins
An easy upgrade for any pumpkin: wrap the stem tightly in natural jute twine, securing the end with hot glue. The rustic stem contrasts beautifully with a painted pumpkin body. Add a small raffia bow at the base of the stem for extra charm. Time: 15 minutes. Cost: practically free if you own twine.
13. Ombre Spray-Painted Pumpkins
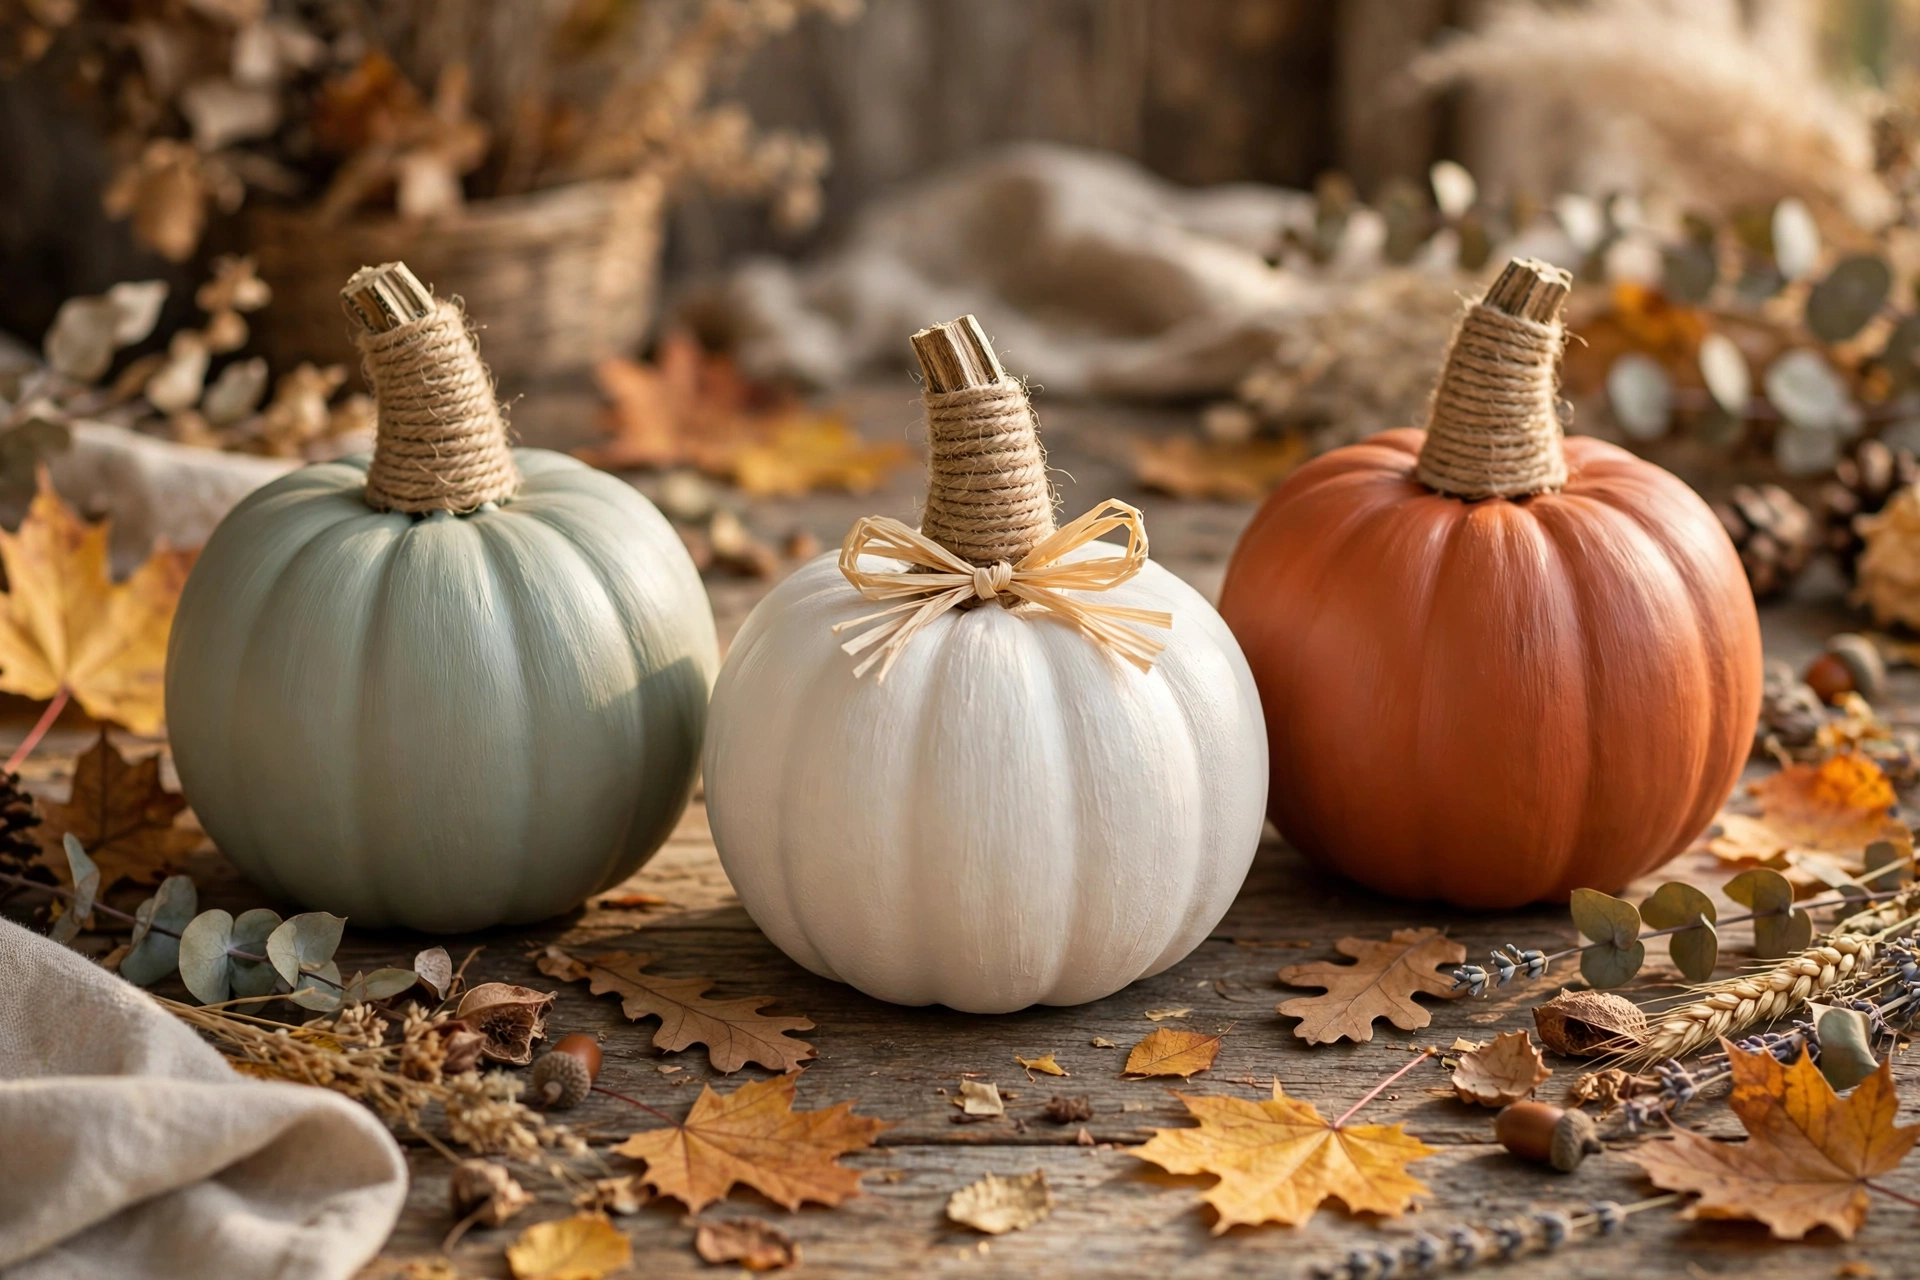
Spray paint gives the smoothest finish of any method. Start with the lightest color at the top and blend into a darker shade at the bottom, working in light passes. White fading into dusty blue is a gorgeous non-traditional fall palette. Work outdoors and let dry 1 hour. Time: 1.5 hours. Cost: two cans of spray paint, about $12.
14. Buffalo Check Pumpkins
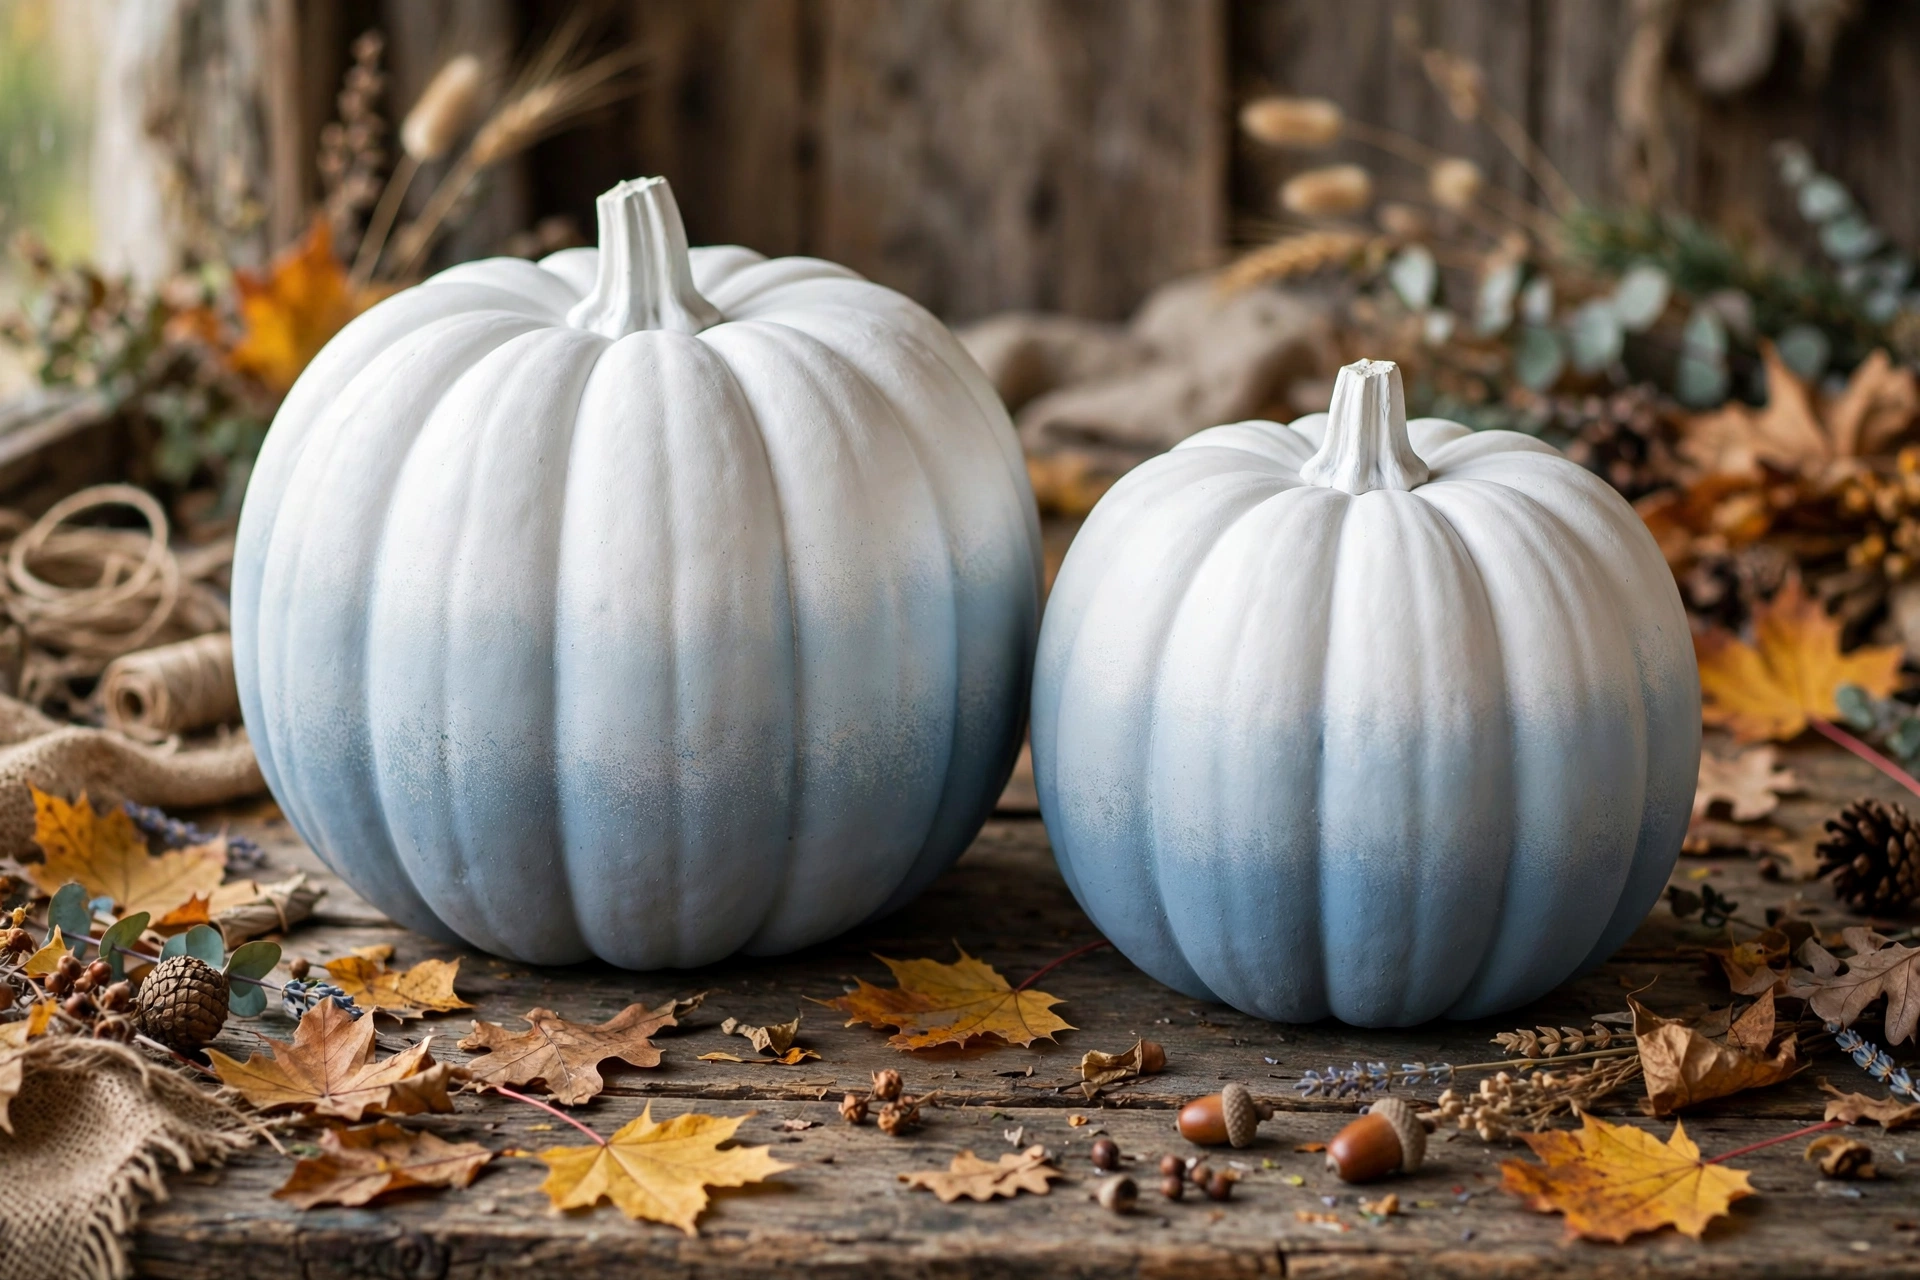
Paint a white pumpkin, then use a buffalo-check stencil and black acrylic paint for the iconic farmhouse pattern. Stencil one side at a time, repositioning carefully. The bold pattern makes a single pumpkin a statement piece. Time: 1.5 hours. Cost: stencil plus paint, about $10.
15. Cinnamon-Stick Candle Holder Pumpkins
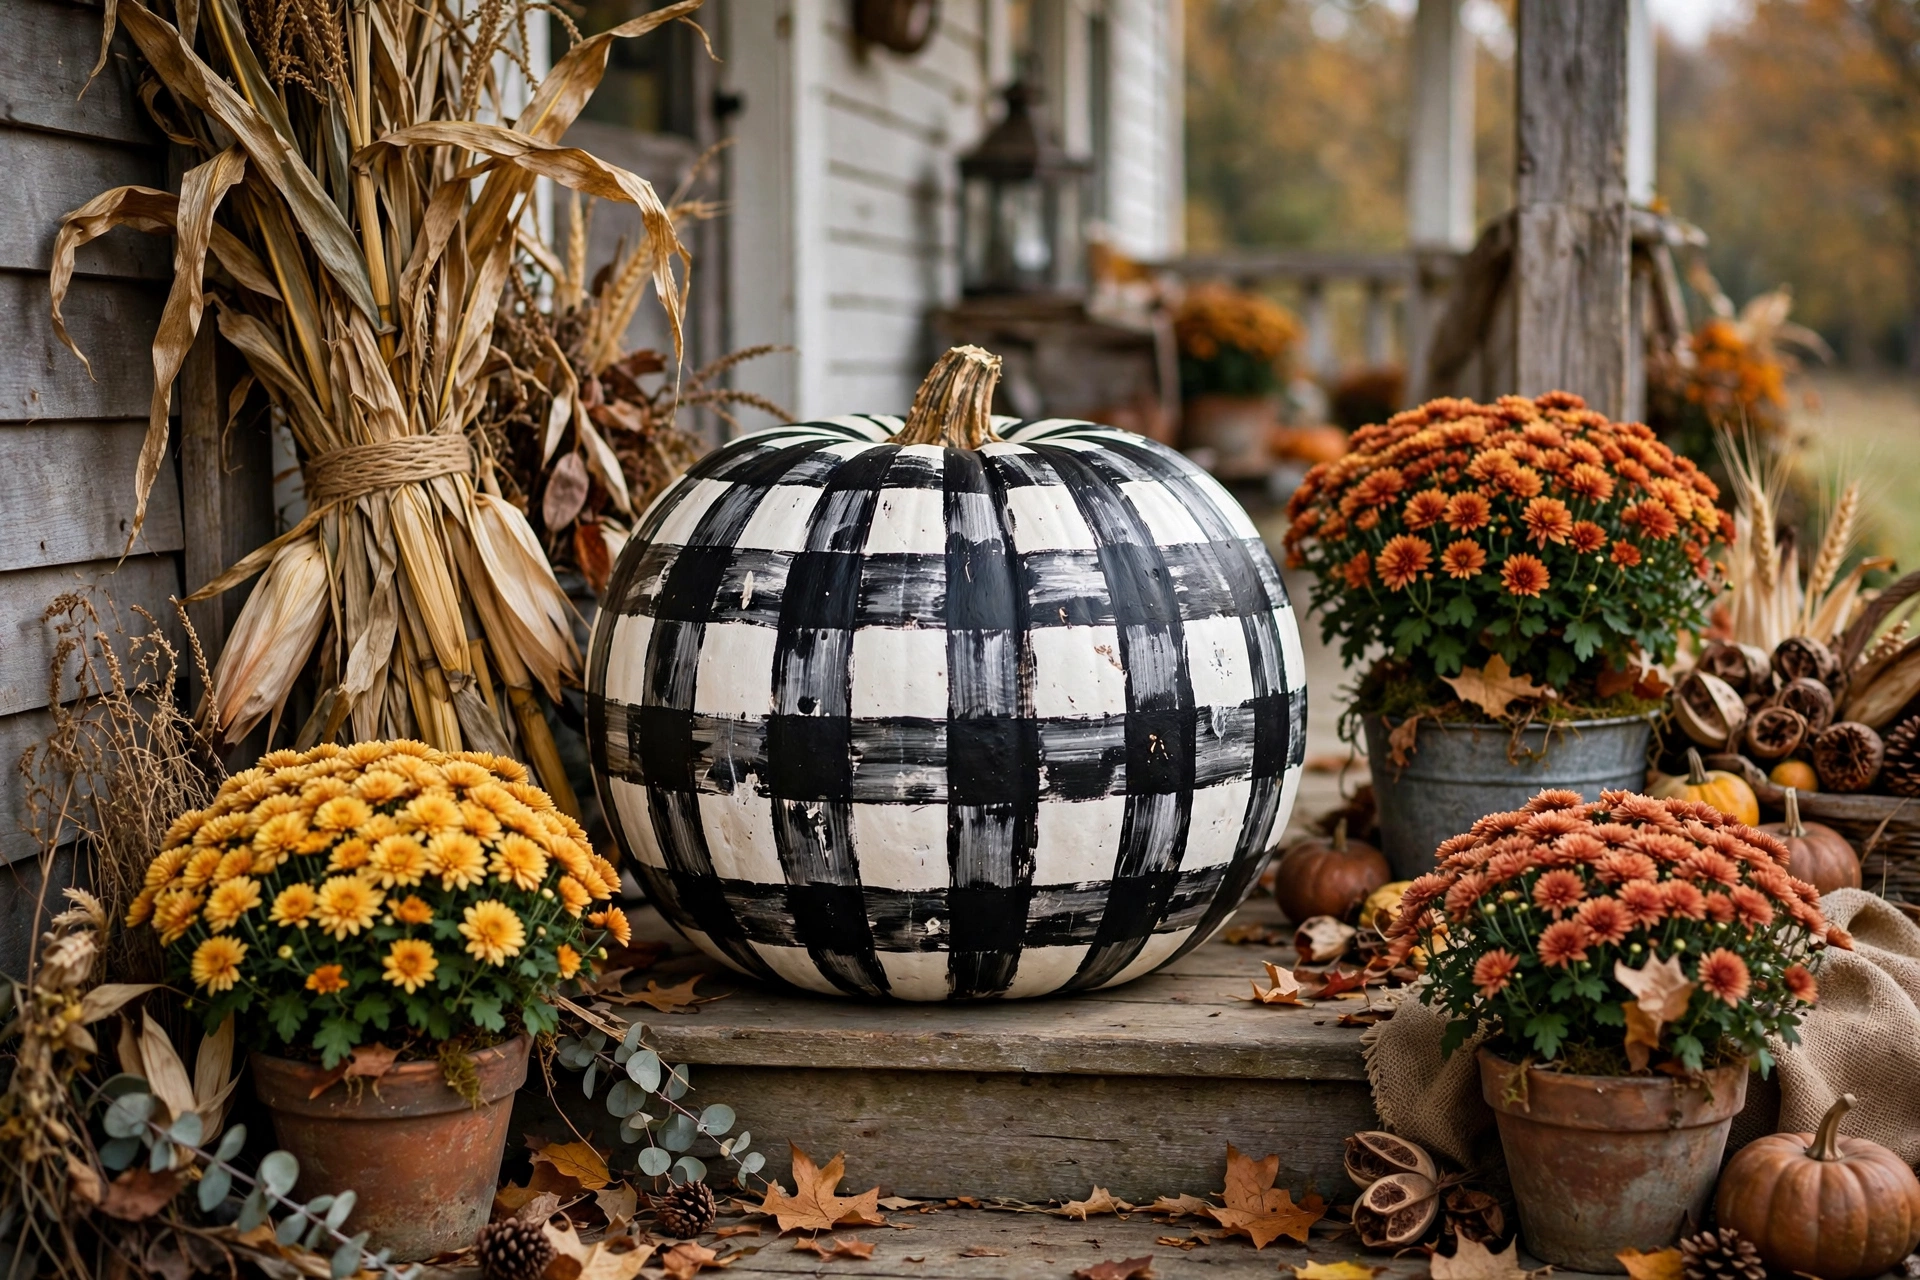
Hollow a craft pumpkin just enough to fit a flameless LED candle, then hot-glue cinnamon sticks vertically around the outside. Tie with twine to hold everything while the glue sets. The result smells faintly of cinnamon and glows beautifully at night. Time: 1 hour. Cost: about $10 for cinnamon sticks and an LED candle.
16. Washi-Tape Striped Pumpkins
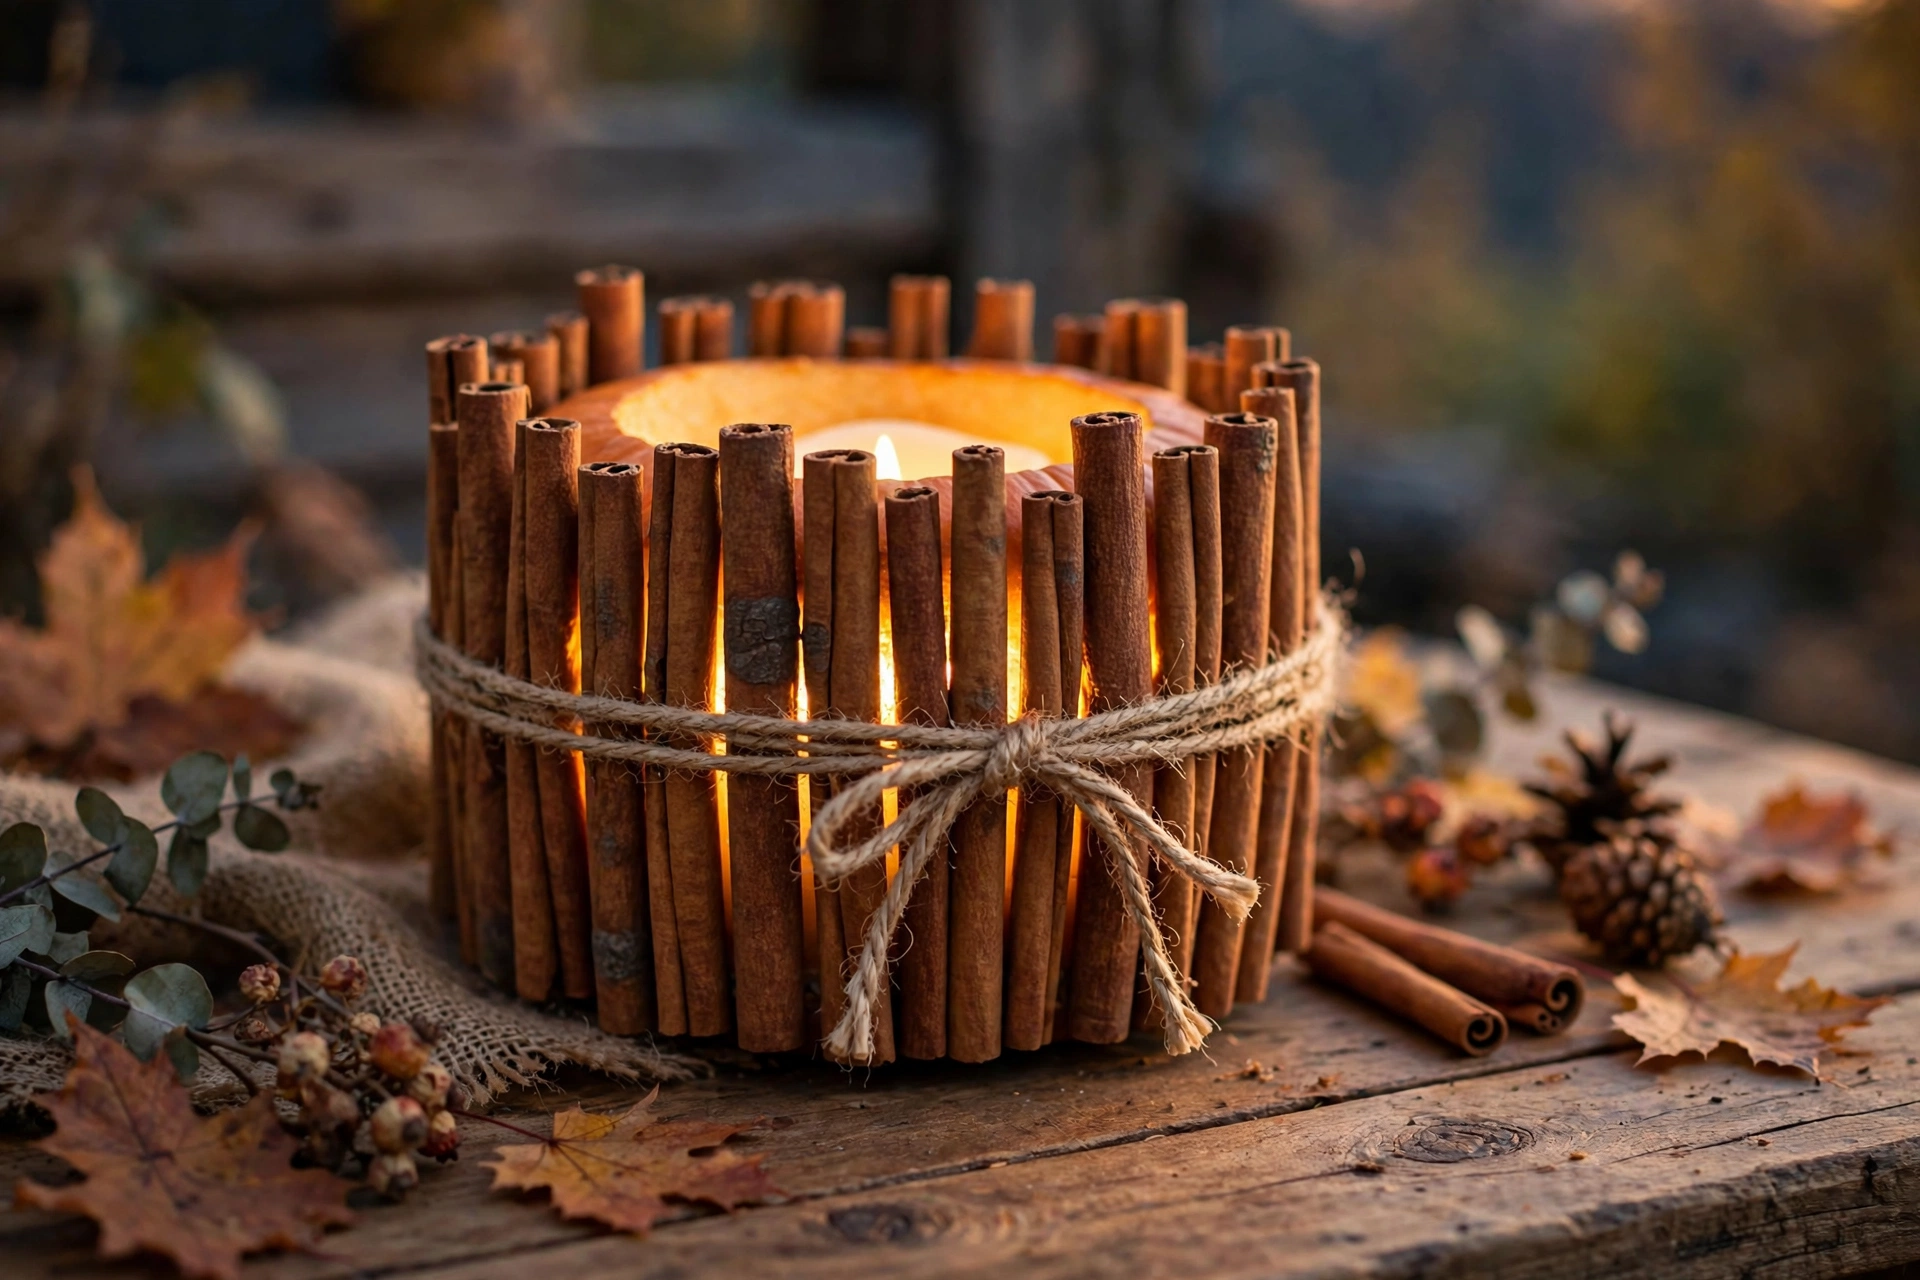
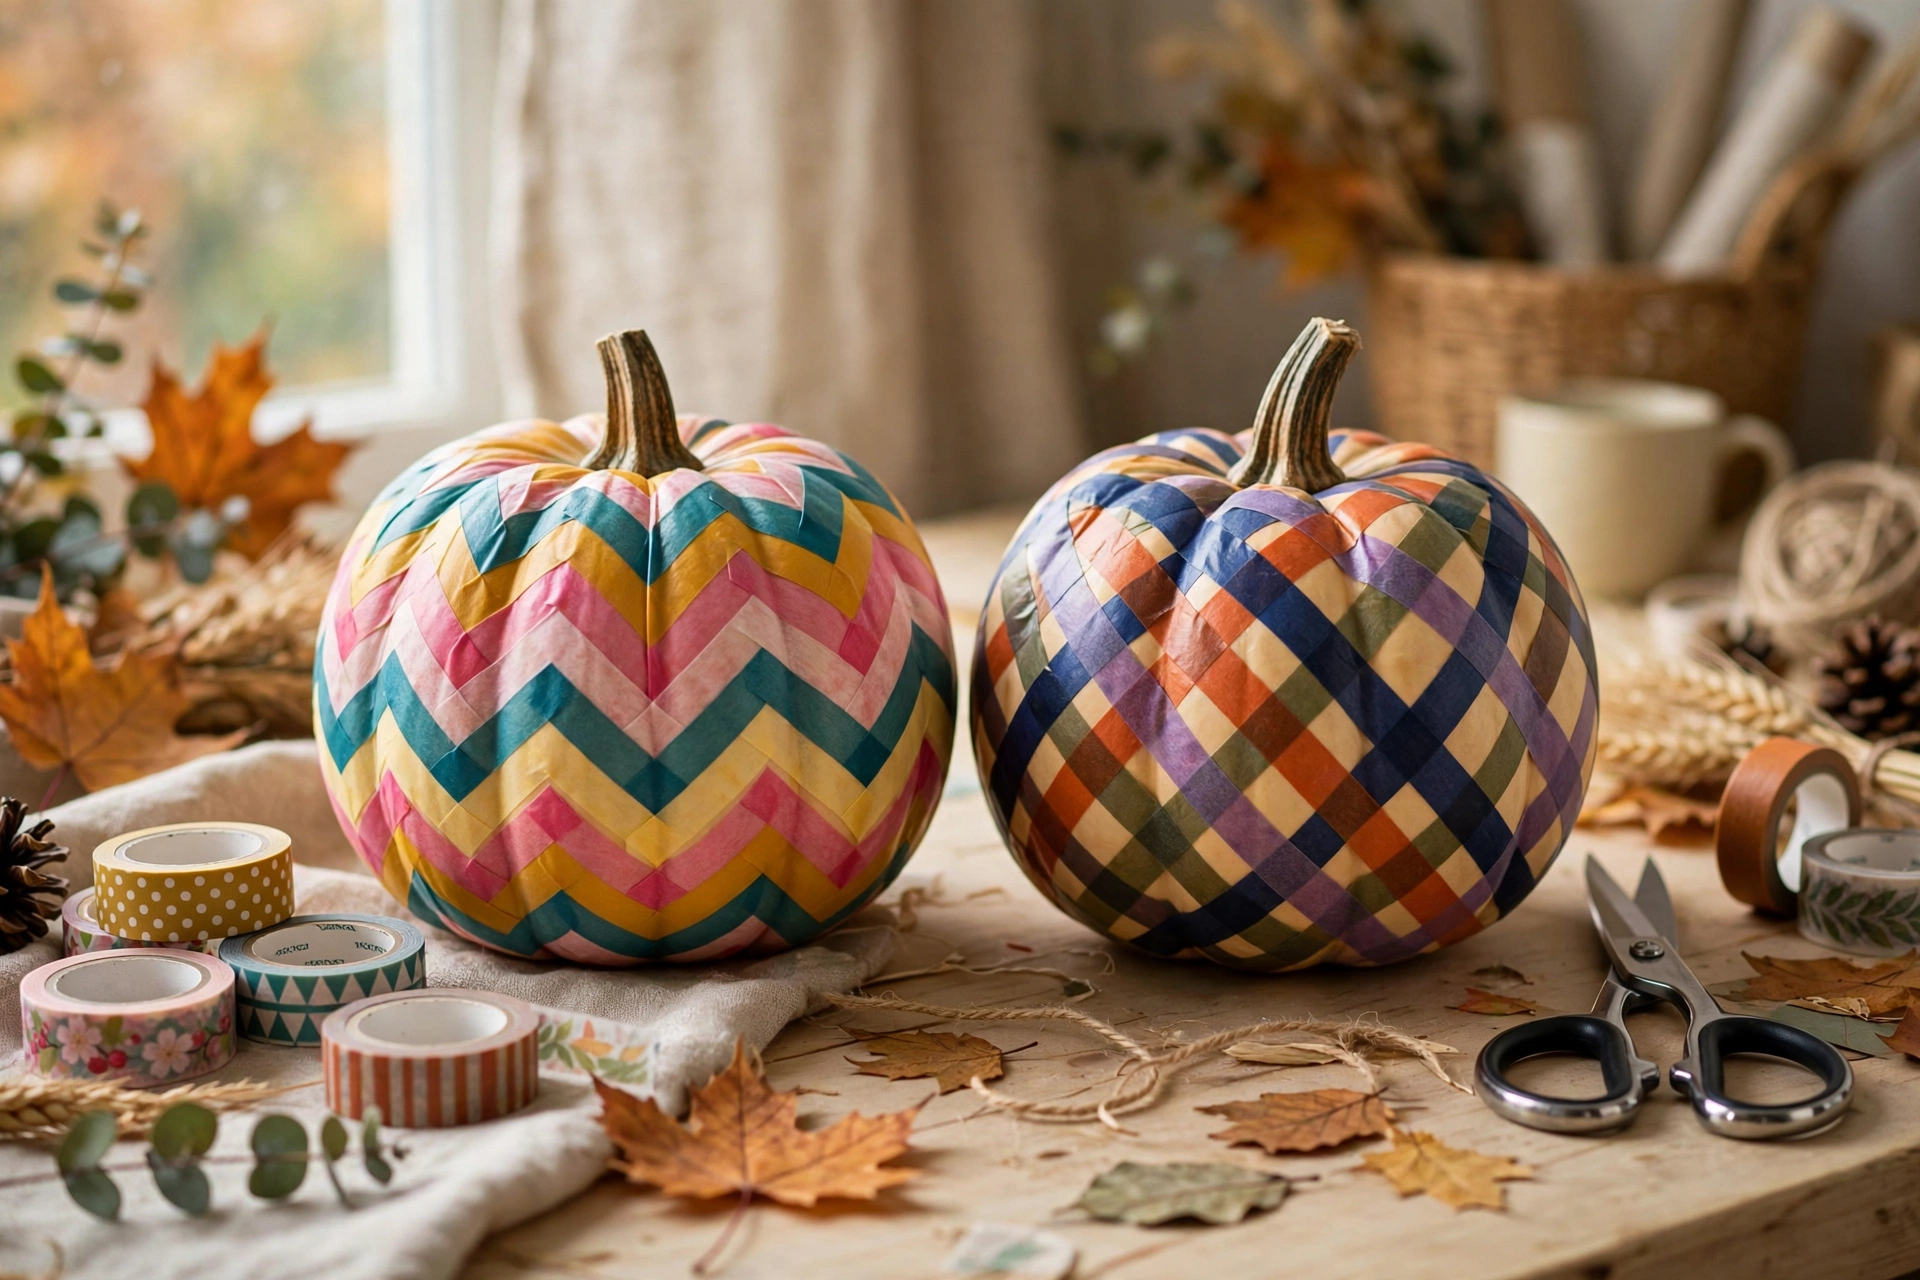
Washi tape sticks beautifully to craft pumpkins and peels off cleanly. Wrap strips around the pumpkin in stripes, chevrons, or a crisscross pattern. This is a perfect kid-friendly craft with zero drying time. Time: 20 minutes. Cost: a few dollars for washi tape rolls.
17. Velvet Pumpkins From Old Sweaters
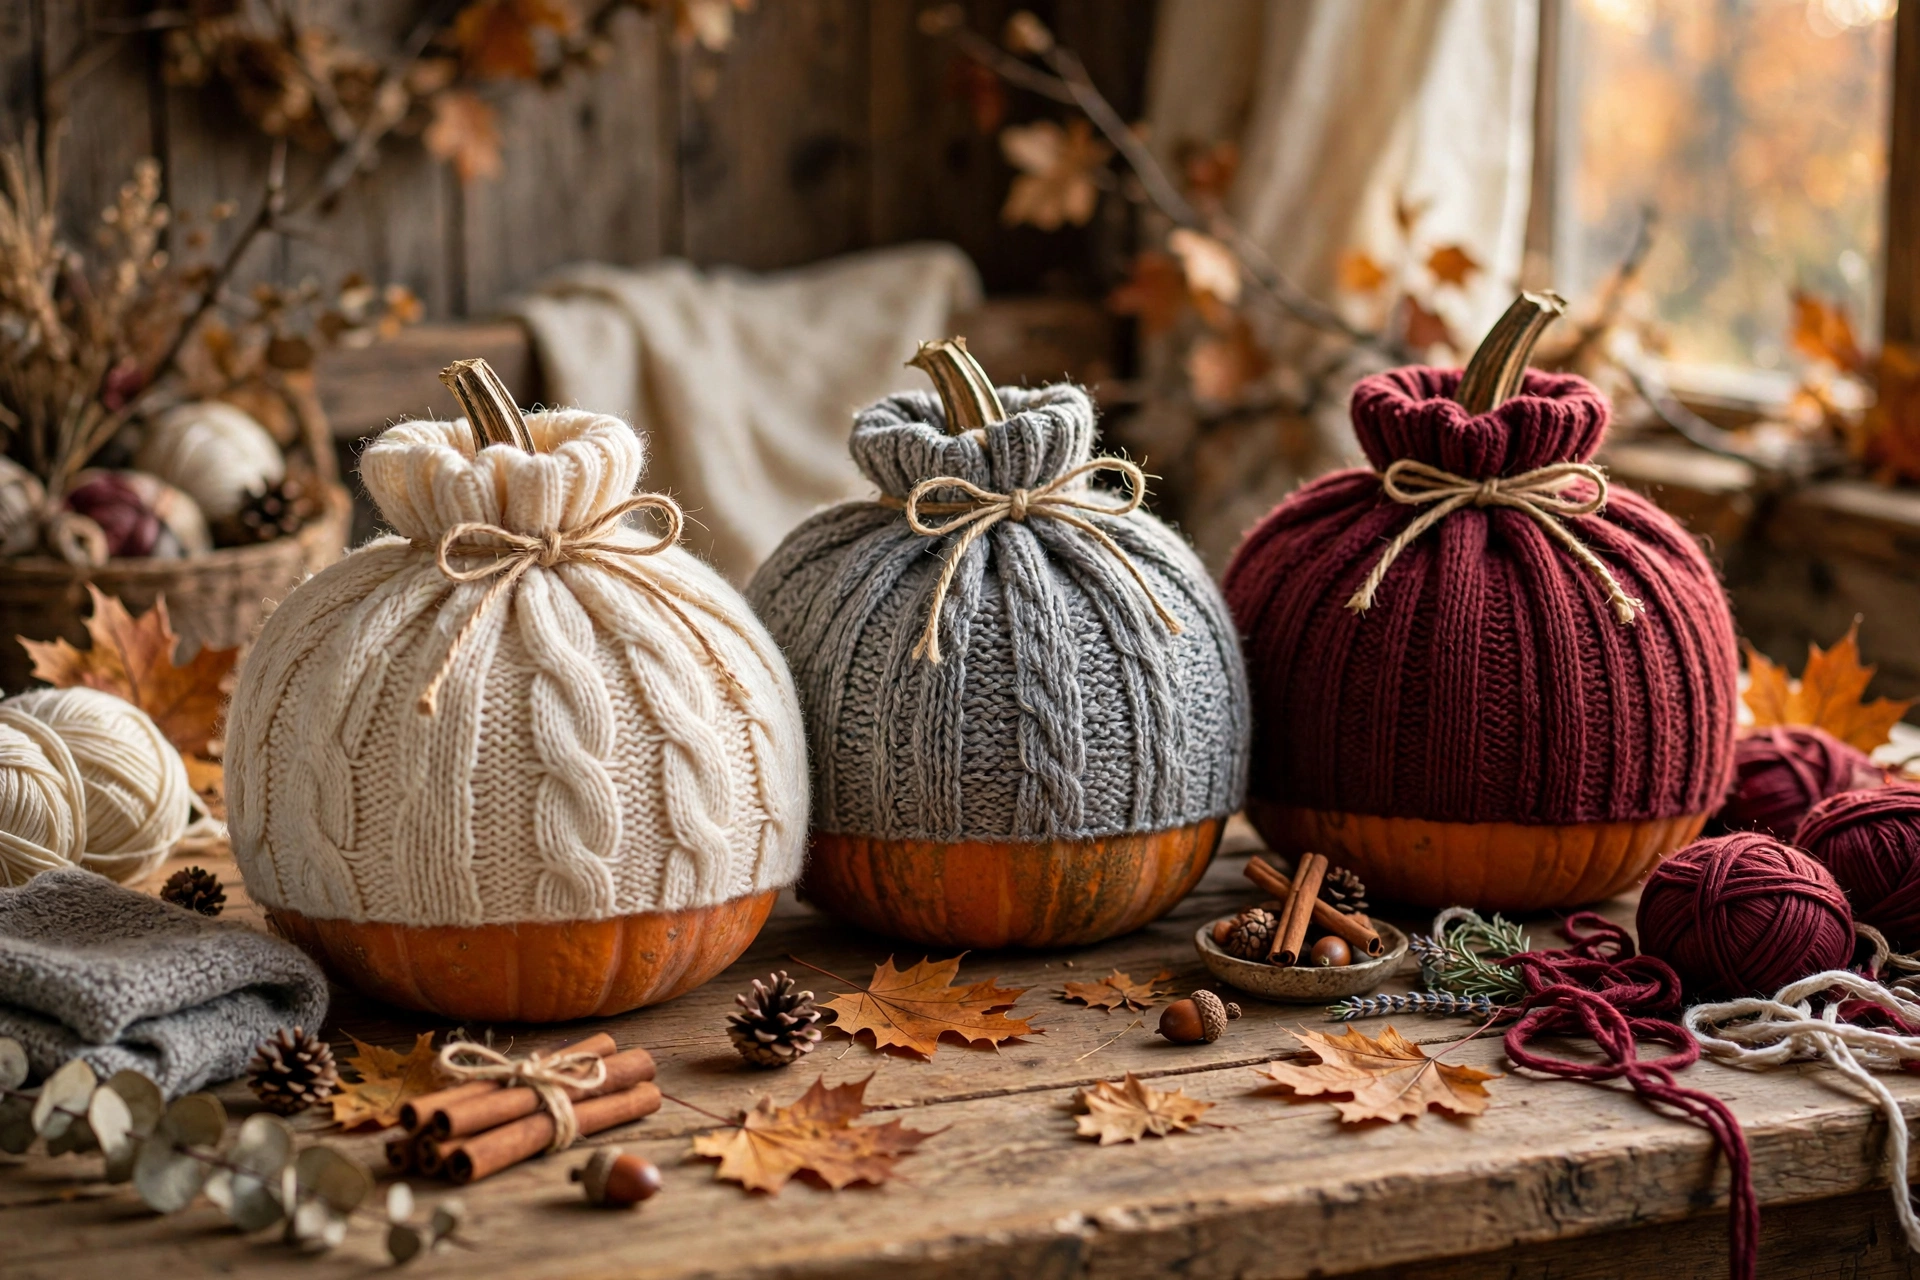
Cut the sleeve off an old sweater, stuff a foam pumpkin inside, gather the knit at the top, and tie it off under the stem. The soft texture looks luxurious next to crisp painted pumpkins. Use cream, gray, or burgundy sweaters for fall. Time: 20 minutes per pumpkin. Cost: free if you raid your closet.
18. Painted Polka-Dot Pumpkins
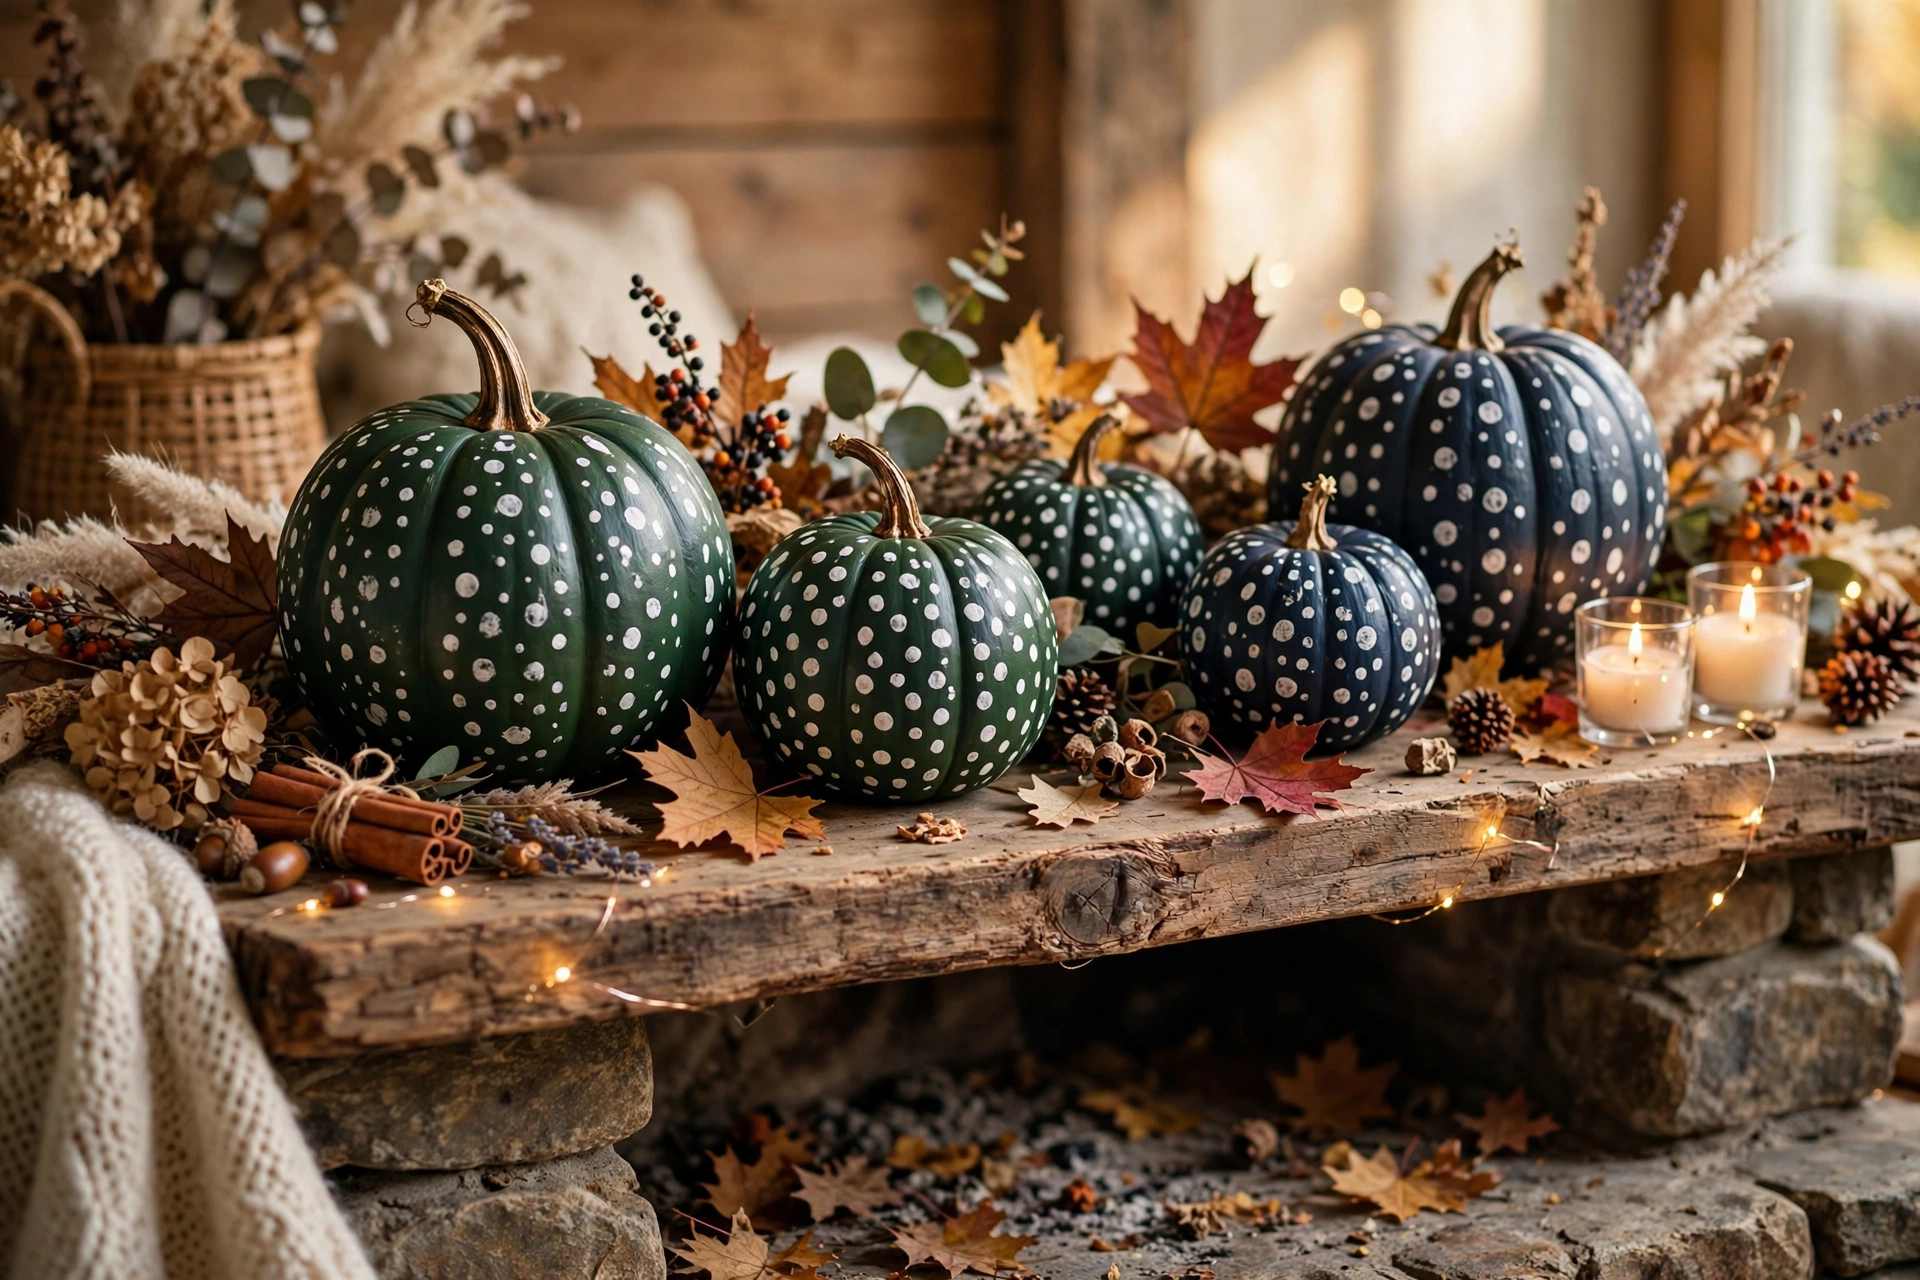
Use the eraser end of a pencil dipped in acrylic paint to stamp perfect polka dots all over a pumpkin. White dots on a deep green or navy pumpkin look fresh and modern. Let dry 30 minutes between colors if layering. Time: 45 minutes. Cost: under $5.
19. Eucalyptus Garland Pumpkin Centerpiece
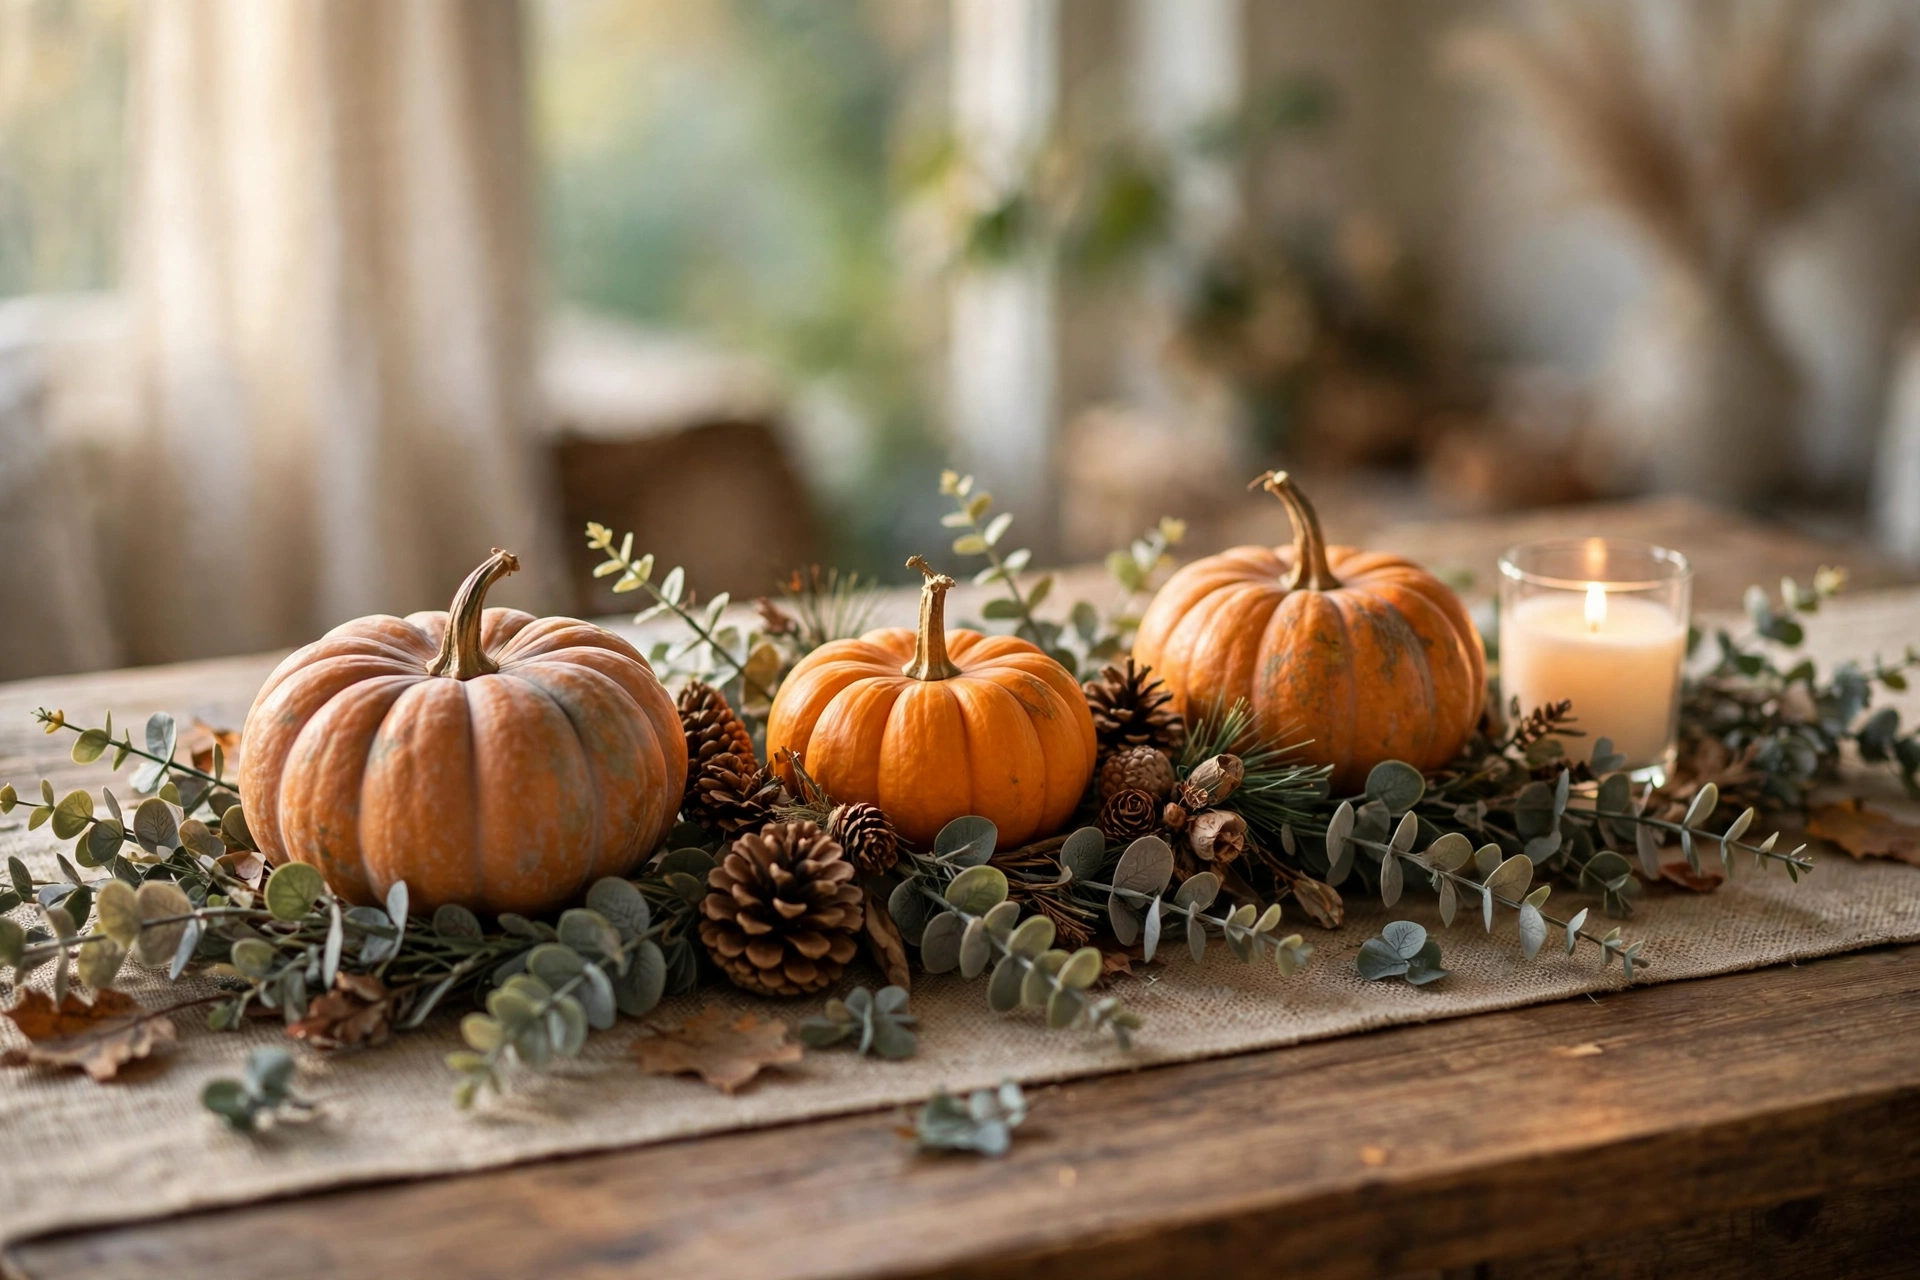
Line up three small pumpkins down the center of your table and weave a faux eucalyptus garland around and between them. Tuck in a few pinecones and one flameless candle. It looks professionally styled and takes minutes. Time: 20 minutes. Cost: about $15 for the garland if you don’t own one.
20. House-Number Porch Pumpkin
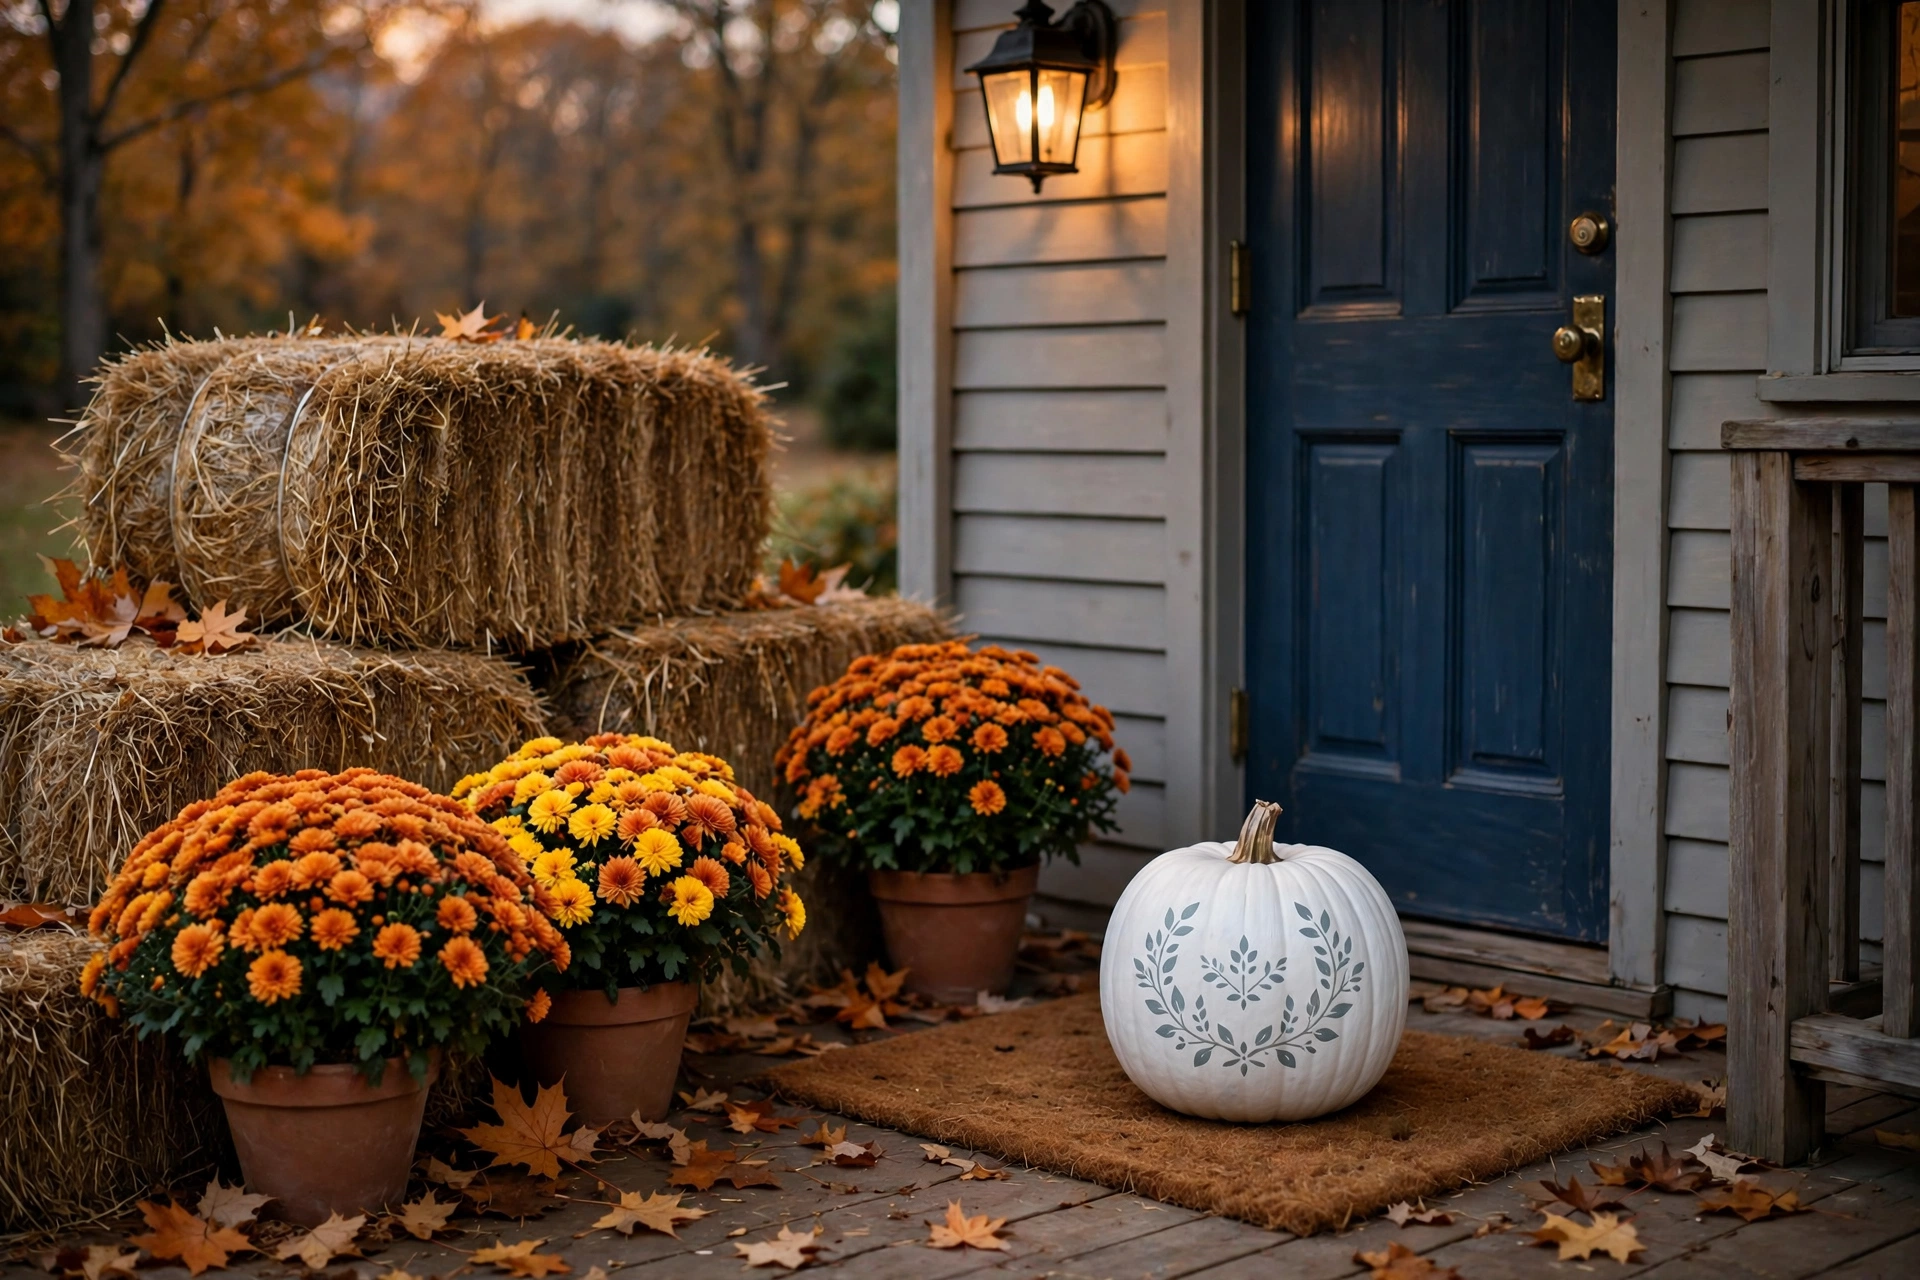
Paint a craft pumpkin white, then stencil your house number on the front in black. Set it by the front door on a stack of hay bales or beside your welcome mat. It’s practical, personal, and takes one afternoon. Time: 1 hour. Cost: under $8.
Quick Crafting Tips
- Paint beats carving for speed: a painted pumpkin is display-ready the same day, while carved pumpkins start softening within days.
- Use craft pumpkins for keepsakes: foam pumpkins from the craft store last for years, so your one-day project becomes a reusable decoration.
- Seal painted pumpkins: a coat of clear matte spray sealer protects your work and makes colors look richer.
- Choose flameless candles: LED tea lights and candles give the glow without any fire risk, especially around dried flowers and fabric.
- Buy pumpkins early: craft stores stock the best foam pumpkin shapes in early fall; real sugar pumpkins are cheapest at farm stands.
- Store finished pumpkins carefully: wrap painted or embellished pumpkins in tissue and keep them in a dry box so they survive until next fall.
- Work in assembly lines: painting five pumpkins at once takes barely longer than painting one, since drying time overlaps.
Frequently Asked Questions
How long do painted real pumpkins last?
A painted (not carved) real pumpkin lasts 2 to 4 weeks indoors and 1 to 3 weeks on a covered porch, since the skin stays intact. Keep it out of direct sun and freezing nights to stretch its life.
Can I use regular acrylic paint on pumpkins?
Yes. Acrylic craft paint adheres well to both real and foam pumpkins. For foam pumpkins, avoid spray paints with harsh solvents unless labeled foam-safe, as they can melt the surface.
What’s the easiest no-carve pumpkin idea for beginners?
Wrapping a pumpkin in fabric or yarn is nearly foolproof — no painting skill needed, no drying time stress, and mistakes are easy to undo before you glue.
How do I keep my pumpkin decorations from blowing over outside?
Set porch pumpkins inside heavy baskets, galvanized buckets, or planters filled with sand. For lightweight craft pumpkins, add a bag of rice or dried beans inside before decorating.
These 20 DIY pumpkin decorations prove you don’t need a whole weekend to make your home feel like fall. Pick one project, gather your supplies, and by tonight you’ll have a handmade pumpkin decoration to enjoy all season. Happy crafting!