
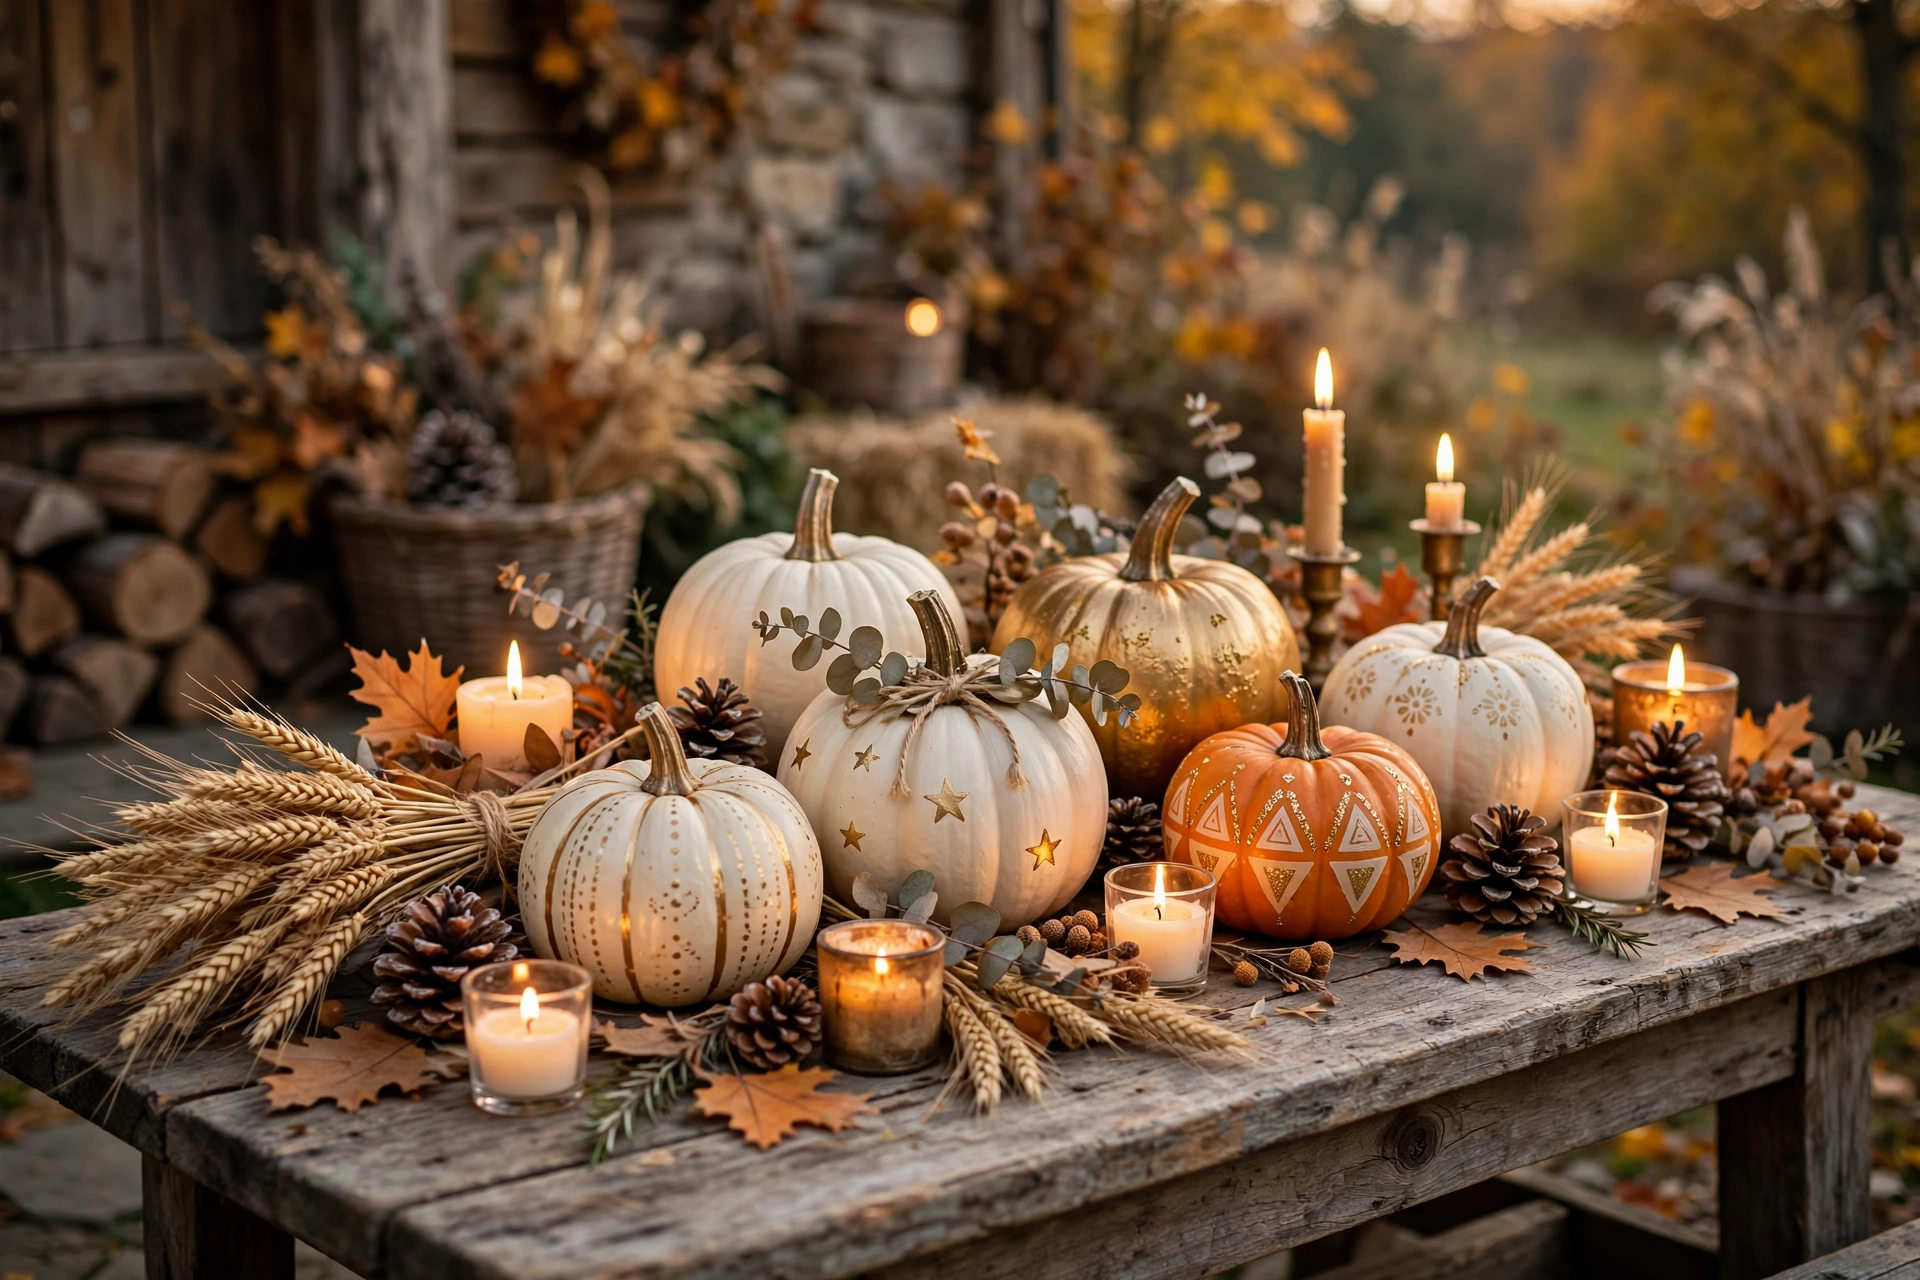
Nothing says fall quite like pumpkins, and you do not need a big budget or a carving knife to fill your home with them. These DIY pumpkin decorations use paint, fabric, twine, and other simple supplies to turn ordinary pumpkins — real or faux — into charming autumn decor that lasts all season.
Whether you love farmhouse style, a touch of glam, or classic harvest looks, there is something here for every room. Most of these DIY pumpkin decorations take under an hour and cost just a few dollars in supplies.
1. Painted white mini pumpkins in a wooden bowl
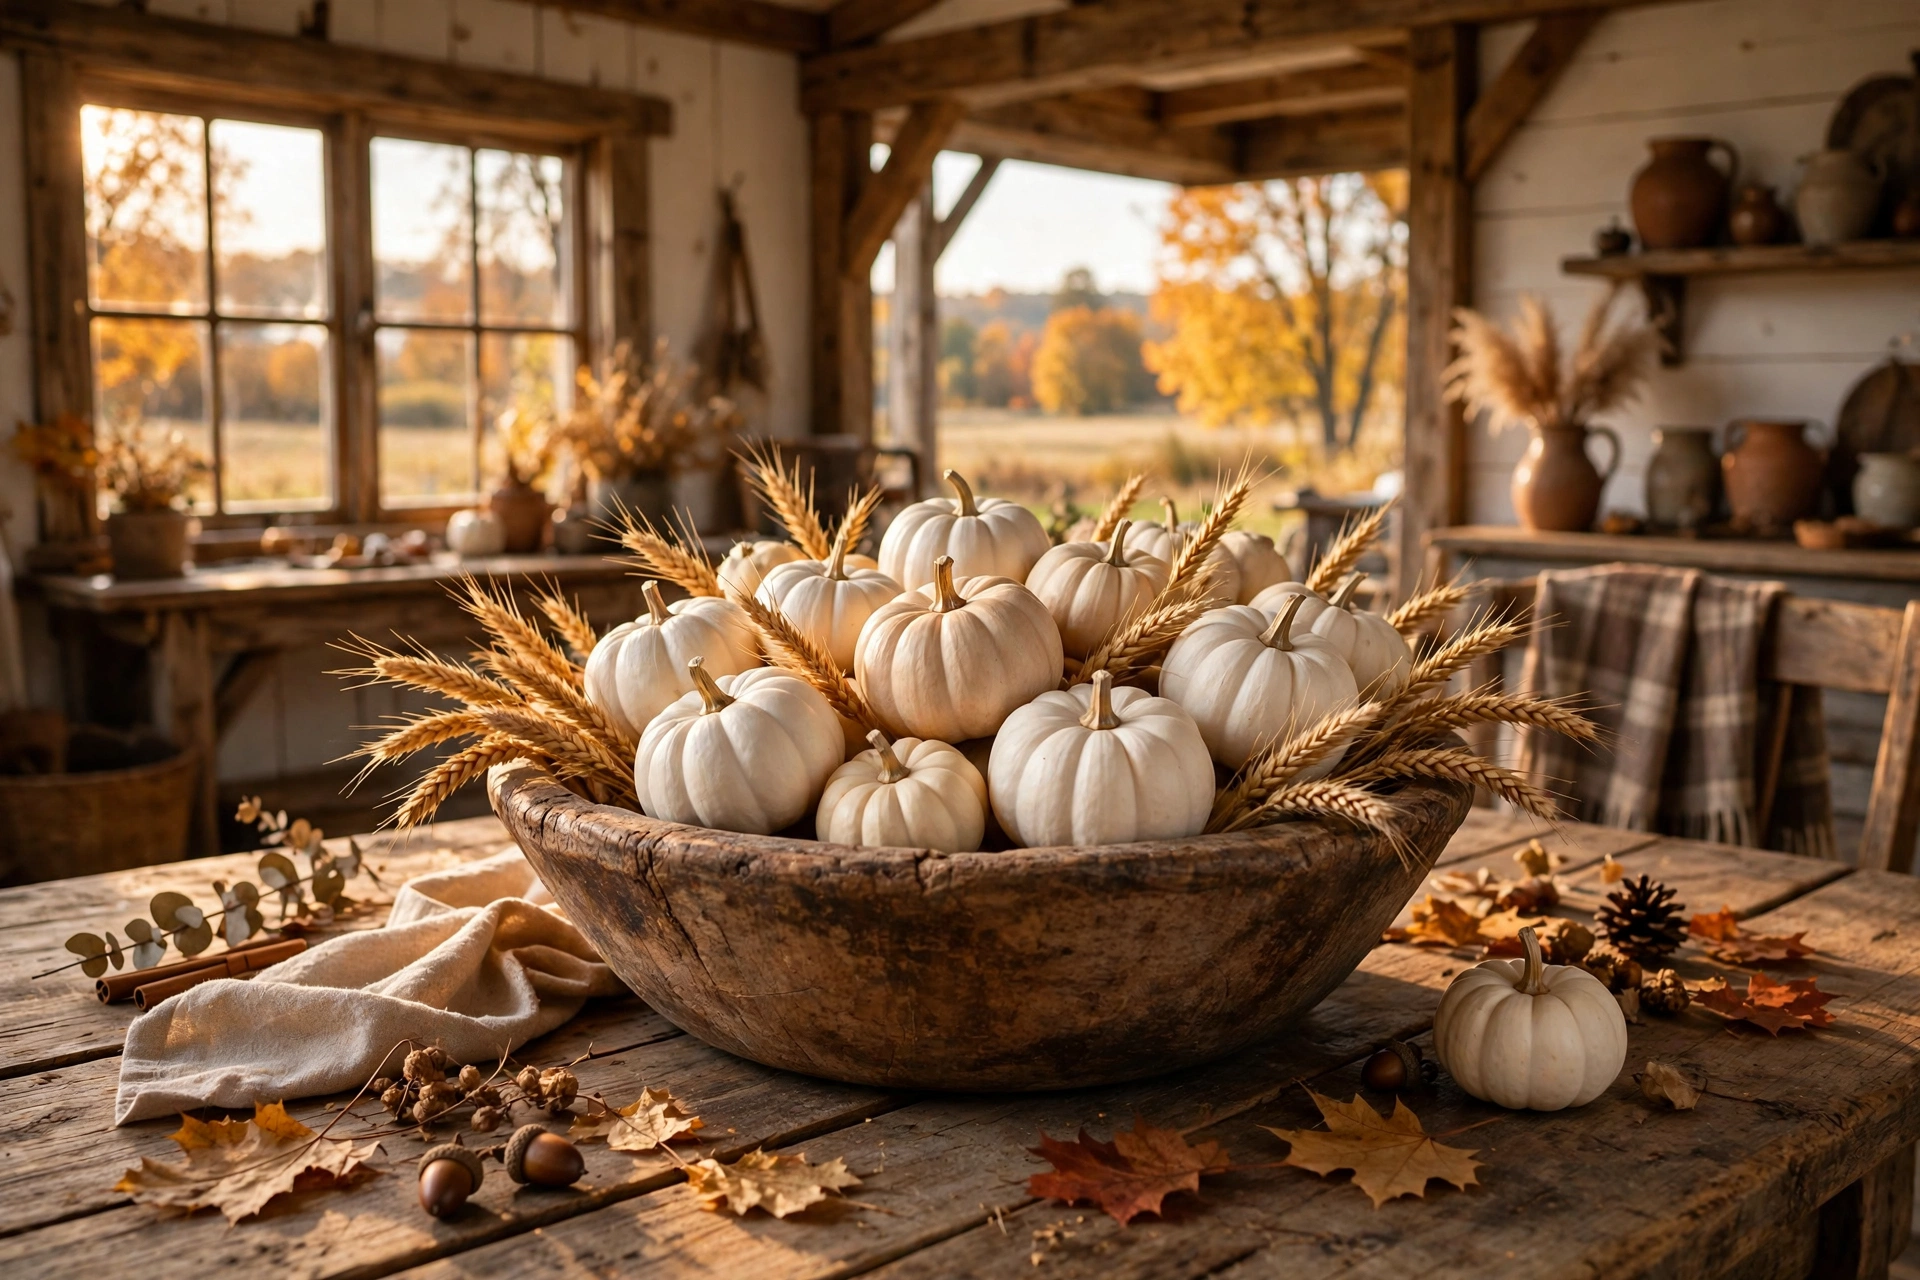
A bowl of chalk-white mini pumpkins is the easiest fall centerpiece you will ever make. Wipe the pumpkins clean, brush on two coats of matte white or cream craft paint, and let them dry completely between coats. Pile them into a wooden dough bowl or tray with a few sprigs of dried wheat. Time: 30 minutes plus drying. Cost: about $5 for paint if you already have the bowl.
2. Chalk-painted pumpkin with a fall greeting
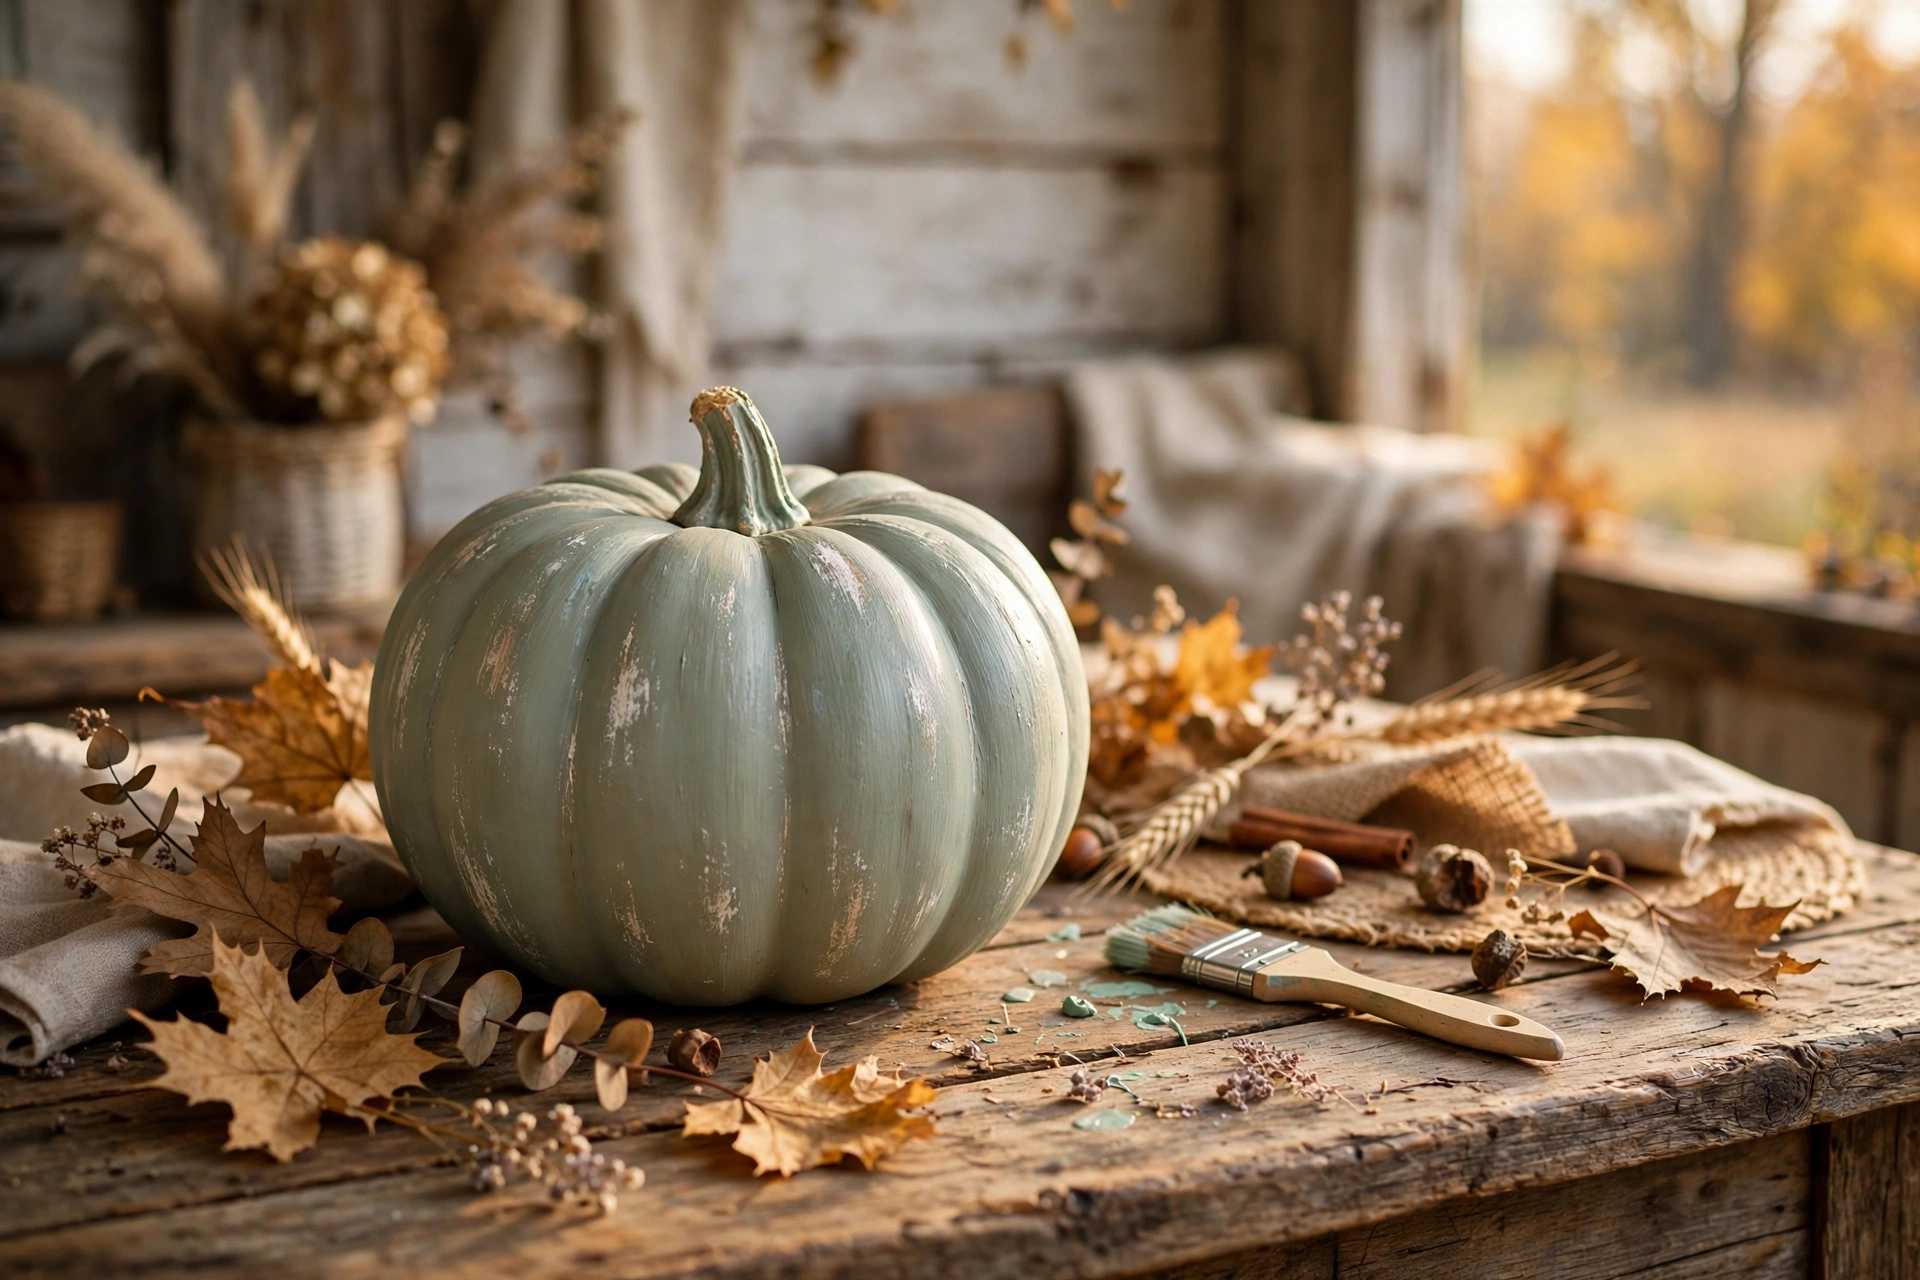
Chalk paint gives pumpkins a soft, vintage finish that looks straight out of a farmhouse catalog. Paint a medium pumpkin in a muted shade like sage, charcoal, or dusty blue, then use a stencil and white paint pen to add a word like “harvest” or “gather.” Two thin coats prevent drips. Time: 45 minutes. Cost: $6 to $8 for chalk paint and a stencil.
3. Decoupage pumpkin with autumn napkins
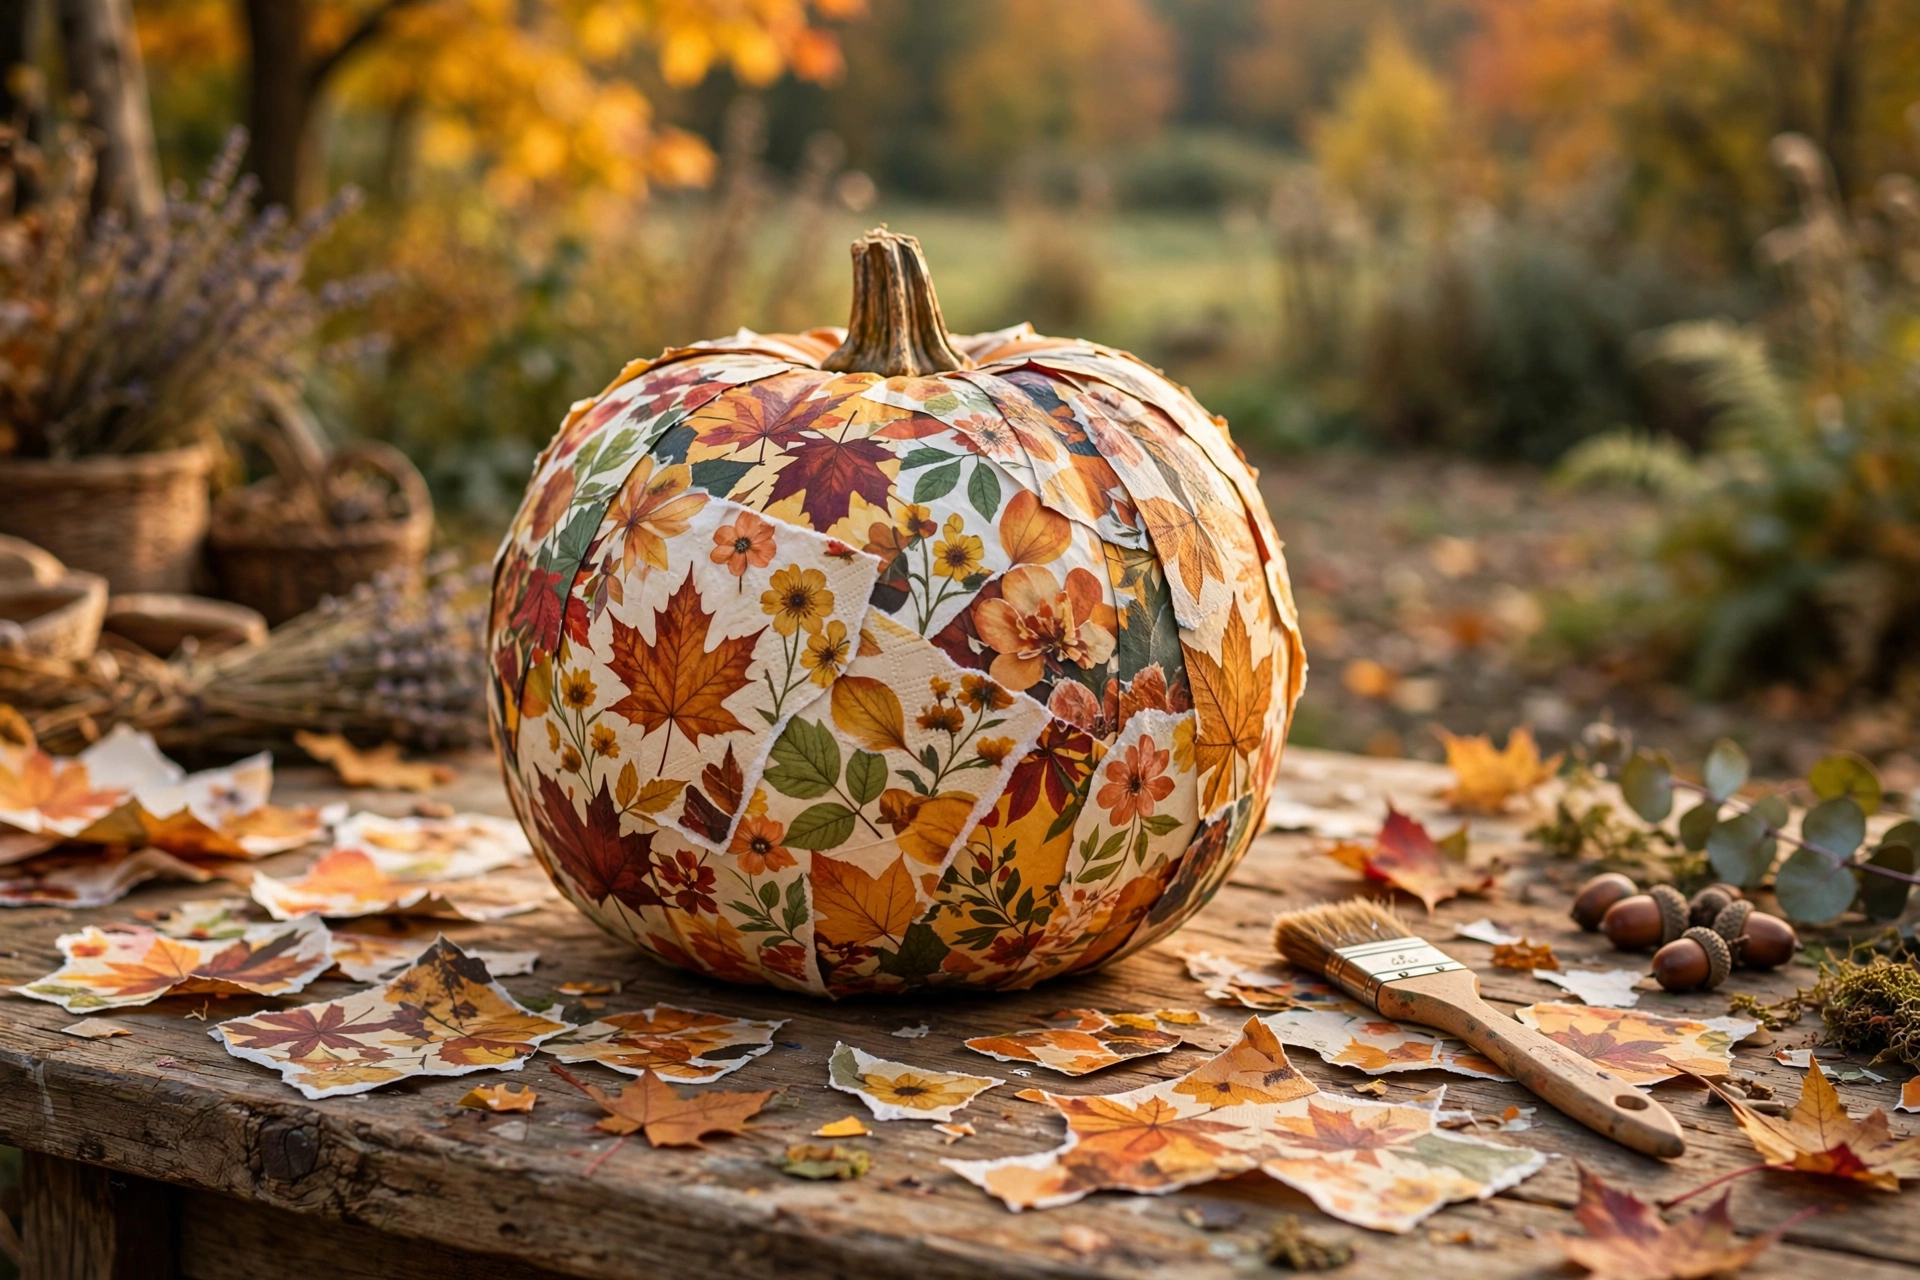
Pretty paper napkins become a designer-look pumpkin with nothing but decoupage glue. Separate the napkin down to its printed top layer, tear it into pieces, and smooth them onto the pumpkin with a foam brush and Mod Podge, overlapping slightly. Seal with a final thin coat once dry. Time: 40 minutes. Cost: about $4 for napkins and glue.
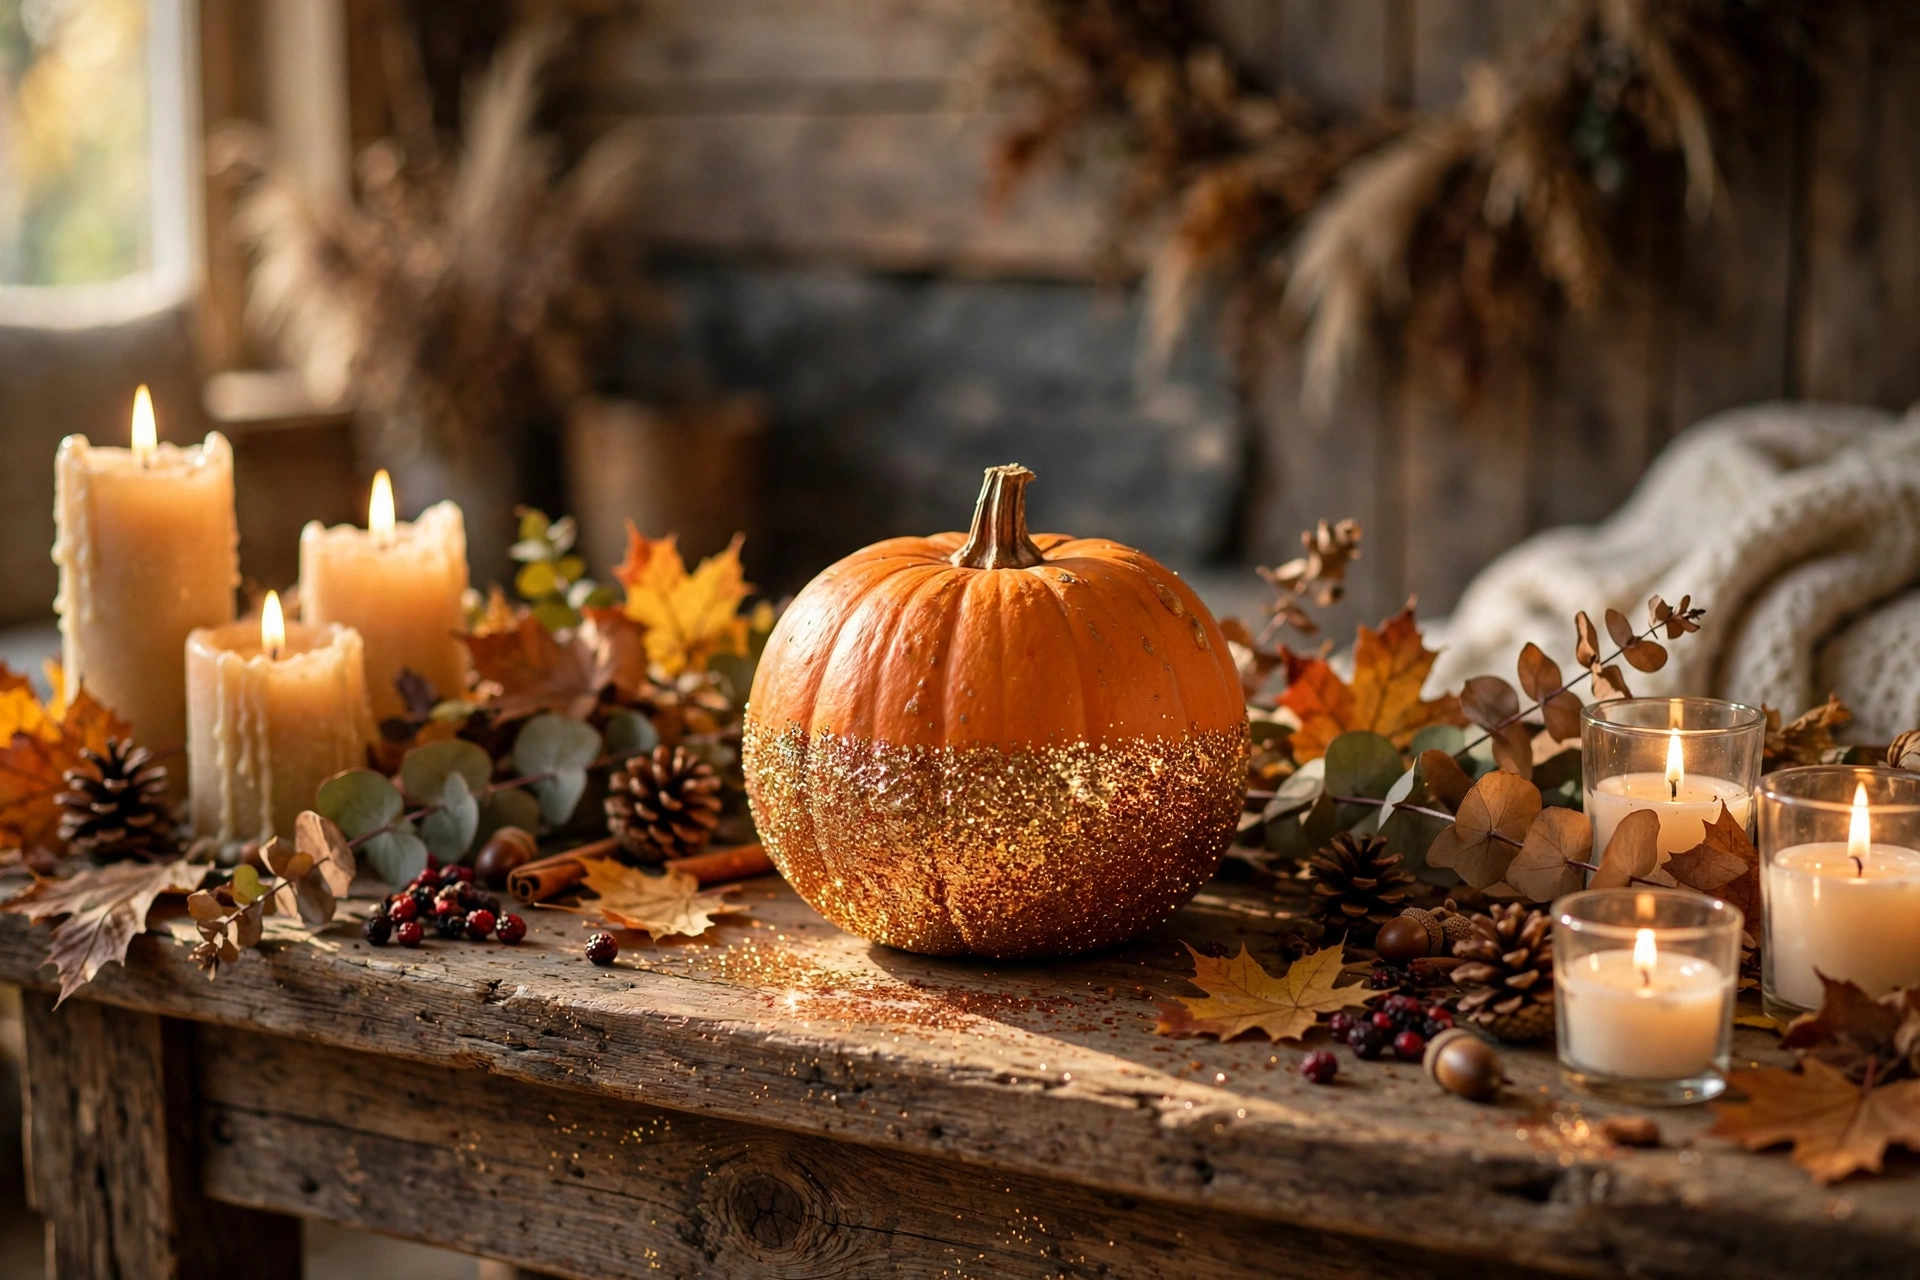
4. Glitter-dipped pumpkin
For a little sparkle on a mantel or entry table, dip the bottom half of a small pumpkin in craft glue, then roll it in fine gold or copper glitter. Tap off the excess and let it dry on wax paper. A clear sealer spray keeps the glitter from shedding. Time: 20 minutes plus drying. Cost: about $5.
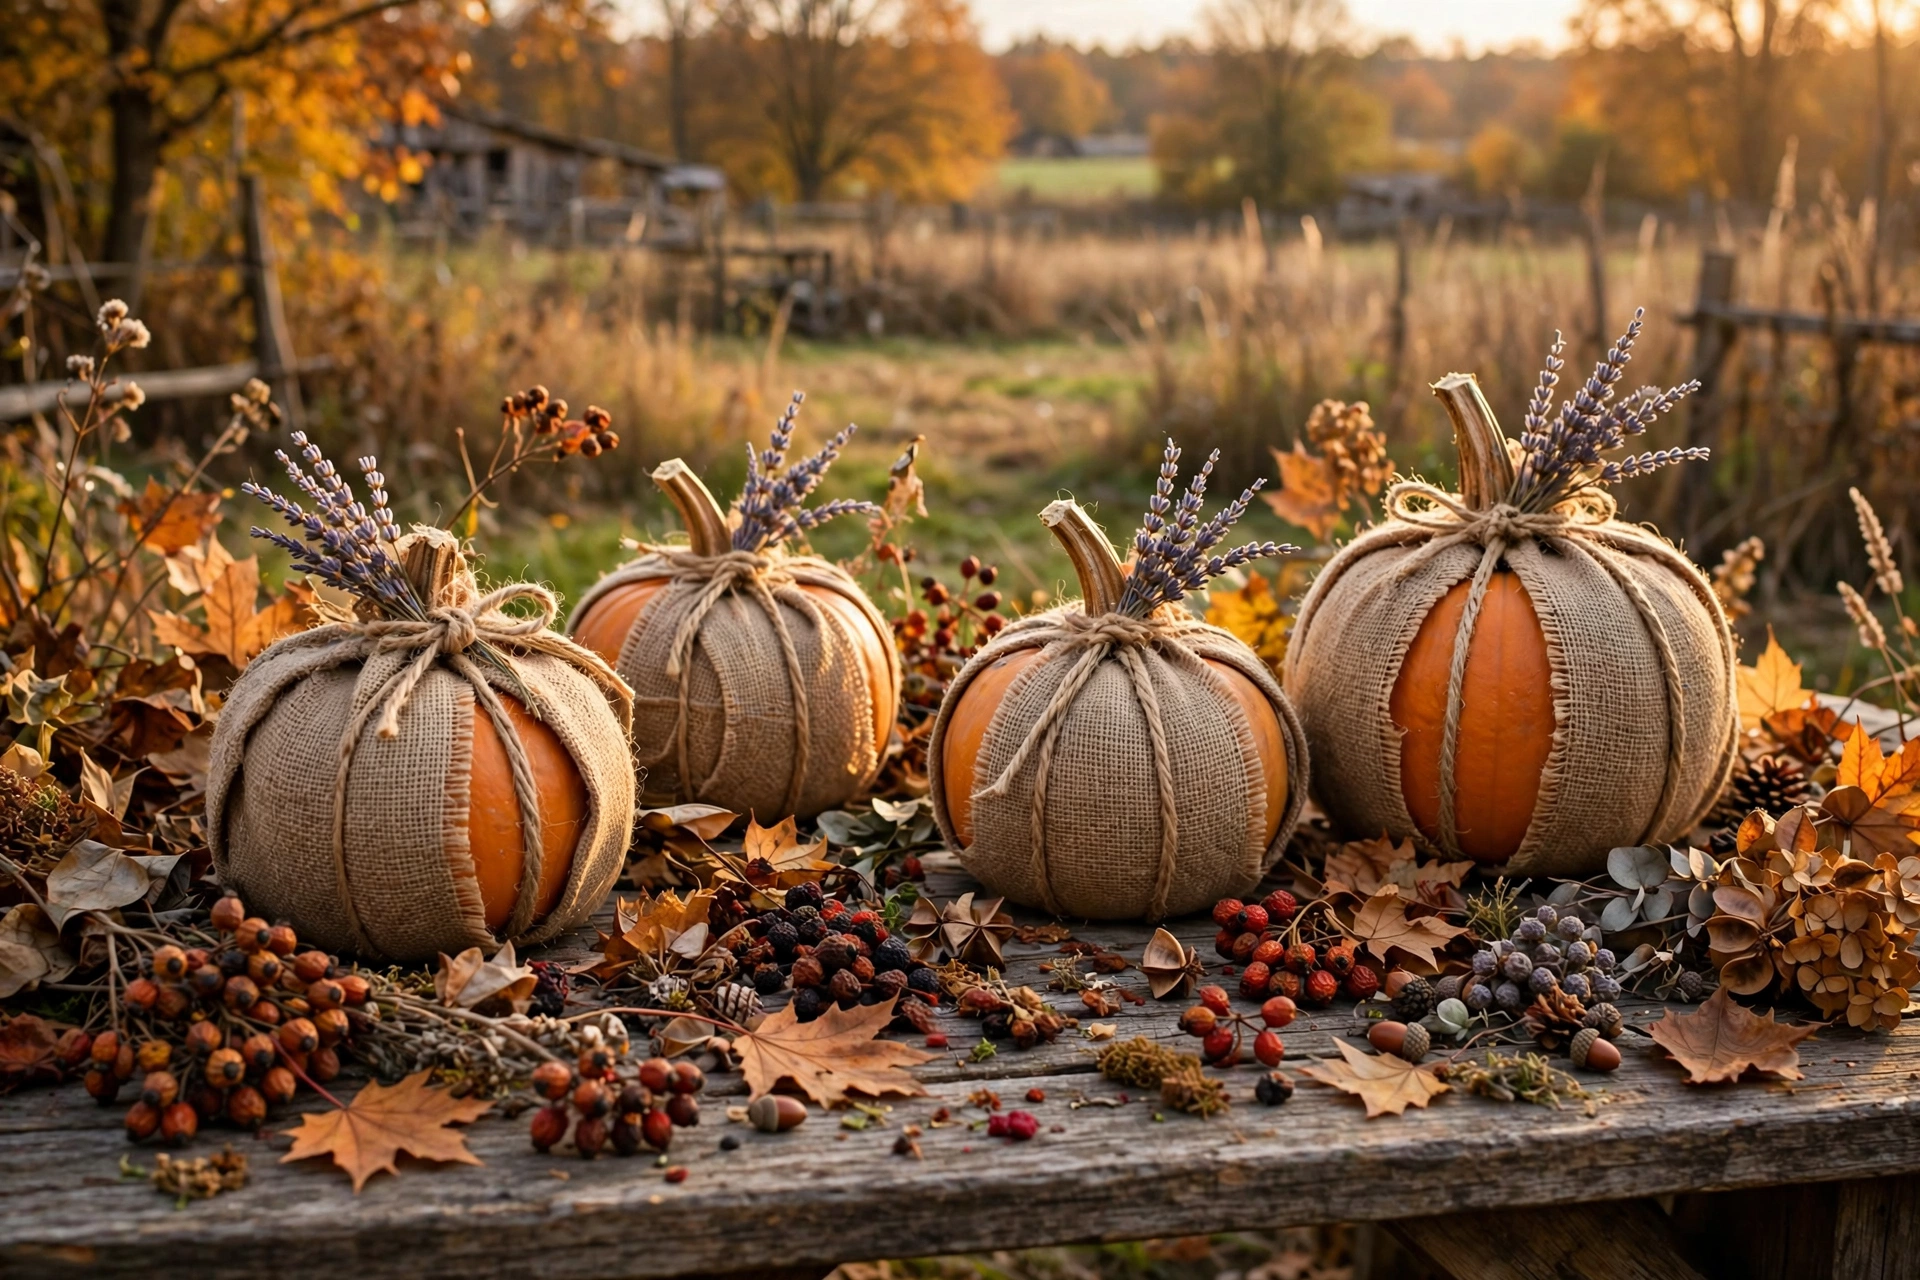
5. Burlap-wrapped pumpkin
Burlap instantly gives any pumpkin a rustic, farmhouse feel. Cut a square of burlap large enough to wrap the pumpkin, gather it at the stem, and tie it with twine. Trim the excess fabric and tuck in a sprig of dried lavender or berries. Time: 15 minutes. Cost: about $3 for burlap and twine.
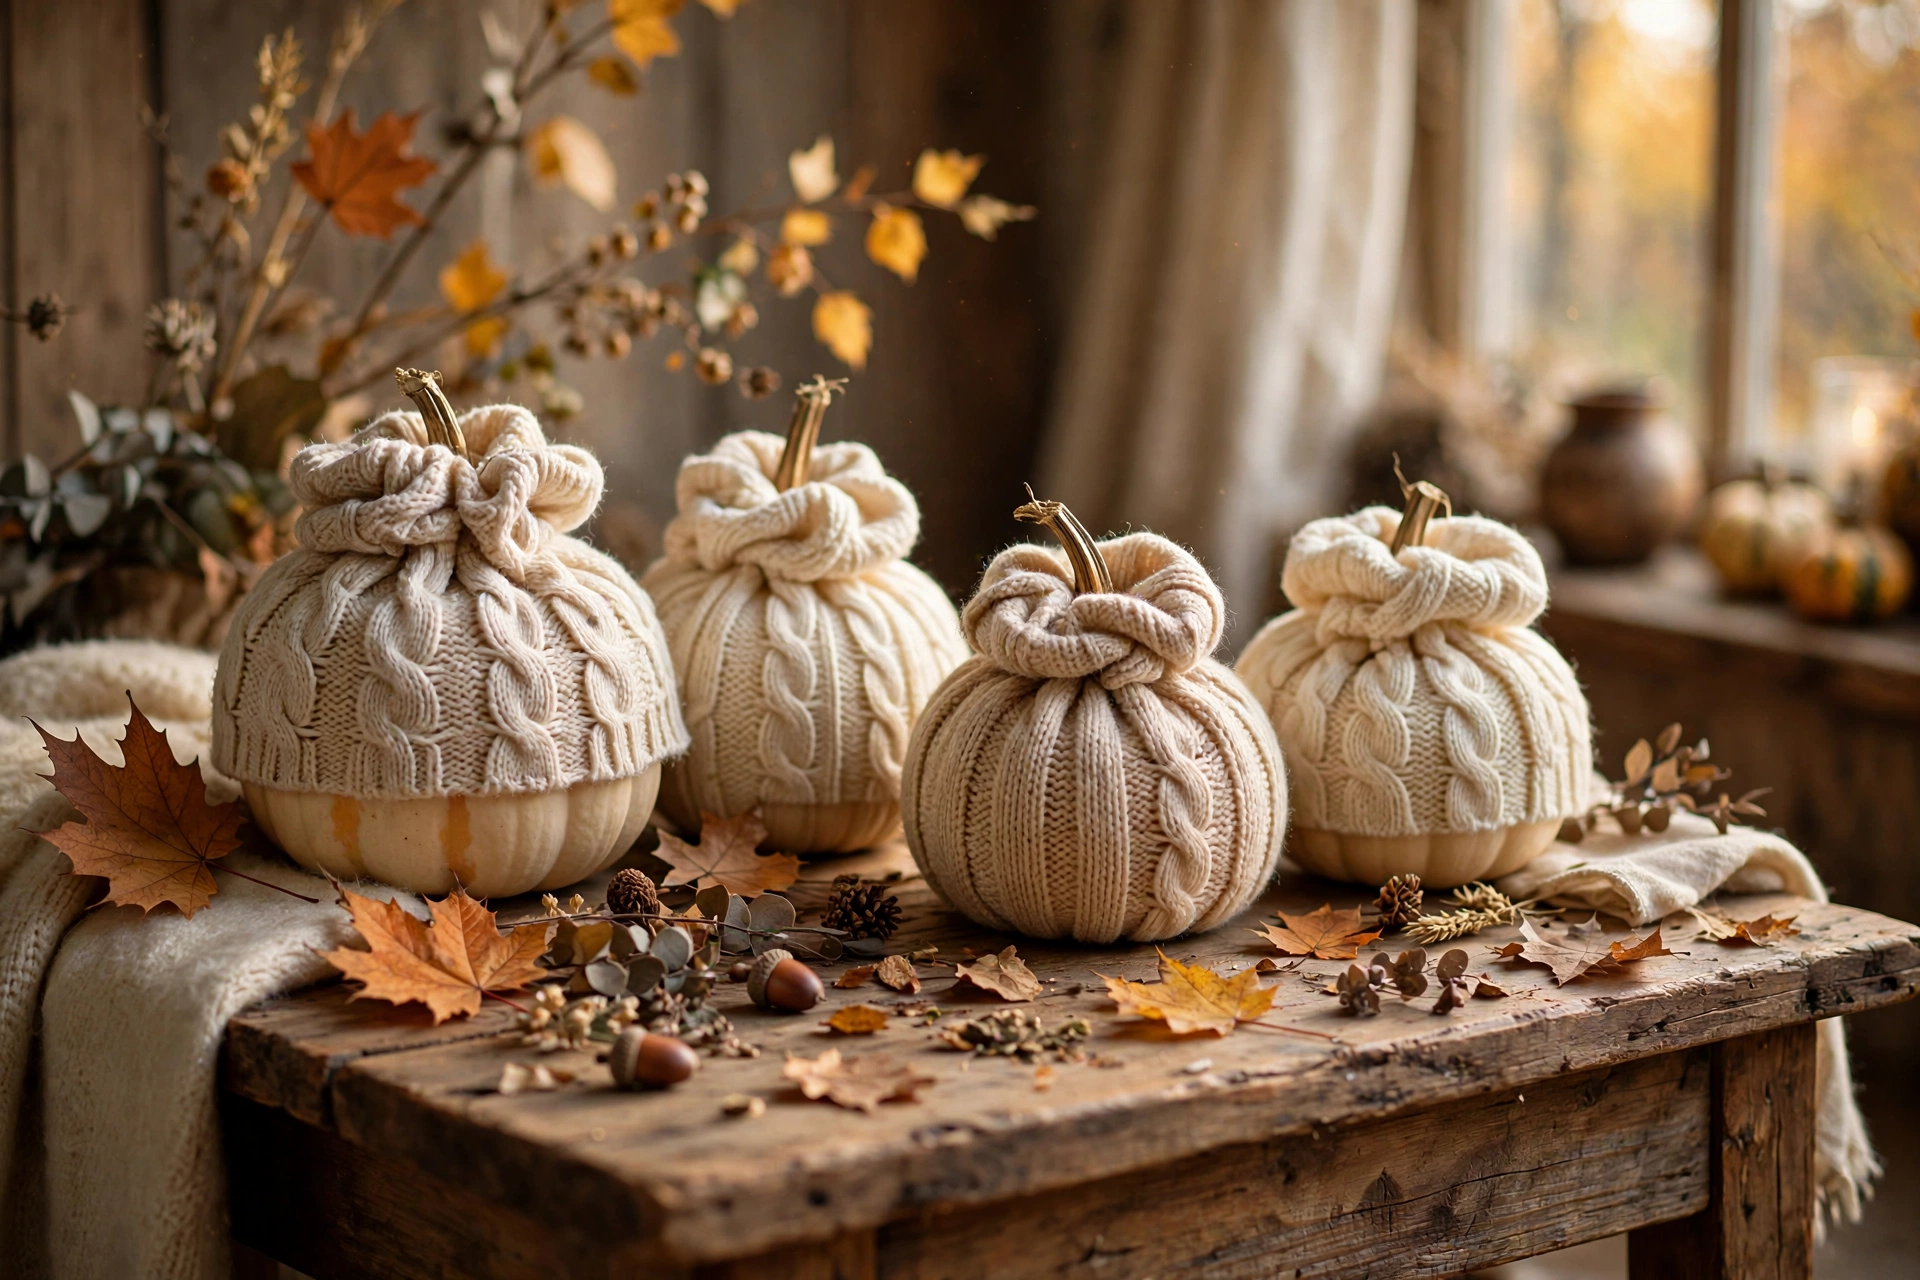
6. Sweater pumpkin from an old knit
Cut the sleeve off an old cable-knit sweater, slip it over a small pumpkin, and gather the top around the stem with a rubber band, folding the raw edge under. No sewing required, and the texture looks wonderfully cozy. Time: 10 minutes. Cost: free if you have an old sweater.
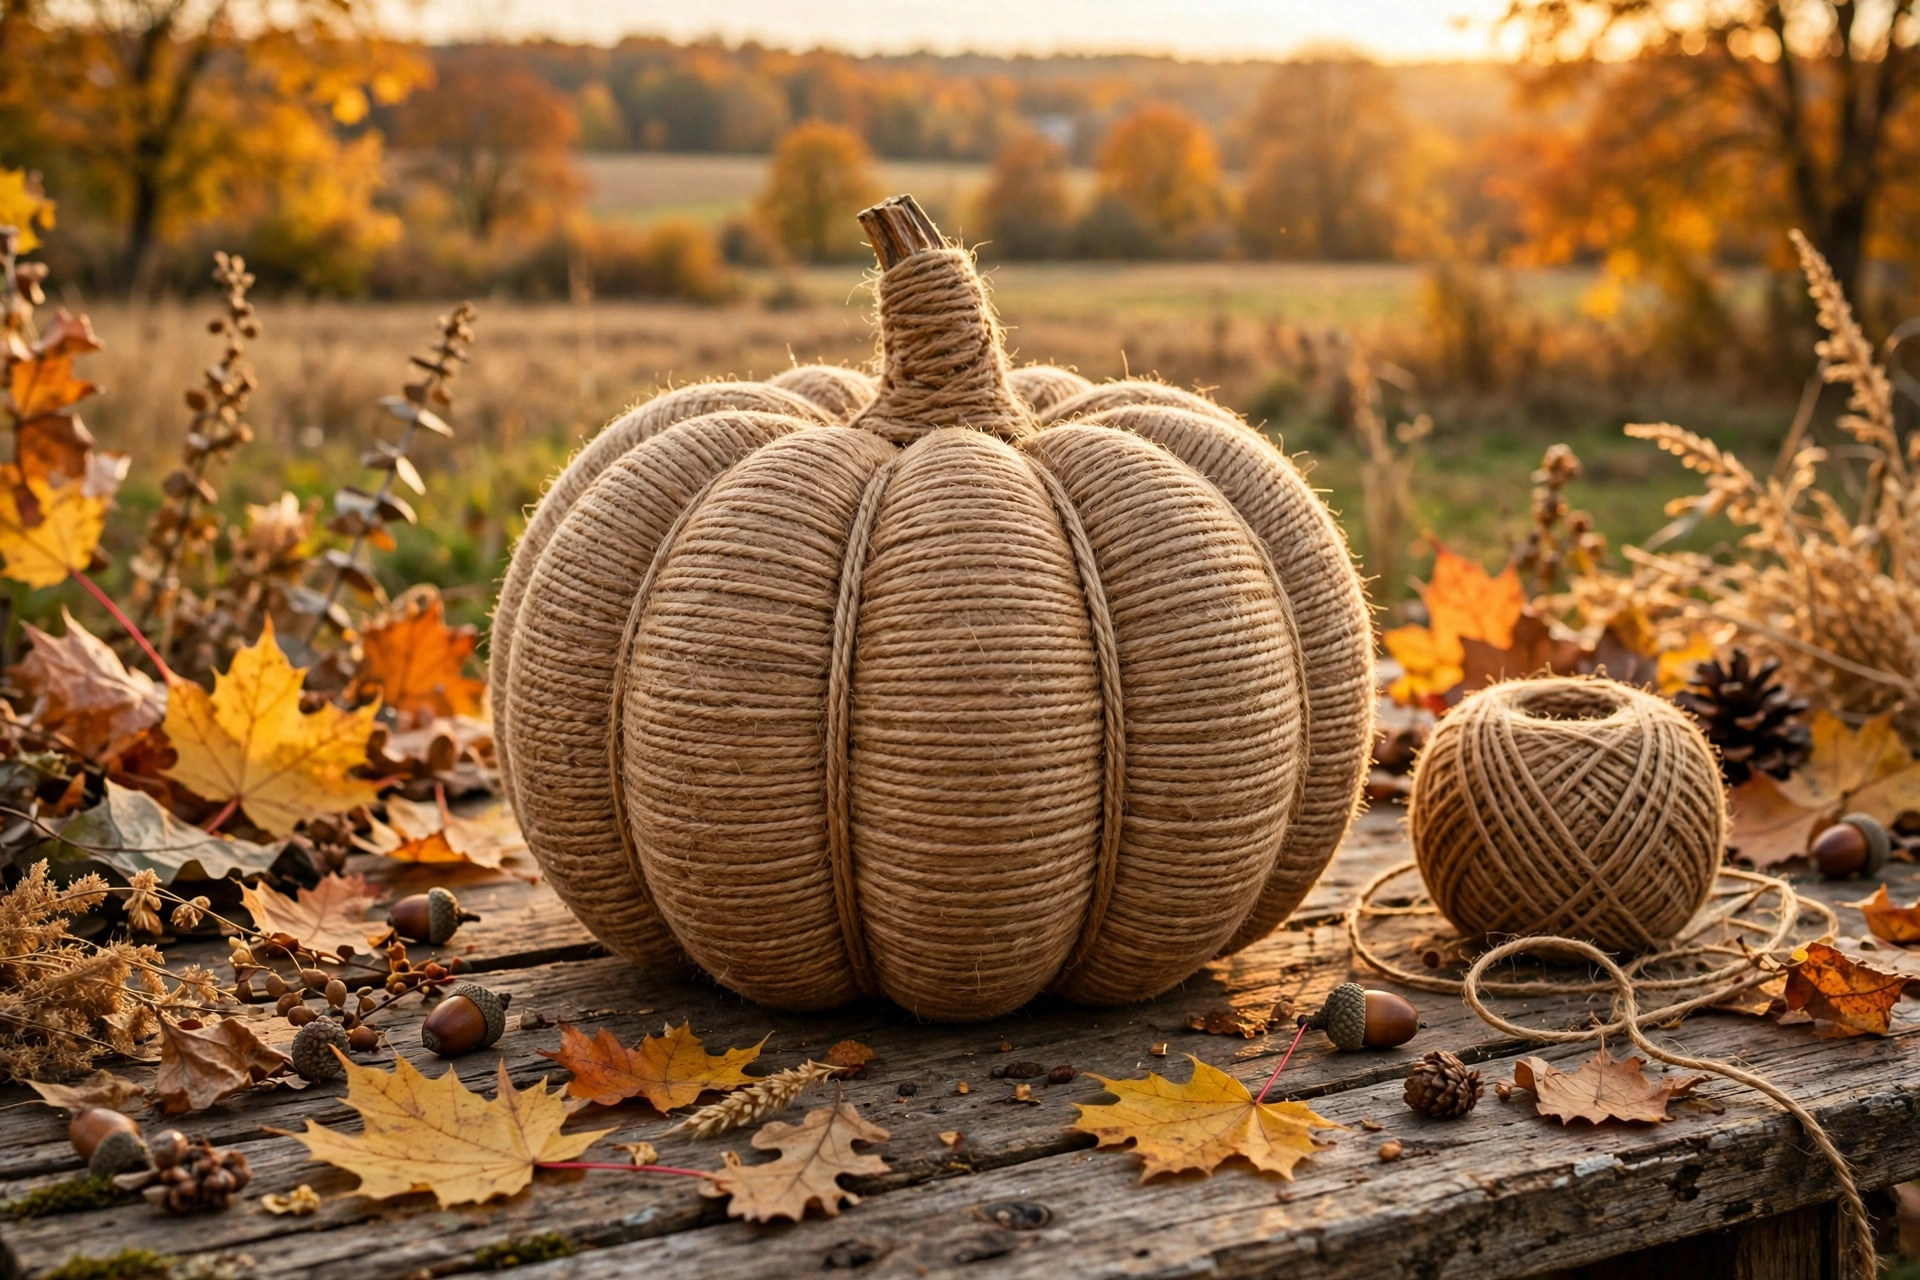
7. Twine-wrapped pumpkin
Wrap a pumpkin in jute twine for a natural, textured look that fits any neutral decor. Start at the stem with a dab of hot glue, then wind the twine tightly around the pumpkin in even rows, gluing every few inches. Finish at the bottom with another dab of glue. Time: 30 minutes. Cost: about $4 for a ball of twine.
8. Metallic gold-dipped pumpkin
A half-dipped metallic pumpkin looks expensive but takes minutes. Use painter’s tape to mark a clean line around the middle of the pumpkin, then spray the bottom half with metallic gold or champagne spray paint in light, even coats. Peel the tape while the last coat is tacky. Time: 20 minutes plus drying. Cost: about $6 for spray paint.
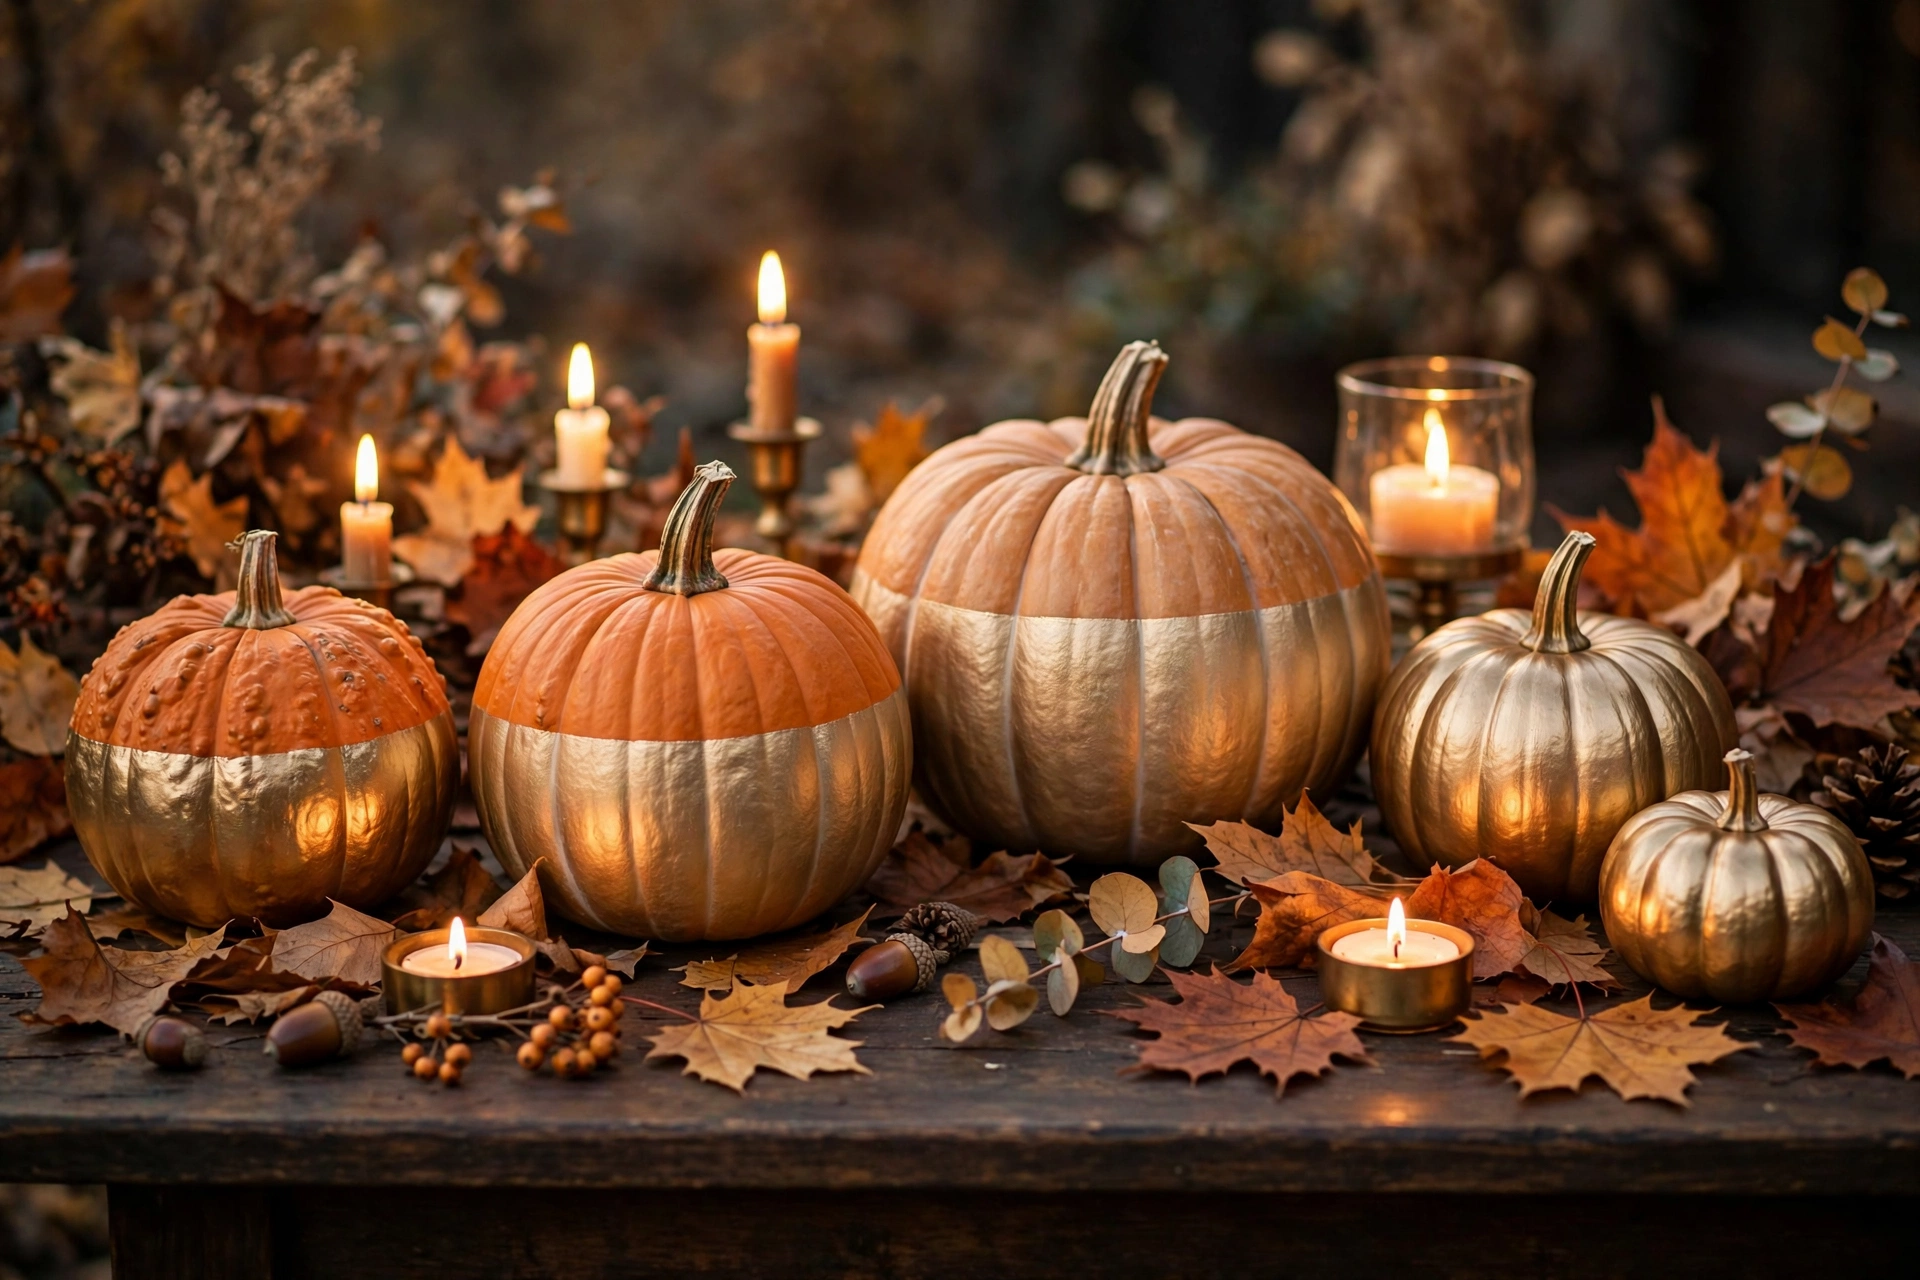
9. Succulent-topped pumpkin (no-carve planter)
This no-carve favorite uses the pumpkin as a living planter. Hollow out just the top of the pumpkin, add a little potting soil, and nestle in small succulents, covering gaps with moss. Mist the succulents lightly every few days. The whole thing lasts for weeks. Time: 25 minutes. Cost: $8 to $12 for succulents.
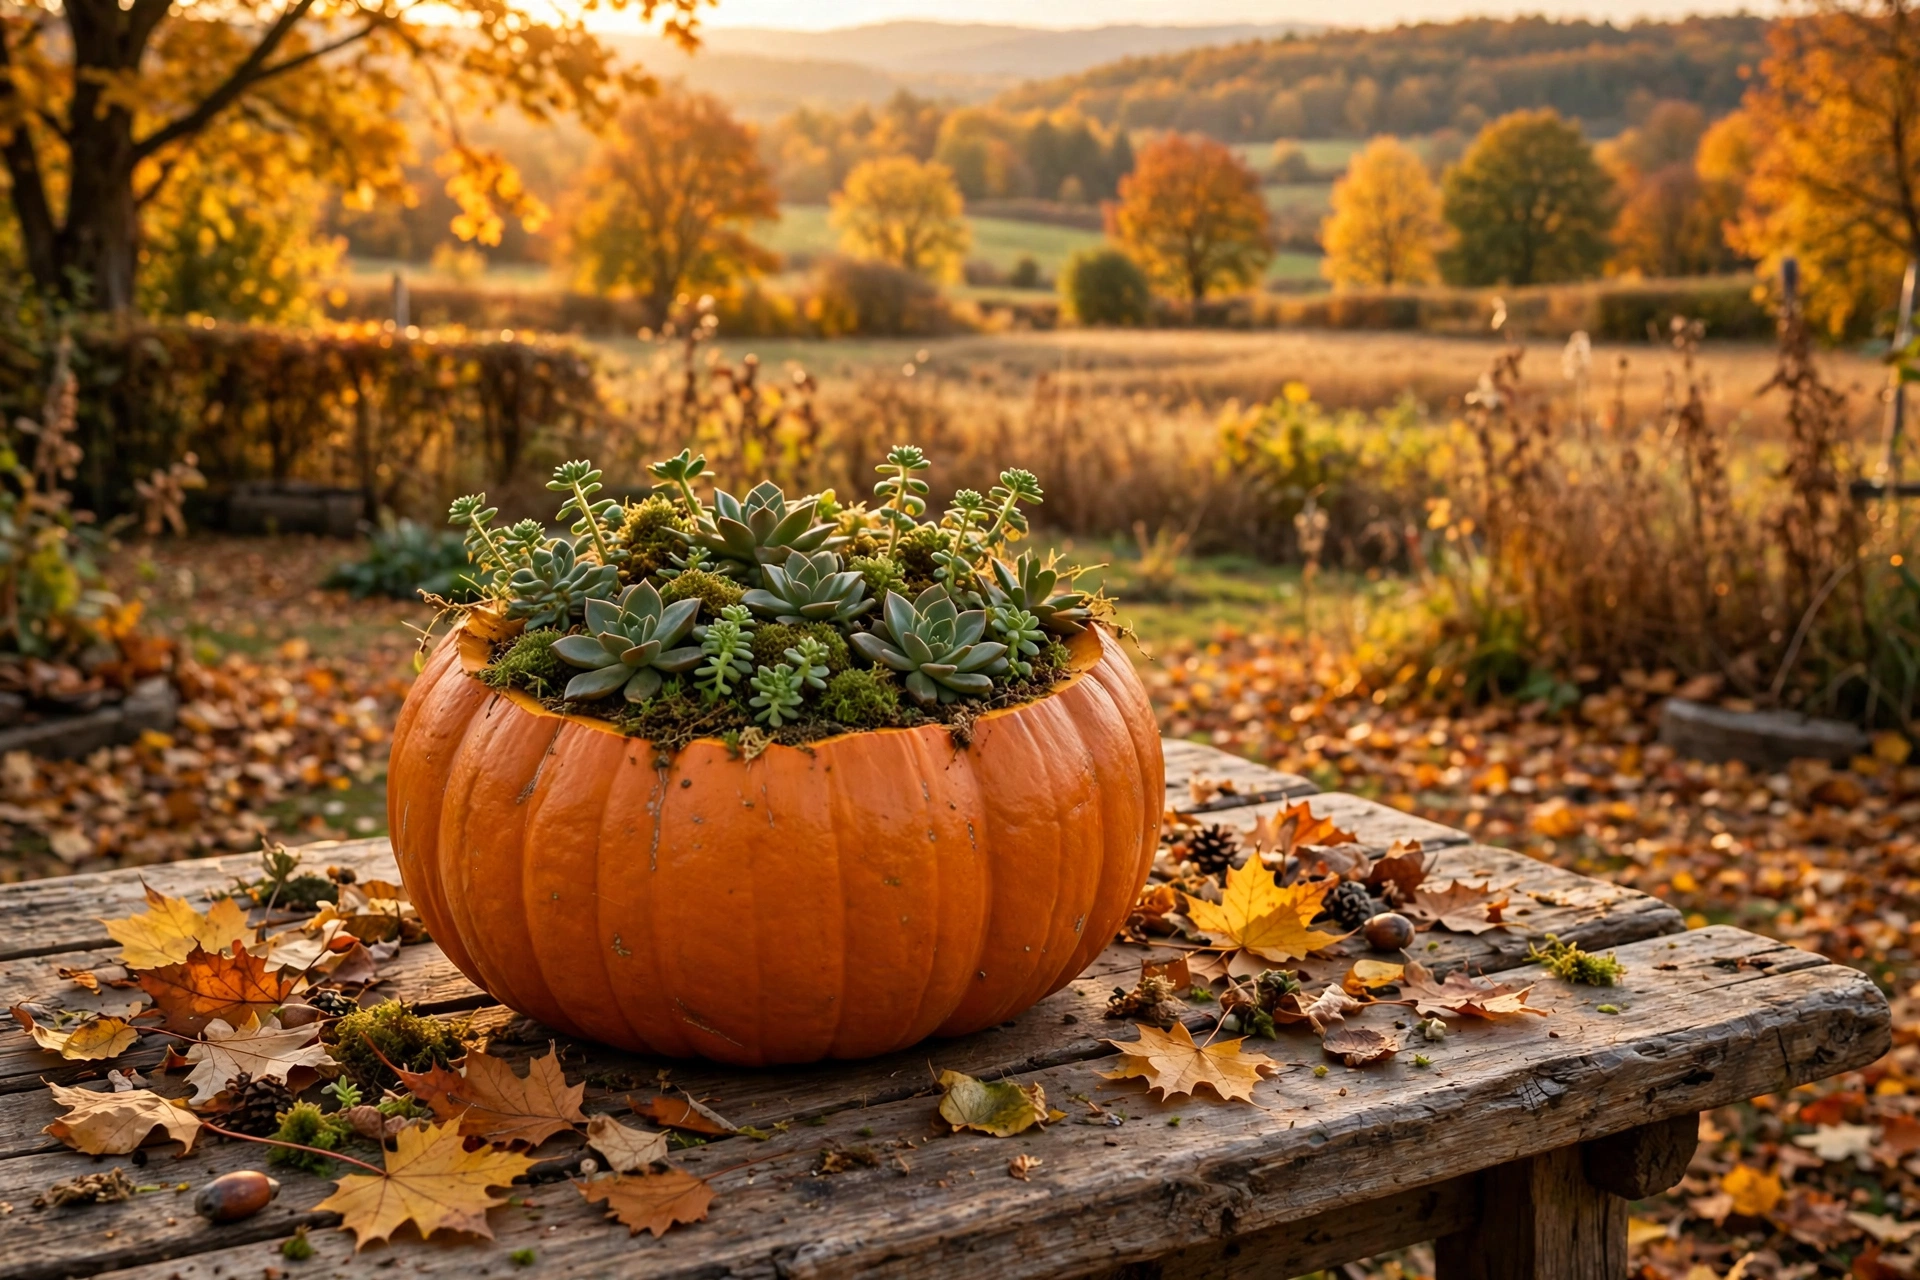
10. Pumpkin candle holders
Hollow out mini pumpkins and drop in LED tea lights for glowing fall luminaries. Scoop the inside clean with a spoon, making sure the opening fits the tea light snugly. Real candles work too, but never leave them unattended. Time: 15 minutes per pumpkin. Cost: about $5 for a pack of LED tea lights.
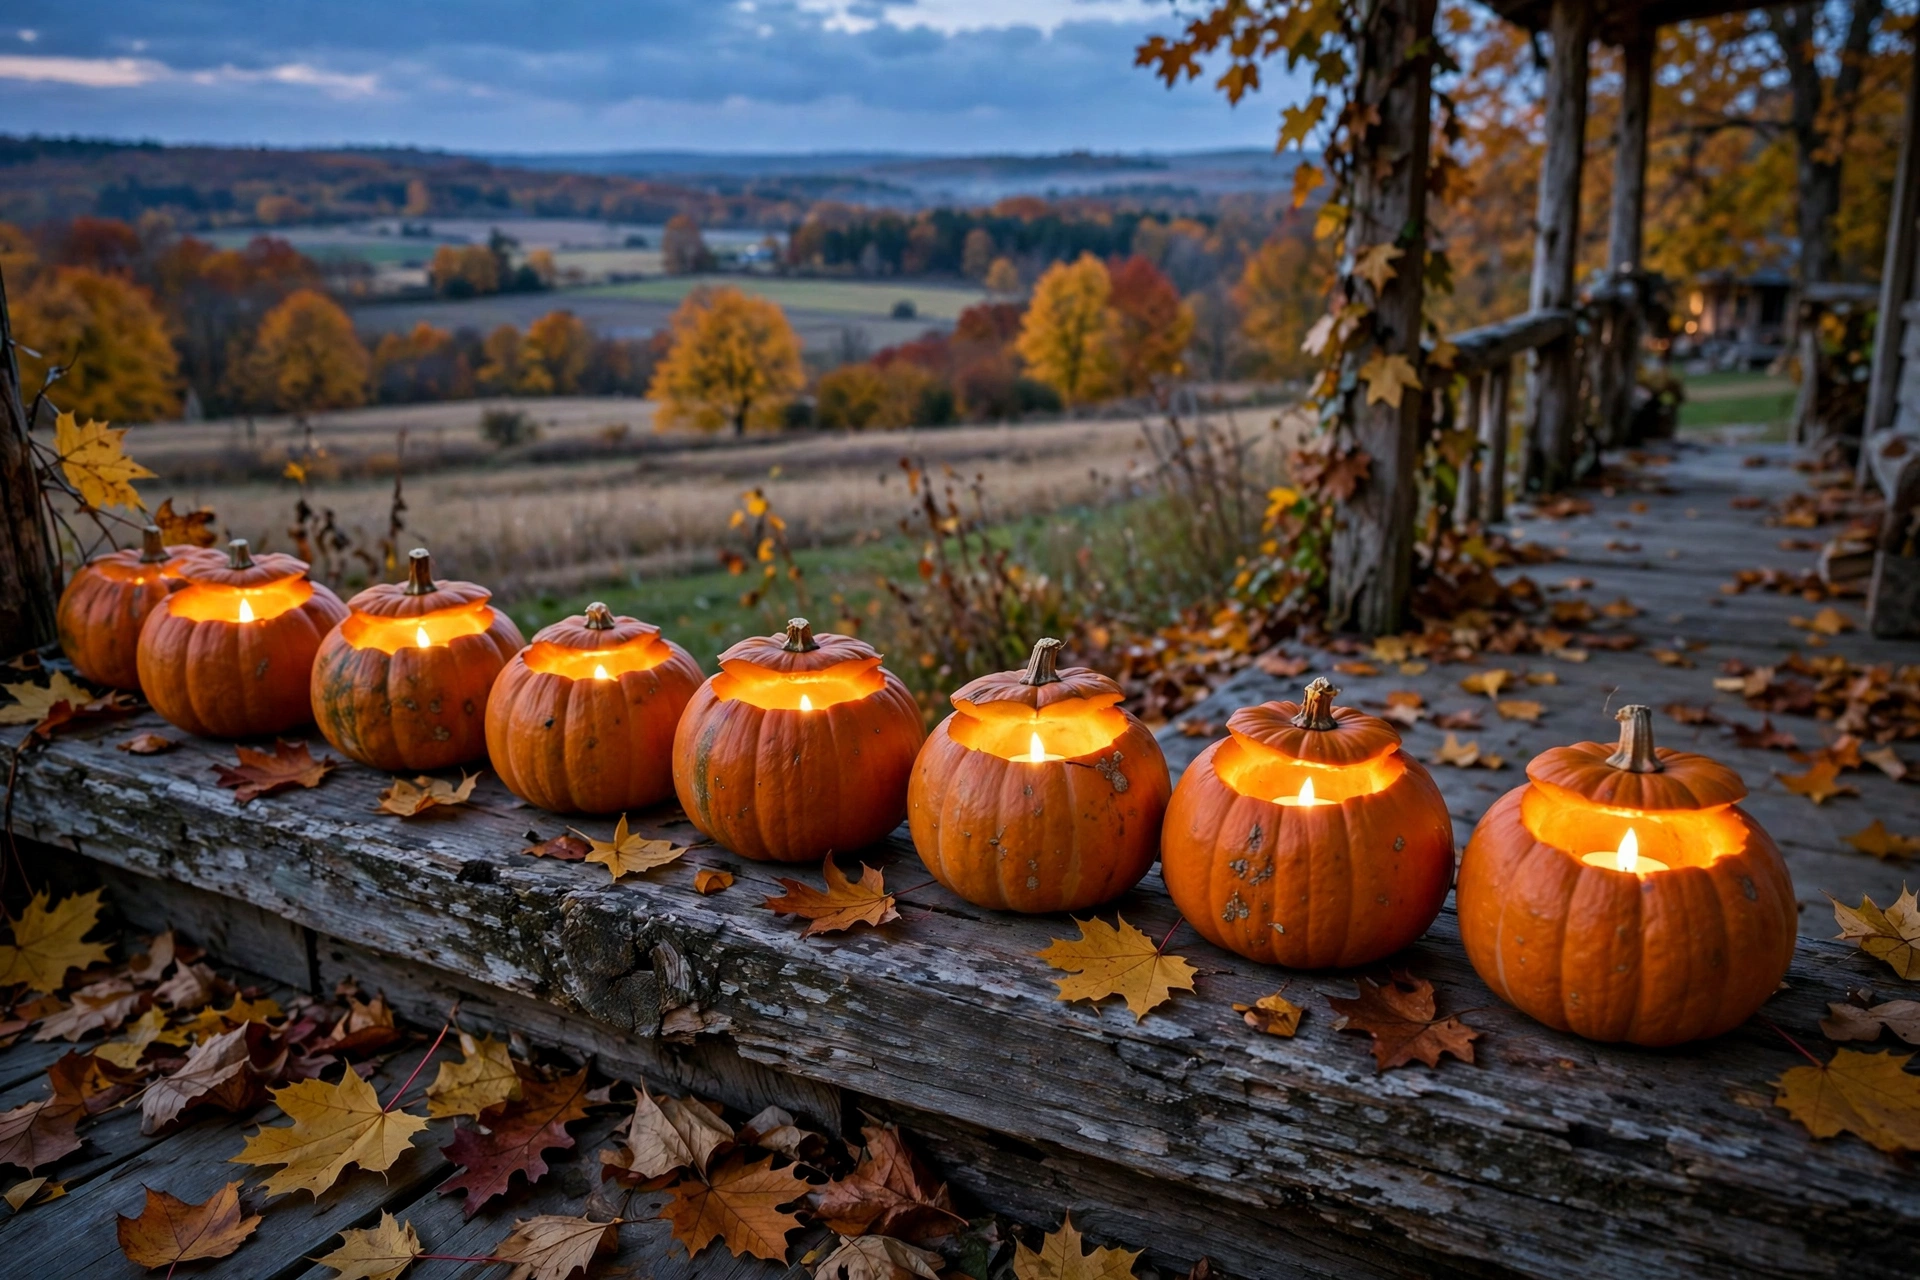
11. Stacked pumpkin topiary
Stack two or three pumpkins from largest to smallest, securing each layer with a wooden dowel pushed through the centers. Top with a small gourd or pinecone. This makes a charming porch or entryway statement. Time: 20 minutes. Cost: $8 to $12 for pumpkins.
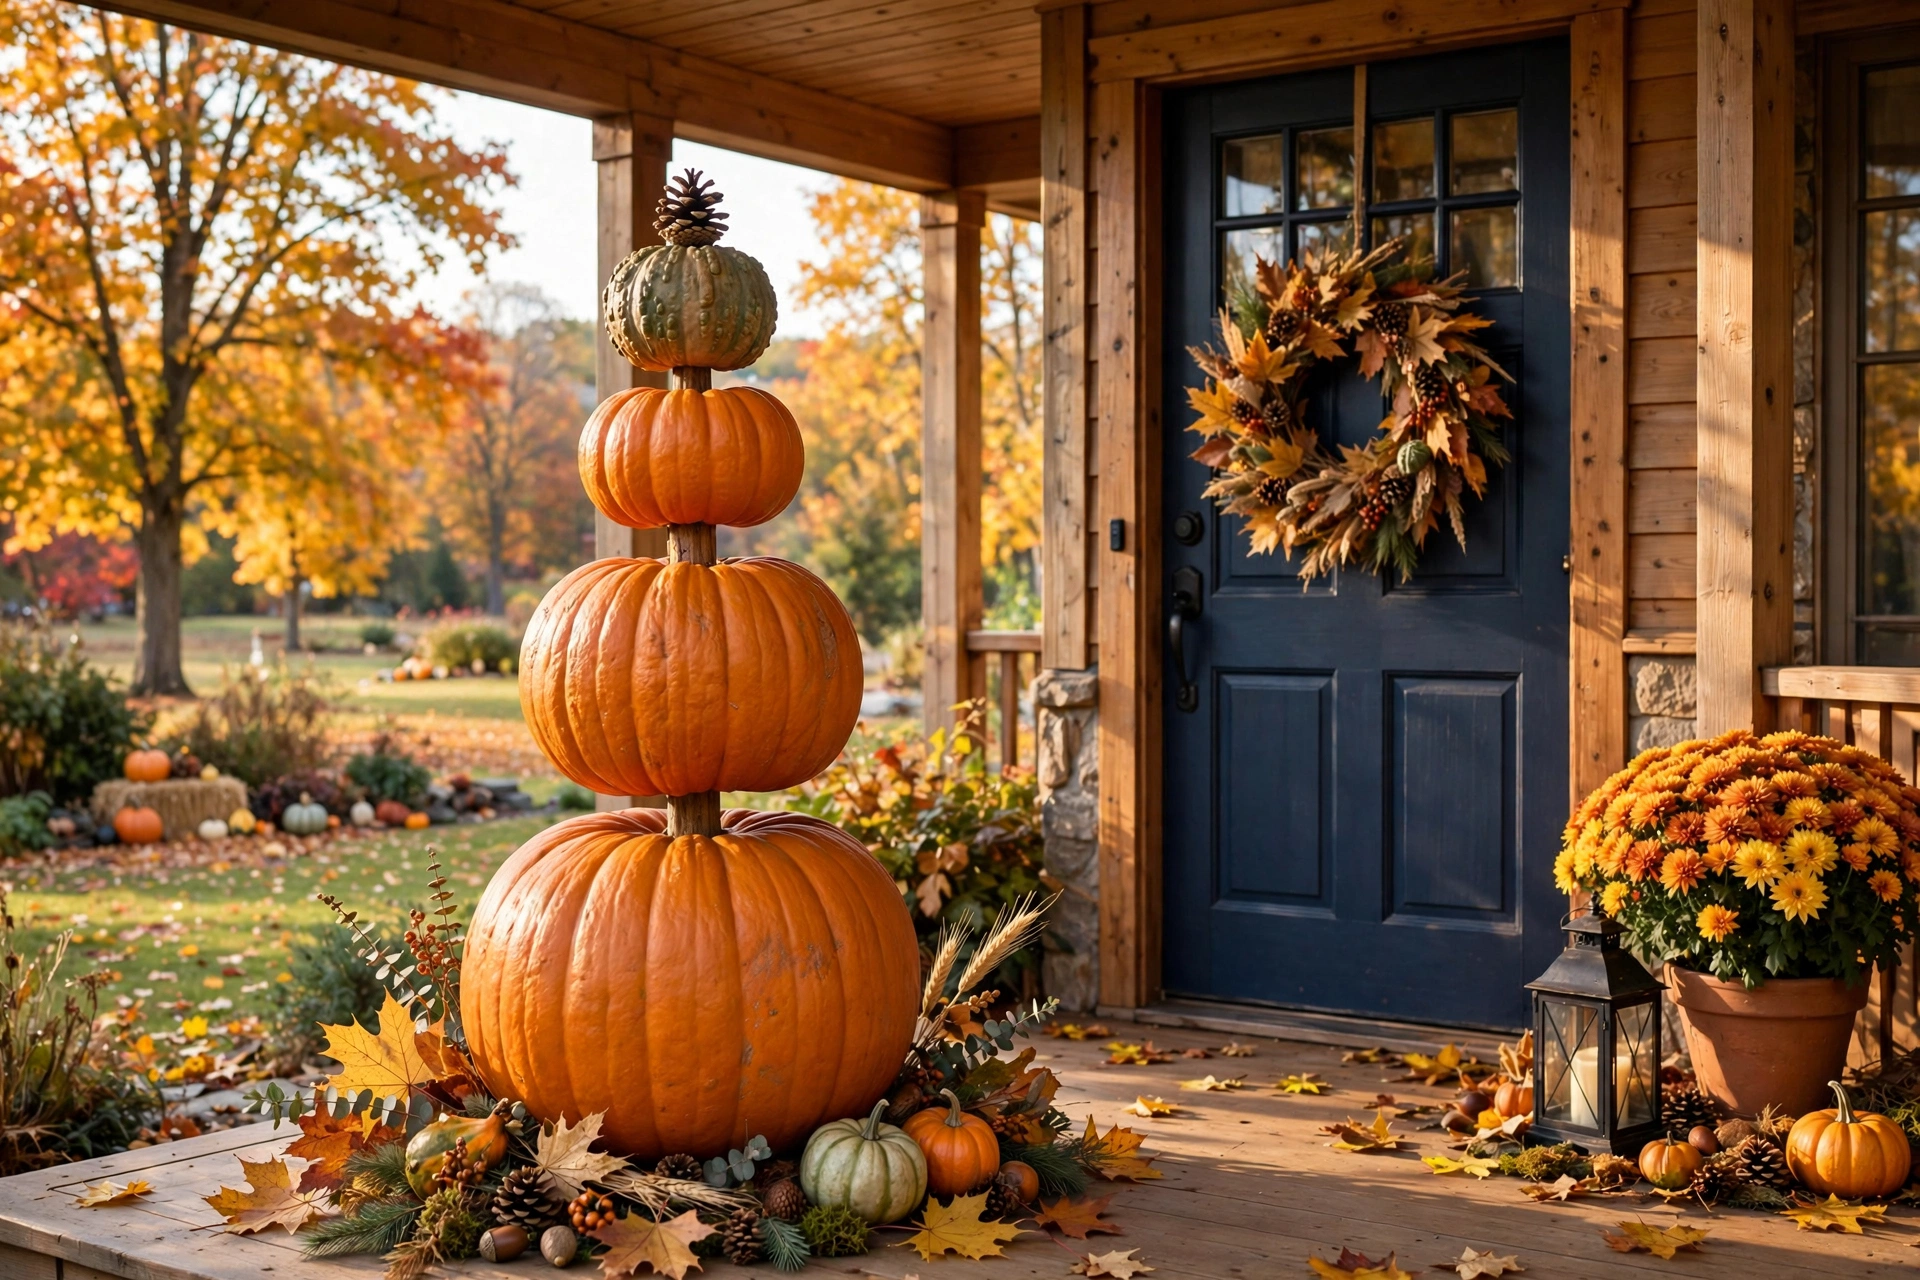
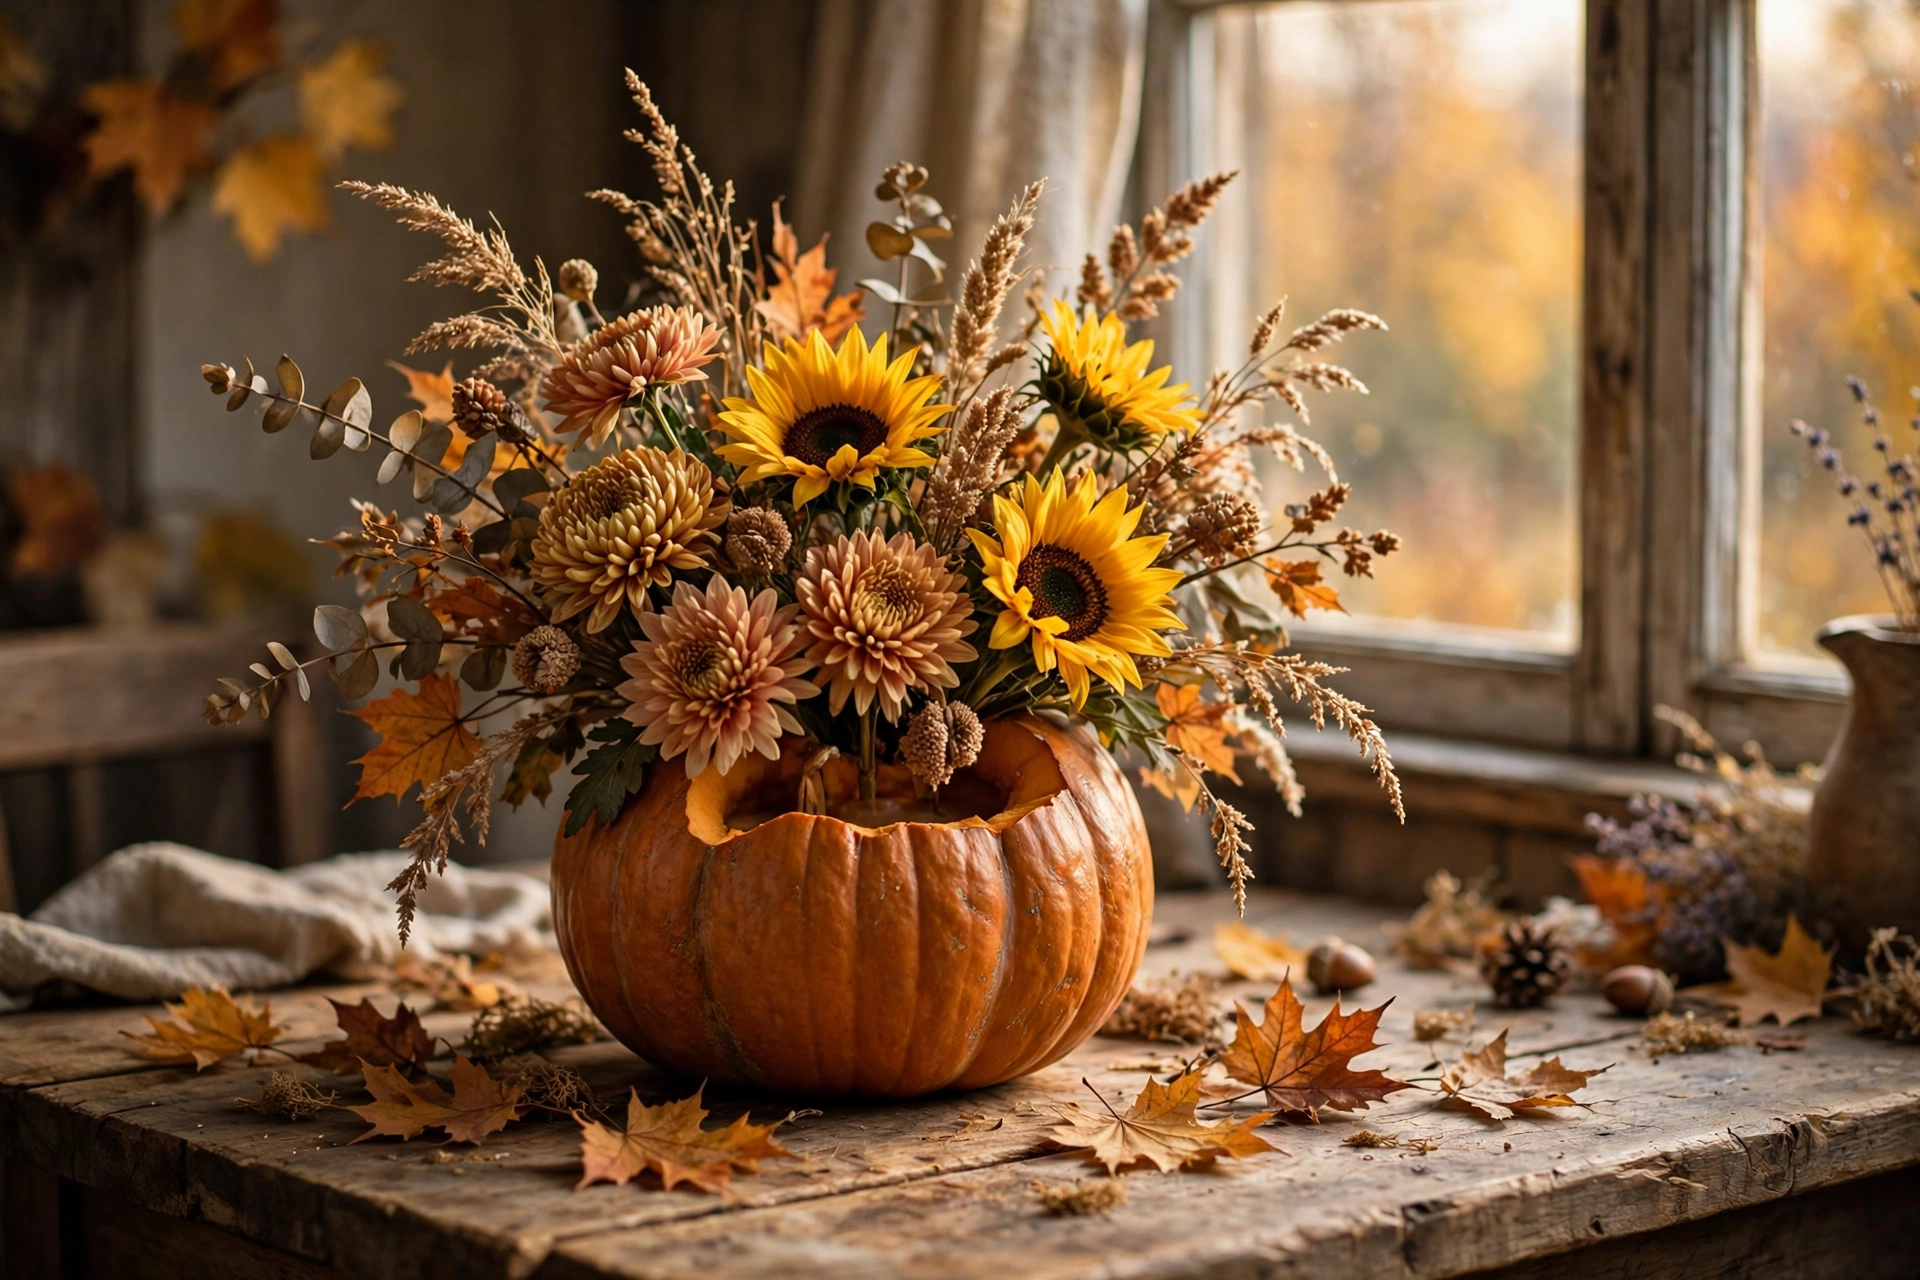
12. Pumpkin vase with fall flowers
Hollow out a medium pumpkin, slip a jar of water inside, and arrange fall flowers like mums, sunflowers, and dried grasses. The pumpkin becomes a seasonal vase that lasts one to two weeks. Keep the water fresh every few days. Time: 25 minutes. Cost: $8 to $12 for flowers.
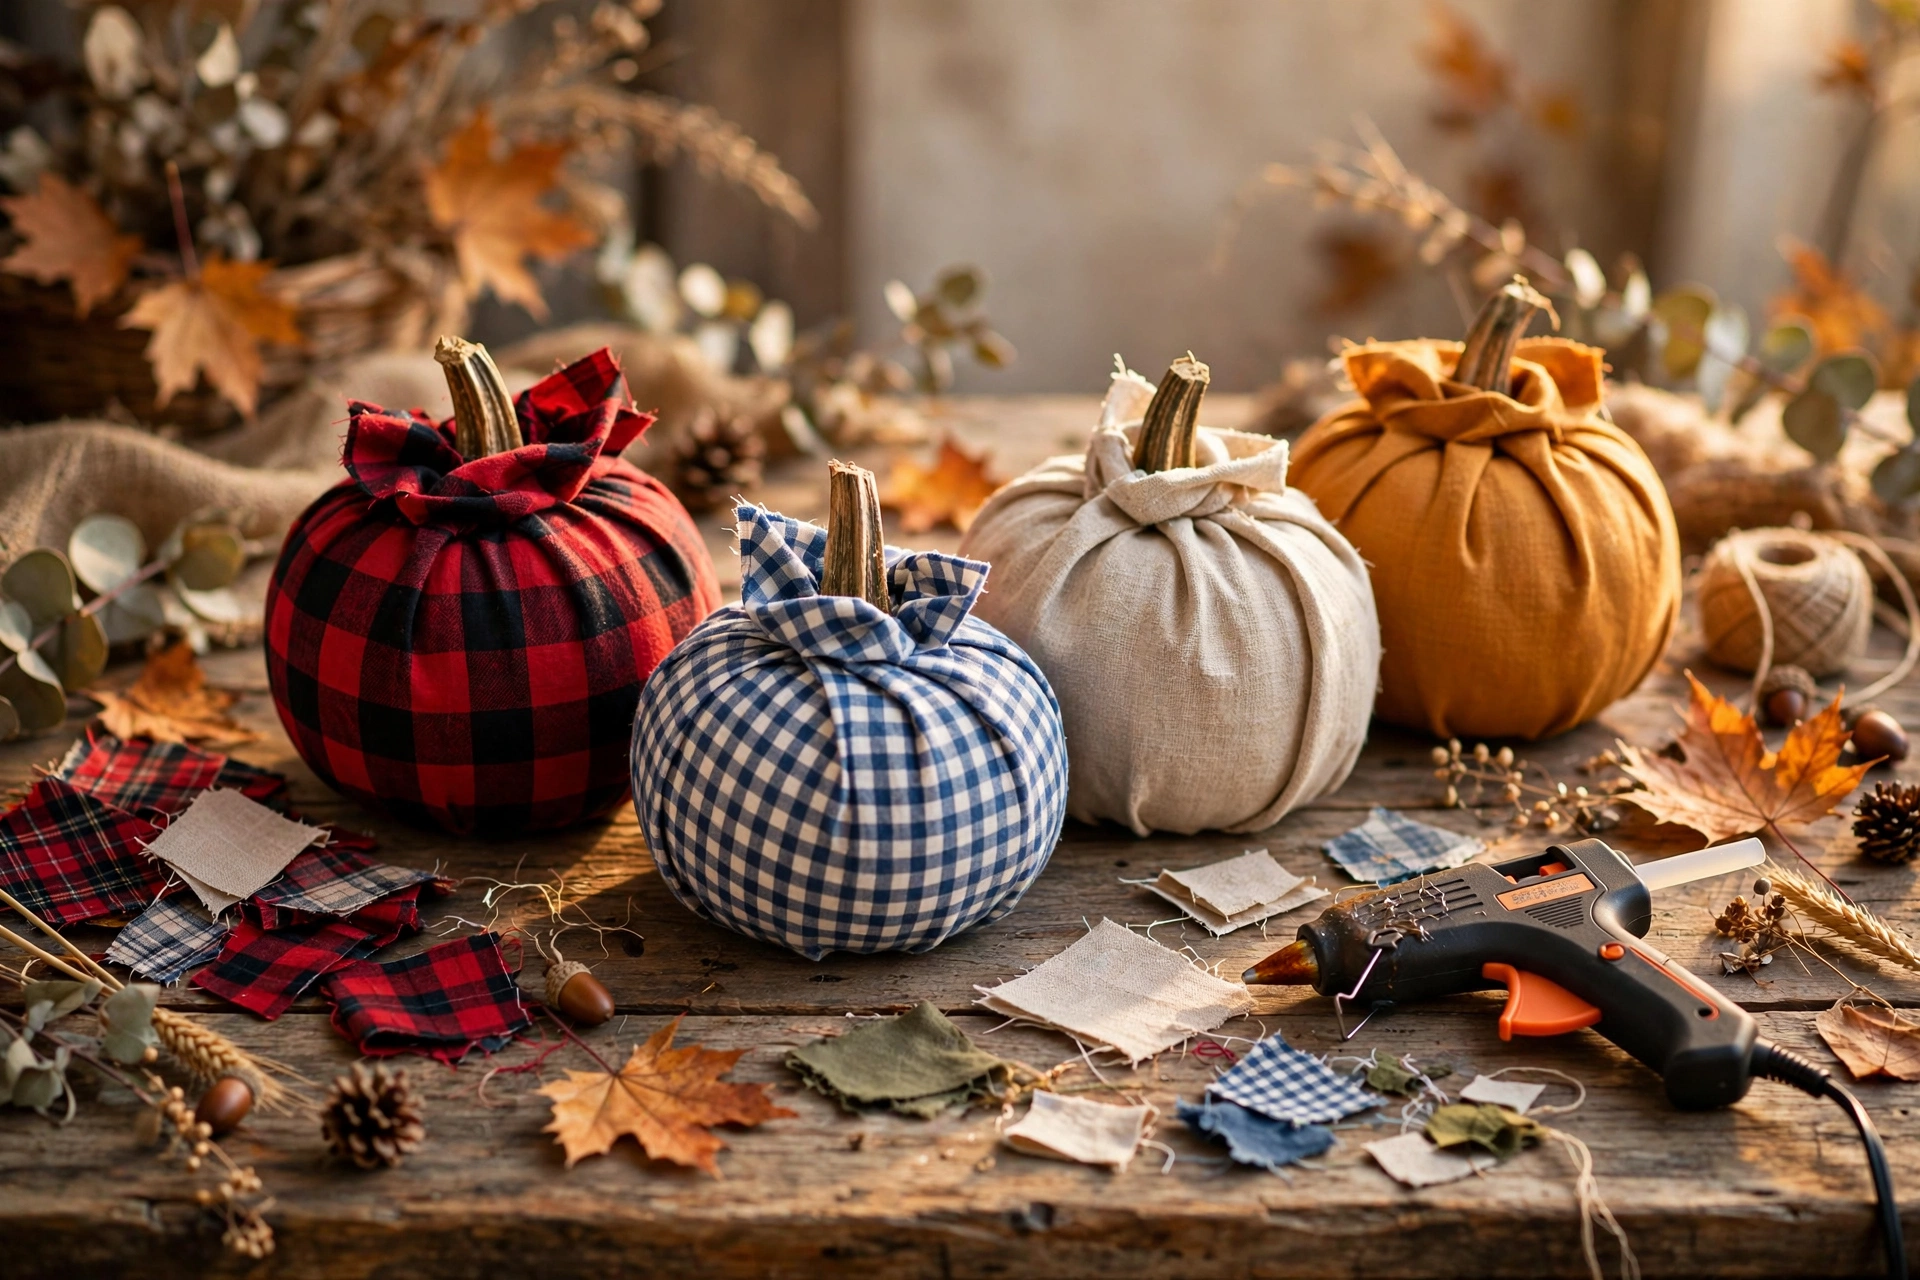
13. Fabric scrap pumpkin (no-sew)
Wrap fabric scraps around a foam or faux pumpkin, tucking the edges under at the stem and securing with hot glue. Mix patterns like plaid, gingham, and solid linen for a collected look. No sewing machine needed. Time: 20 minutes per pumpkin. Cost: about $3 for fabric scraps.
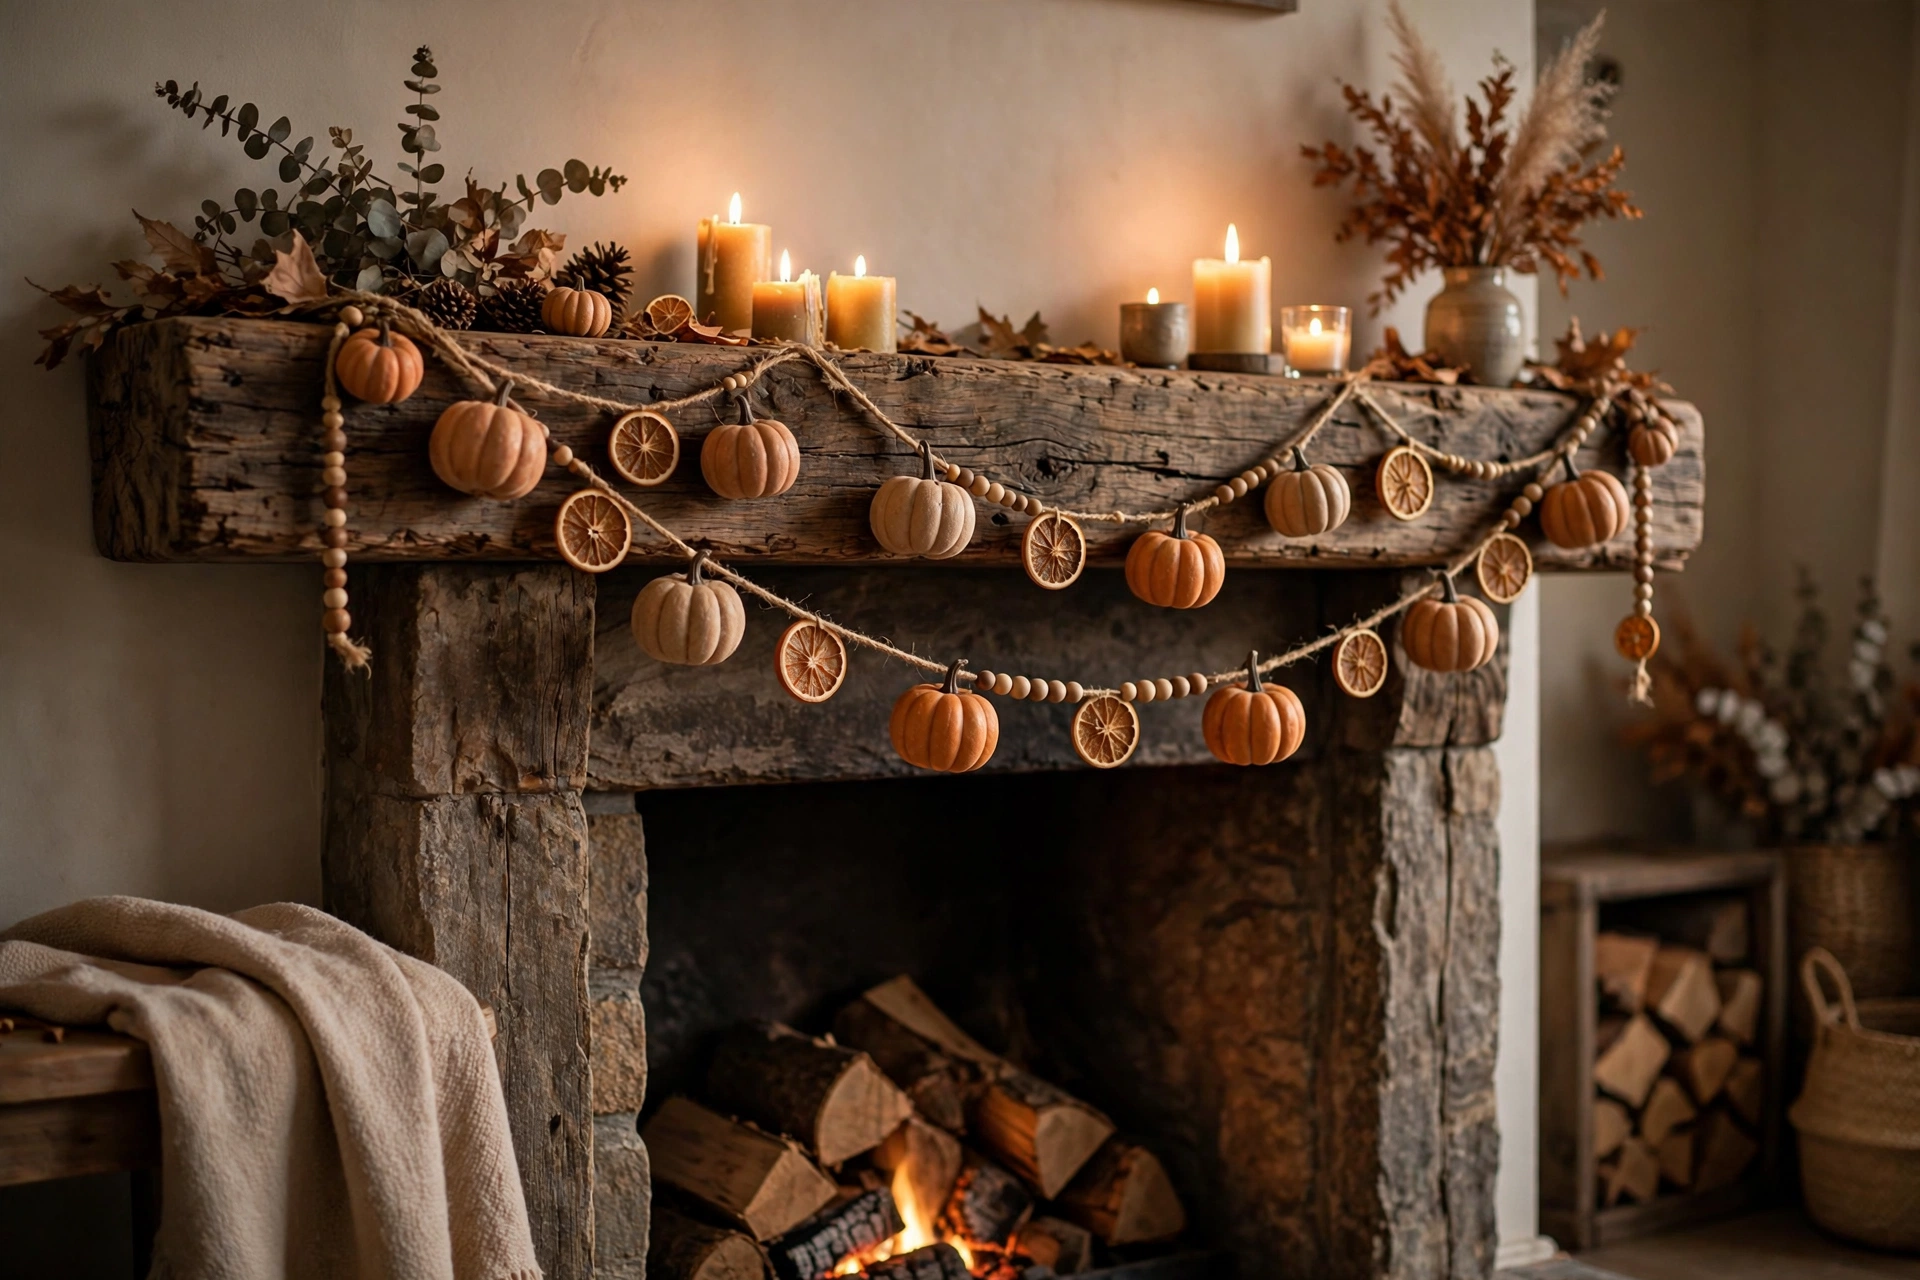
14. Pumpkin garland
String mini faux pumpkins onto jute twine with a large needle, spacing them with wooden beads or dried orange slices. Drape it across a mantel, doorway, or staircase railing. Time: 30 minutes. Cost: about $8 for mini pumpkins and twine.
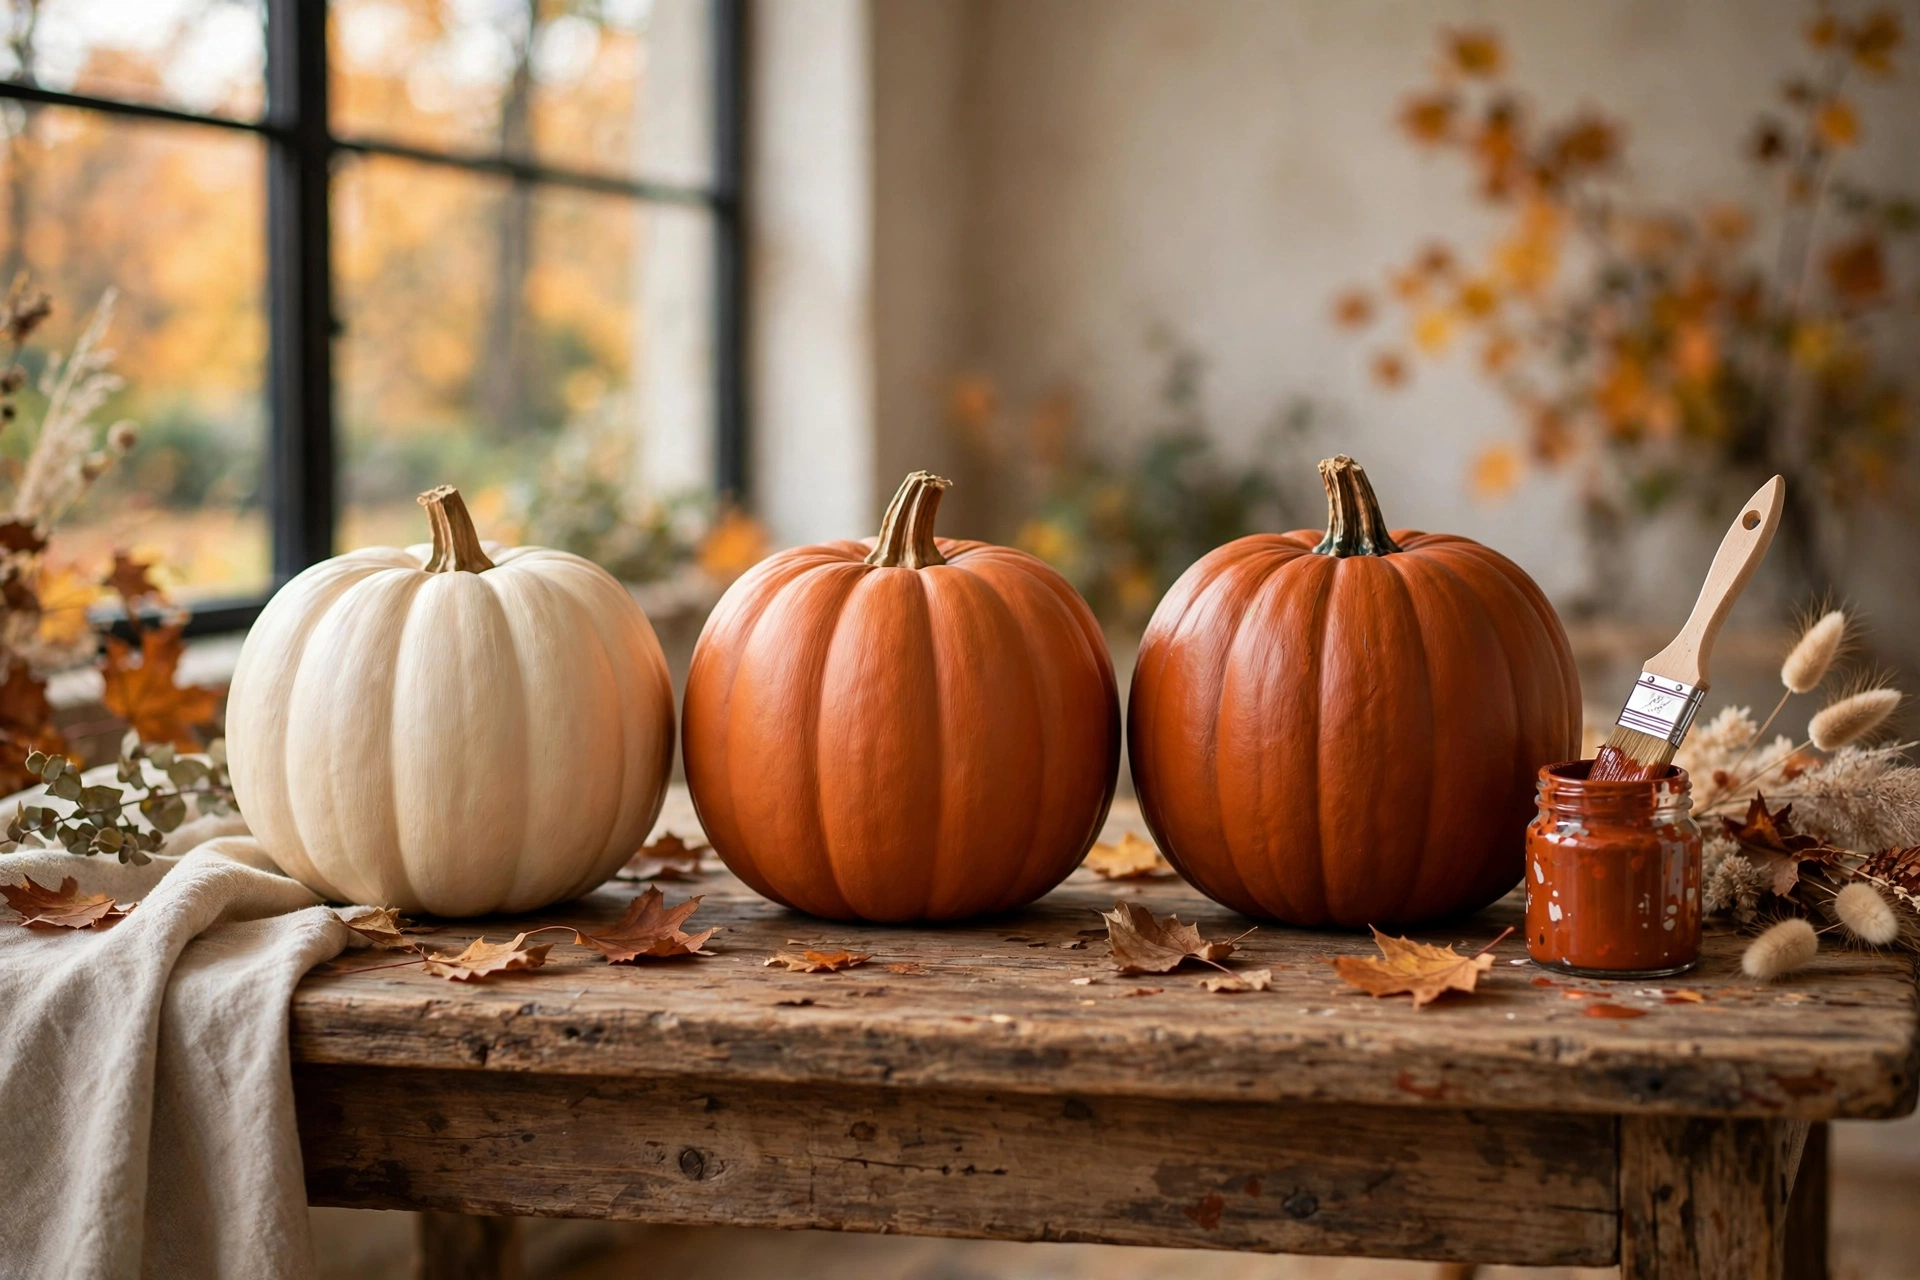
15. Ombre painted pumpkins
Paint three pumpkins in graduating shades of one color, from light to dark, for a modern ombre set. Mix white into your base color in increasing amounts for each pumpkin. Two coats give smooth coverage. Time: 40 minutes plus drying. Cost: about $6 for paint.
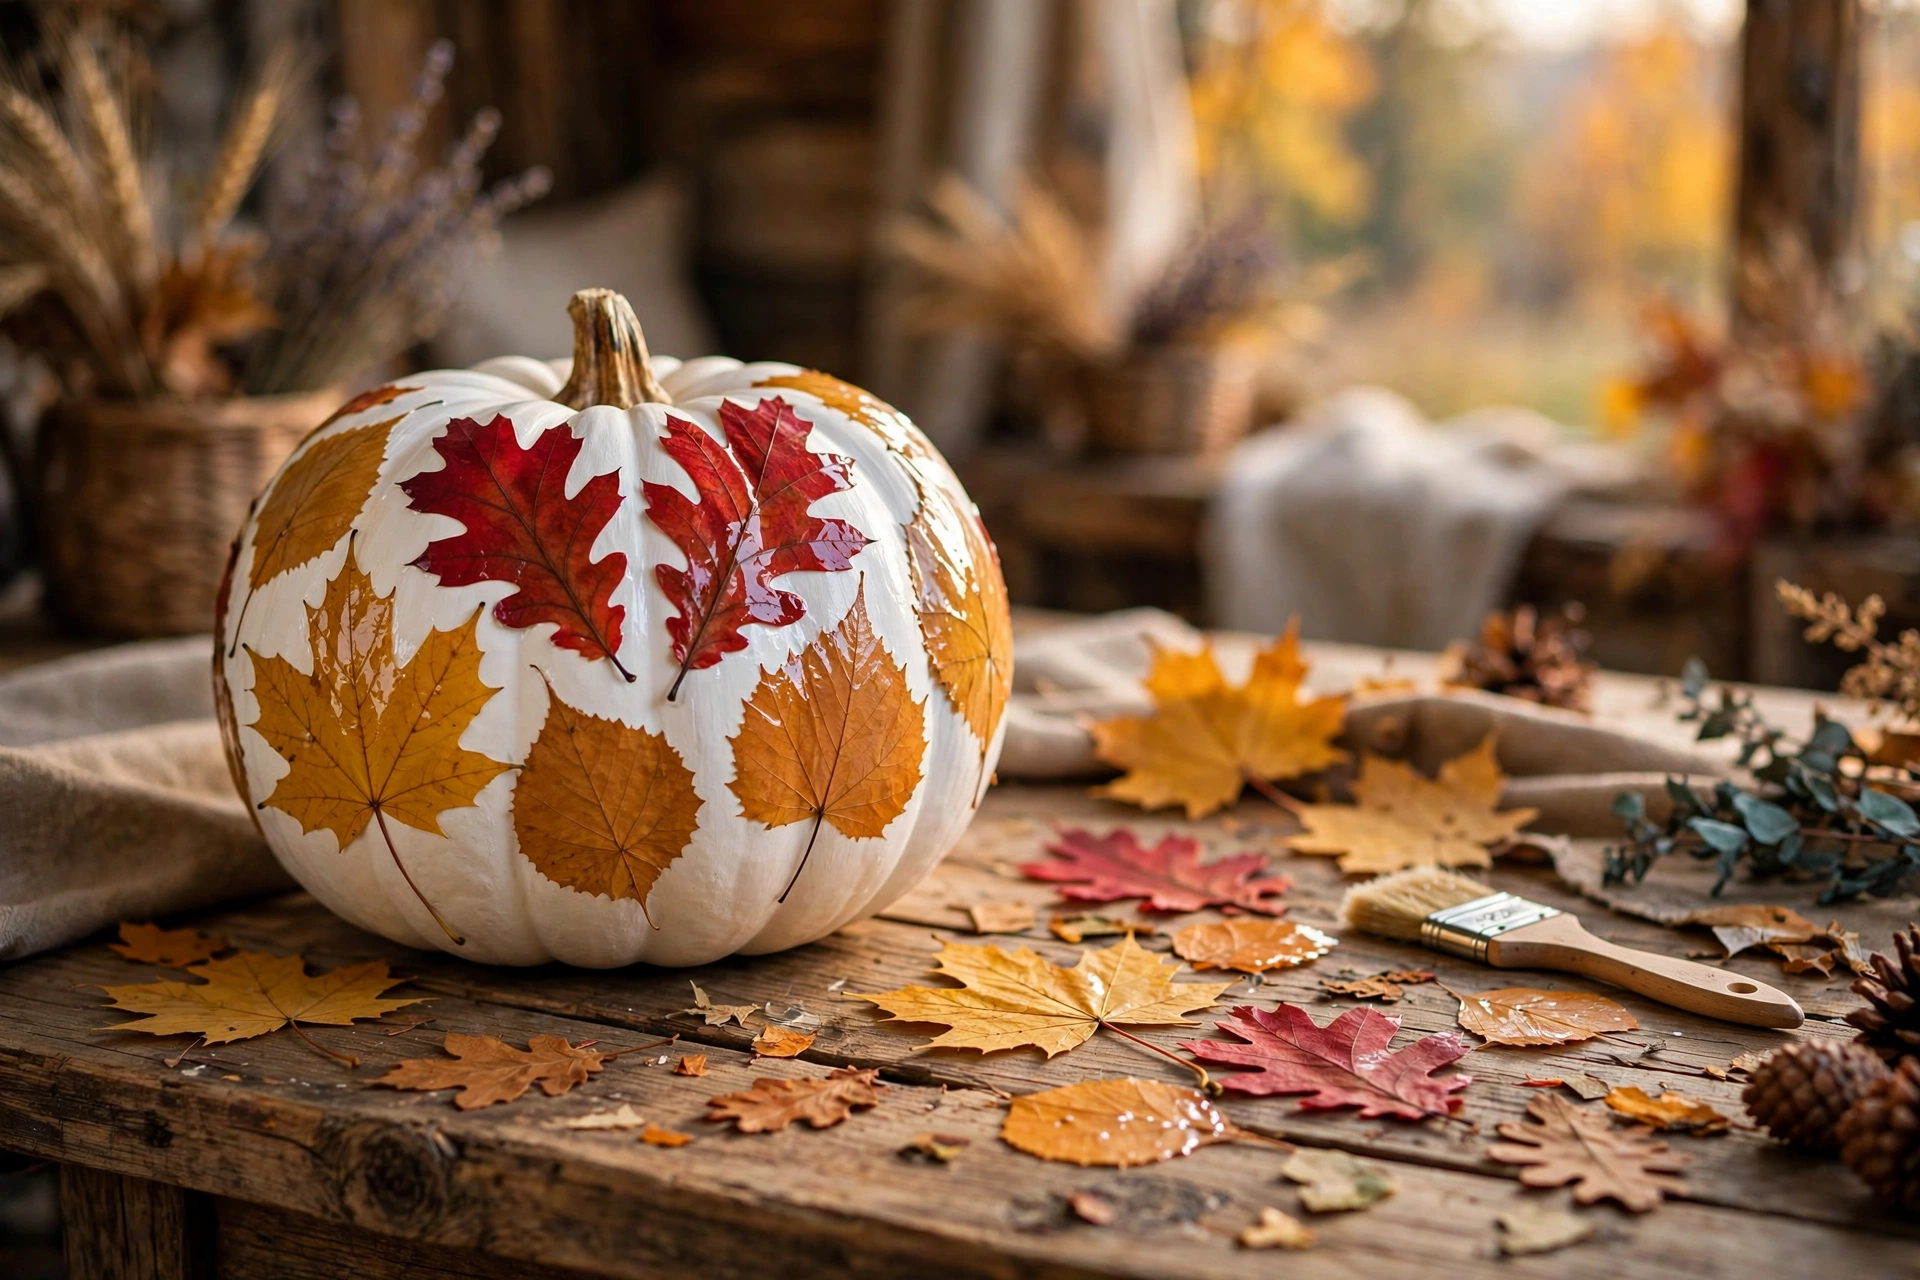
16. Pumpkin with pressed leaves
Brush Mod Podge onto a pumpkin and press real pressed fall leaves onto the surface, sealing with another thin coat. The translucent leaves glow beautifully against a white or cream pumpkin. Time: 30 minutes. Cost: about $4.
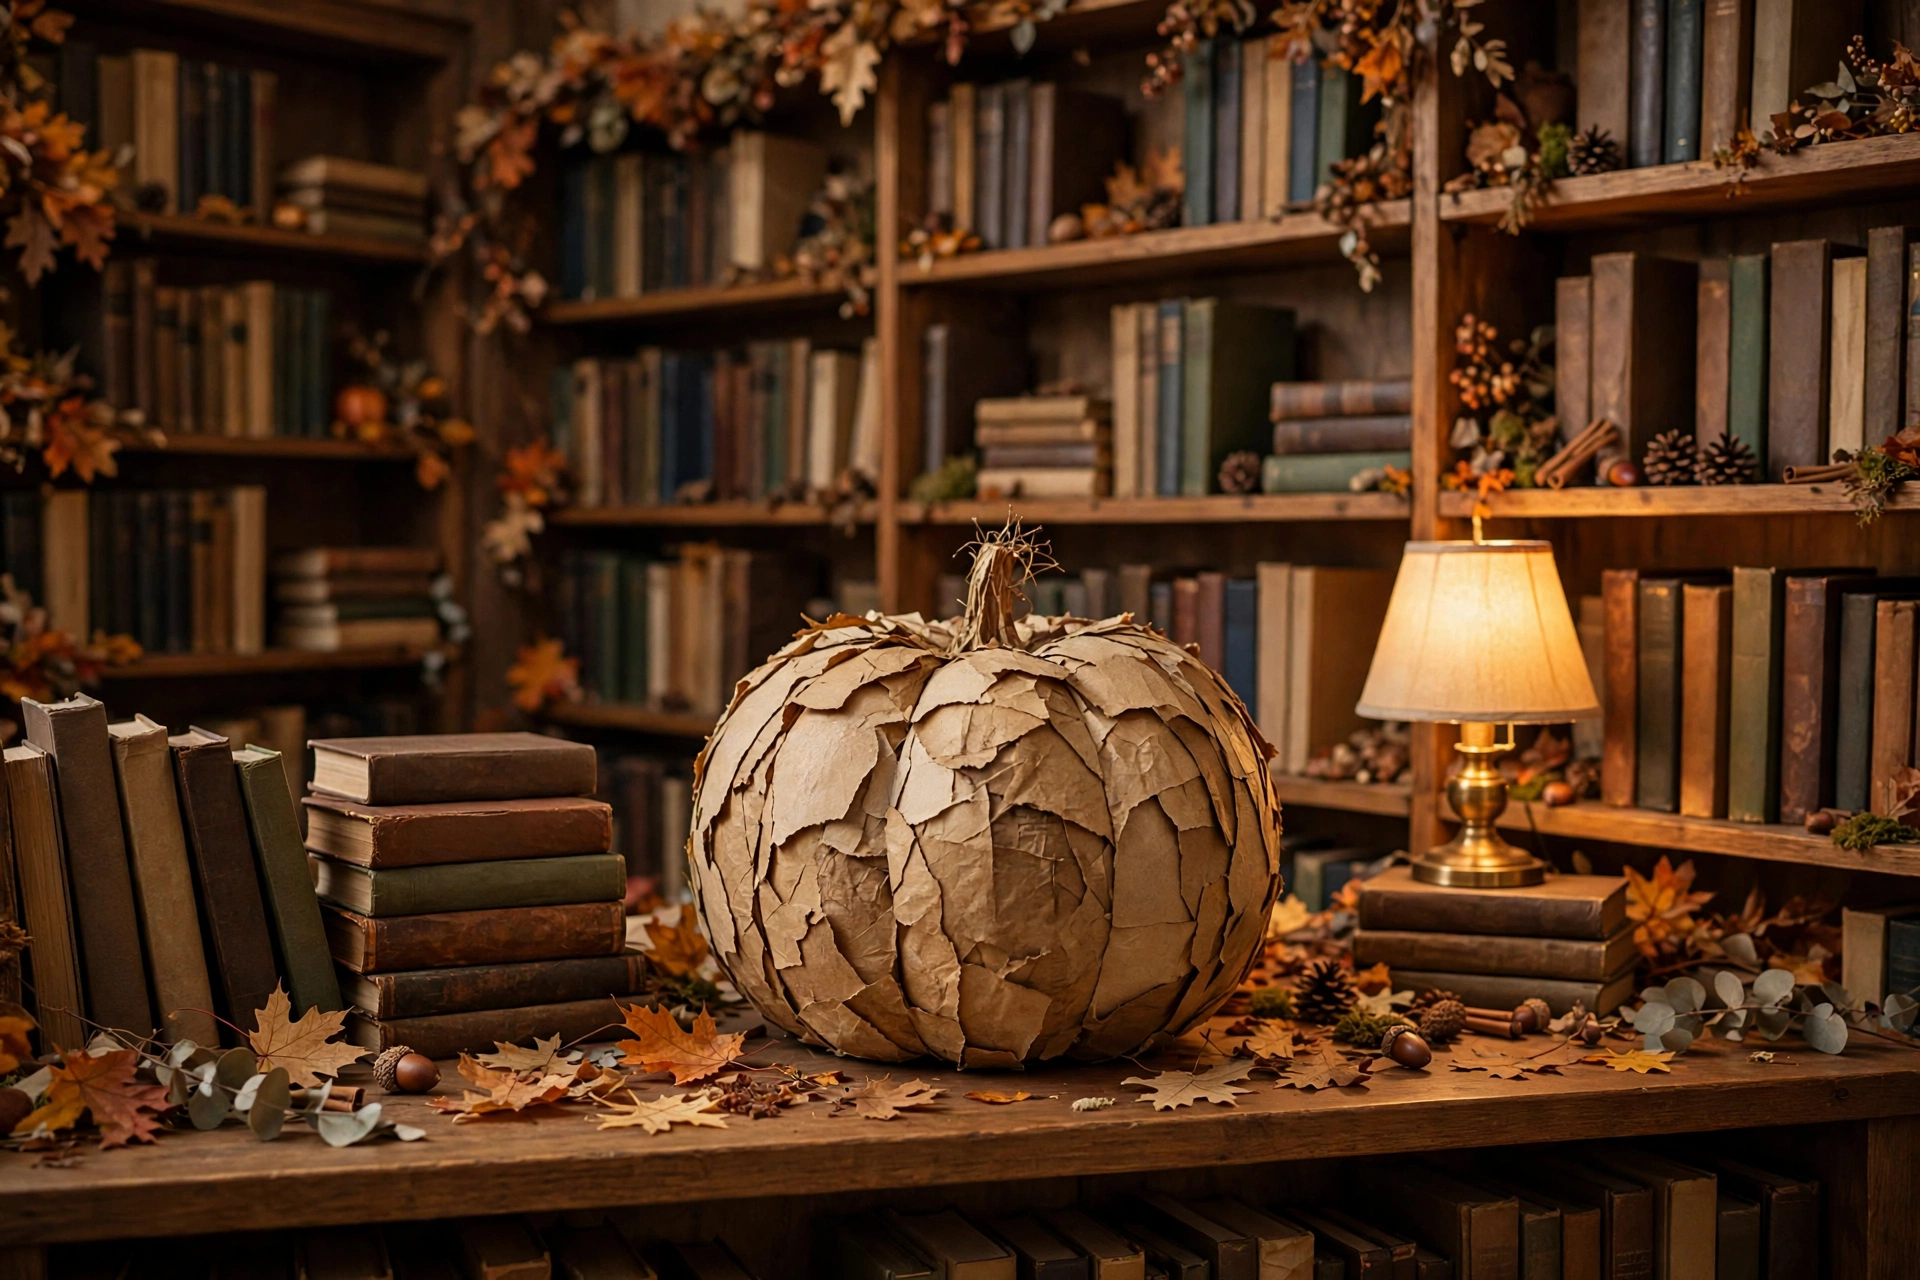
17. Book page pumpkin
Tear pages from an old book, Mod Podge them onto a faux pumpkin in overlapping layers, and seal well. It looks like a literary treasure and fits perfectly on a bookshelf or library table. Time: 45 minutes. Cost: about $4.
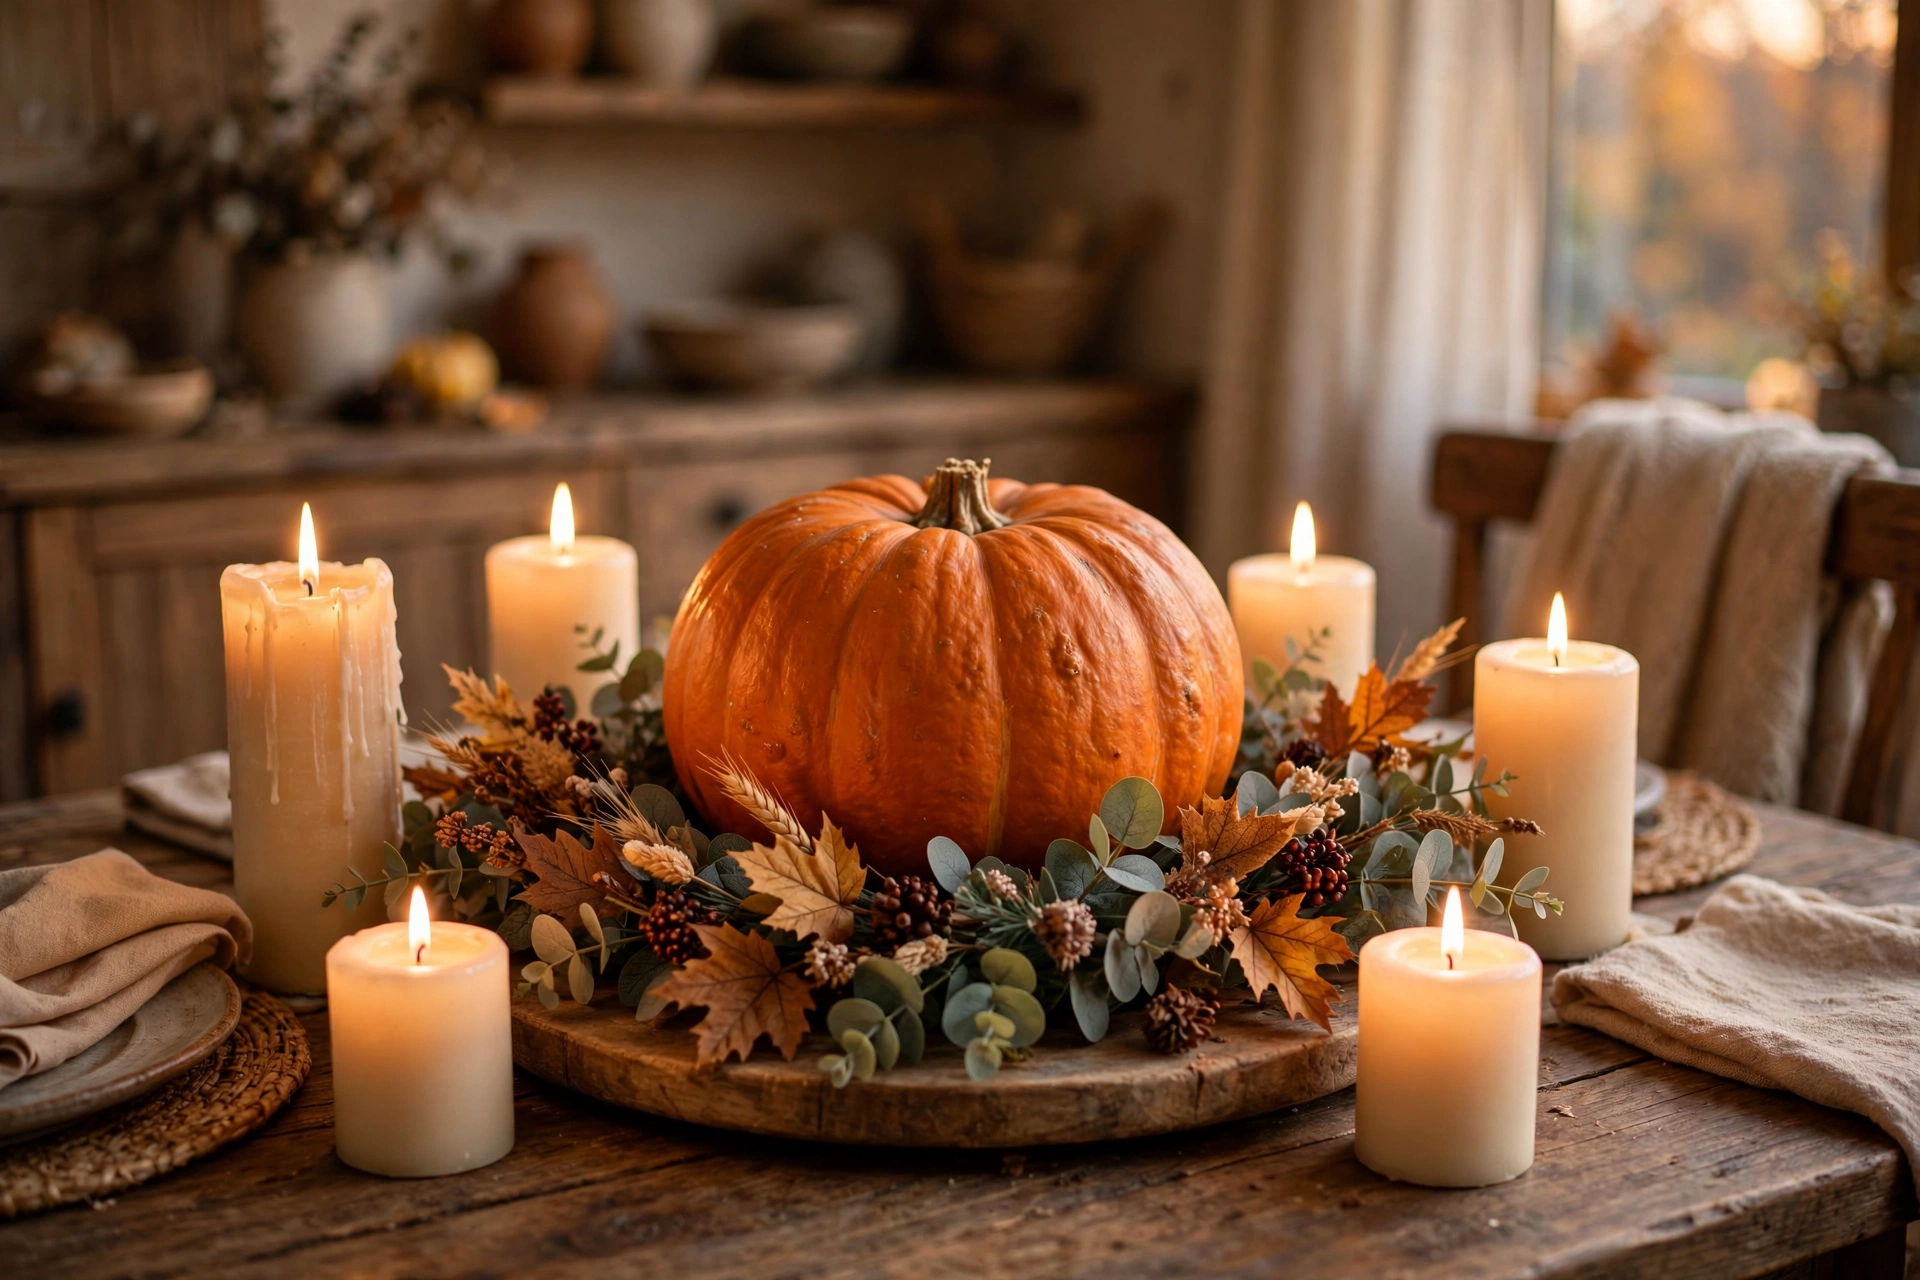
18. Pumpkin centerpiece with candles and greenery
Arrange a large pumpkin in the center of a tray, surround it with pillar candles of varying heights and faux eucalyptus or fall garland. The mix of textures makes a dining table feel instantly dressed for the season. Time: 20 minutes. Cost: $10 to $15.
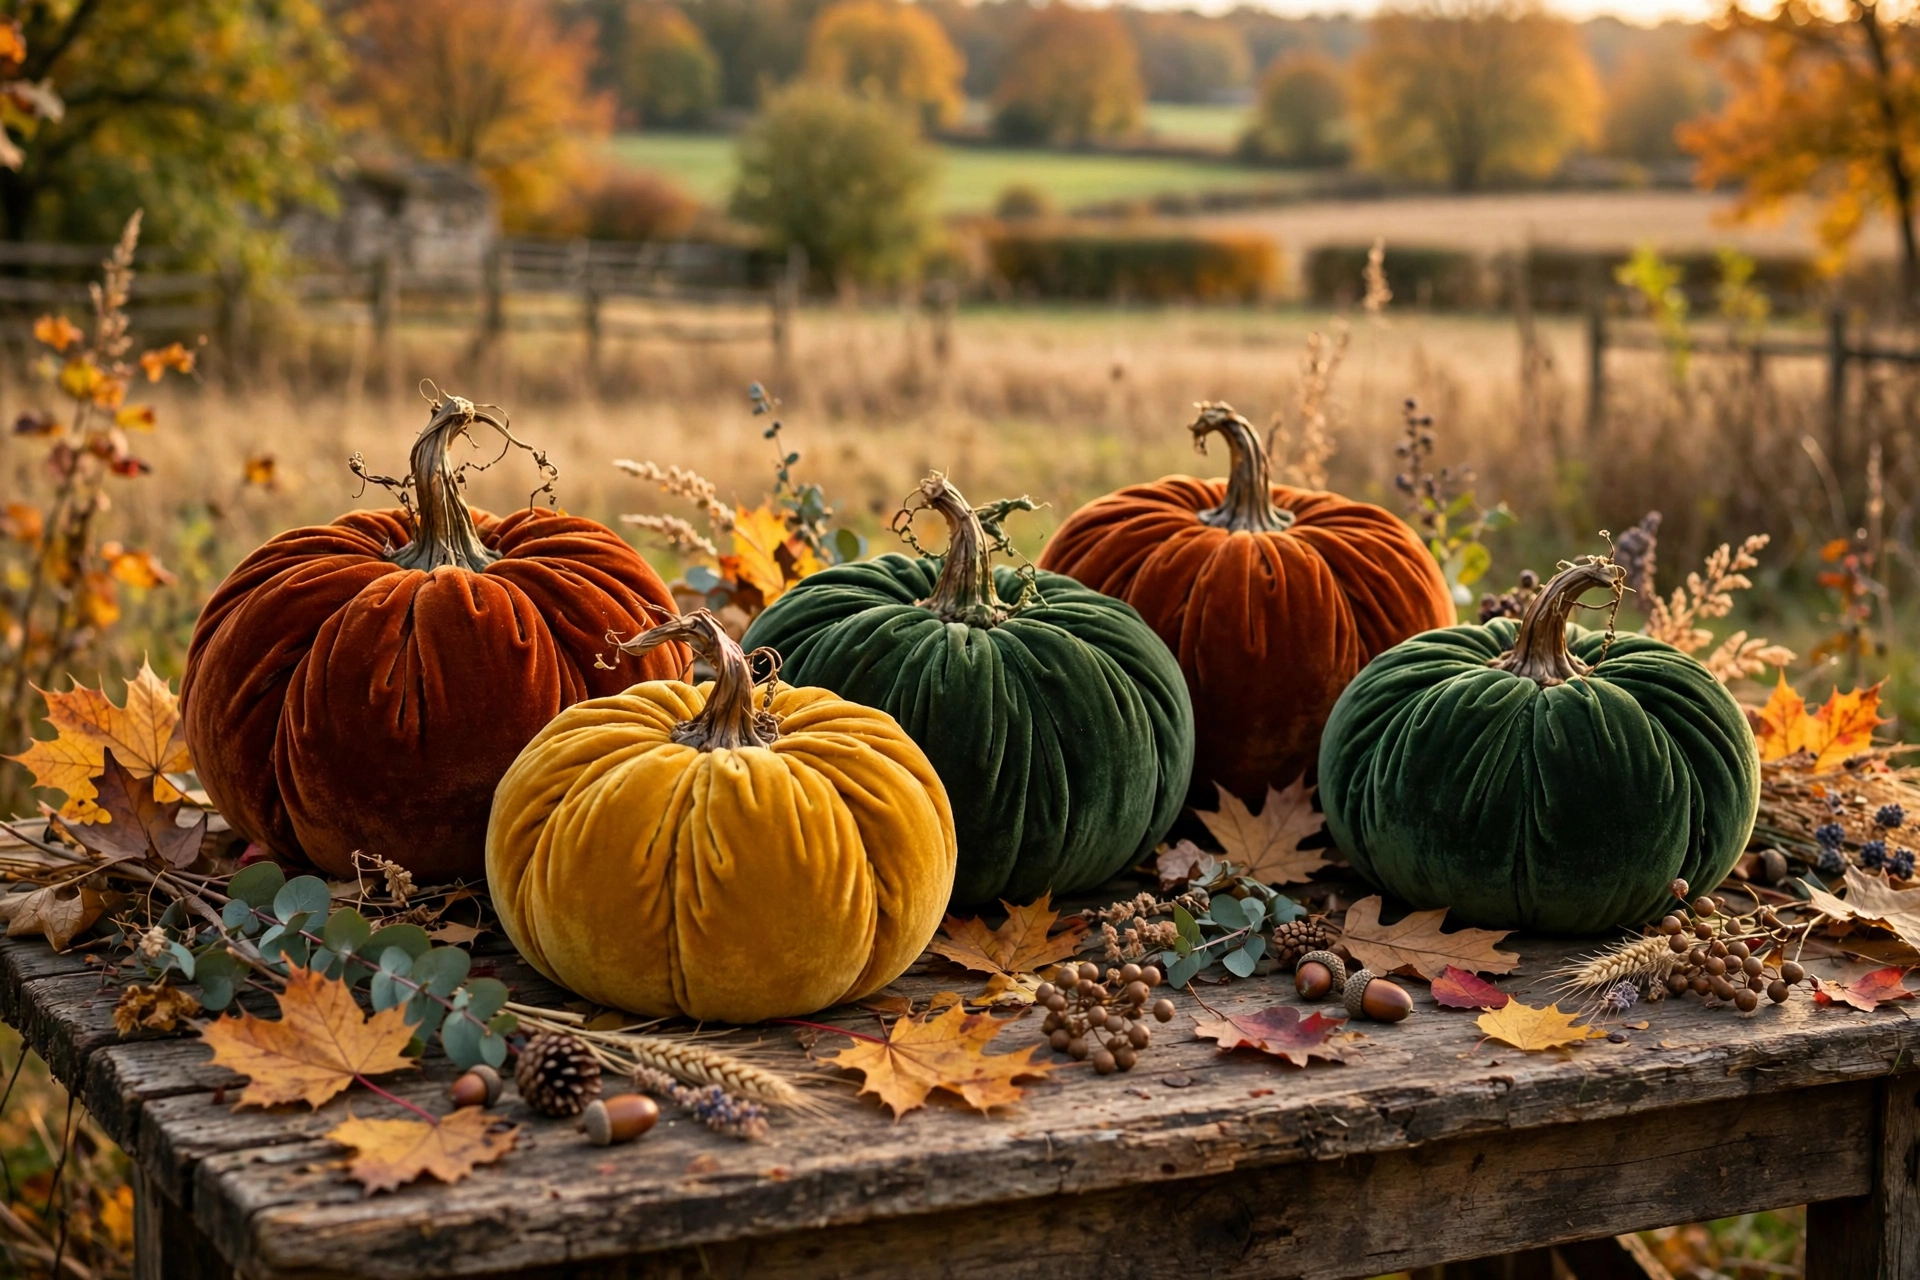
19. Velvet pumpkins (DIY from fabric)
Cut a circle of velvet fabric, run a gathering stitch around the edge, stuff with fiberfill, and cinch tight around a real pumpkin stem hot-glued on top. They look like the pricey boutique kind at a fraction of the cost. Time: 25 minutes each. Cost: about $5 for velvet and stuffing.
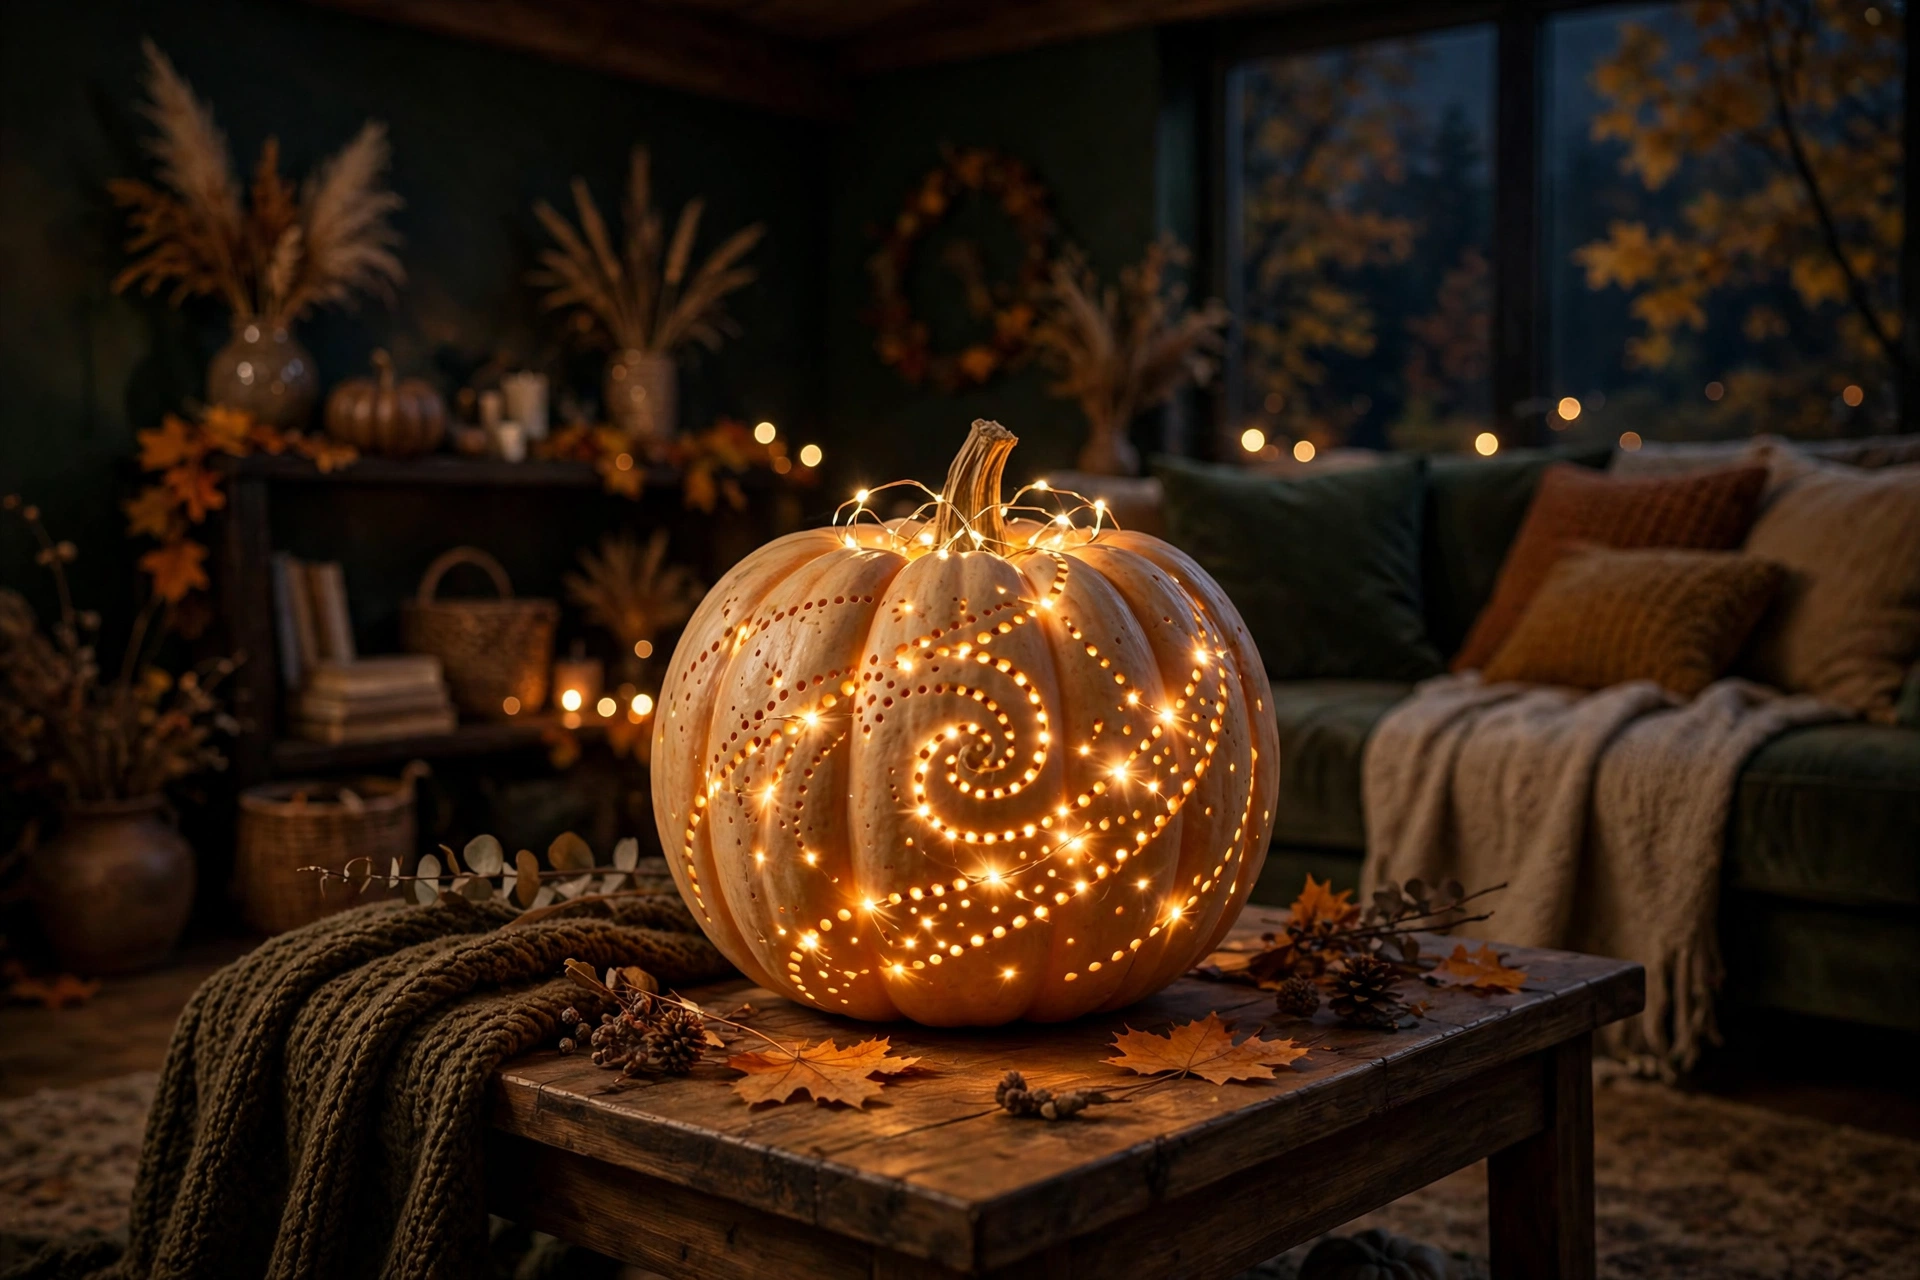
20. Fairy light pumpkin
Drill small holes in a swirl pattern into a faux pumpkin and push a battery fairy light strand inside. The tiny points of light look magical on a side table at night. Use LED lights only, which stay cool. Time: 35 minutes. Cost: about $10.
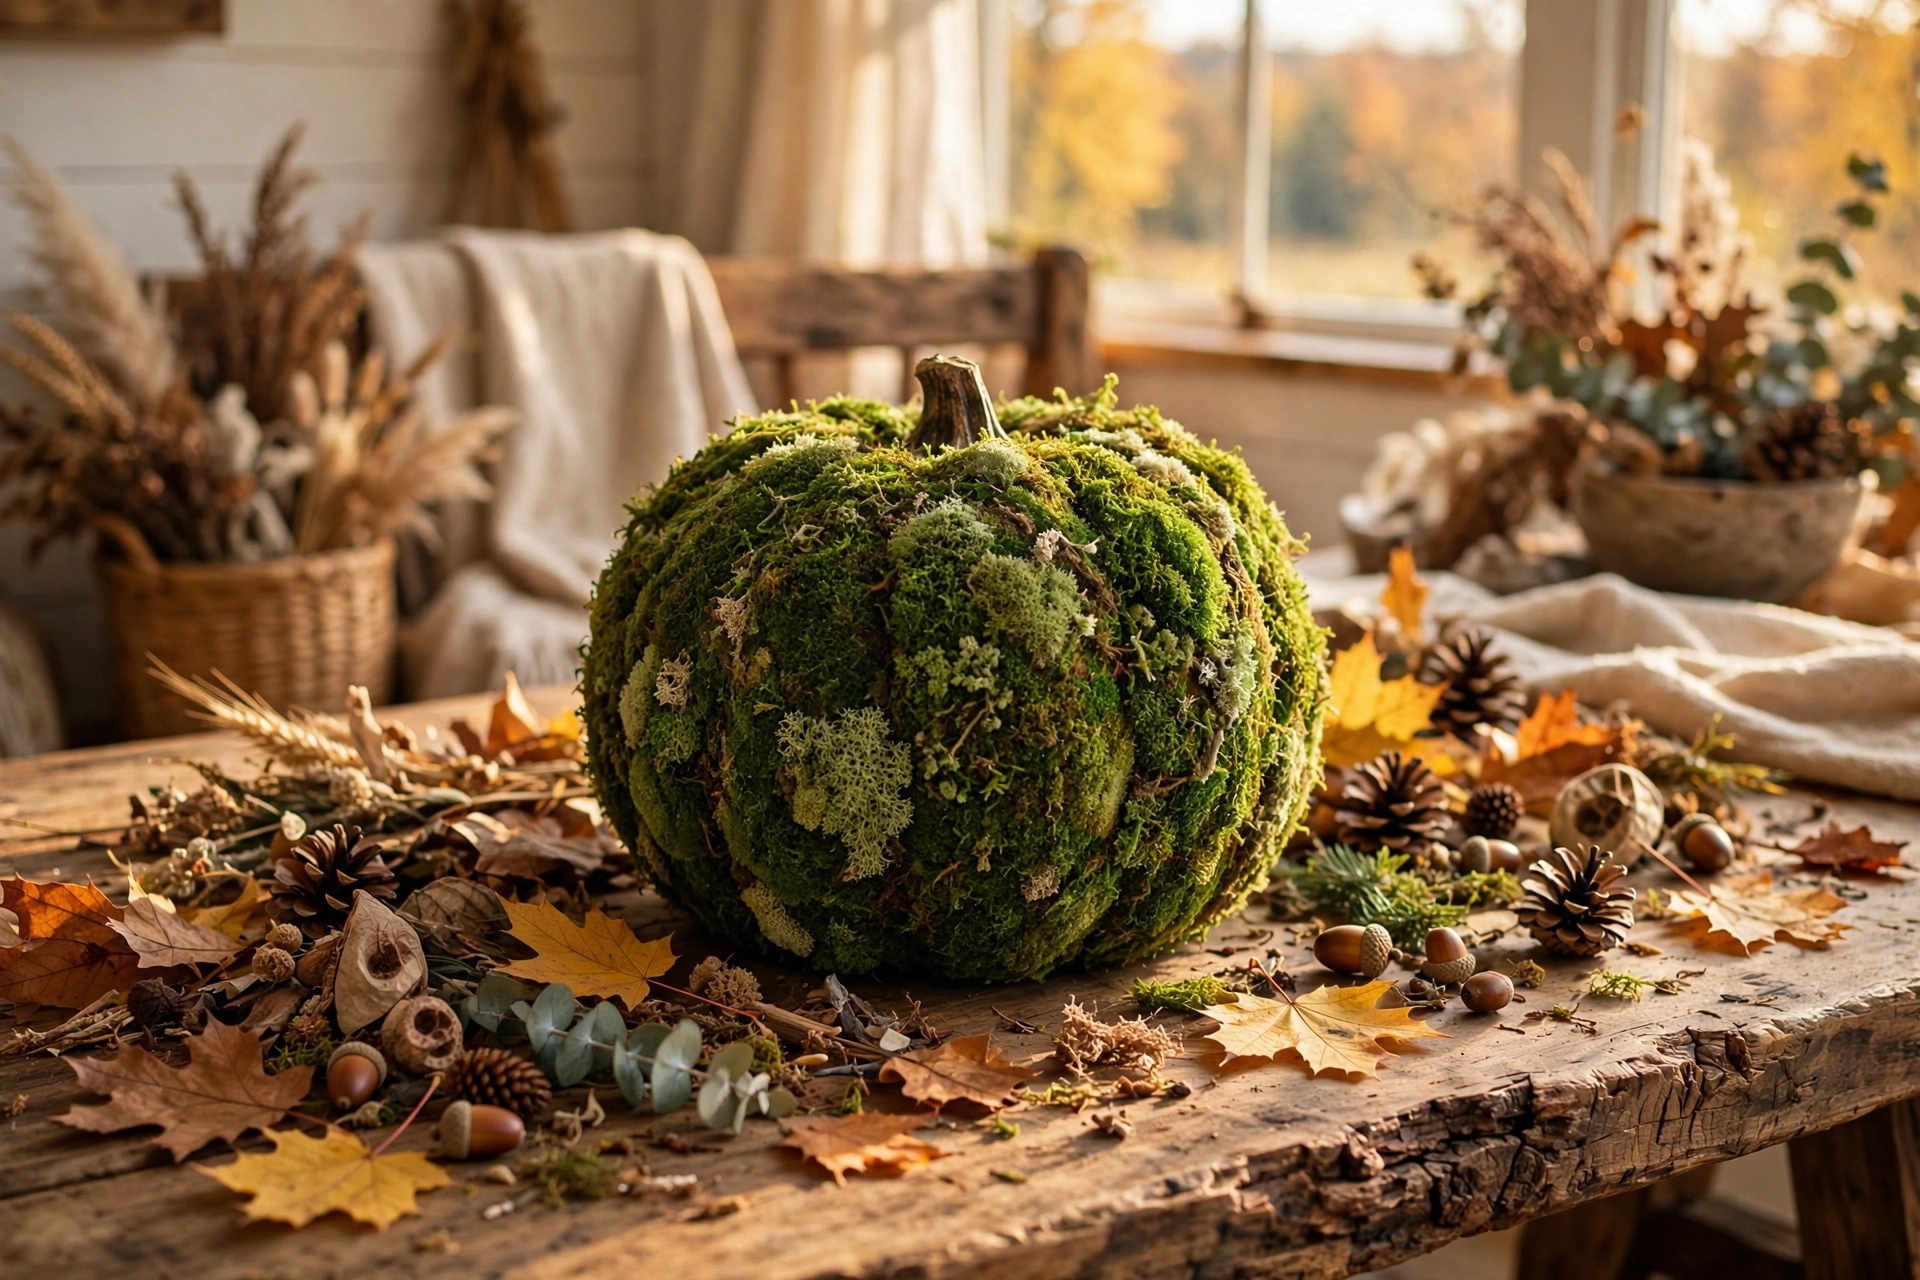
21. Moss-covered pumpkin
Hot-glue sheets of preserved moss all over a faux pumpkin for an earthy, garden-inspired look. Fill gaps with small pieces and let the moss texture be the star. It pairs beautifully with natural wood decor. Time: 30 minutes. Cost: about $8 for moss.
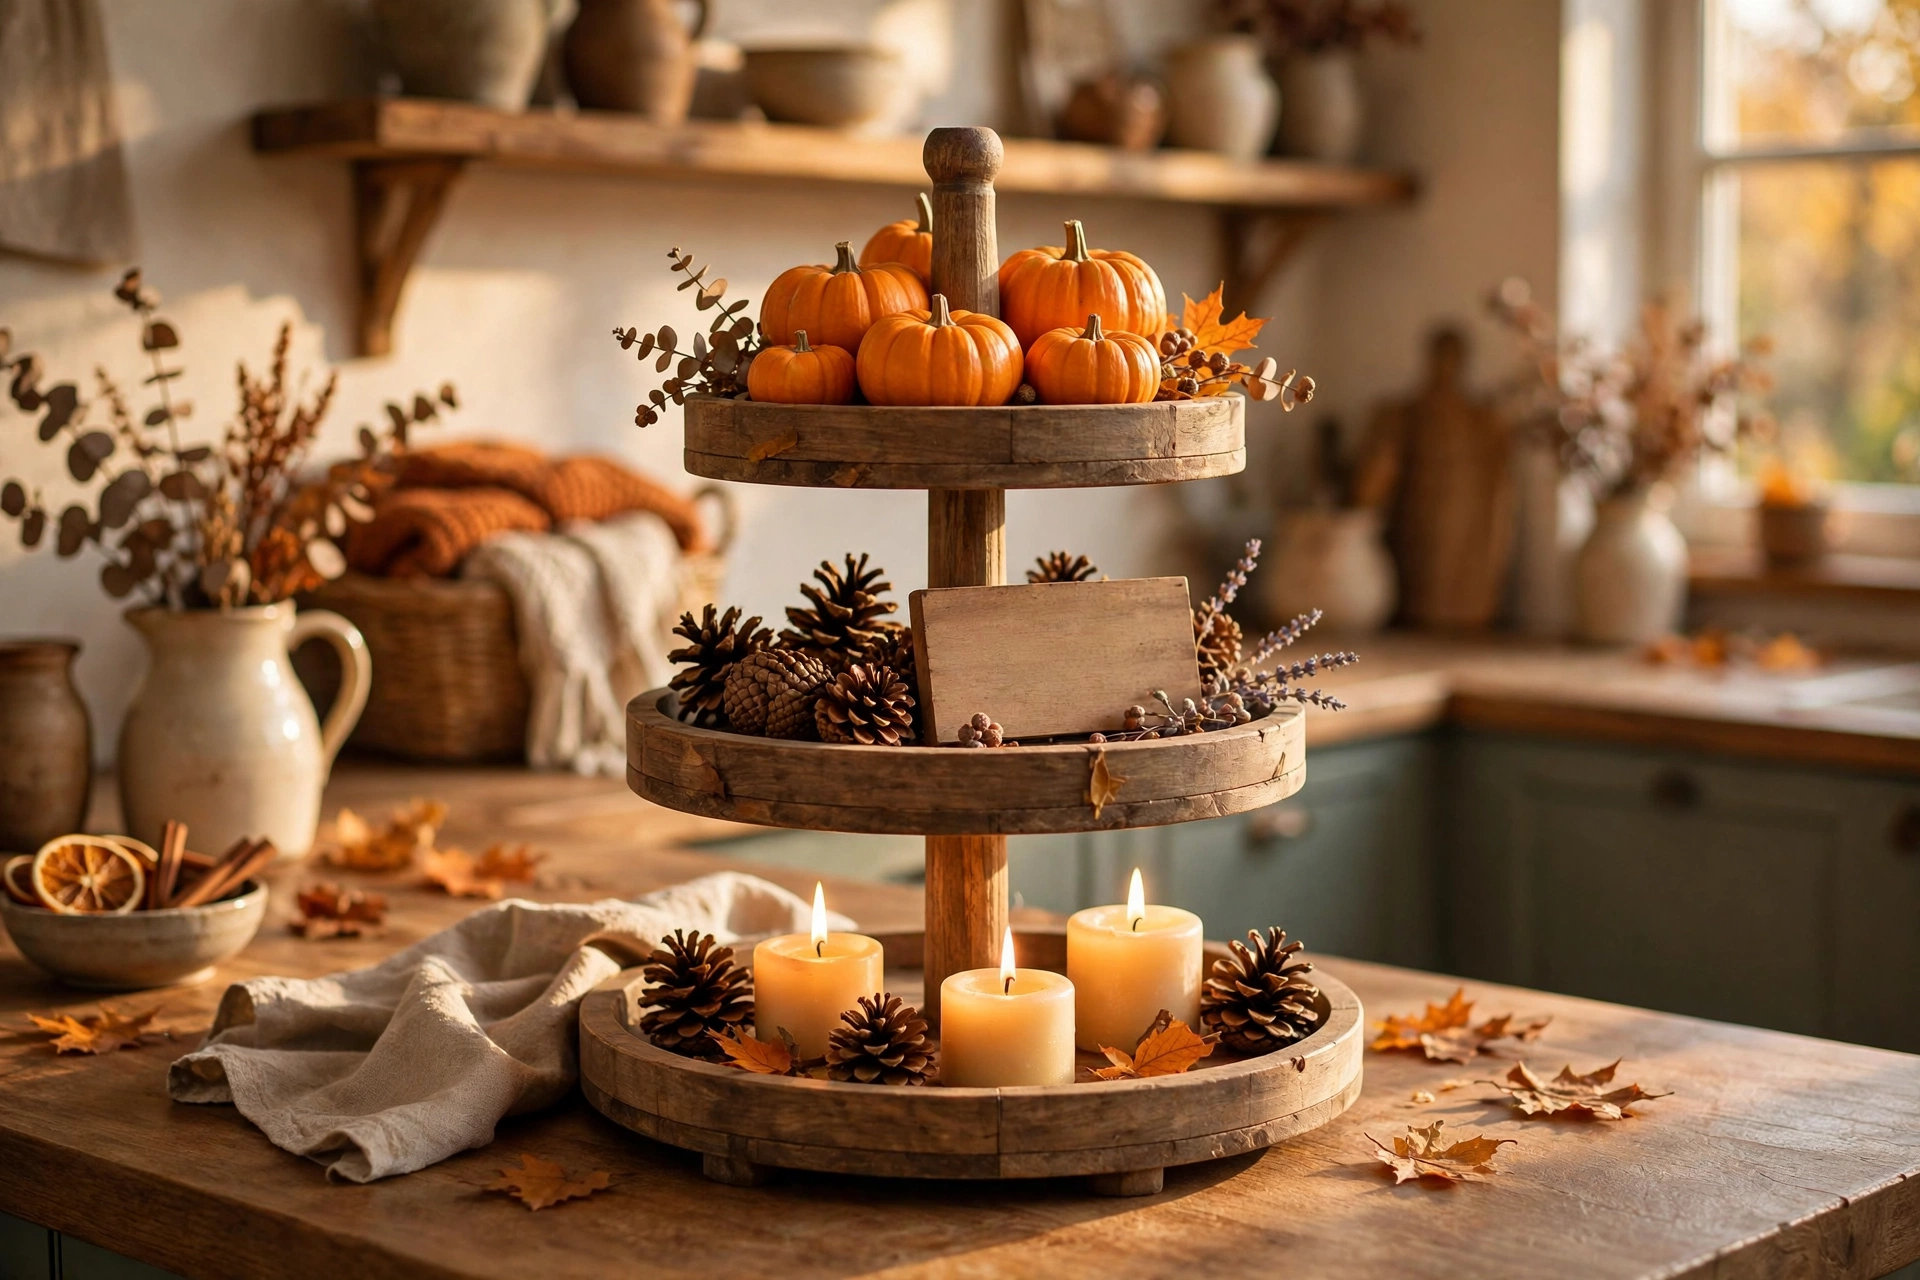
22. Pumpkin tiered tray vignette
Build a mini fall scene on a tiered tray: mini pumpkins on the top tier, a small sign and pinecones in the middle, and candles on the bottom. It is a contained, tidy way to decorate a kitchen counter or entry table. Time: 15 minutes. Cost: about $8.
Quick Crafting Tips
- Paint beats carving for longevity: A painted real pumpkin lasts weeks longer than a carved one, and faux pumpkins last for years.
- Seal your work: A coat of clear matte sealer protects painted pumpkins from moisture and handling.
- Candle safety first: Use LED candles and fairy lights inside any pumpkin decoration — they give the same glow with zero fire risk.
- Buy pumpkins cheap: Grocery stores, farmers markets, and discount stores all sell pumpkins; buy minis in bulk bags for the best price.
- Store faux pumpkins carefully: Wrap painted faux pumpkins in tissue and store in a sturdy bin so the paint does not chip between seasons.
- Work clean: Wipe real pumpkins with a damp cloth before painting so the paint adheres smoothly.
- Test first: Try your paint or glue on the bottom of the pumpkin before committing to the whole surface.
FAQs
How long do decorated real pumpkins last?
Uncarved, painted, or wrapped real pumpkins last 3 to 6 weeks indoors. Keep them out of direct sun and heat to extend their life.
Can I use real pumpkins for outdoor decorations?
Yes, but bring painted pumpkins under cover during heavy rain. Faux pumpkins are the safer choice for fully exposed spots.
What paint works best on pumpkins?
Acrylic craft paint and chalk paint both adhere well. Spray paint works too — apply light coats to avoid drips.
How do I keep a stacked pumpkin topiary from tipping?
Push a wooden dowel or metal rod through the centers of all the pumpkins and into the container below. For outdoor topiaries, add weight like rocks to the base container.
Closing
With a little paint, fabric, and creativity, ordinary pumpkins become the heart of your fall home. Pick the projects that match your style, gather your supplies, and enjoy an afternoon of cozy autumn crafting — your home will thank you all season long.