
Bee balm has a reputation for being nearly foolproof, and then you plant it, and by August the lower leaves are gray with powdery mildew and the center of the clump has gone bald. I’ve watched this happen in my own bed three summers running before I figured out what I was doing wrong — and it wasn’t the plant’s fault. Monarda didyma is genuinely forgiving, but it has a short list of non-negotiables, and skipping even one of them shows up fast. This isn’t a general care guide; it’s the specific list of errors that trip up most gardeners, myself included. Ready? Let’s explore all 7 of them.
Quick Answer: The most common bee balm mistakes are planting it in partial shade instead of full sun, crowding plants closer than 18-24 inches apart (which trap moisture and invite powdery mildew), and letting clumps go three-plus years without division. Fix airflow and sun exposure first — that alone solves roughly 80% of bee balm complaints.
Why Avoiding These Bee Balm Mistakes Is Worth Your Time
Bee balm rewards precision more than most perennials realize. Get the sun, spacing, and soil right, and you get months of scarlet, pink, or lavender blooms that hummingbirds and bees genuinely fight over — I’ve had three hummingbirds squabbling over one patch by mid-July. Get it wrong, and you get a mildew-streaked plant that still flowers but looks half-dead doing it.
The practical payoff of fixing these mistakes is real: healthier plants resist pests better, need less deadheading, and spread predictably instead of taking over a bed or vanishing from the center outward. One lesser-known fact — bee balm’s powdery mildew problem is almost entirely a humidity and airflow issue, not a soil or fertilizer issue, which is why so many well-fed, well-watered plants still get it.
This matters most for gardeners in humid climates (the Southeast and Mid-Atlantic especially) and anyone growing it in a mixed perennial bed where crowding sneaks up over two or three seasons. If you’ve grown bee balm before and been disappointed, the fix is usually simpler than you’d expect.
At a Glance
- Full sun (6+ hours) prevents more problems than any fungicide ever will.
- Spacing plants 18-24 inches apart is the single biggest mildew fix.
- Dividing clumps every 2-3 years keeps centers from dying out.
- Deadheading spent blooms extends flowering by 3-4 weeks.
- Well-drained, slightly acidic soil (pH 6.0-6.5) keeps roots from rotting.
Bee Balm Mistakes At a Glance
| Mistake | Main Symptom | Fix Difficulty | Season to Address |
| Too much shade | Leggy, few blooms | Easy | Spring |
| Overcrowding | Powdery mildew | Moderate | Spring/Fall |
| Poor drainage | Root rot, yellowing | Moderate | Spring |
| Skipping division | Bald center | Easy | Early spring/fall |
| No deadheading | Short bloom window | Easy | Summer |
| Wrong soil pH | Weak growth, pale leaves | Moderate | Spring |
| Mildew-prone variety | Recurring mildew yearly | Easy (one-time) | Planting time |
1. Planting Bee Balm in Too Much Shade
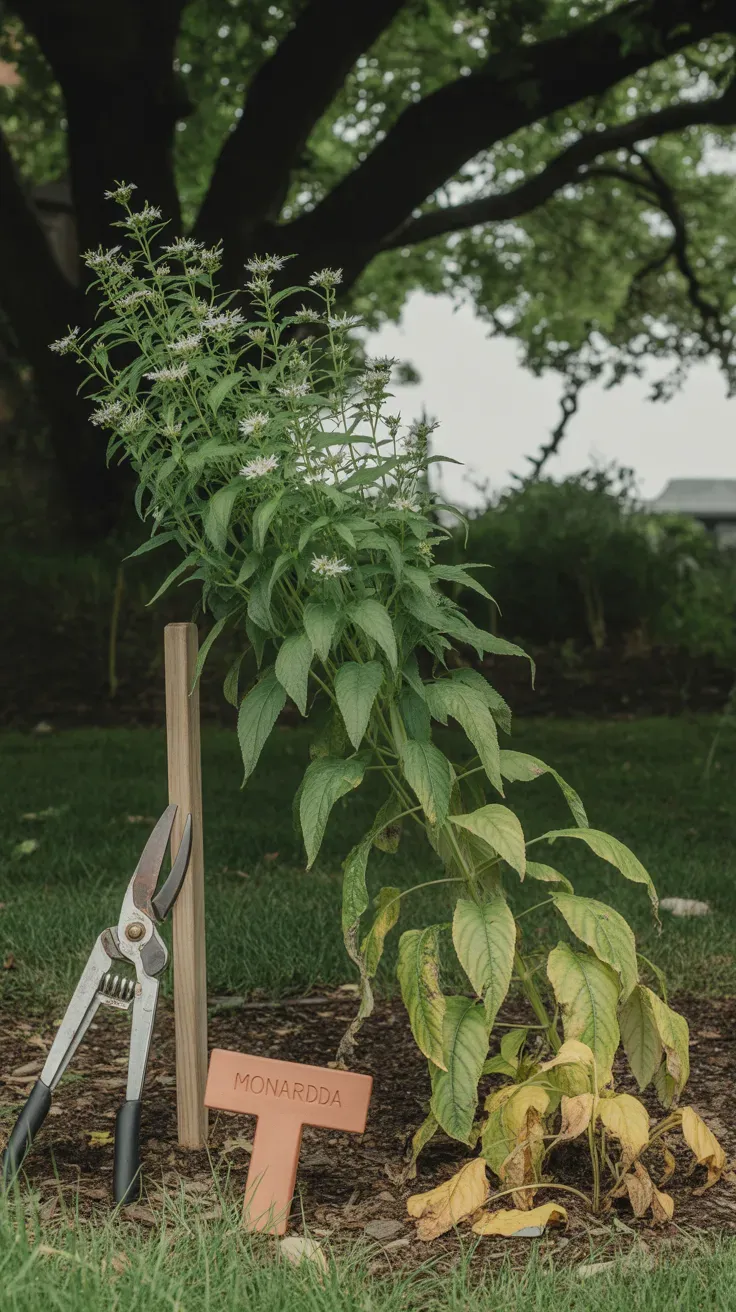
Bee balm tolerates light shade, but “tolerates” is doing a lot of work in that sentence — tolerating isn’t thriving. Under 6 hours of direct sun, plants stretch, flop, and bloom thin.
You need a spot with 6-8 hours of direct sun for the full show; morning sun with light afternoon relief works fine in hot climates like Zone 8-9, but deep or all-day shade produces weak stems that need staking by July. I made this mistake with a patch tucked behind a hydrangea — three years of sparse, floppy growth before I moved it 6 feet into open sun, and it doubled its bloom count the following season.
The pro insight: even “partial sun” tags on nursery labels can mean different things depending on your latitude, so watch your actual bed for a week before planting.
Pro Tip: If your bee balm is already planted and leaning toward one side, that’s your sun signal — transplant in early spring or fall, not mid-bloom, to avoid shock.
Full sun is the cheapest fix on this whole list, and it costs nothing but a shovel.
Internal link: choosing the right sun exposure for perennial beds External link: Missouri Botanical Garden’s light requirement chart for Monarda didyma
2. Overcrowding Plants and Restricting Airflow
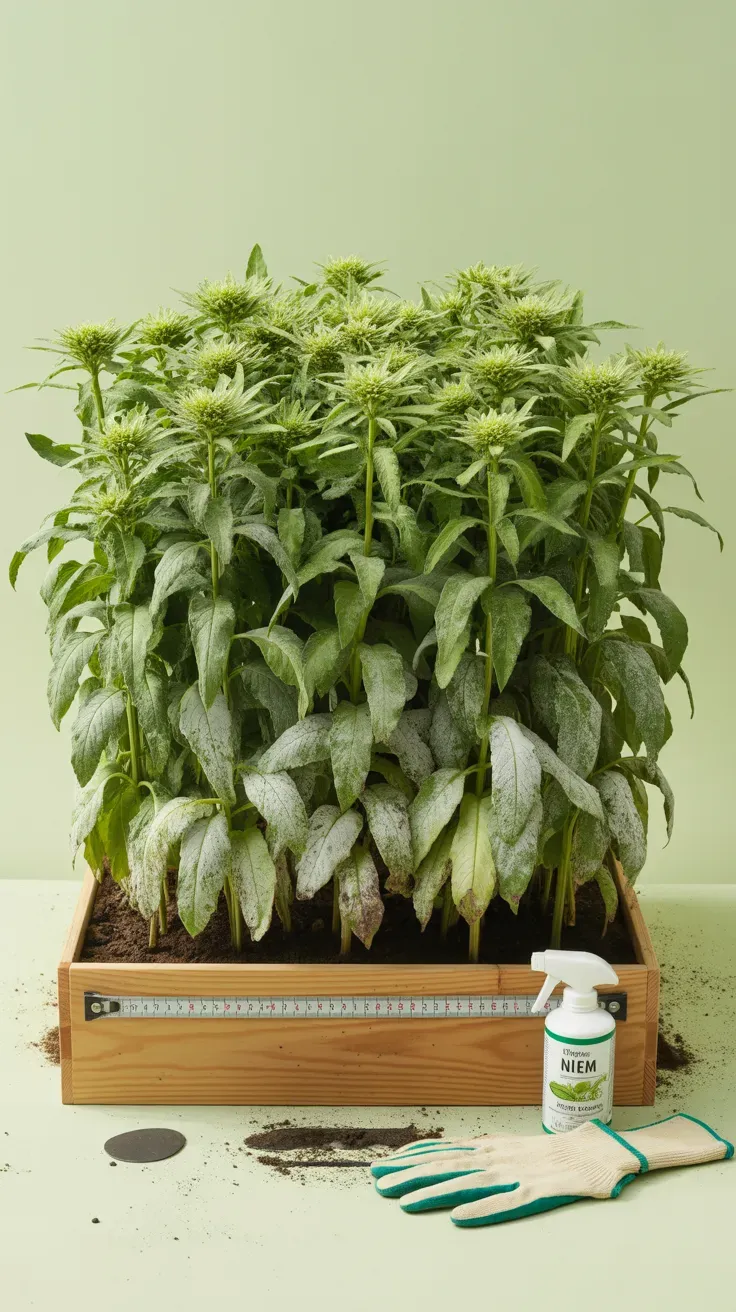
Bee balm’s biggest reputation problem — powdery mildew — is almost always a spacing issue, not a disease you got unlucky with.
Plants need 18-24 inches between centers to let air move through the foliage after rain or humid nights; anything tighter traps moisture against the leaves for hours, and that’s exactly what mildew spores want. When you’re planting, resist the urge to cluster young starts close together for an “instant full look” — they’ll fill in within one growing season regardless. I crowded a row at 10 inches apart my first year, thinking I was being efficient, and had visible mildew by mid-July on every single plant.
Thin out volunteer seedlings each spring too, since bee balm self-seeds readily and will crowd itself if left alone.
Best practices vs. what to avoid:
- Do: space new plants 18-24 inches apart, thin volunteers annually
- Avoid: planting in dense mass drifts without walking paths for airflow
- Do: choose mildew-resistant cultivars like ‘Jacob Cline’ if your yard stays humid
- Avoid: watering overhead in the evening, which leaves foliage wet overnight
Give your plants room to breathe and mildew stops being an annual guarantee.
Internal link: spacing guide for humidity-prone perennials External link: RHS guide to identifying and preventing powdery mildew
3. Ignoring Soil Drainage and Overwatering
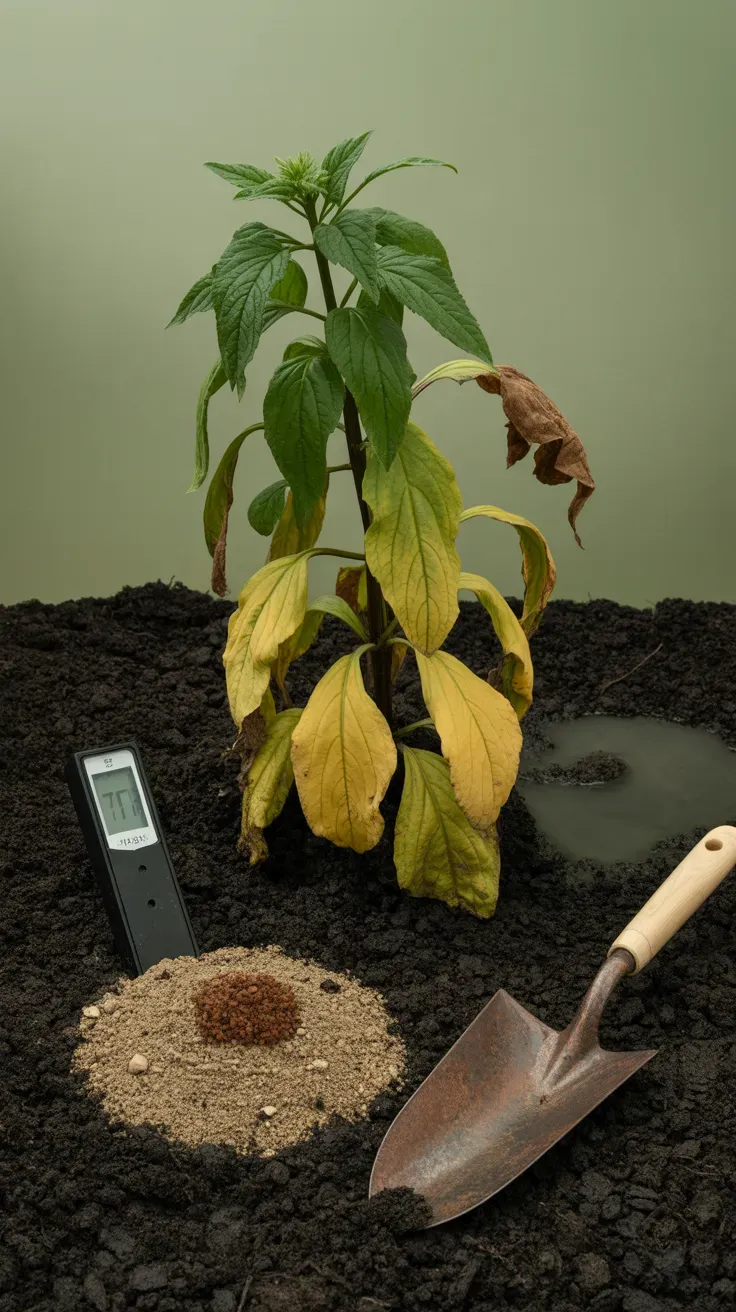
Bee balm loves moisture, and that’s exactly where people overcorrect into rot.
It wants consistently moist soil, not soggy soil — the difference matters. In heavy clay or low spots where water pools after rain, roots suffocate and yellow from the bottom up within a couple of weeks. Amend clay soil with compost and coarse sand before planting, aiming for soil that holds moisture but drains within a few hours of a heavy watering. Established plants generally need about 1 inch of water per week; in sandy soil during a hot Zone 7 summer, that can mean watering twice weekly.
The mistake I see most (and made myself, once) is treating “moisture-loving” as license to water daily regardless of rainfall — that’s how you get root rot in soil that never gets a chance to dry even slightly at the surface.
Pro Tip: Stick a finger 2 inches into the soil before watering; if it’s still damp, skip that day. This one habit prevented more yellowing than any fertilizer change I’ve tried.
Get the drainage right once at planting and you’ll rarely think about it again.
Internal link: amending clay soil for moisture-loving perennials External link: Penn State Extension’s guide to diagnosing overwatering vs underwatering symptoms
4. Skipping Division and Letting the Center Die Out
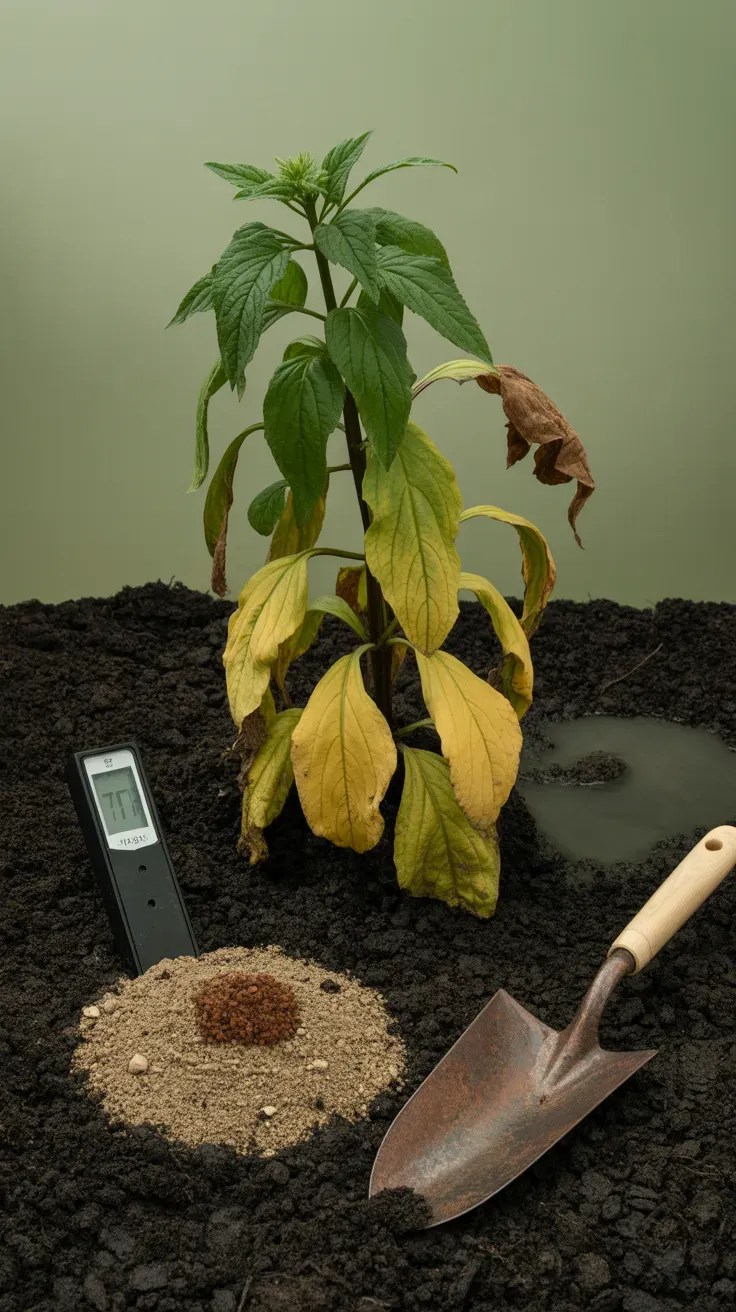
Bee balm spreads by rhizome, and rhizomes age out from the middle whether you notice or not.
Left undivided for 3+ years, the outer ring keeps expanding while the original center goes woody and stops producing new shoots — you end up with a donut-shaped clump instead of a full one. Every 2-3 years in early spring, before new growth is more than a couple inches tall, lift the clump and divide it into sections with at least 3-4 healthy shoots each, discarding the dead woody core. Replant divisions at the same 18-24 inch spacing mentioned earlier, and water them in well for the first two weeks.
This is also your best free way to expand a bed or share plants with neighbors, since each division establishes quickly.
Internal link: when and how to divide spreading perennials External link: Gardeners’ World advice on dividing herbaceous perennials
Divide on schedule and your clump stays full for years instead of years-minus-a-hole.
5. Neglecting to Deadhead Spent Blooms
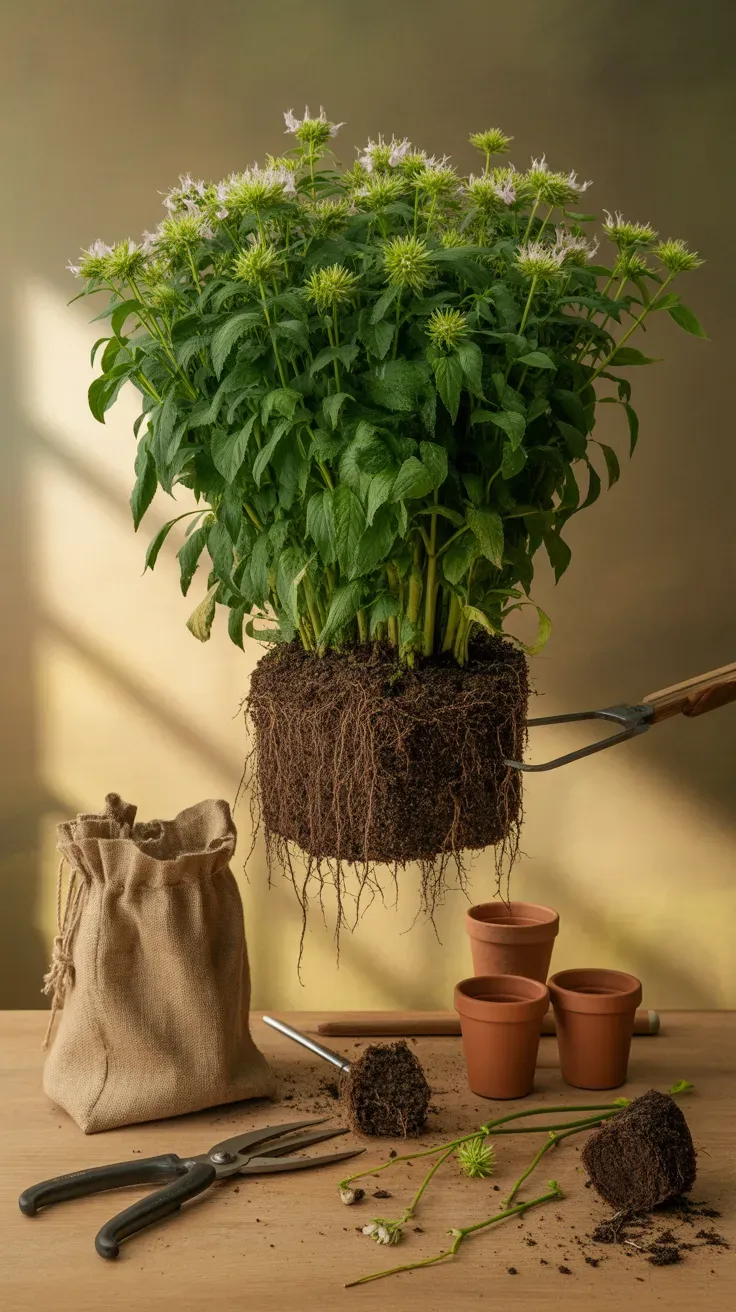
Bee balm blooms for roughly 6-8 weeks on its own, and deadheading is the easiest way to stretch that window.
Once a flower head fades and browns, snip it off just above the next set of leaves rather than waiting for the whole plant to finish blooming — this redirects energy into new buds instead of seed production. Do this every 5-7 days through the flowering season, and expect a genuine second flush 3-4 weeks after the first, though usually with fewer, smaller blooms than the initial show.
Skipping this step doesn’t hurt plant health, but it does mean a shorter, one-time bloom period and more self-seeding than most gardeners actually want, since bee balm seedlings can pop up 2-3 feet from the parent plant by the following spring.
Pro Tip: Deadhead into a bucket rather than dropping spent heads on the mulch — it cuts down on volunteer seedlings crowding your carefully spaced plants next season.
A few minutes a week buys weeks of extra color.
Internal link: deadheading techniques for longer perennial bloom External link: Almanac’s seasonal care calendar for Monarda
6. Ignoring Soil pH and Nutrient Needs
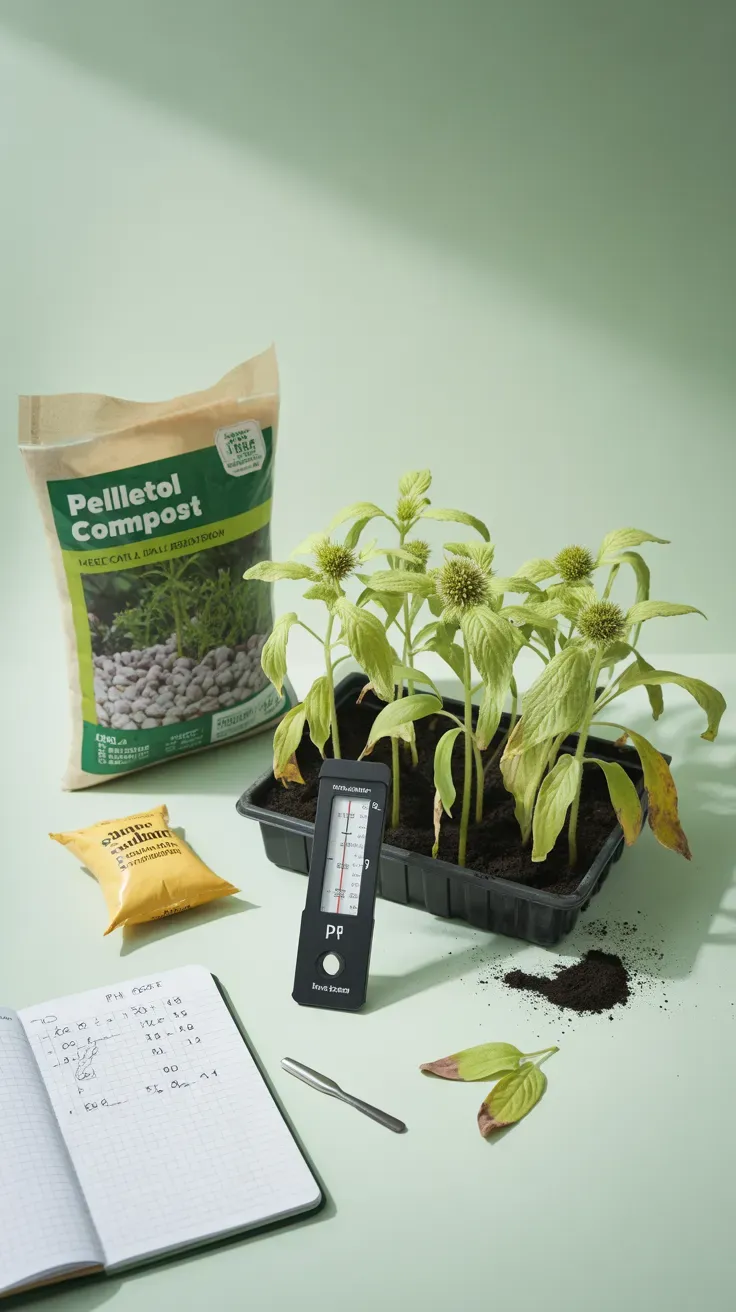
Bee balm isn’t fussy about soil type, but it does have a pH preference most gardeners never test for.
It performs best in slightly acidic to neutral soil, roughly pH 6.0-6.5; in alkaline soil above pH 7.5, common in parts of the Southwest and areas with limestone bedrock, plants can show pale, weak growth even with adequate water and sun. A basic soil test kit or a $15 digital meter tells you where you stand in minutes. If your soil runs alkaline, work in elemental sulfur or acidic compost like pine bark fines at planting time, then retest the following spring.
Feed lightly — a balanced, slow-release fertilizer in early spring is plenty; over-fertilizing pushes leafy growth at the expense of blooms and can actually worsen mildew susceptibility by producing softer, more vulnerable foliage.
Internal link: testing and adjusting garden soil pH External link: SF Gate Home Guide on adjusting soil pH for acid-loving perennials
Test once, amend if needed, and you’ll stop chasing symptoms that were never about water or sun to begin with.
7. Choosing a Mildew-Prone Variety for Your Climate
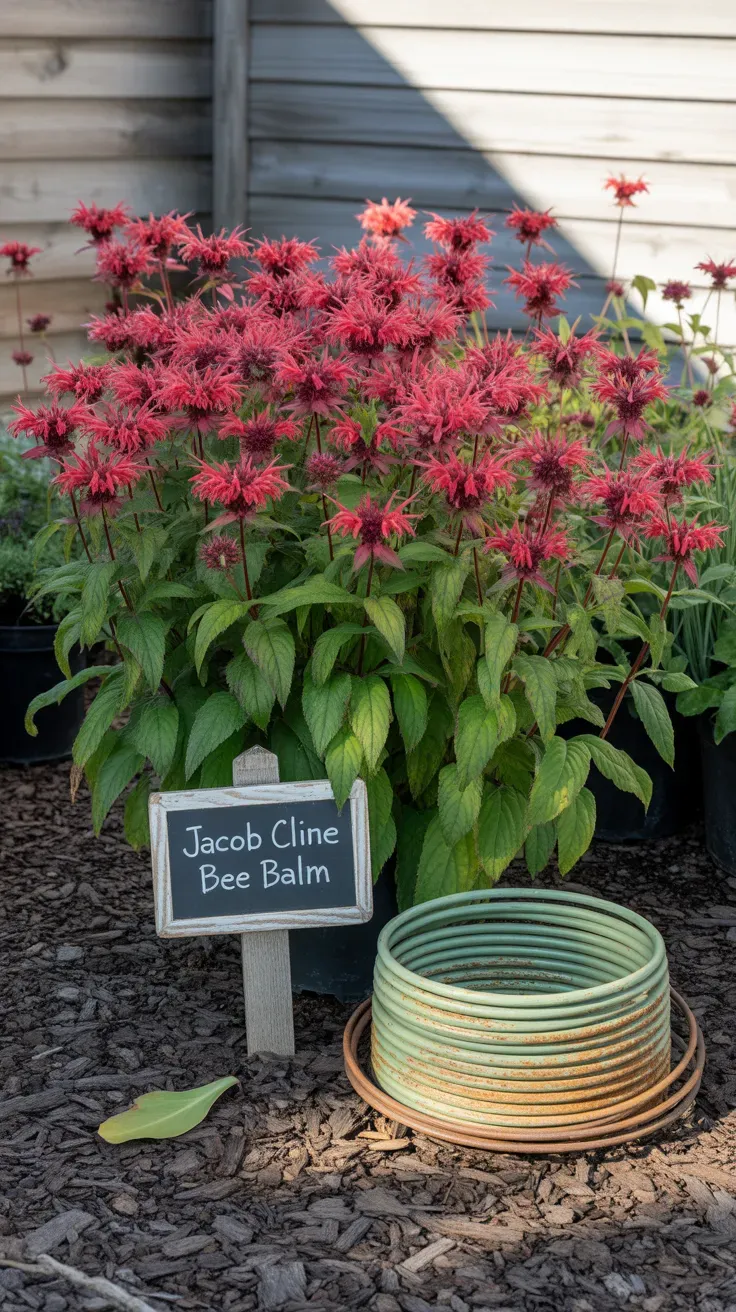
Not all bee balm is created equal on the mildew front, and picking the wrong cultivar sets you up to fight the same battle every single year regardless of spacing or airflow.
Older varieties and straight species Monarda didyma are notably more mildew-prone than newer breeding, especially in humid Zone 6-8 summers. Cultivars like ‘Jacob Cline’ and ‘Marshall’s Delight’ were specifically bred for mildew resistance and hold clean foliage through August in conditions that would leave older varieties gray by July. If you’ve battled mildew for multiple seasons despite good spacing and sun, the variety itself may be the actual problem, not your care routine.
This is a one-time decision made easy: check the cultivar tag before you buy, not after you’ve planted and waited a season to find out.
Internal link: best disease-resistant perennials for humid climates External link: University of Florida Extension’s cultivar comparison for Monarda disease resistance
Choose the right cultivar from the start, and you skip an entire category of problems before they start.
Getting Started With Avoiding Bee Balm Mistakes
The easiest first step is simply relocating or planting new bee balm in a full-sun spot with real airflow — walk your yard for a week and watch where 6+ hours of direct sun actually lands before you dig. The most common beginner mistake is planting too many starts too close together for an “instant” look; resist that urge, since bee balm fills in fast on its own.
For your first purchase, buy one mildew-resistant cultivar like ‘Jacob Cline,’ one container or bed spot with good drainage (amend with compost if you have clay soil), and a basic soil pH tester — that’s genuinely all you need to start correctly. Skip the fungicide sprays until you’ve addressed spacing and sun; most people never need them once airflow is fixed.
Realistically, expect a modest first-year bloom, a fuller second year, and by year three you’ll be dividing your original plant rather than buying more. Mildew resistance shows up immediately; overall vigor takes a full season to judge fairly.
Frequently Asked Questions
Why does my bee balm keep getting powdery mildew every year?
Powdery mildew on bee balm is almost always caused by overcrowding and poor airflow rather than disease pressure alone. Space plants 18-24 inches apart and consider switching to a resistant cultivar like ‘Jacob Cline’ if the problem persists after thinning; humid climates may still need occasional preventive neem oil applications.
How much sun does bee balm actually need to bloom well?
Bee balm needs 6-8 hours of direct sun daily for full, upright blooming. In hot Zone 8-9 climates, morning sun with light afternoon shade is acceptable, but anything under 6 hours typically produces leggy, sparse-flowering plants.
How often should I divide bee balm clumps?
Divide bee balm every 2-3 years in early spring before new growth exceeds a couple of inches tall. This prevents the woody, bald center that develops when rhizomes are left to spread unchecked for too long.
Why is my bee balm wilting even though I water it regularly?
Wilting combined with yellowing lower leaves usually points to overwatering or poor drainage rather than underwatering. Check that soil drains within a few hours of watering, and amend heavy clay with compost and coarse sand at a roughly 2:1 soil-to-amendment ratio.
Can bee balm take over my garden bed if I don’t manage it?
Yes, bee balm spreads by rhizome and self-seeds readily if left undeadheaded, so it can expand 1-2 feet outward per season in ideal conditions. Annual division and deadheading keep it contained to its original footprint without sacrificing bloom.
A Few Final Thoughts
Bee balm forgives a lot, but these 7 mistakes are the ones that quietly turn a spectacular hummingbird magnet into a mildewed, leggy disappointment by midsummer. Fix the sun and spacing first — that combination alone resolves the vast majority of complaints gardeners bring to bee balm. From there, a mildew-resistant cultivar, a quick pH test, and a 2-3 year division habit are small, low-effort changes that compound into genuinely healthier plants year after year. I’ve made every mistake on this list at least once, and the plant recovered every single time once the actual problem was addressed instead of guessed at. Give your bee balm room to breathe this spring, and you’ll likely see the difference by the very first bloom cycle.