
There’s a particular kind of gardener guilt that comes from staring at a floppy, yellowing clump of iris leaves in July and not knowing whether to cut it back or leave it alone. I lopped an entire iris bed down to stubs my first year growing them, thinking I was tidying up, and spent the next spring wondering why the bloom count had dropped by half. Iris leaves aren’t just decoration — the fans keep feeding the rhizome long after the flowers fade, and cutting at the wrong time or in the wrong shape can quietly cost you next year’s blooms. The good news is that once you understand the “why” behind the timing, pruning iris leaves correctly takes only a few minutes per clump. Let’s dive in.
Quick Answer
Prune iris leaves in a shallow fan shape after blooming ends, removing only spent flower stalks and damaged foliage, then leave the healthy green leaves alone until fall. In autumn, once the foliage has yellowed and died back on its own, cut the fans down to about two to three inches to reduce overwintering pests and disease.
Why Pruning Iris Leaves Correctly Is Worth Your Time
Iris leaves aren’t just cosmetic — they’re solar panels for the rhizome. In practice, cutting green, healthy foliage too early after bloom season starves the rhizome of the energy it needs to form next year’s flower buds, which is the single most common reason people see fewer blooms the following spring.
Timing matters as much as technique. Pruning right after bloom removes spent flower stalks and any yellowing or storm-damaged leaves without touching the plant’s remaining energy source, while a proper fall cutback clears away foliage that would otherwise host iris borer eggs and fungal spores over winter.
The shape matters too. A shallow, angled fan cut — rather than a flat, blunt chop straight across — sheds rain instead of pooling it against the rhizome, which lowers the risk of soft rot, one of the more common iris problems in humid climates.
The one real limitation worth naming: no amount of correct pruning fixes a rhizome that’s already rotting or infested. Pruning helps prevent problems; it doesn’t reverse ones already underway.
At a Glance
- Best pruning window: right after bloom for spent stalks, full cutback in fall
- Cut shape: shallow angled fan, not a flat blunt cut
- Cutback height (fall): 2–3 inches above the rhizome
- Never remove: healthy green leaves mid-summer, before bloom
- Watch for: yellowing, brown streaking, or soft spots as signs to prune early
Pruning Technique At a Glance
| Best Season | Time Needed | Regrowth Time | Difficulty | Tools Needed |
| Post-bloom + fall | 5–10 min per clump | 2–4 weeks new growth | Easy | Clean shears, rubbing alcohol, gloves |
Knowing When to Prune Iris Leaves
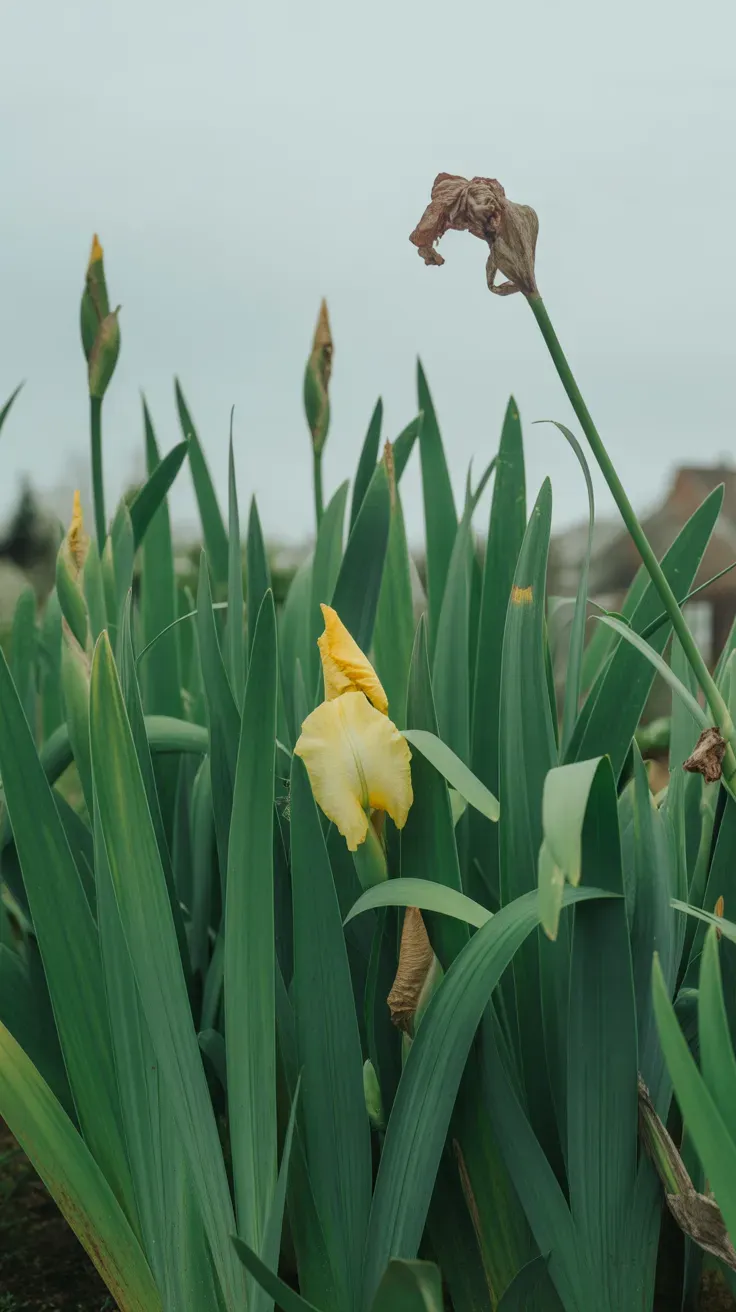
Timing is the single biggest factor in whether pruning helps or hurts your iris.
Right after bloom, cut only the spent flower stalks down near the base, along with any leaves that are yellowed, torn, or clearly diseased. Healthy green leaves should stay put through summer — they’re still feeding the rhizome for next year’s bloom, even after the flowers themselves are gone.
The second pruning window comes in fall, after the first hard frost has caused the foliage to yellow and flop on its own. That’s the signal the leaves have finished their job for the season and can come off without costing the plant anything.
Resist the urge to “clean up” a full green clump mid-summer just because it looks a little untidy — that’s the mistake that costs blooms the following year.
Pro Tip: If a leaf shows brown streaking rather than solid yellow, remove it immediately regardless of season — that pattern often signals leaf spot fungus, and letting it sit spreads spores to the rest of the fan.
The Missouri Botanical Garden’s iris care guide has good seasonal timing references if you’re growing multiple iris varieties. For more on seasonal perennial care, see our guide to fall garden cleanup.
Get the timing right, and the cutting itself is the easy part.
🛒 Shop This Idea
- Bearded iris rhizomes, mixed color starter pack — useful if you’re planning a new bed and want to time first-year pruning correctly from the start. Shop on Amazon →
- Bypass pruning shears, stainless steel — precise enough for spent stalks and damaged leaves without crushing the fan. Shop on Amazon →
- Slow-release bulb and rhizome fertilizer — supports the rhizome through the summer leaf-growth period after bloom. Shop on Amazon →
- Digital soil moisture meter — helps confirm the bed isn’t staying too wet, which stresses foliage and mimics disease symptoms. Shop on Amazon →
- Weatherproof garden plant tags, set of 20 — a nice-to-have for tracking bloom dates across different iris varieties. Shop on Amazon →
Choosing and Sanitizing the Right Tools
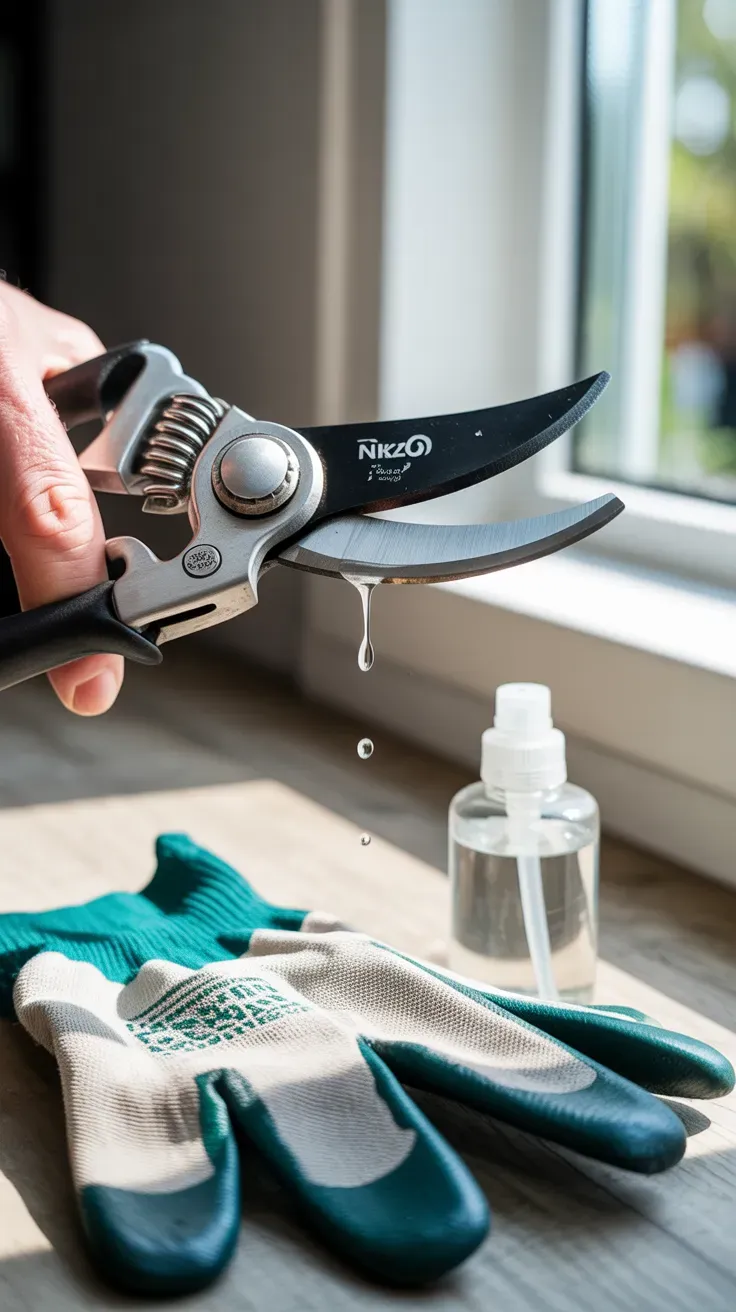
Dull or dirty tools are behind a surprising number of iris rot problems, so this step matters more than it might seem.
Use a sharp bypass pruner or clean scissors rather than anvil-style shears, which tend to crush stems instead of slicing cleanly — crushed tissue heals slower and is more prone to rot. Wipe the blades with rubbing alcohol or a diluted bleach solution between plants, especially if you’re moving between clumps where you’ve already spotted disease.
In practice, I keep a small spray bottle of rubbing alcohol right in the garden caddy during pruning season, since stopping to walk back inside between every clump means the sanitizing step gets skipped more often than not.
- Sharp bypass pruners, not anvil-style
- Rubbing alcohol or diluted bleach for blades
- Clean cut between every plant, not just every session
- Gloves if handling any suspected disease
The PennState Extension guide to sanitizing garden tools covers dilution ratios and contact time in more detail. Our tool care and storage guide has more on keeping pruners sharp between seasons.
Clean tools are a small habit that prevents a much bigger problem later.
🛒 Shop This Idea
- Fine-edge bypass hand pruners — sized well for precise, low-crush cuts on iris fans. Shop on Amazon →
- 70% isopropyl rubbing alcohol, spray bottle — quick blade sanitizing between plants to stop disease spread. Shop on Amazon →
- Diamond pruner sharpening stone — keeps blades sharp enough for clean, low-stress cuts all season. Shop on Amazon →
- Puncture-resistant garden gloves — worth wearing when handling any foliage you suspect is diseased. Shop on Amazon →
- Canvas garden tool caddy with pockets — keeps shears and alcohol together so sanitizing actually happens between clumps. Shop on Amazon →
Pruning After Bloom Season
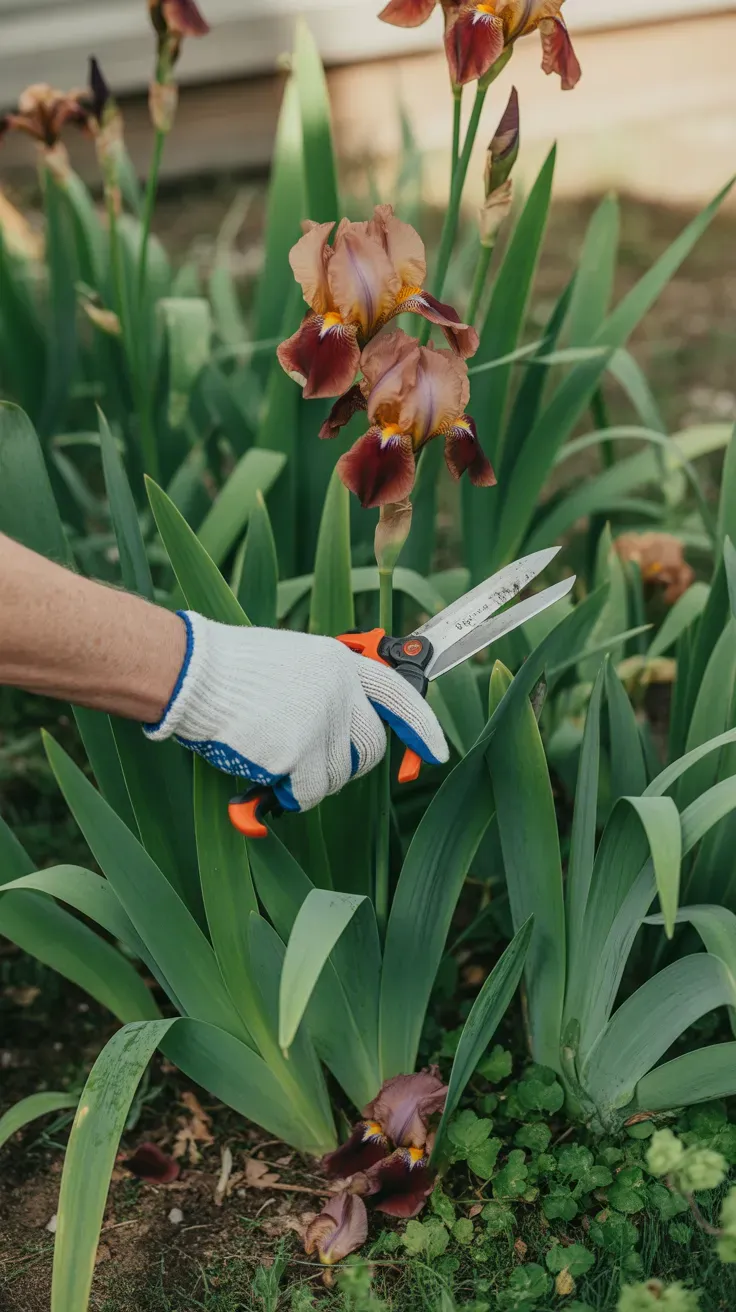
This is the pruning most people are actually asking about, and it’s the one that has the least room for error.
Once flowers fade, cut the flower stalk down close to its base, angling the cut slightly rather than going straight across. Leave every healthy green leaf in the fan alone — even leaves that look a bit ragged are still photosynthesizing and feeding the rhizome for next year.
If a leaf is more than half yellow or brown, trim just that leaf back to a shallow point rather than removing it entirely at the base, which keeps the fan shape intact and sheds water instead of collecting it.
Pro Tip: Cut spent stalks all the way down rather than leaving a stub — a leftover stub often rots and can spread that rot down into the rhizome, which is a far bigger problem than the stalk itself.
For general post-bloom perennial care timing, Gardener’s World has useful seasonal comparisons across bearded and Siberian varieties. Our guide to deadheading perennials covers the same principle for other spring bloomers.
Done this way, the plant keeps building strength for a fuller bloom next year.
🛒 Shop This Idea
- Angled micro-tip garden snips — precise enough for the shallow angled cuts this technique calls for. Shop on Amazon →
- Balanced iris and perennial bloom booster fertilizer — supports the rhizome’s energy reserves through the post-bloom growing period. Shop on Amazon →
- Kneeling garden stool with tool tray — practical for the low, repetitive cutting this task involves across a bed. Shop on Amazon →
- Compost-safe garden waste bags — for spent stalks and any diseased trimmings you don’t want back in the compost pile. Shop on Amazon →
- Ceramic garden marker labels for bloom notes — a nice-to-have for tracking which clumps bloomed well before you prune. Shop on Amazon →
Cutting Back Iris Leaves in Fall
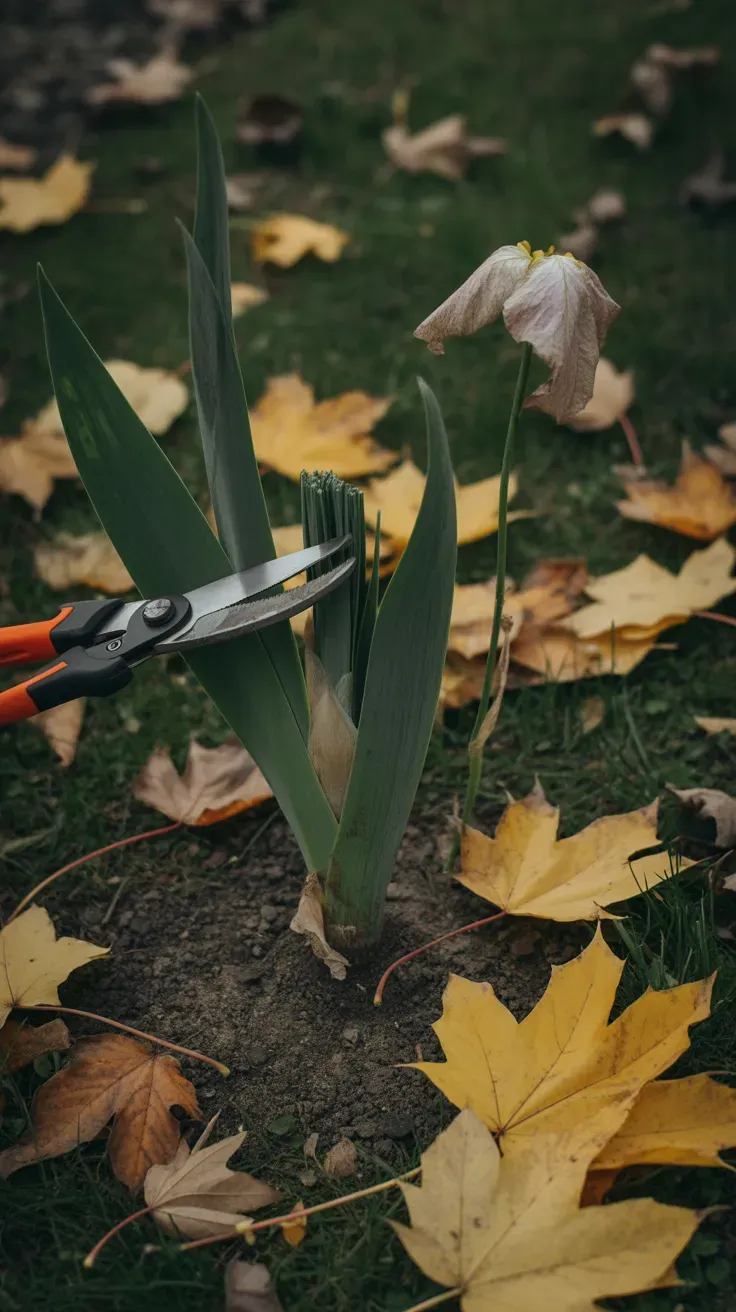
Fall cutback is where most of the disease-prevention value of pruning actually happens.
Wait until after the first hard frost has caused the foliage to yellow and flop over on its own — cutting green fall foliage too early, same as in summer, robs the rhizome of stored energy it needs for winter and next spring’s growth. Once the leaves have died back, cut the whole fan down to about two to three inches above the rhizome, angling the cut to shed rain.
Clear away all the cut foliage and any fallen leaf debris around the base rather than leaving it to compost in place — iris borer moths lay eggs in old foliage, and leaving it over winter gives next year’s pest population a head start.
- Wait for foliage to yellow and flop after frost
- Cut to 2–3 inches, angled
- Remove all debris from the bed, don’t compost in place
- Check the rhizome surface for soft spots while you’re at it
The University of Florida IFAS Extension has detailed guidance on iris borer life cycles and why fall sanitation matters so much for control. Our guide to preparing perennial beds for winter covers the same principle across other rhizomatous plants.
A thorough fall cutback is one of the cheapest forms of pest control an iris bed gets all year.
🛒 Shop This Idea
- Long-handled loppers for garden cleanup — useful for clearing larger clumps of frost-killed foliage efficiently. Shop on Amazon →
- Iron phosphate slug and pest granules — a common fall-applied preventive for pests drawn to cleared iris beds. Shop on Amazon →
- Heavy-duty garden waste tarp — makes hauling cut foliage away from the bed much faster. Shop on Amazon →
- Straw mulch bale for winter bed protection — a light winter mulch layer helps protect rhizomes after cutback in colder zones. Shop on Amazon →
- Insulated gardening gloves for cold weather — a nice-to-have for comfortable late-fall cutback sessions. Shop on Amazon →
Spotting and Handling Problems While You Prune
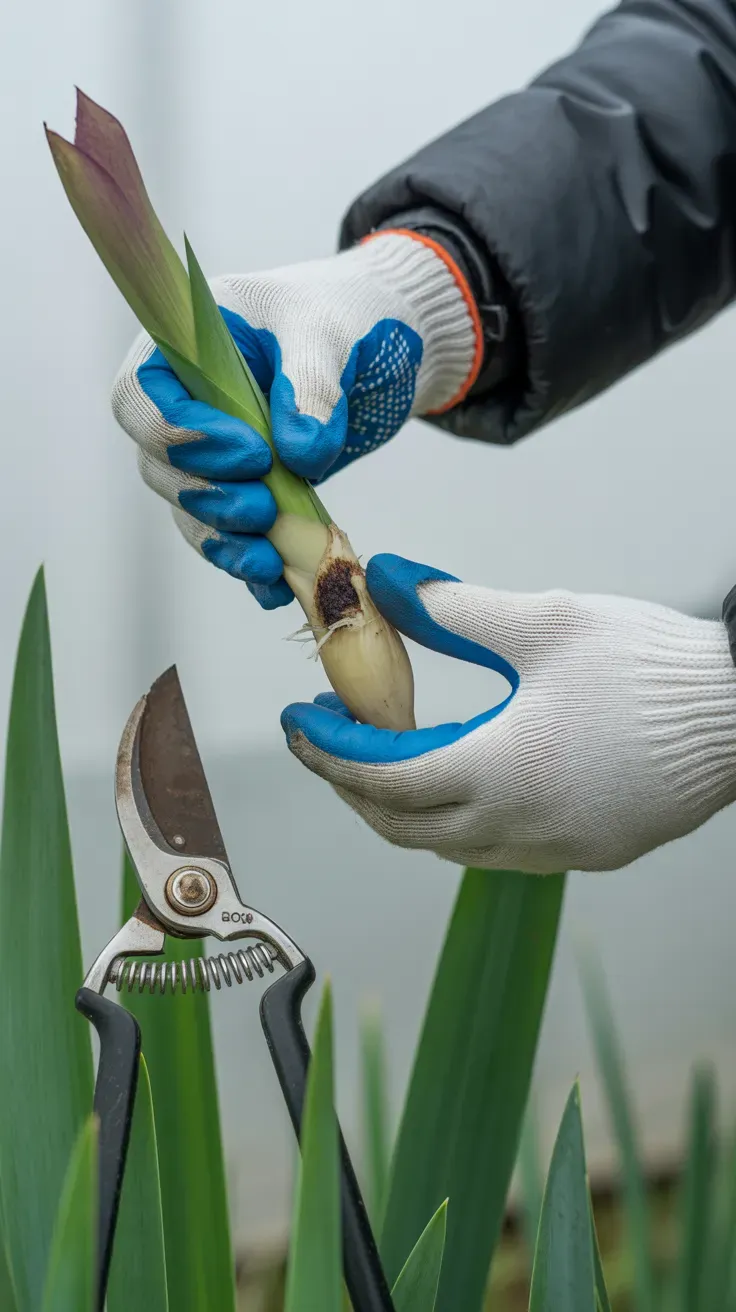
Pruning time doubles as the best opportunity all season to catch problems early.
While cutting, look closely at the base of each leaf and the top of the rhizome for tunneling, sliminess, or a foul smell — all signs of iris borer or bacterial soft rot. If you find a soft, mushy section, cut it out entirely with a sanitized blade and let the wound air-dry for a day before replanting or mulching around it.
Brown streaking with a slightly wet appearance on a leaf, as opposed to the dry yellowing of normal aging, is usually leaf spot fungus and should be removed and disposed of, not composted, the same day you spot it.
Pro Tip: A rhizome that smells distinctly bad — beyond a normal earthy garden smell — almost always means bacterial soft rot has set in; catching it during a routine pruning check, before the whole fan collapses, is often the difference between saving the plant and losing it.
The Royal Horticultural Society’s iris pest and disease guide has photo references for identifying borer damage and soft rot early. Our guide to common perennial pests covers similar early-warning signs across other rhizome and bulb plants.
A close look during routine pruning catches most problems long before they threaten the whole clump.
🛒 Shop This Idea
- Copper fungicide spray, ready-to-use — a common treatment for leaf spot fungus caught during a pruning check. Shop on Amazon →
- Hand trowel with depth markings — useful for carefully exposing rhizome tops to inspect for rot or borer damage. Shop on Amazon →
- Disposable nitrile gloves, box of 100 — worth using when handling suspected bacterial soft rot to avoid spreading it. Shop on Amazon →
- Beneficial nematodes for soil pest control — a biological option some gardeners apply after finding borer activity. Shop on Amazon →
- LED garden inspection headlamp — a nice-to-have for checking rhizomes closely in shaded or low-light beds. Shop on Amazon →
Getting Started With Pruning Iris Leaves
The easiest first step is simply pruning spent flower stalks right after bloom this season and leaving everything else alone — that one habit prevents the most common mistake, which is cutting healthy green leaves too early because the bed looks untidy. Resist that urge for one full season and you’ll likely notice the difference in next year’s bloom count.
For your first tool purchase, a sharp pair of bypass pruners matters more than anything else on this list — clean cuts heal faster and resist rot far better than crushed ones from a dull or anvil-style blade. Pair it with a small bottle of rubbing alcohol for wiping the blade between clumps.
Realistically, you’ll see the payoff over a full growing cycle: post-bloom pruning this summer, a proper fall cutback a few months later, and a noticeably fuller bloom the following spring if borer and rot pressure stay low.
- Fine-edge bypass hand pruners — the single most useful first purchase for clean, rot-resistant iris cuts. Shop on Amazon →
Frequently Asked Questions
When should you prune iris leaves?
Prune spent flower stalks and damaged leaves right after bloom, and save the full foliage cutback for fall after the first hard frost causes the leaves to yellow and flop on their own. Avoid cutting healthy green leaves in between those two windows.
Should you cut iris leaves down after they bloom?
No, not the healthy green leaves — only remove the spent flower stalk and any yellowed or damaged foliage. The green leaves keep feeding the rhizome for next year’s bloom well after flowering ends.
How short should you cut iris leaves in fall?
Cut fully yellowed, frost-killed foliage down to about two to three inches above the rhizome, angling the cut so rain runs off rather than pooling against it. Clear the cut debris from the bed rather than leaving it in place.
Why do my iris have fewer blooms after pruning?
This usually happens when healthy green leaves were cut back too early, mid-summer, before they finished feeding the rhizome for next year’s growth. Sticking to the post-bloom and fall-only pruning windows generally resolves it within a season.
How do you know if iris leaves have disease while pruning?
Look for brown streaking with a wet appearance, sliminess at the leaf base, or a foul smell near the rhizome, which point to leaf spot fungus or bacterial soft rot. Remove and dispose of affected material immediately rather than composting it.
A Few Final Thoughts
Pruning iris leaves the right way really comes down to two things: cutting at the right time and leaving healthy green foliage alone until it’s actually finished its job. Skip the mid-summer tidy-up, do a light post-bloom trim, and follow through with a thorough fall cutback, and you’ll spend far less time fighting borer and rot in the seasons ahead. It’s a small routine, but one that pays off in a fuller, healthier bloom every spring that follows.