
Most outdoor string light disasters don’t show up on day one — they show up three weeks later, when a strand sags into the walkway or a breaker trips mid-dinner party. The good news is that nearly every one of these failures traces back to a handful of predictable, fixable mistakes made during installation. Get the setup right the first time and a good LED string can easily outlast several seasons instead of one soggy summer. There are 15 mistakes worth knowing before you climb that ladder. Let’s dive in!
Quick Answer: The biggest mistakes are hanging lights with no support wire across long spans, using indoor-rated cords or clips outdoors, and overloading a single extension cord with too many strands. Fix those three and most sagging, flickering, and tripped-breaker problems disappear on their own.
Why Getting This Right Is Worth Your Time
A poorly hung string of lights doesn’t just look bad — it fails faster, costs more in replaced bulbs, and in the worst cases becomes a real electrical hazard. Sagging cords stress the sockets at every connection point, and that stress is exactly what causes strands to flicker or go dark mid-season.
There’s also a real safety angle here that goes beyond aesthetics. Overloaded extension cords are a genuine fire risk, and NEC guidance keeps electrical cords a safe distance from pools and hot tubs for good reason.
The lesser-known fact: voltage drop over a long, thin extension cord can dim bulbs at the far end of a run even when every connection looks fine — it’s not always a bad bulb, it’s often the wrong-gauge cord.
This matters most for anyone stringing lights across a patio, deck, pergola, or backyard for the whole season rather than just a weekend party.
At a Glance
- Skipping a guide wire on spans over 10 feet is the single most common cause of sagging.
- Indoor-rated lights and cords fail fast outdoors, often after the very first rain.
- One overloaded extension cord is a leading cause of tripped breakers and warm plugs.
- Stapling or nailing through the cord jacket damages wire insulation and causes shorts.
- Leaving zero slack in a run means wind puts constant strain on every socket.
At a Glance: Comparison Table
| Mistake | Main Risk | Easy Fix | Cost to Fix | Prevents Fire Hazard? |
| No guide wire on long spans | Sagging, socket strain | Add steel cable | Low | No |
| Indoor-rated lights outside | Fast bulb failure | Buy IP65-rated string | Moderate | No |
| Weak mounting hooks | Hooks pull out | Use anchors, not nails | Low | No |
| Stapled or nailed cords | Wire punctures | Use clips instead | Low | Yes |
| Overloaded extension cord | Overheating, tripped breaker | Split across circuits | Low | Yes |
| Wrong cord gauge | Voltage drop, dim bulbs | Use 12-14 gauge cord | Moderate | Yes |
| Daisy-chaining too many strands | Overload, flicker | Check max-connect rating | Low | Yes |
| No GFCI outlet | Shock risk | Use GFCI-protected plug | Low | Yes |
| Zero slack in the run | Wind snaps cord | Leave 6-12 in. slack | Low | No |
| Bulbs facing upward | Water pooling, corrosion | Angle sockets downward | Low | No |
Main Body
Mistake #1: Buying Indoor-Rated Lights for an Outdoor Space
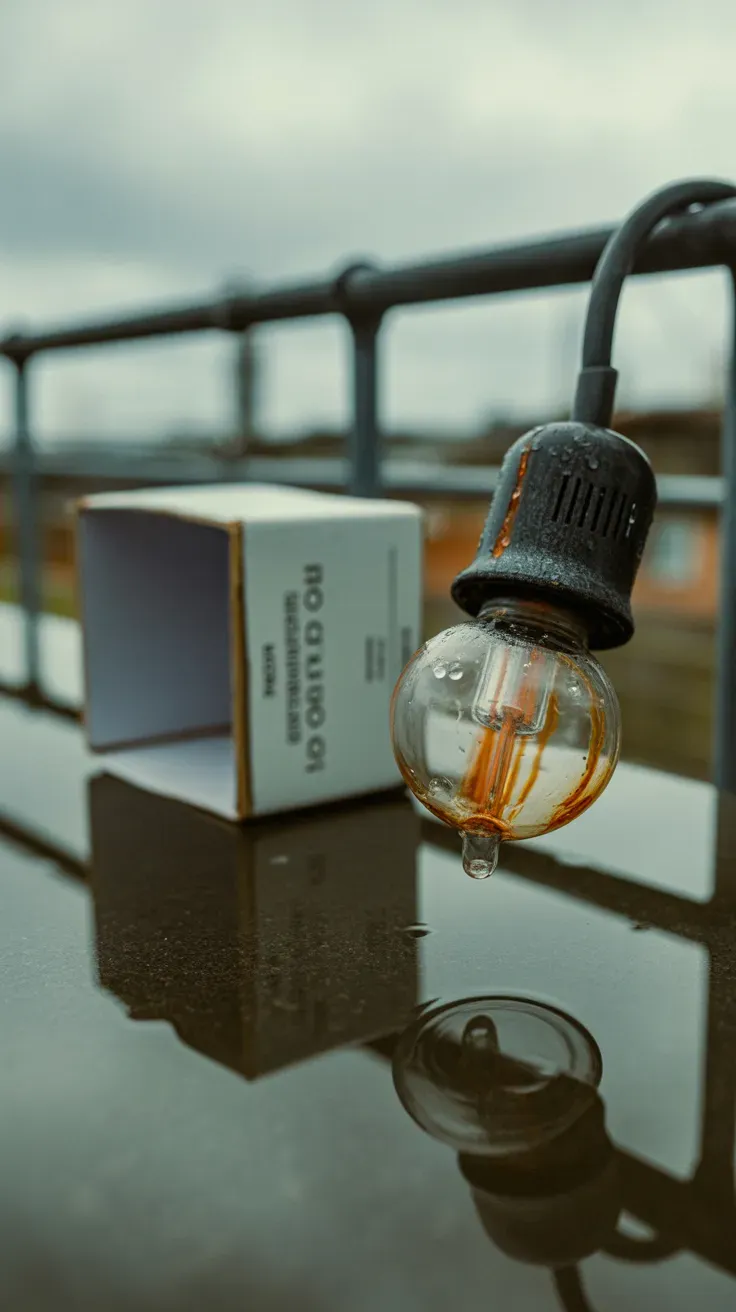
Indoor string lights aren’t sealed against moisture, and the very first real rain can short a strand out for good.
Look for a rating of IP65 or higher printed on the packaging or tag, which confirms the housing is sealed against both dust and water jets. Outdoor-rated strands also use thicker, UV-resistant cord jackets that won’t crack after a summer of direct sun exposure.
I learned this the expensive way running leftover porch lights across a pergola one July — half the bulbs were dead by the first thunderstorm.
Compare specific outdoor-rated products in our guide to choosing weatherproof patio lighting, and see Underwriters Laboratories’ explanation of IP ratings for what those numbers actually mean.
Check the tag before you buy, not after the first storm rolls through.
Mistake #2: Skipping a Guide Wire on Long Spans
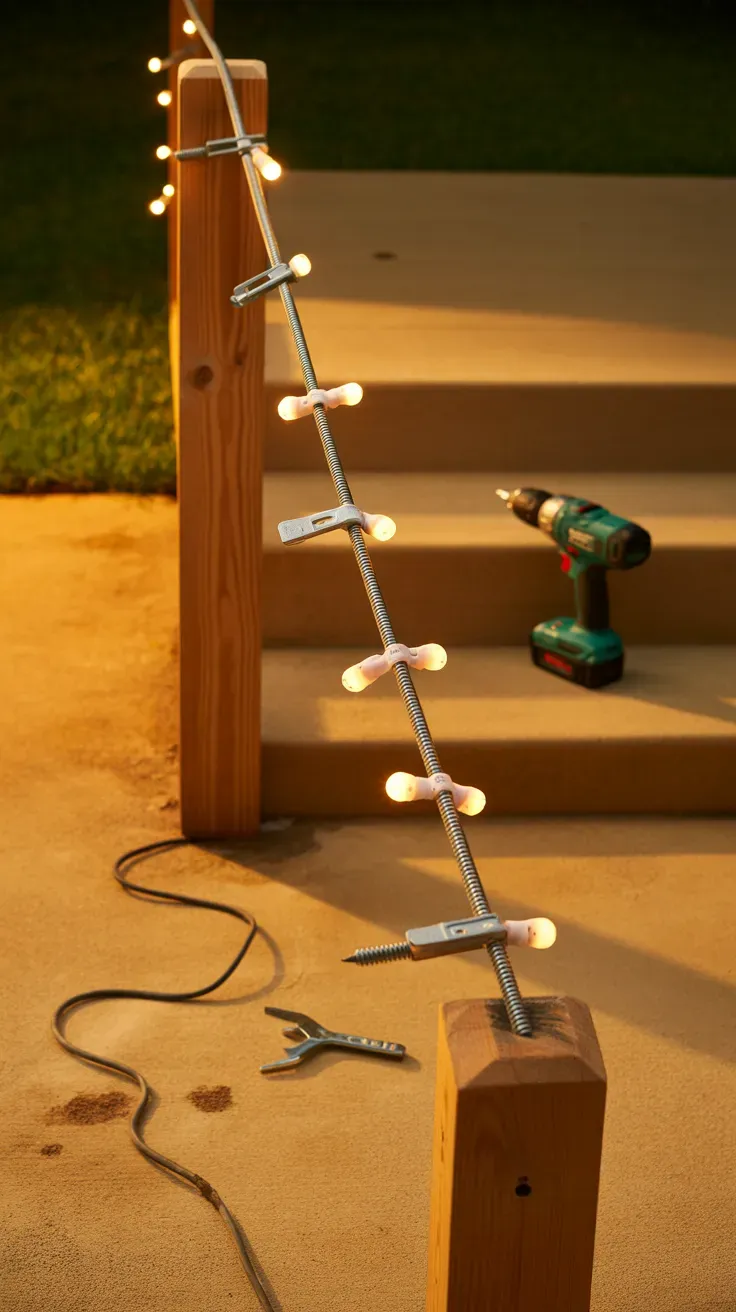
Any run longer than about 10 feet needs something other than the light cord itself carrying the weight, or it will sag within days.
Run a steel cable or tension wire between your two end points first, anchored to posts rated for at least 15 pounds of pull, then attach the actual string lights to that wire with clips or UV-rated zip ties every few feet. The wire — not the delicate light cord — takes the physical strain.
Pro Tip: Tighten the guide wire with a turnbuckle rather than by hand. It lets you fine-tune tension after the first week, once the wire naturally settles.
Learn the full setup in our step-by-step guide wire installation tutorial, and see this overview of cable support systems for string lighting.
A five-minute guide wire setup now prevents a saggy, snapped strand later.
Mistake #3: Mounting Hooks Into Weak or Soft Wood
Screwing a hook into whatever wood is closest — old fence pickets, thin trim boards, or rotting posts — is asking for the whole setup to pull loose in the first strong wind.
Test any mounting point by hand before adding lights: push and pull firmly to see if it flexes or the wood crumbles at all. For anything questionable, move to a solid structural post or add a backing plate behind thin siding so the hook has real material to bite into.
Solid mounting points hold for years; weak ones fail within a single season, often taking a chunk of trim with them.
Our deck and fence attachment guide for outdoor decor covers hardware choices by surface type.
Test every hook before you trust it with a full strand of lights.
Mistake #4: Stapling or Nailing Directly Through the Cord
- What damages the cord: staples, nails, or anything that pierces the outer jacket
- What’s safe instead: insulated cup hooks, cable clips, or purpose-made light-string clips
Punching a staple or nail through a light strand’s cord looks quick, but it crushes or pierces the insulation around the wire inside, creating a spot that can short out or spark.
Use insulated clips designed specifically for string lights instead — they hold the cord snugly between the bulbs without ever contacting the wire itself. These clips cost only slightly more than a box of staples and install just as fast with a simple push or twist.
Check our safe cord-clipping hardware roundup for options by mounting surface, and see the safety notes on cord damage from Penn State Extension.
Swap the staple gun for proper clips and your cord jacket stays intact for years.
Mistake #5: Overloading a Single Extension Cord
Plugging every strand in the yard into one extension cord is the fastest way to trip a breaker or, worse, overheat the cord itself.
Every extension cord has a maximum amperage printed on the packaging, and every string of lights draws a specific wattage you can find on its own tag. Divide total watts by 110 to get amps, and keep your total draw comfortably under the cord’s rated limit — splitting large displays across two circuits if needed.
I once ran four strands off a single 16-gauge cord meant for one lamp; the plug was warm to the touch within an hour, which is exactly the warning sign to unplug and rethink the setup.
The 1000Bulbs guide to calculating string light amperage walks through the math step by step.
Do the wattage math before you plug in, not after something feels warm.
Mistake #6: Using the Wrong Extension Cord Gauge
A too-thin extension cord causes voltage to drop over distance, which shows up as dimmer bulbs at the far end of a long run — a problem people often mistake for bad bulbs.
For runs under 50 feet, a 14-gauge outdoor cord usually handles typical LED string loads fine. For anything longer, or for higher-wattage incandescent strands, step up to a 12-gauge cord to keep voltage stable all the way to the last bulb.
Pro Tip: Lower gauge numbers mean thicker wire and less voltage drop — a 12-gauge cord carries more power over distance than a 16-gauge cord of the same length.
See our extension cord sizing guide for outdoor lighting projects for length-by-gauge recommendations.
Match the cord gauge to your run length and the dimming problem usually disappears.
Mistake #7: Daisy-Chaining Too Many Strands End to End
Most string light packaging lists a maximum number of strands that can be safely connected end to end, and it’s easy to blow past that number without noticing.
Check the tag on your specific lights for the max-connect rating, which is often somewhere between three and ten strands depending on wattage and bulb type. Beyond that limit, the combined draw on the first plug in the chain can overheat the connector even if every individual strand seems fine.
Split larger installations into multiple shorter runs, each plugged into its own outlet or a well-rated power strip, rather than one long unbroken chain.
Our layout planning guide for large backyard lighting displays covers splitting big spaces into manageable runs.
Respect the max-connect number on the tag and skip the overheating risk entirely.
Mistake #8: Skipping the GFCI-Protected Outlet
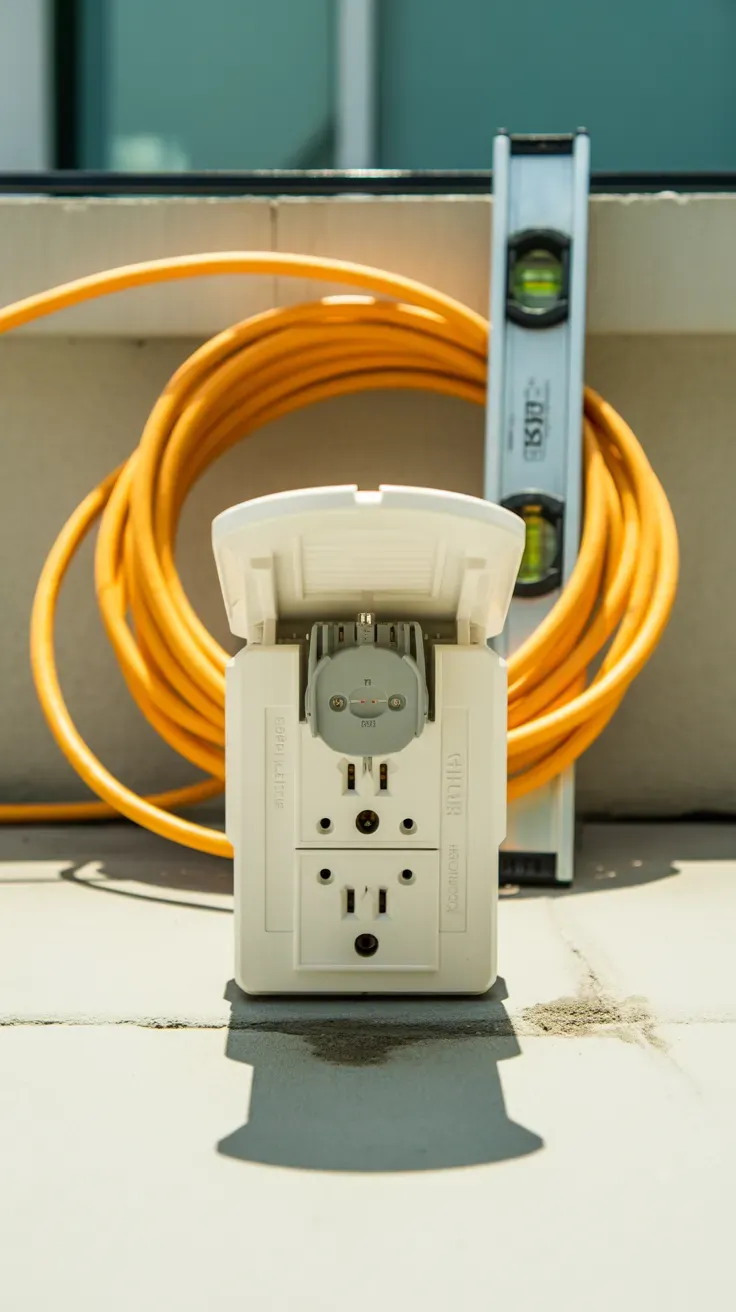
Any outdoor electrical connection near moisture — which is essentially all of them — should run through a GFCI-protected outlet, not a standard indoor circuit.
A ground-fault circuit interrupter cuts power instantly if it detects current leaking somewhere it shouldn’t, which is exactly the scenario that causes shocks around wet cords and connectors. Most homes built after the late 1970s already have GFCI outlets outdoors; if yours doesn’t, a portable GFCI adapter plugs in between the cord and the outlet for a few dollars.
Keep at least 10 feet of horizontal distance between any electrical connection and a pool or hot tub as well, per standard electrical code guidance.
The Missouri Botanical Garden’s outdoor lighting safety notes touch on general outdoor electrical precautions for garden spaces.
A GFCI outlet is a small step that removes the most serious risk on this whole list.
Mistake #9: Leaving Zero Slack for Wind Movement
Stringing lights bone-tight between two points looks crisp on installation day, but it leaves no room for the cord to flex when wind picks up, and something eventually gives — usually a socket or a mounting hook.
Leave roughly 6 to 12 inches of gentle slack in every span so the whole run can sway slightly rather than fighting against a fixed, rigid line. A little natural dip also tends to look more relaxed and intentional than a perfectly straight, taut run.
Runs with built-in slack came through a windy fall storm at my place without a single dropped hook, while a taut run nearby pulled its end anchor clean out of the fence post.
See our wind-resistant outdoor lighting layout tips for spacing by climate.
A little slack now saves you from a snapped connection during the next windstorm.
Mistake #10: Hanging Bulbs Facing Upward
When string light sockets face upward instead of down, rainwater collects right inside the socket opening around the bulb base instead of running off.
Orient every socket so the bulb points downward or at least angles clearly away from vertical, which lets water shed naturally instead of pooling against the electrical contacts. This is especially easy to get wrong on curved runs or draped canopy patterns where sockets can twist as you install them.
- Facing down: water sheds off, contacts stay dry
- Facing up: water pools at the socket, accelerating corrosion
Our proper bulb orientation guide for outdoor string lights has photos of correct versus incorrect angles.
Check socket orientation as you go, not after the first rainstorm reveals the problem.
Mistake #11: Mixing Color Temperatures Across Strands
Combining warm white and cool white bulbs in the same display, even unintentionally by buying replacement strands from different brands, creates a visibly clashing, patchy look once it’s dark.
Check the color temperature listed on the packaging, measured in Kelvin, and stick to one number across your whole installation — 2700K for a warm amber glow or around 3000-4000K for a crisper white. Keep a spare strand or two from the same batch on hand for replacements so a burned-out section doesn’t force a mismatched patch later.
Pro Tip: Buy slightly more footage than you think you need in one single purchase, since manufacturers change bulb tint slightly between production runs — matching color exactly gets harder the longer you wait to buy replacements.
See our color temperature guide for outdoor and patio lighting.
Match your Kelvin rating across every strand and the whole display reads as intentional, not patched together.
Mistake #12: Underestimating How Much Footage You’ll Need
Buying string lights without measuring first almost always ends in either an awkward short run or a last-minute second order that doesn’t quite match the first.
Measure the actual path the lights will follow — including any dips, corner turns, or diagonal spans — rather than just the straight-line distance between two points, since sagging patterns add real length. Add roughly 10 percent extra to that number to account for connection points and mounting slack.
Our measuring and planning guide for backyard string light layouts includes a simple worksheet for multi-span installations.
Measure the real path before you buy, and skip the mismatched second order entirely.
Mistake #13: Not Planning the Layout Around the Power Source
Designing a beautiful light pattern and only then figuring out where the plug is often leaves you improvising with a long, ugly extension cord snaking across the lawn.
Walk your outdoor space first and mark exactly where your outdoor outlets sit, then design the light pattern to start near one of them. If your ideal layout is far from any outlet, plan for a rated outdoor extension cord run along an edge or path rather than across open ground where it becomes a trip hazard.
Our backyard electrical planning guide for outdoor projects covers mapping outlets before you design a layout.
Start with the outlet, then build the pattern outward from there.
Mistake #14: Relying on Weak Adhesive Hooks or Loose Socket Loops
Adhesive hooks rated for light indoor picture frames have no business holding up a full strand of string lights through wind, heat, and rain cycles.
Choose adhesive hooks specifically rated for outdoor use and for the actual weight of your planned strand length, and test them for a full day before committing lights to them. Where possible, hang lights from the socket loop only as a last resort — zip ties threaded through the loop and around the support hold far more securely over time.
Renter-friendly options do exist, including gutter clips and tension rods that need no drilling or adhesive at all.
See our renter-friendly outdoor lighting mounting options for no-damage alternatives.
Rate-match your hooks to the actual load before you trust them overnight.
Mistake #15: Leaving Lights Up Through Severe Weather Without Checking Them
Once lights are up, it’s tempting to just leave them for the whole season — but skipping periodic checks means small problems turn into strand-wide failures.
After any major storm, walk the installation and look for loose connections, cracked bulbs, or hooks that have started to pull free before the next windy night makes it worse. During genuinely severe weather like high wind warnings or hail, taking a display down temporarily protects both the lights and whatever they’re attached to.
Our seasonal maintenance checklist for outdoor string lights covers a quick monthly inspection routine.
A five-minute check after every big storm is cheaper than replacing a whole strand.
Getting Started With Outdoor String Light Installation
The easiest first step is simply measuring your actual path and checking every mounting point by hand before you buy anything — most of the mistakes on this list trace back to skipping that planning stage.
The most common beginner mistake is grabbing whatever extension cord is already in the garage instead of checking its gauge and amperage rating against the actual lights being plugged in.
If you’re buying supplies, get outdoor-rated LED string lights with an IP65 rating or higher, a properly gauged outdoor extension cord, and a set of purpose-made string light clips rather than staples or nails.
Realistically, a straightforward single-span installation takes an afternoon. A larger layout with a guide wire system across multiple posts is more of a weekend project, but it’s also the setup that holds up for years instead of one season.
Frequently Asked Questions
Why do my outdoor string lights keep sagging?
Sagging almost always means the light cord itself is carrying weight it wasn’t designed for, especially across spans over 10 feet. Adding a separate steel guide wire or tension cable to carry the physical load, with the lights simply clipped to it, solves this in nearly every case.
Can I use an indoor extension cord for outdoor string lights?
No — indoor extension cords aren’t built to handle moisture or UV exposure and can become a fire hazard outdoors. Always use a cord rated for outdoor use, sized in 12 to 14 gauge for most residential string light setups.
How many string lights can I safely connect end to end?
It depends on the wattage of your specific lights, but most string light packaging lists a max-connect number, often between 3 and 10 strands. Exceeding that number risks overheating the connector at the start of the chain, even if individual strands seem fine.
Do outdoor string lights need a GFCI outlet?
Yes — any outdoor electrical connection should run through a GFCI-protected outlet, which cuts power instantly if it senses a ground fault. If your outdoor outlets aren’t already GFCI-protected, an inexpensive portable GFCI adapter can be plugged in between the cord and outlet.
How much slack should I leave when hanging string lights?
Leave about 6 to 12 inches of gentle slack across each span rather than pulling the cord perfectly taut. That slack lets the lights move slightly in wind instead of putting constant strain on the sockets and mounting hooks.
A Few Final Thoughts
Avoiding these 15 mistakes really comes down to three habits: plan your layout around a real power source, support the actual weight with a guide wire instead of the light cord, and match your cord gauge and outlet protection to what you’re actually plugging in. None of it requires special tools or an electrician, just a bit of measuring and checking before the ladder comes out. Get the installation right once and that same set of lights can glow through several seasons of dinners on the patio instead of one soggy summer. Set it up properly this time, and you’ll spend your evenings enjoying the lights instead of troubleshooting them.