
Once those towering spires start dropping their last satiny blooms, most gardeners just shrug and let the stalks flop until frost. That’s the moment where you either set yourself up for a second flush this year and a full border next summer, or you accidentally hand next season’s rust problem a place to spend the winter. Hollyhocks are forgiving plants, but what you do in the two or three weeks after the last flower fades genuinely determines how they perform going forward. There are 10 things worth doing right now, plus one habit that undoes all of it if you skip it. Ready? Let’s explore all 10 of them.
Quick Answer: Cut spent flower stalks back to the basal rosette, save a few dry seed pods if you want free plants next year, and clear away every scrap of foliage debris instead of composting it. That last part is the one thing to avoid — hollyhock rust spores overwinter in leftover leaves and stems, and tossing them on the compost pile just reinfects your bed in spring.
Why Hollyhock After-Bloom Care Is Worth Your Time
Hollyhocks look like they take care of themselves, and for the most part, they do — right up until the point where spent stalks turn brown and start leaning into the path. What you do in that window has an outsized effect. Cut back promptly and feed lightly, and a healthy Alcea rosea will often throw a second, smaller flush by late September, especially in zones with a longer warm season.
There’s a practical payoff here too. Because hollyhocks are biennial in most climates — meaning they grow foliage the first year and bloom the second before dying — your after-bloom choices decide whether you’re buying seed packets again next spring or letting the plant reseed itself for free.
The lesser-known part: most of what gardeners call “hollyhock disease” is really just hollyhock rust, and it doesn’t come from the air out of nowhere each year. It survives winter in the leaf litter you left behind. Clean up properly once and you’ve solved most of next year’s problem before it starts.
This is ideal for cottage garden growers, anyone with hollyhocks against a fence or wall, and gardeners who’d rather collect free seed than rebuy plants every other year.
At a Glance
- Cutting stalks back to the basal rosette right after bloom can trigger a second flush by early fall.
- Letting a handful of pods dry fully on the stalk gives you free seed for next year’s border.
- Removing yellowing lower leaves redirects energy into the plant instead of seed and disease.
- Bagging and binning (never composting) spent foliage is the single best rust-prevention step.
- A 2-inch mulch layer over the crown in late fall protects biennial rosettes through winter.
At a Glance: Comparison Table
| Task | Best Timing | Tools Needed | Difficulty | Skips Rust Risk? |
| Deadhead spent blooms | Weekly, mid-summer | Pruners or fingers | Easy | Yes |
| Cut stalk to basal rosette | Right after last bloom | Loppers | Easy | Yes |
| Collect and dry seed | Pods brown and papery | Paper bag, shears | Moderate | Neutral |
| Feed for a second flush | Immediately after cutback | Balanced fertilizer | Easy | Neutral |
| Remove yellowing leaves | Ongoing, late summer | Gloves, pruners | Easy | Yes |
| Scout for hollyhock rust | Every few days | Hand lens, gloves | Moderate | Critical |
| Fall mulch the crown | After first light frost | Mulch, gloves | Easy | Neutral |
| Stake regrowth | After second flush emerges | Bamboo stakes, twine | Easy | No |
| Bag and bin debris | End of season | Yard bags | Easy | Critical |
| Thin self-sown seedlings | Following spring | Trowel | Moderate | Neutral |
Main Body
Deadhead Spent Blooms to Keep the Show Going
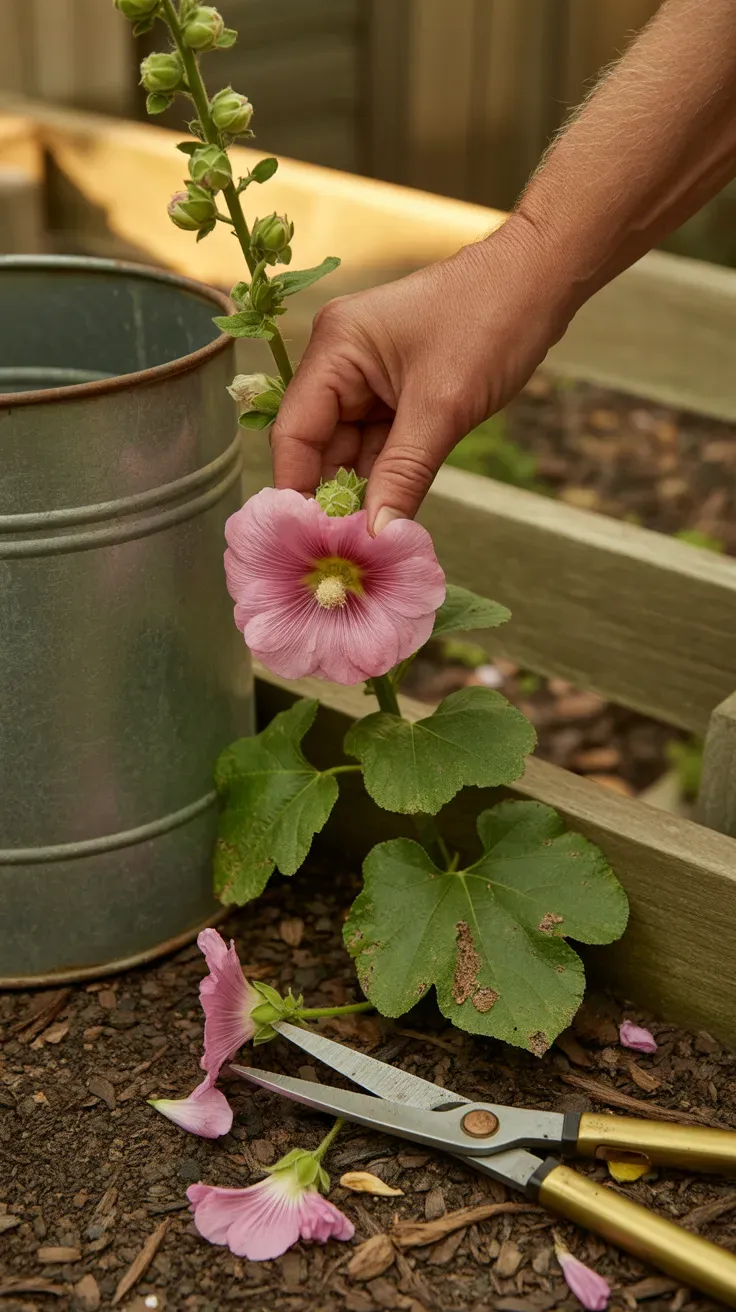
The moment a hollyhock bloom starts to look papery and spent, snap it off before it sets seed. This one habit is the difference between a plant that quits in July and one still flowering in September.
You need nothing fancier than clean fingers or a pair of pruning snips. Work your way up the spike every few days, pinching flowers right where they meet the stem, and leave the still-green buds above untouched. Do this consistently from midsummer on and the plant keeps redirecting energy into new buds instead of seed pods.
The mistake I made my first year growing hollyhocks was deadheading the entire stalk at once, which stopped the whole spike from producing anything further up. Work flower by flower instead.
Pro Tip: Deadhead in the cool of morning rather than midday heat — the plant tissue is less brittle then, so you’re less likely to snap a stem you didn’t mean to remove.
Explore more cottage garden flower care guides for other reseeding perennials that respond well to this technique. For a closer look at bloom-by-bloom timing, see how spent-flower removal affects re-bloom.
Stay on top of this weekly task and you’ll likely squeeze another month of color out of the same stalks.
Cut the Main Stalk Back to the Basal Rosette
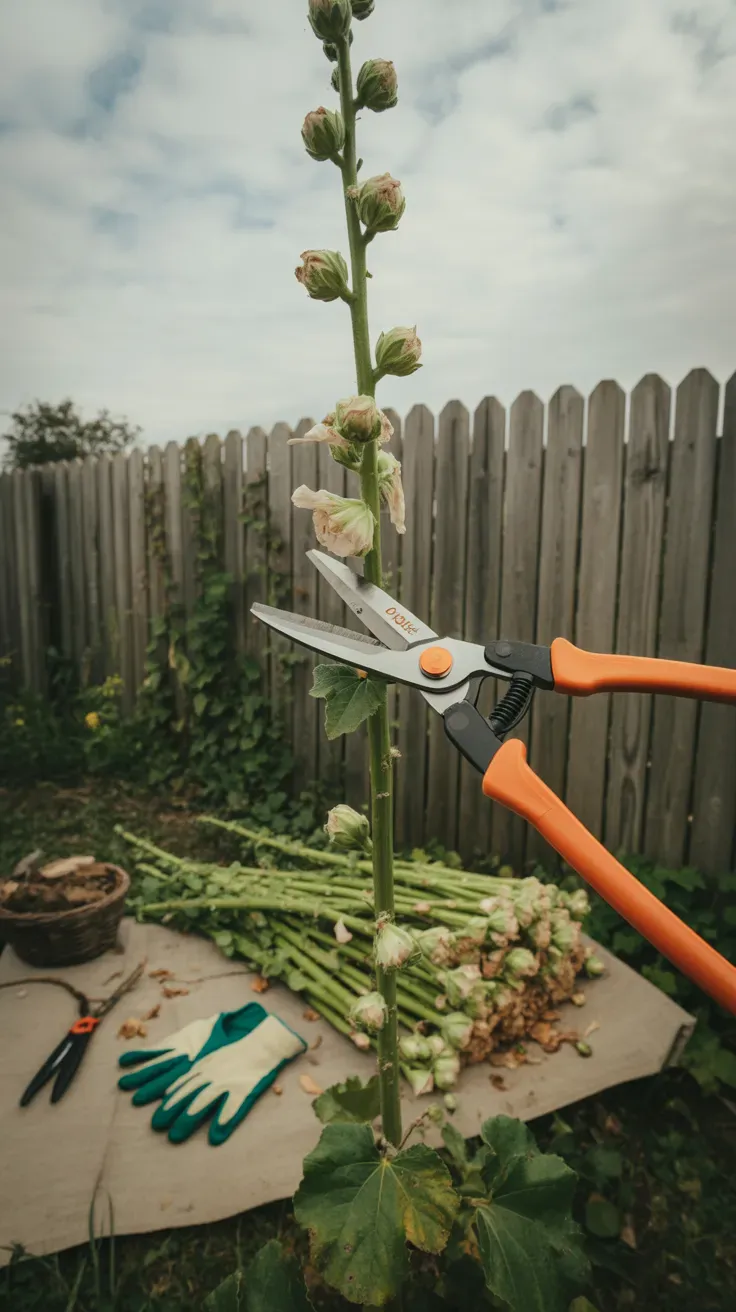
Once a full stalk has finished flowering top to bottom, cut it down to a few inches above the low rosette of leaves at the base rather than leaving a bare, brown pole standing.
Use loppers or bypass pruners for the thick lower stem — it’s woodier than it looks. Cut at a slight angle just above the rosette, leaving the basal leaves intact since that’s where the plant stores energy for next year’s regrowth or, in favorable conditions, a second bloom this season.
Plants I cut back by the third week of August have reliably thrown up a shorter secondary spike by late September in my zone 7 garden; plants I left standing rarely bothered.
- Cut immediately after bloom: often triggers a second, shorter flush
- Leave standing until frost: saves you a step, but rarely reblooms and looks untidy
See our guide to pruning tall cottage garden perennials for stalk-cutting technique on delphiniums and foxgloves too. The Missouri Botanical Garden’s plant finder notes the biennial growth habit that makes this cutback so effective.
A clean cutback now means a tidier bed and better odds of more flowers before the season ends.
Collect and Dry Seed From the Last Blooms
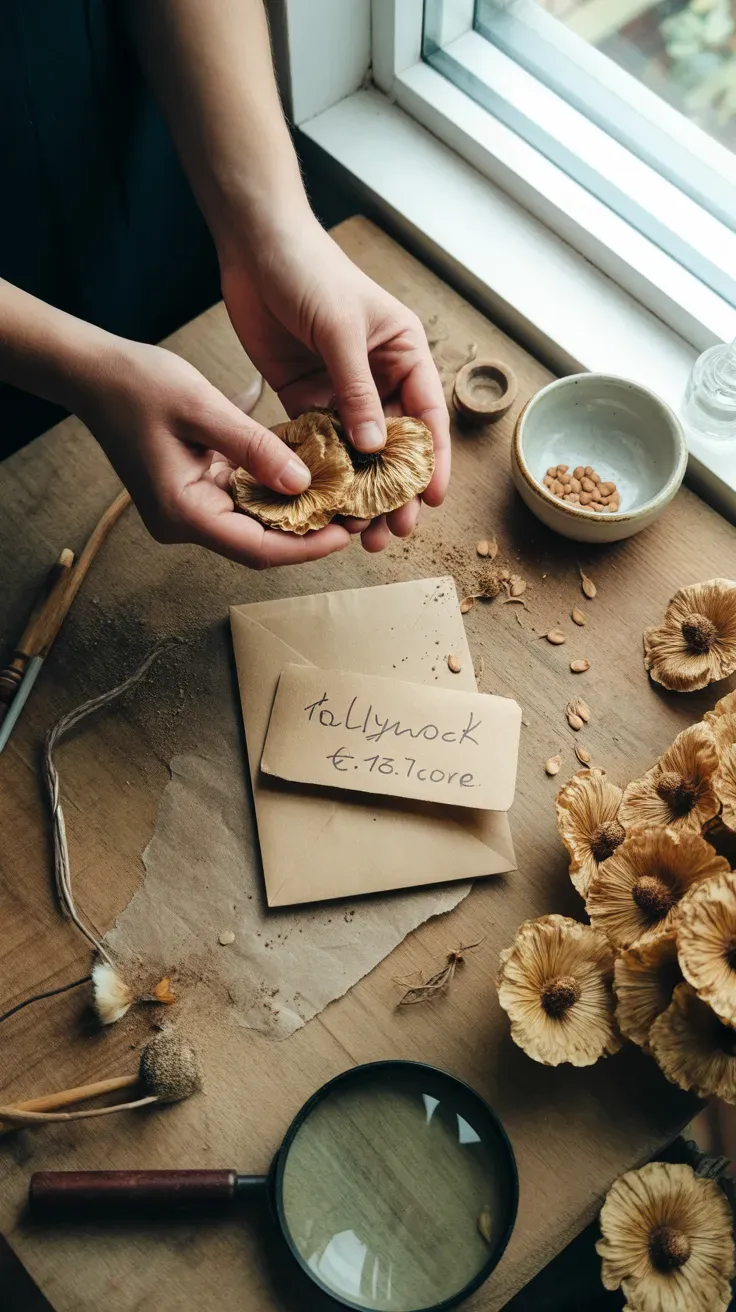
If you want free hollyhocks next year without buying a single seed packet, leave a handful of the very last blooms alone instead of deadheading them.
Let the flowers fade naturally into flat, wheel-shaped seed pods, and wait until they turn fully brown and papery — usually four to six weeks after the flower fades. Snip the whole stalk section into a paper bag, since pods can shatter and scatter seed the moment they’re fully ripe.
Crush the dried pods gently between your fingers to release the seeds, then spread them on a plate for a few days to finish drying before sealing them in a labeled envelope. Skip plastic bags; trapped moisture will mold your entire harvest.
Pro Tip: Label envelopes with the flower color, not just “hollyhock” — many gardeners end up with a mixed patch of magenta, apricot, and near-black blooms and forget which seed came from which plant.
For step-by-step seed storage timing, check our complete guide to saving flower seeds at home, and see the RHS’s advice on collecting and storing hardy biennial seed.
Seed saved this way stays viable for at least two to three years in a cool, dry container.
Feed and Water to Push a Second Flush
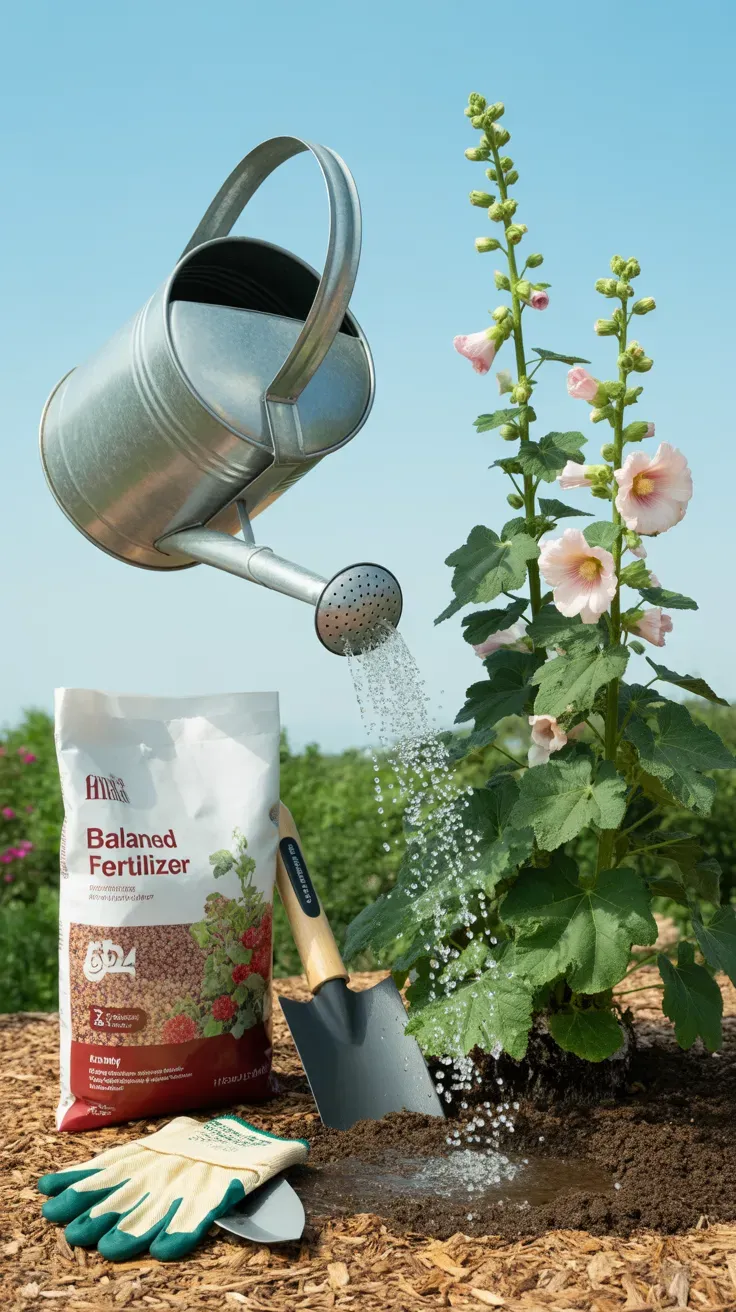
Cutting the stalk back is only half the job — a hollyhock needs fuel in the tank to actually push new growth before the season ends.
Right after cutback, work a balanced, slow-release fertilizer such as a 10-10-10 into the top inch of soil around the base, then water deeply. Keep the soil consistently moist for the next two to three weeks rather than letting it dry out between waterings, since that stress is what stalls regrowth.
This works reliably with six or more weeks of warm weather remaining. In shorter-season climates, or after an early frost warning, skip the feed and let the plant put its energy into root storage for winter instead.
Read our seasonal feeding schedule for tall cottage garden flowers for exact timing by growing zone. The University of Florida Extension covers balanced fertilizer ratios for flowering perennials in more depth.
Feed once, water consistently, and you’ll know within two weeks whether a second flush is coming.
Remove Yellowing Lower Leaves as You Go
Hollyhock foliage naturally yellows from the bottom up as the plant ages through the season, and leaving it in place does the plant no favors.
Snip off yellowing or spotted leaves at the base of the leaf stem as soon as you notice them, working your way around the plant every week or two. This tidies the bed and removes tissue that’s often the first place rust pustules appear, catching a problem before it climbs the plant.
I found that plants I kept stripped of yellow leaves through August had noticeably fewer rust spots by fall than a neglected patch three feet away in the same bed — same soil, same watering, just different cleanup habits.
Our guide to reading yellowing leaves across common garden plants covers other causes worth ruling out. The Missouri Botanical Garden’s Alcea profile has more on typical seasonal foliage decline.
A few minutes of leaf tidying each week keeps the whole plant healthier through to frost.
Scout for Hollyhock Rust Before It Spreads
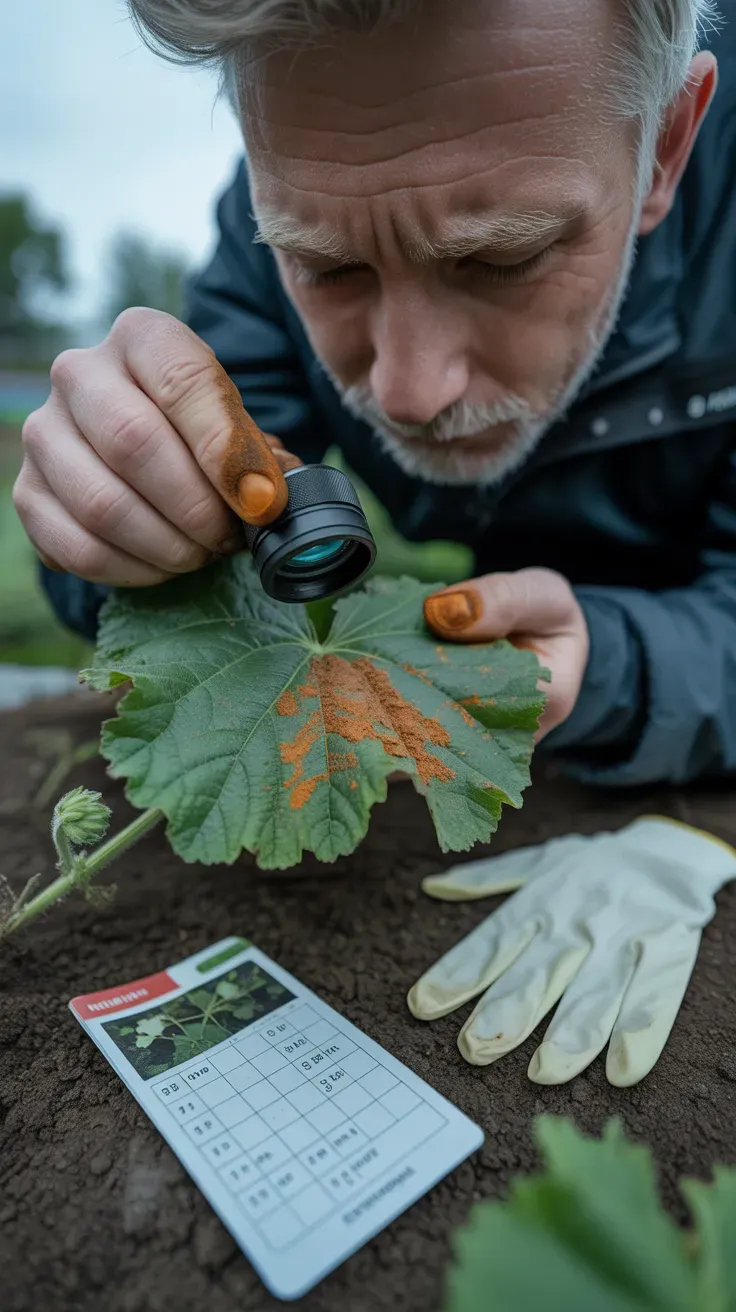
Rust is the most common problem hollyhocks face, and catching it early in late summer keeps a cosmetic nuisance from becoming a plant-wide infection.
Check the undersides of lower leaves every few days for small orange-brown pustules, which start as pale yellow spots on the leaf’s top surface before darkening. Snip off any affected leaf immediately and dispose of it separately from healthy trimmings — mixing them defeats the purpose.
Watering at the soil line instead of overhead, and doing it in the morning so any splashed foliage dries by afternoon, cuts down the humid conditions the fungus needs to spread.
- Healthy management: morning soil-line watering, prompt leaf removal, good air spacing between plants
- What accelerates rust: overhead sprinklers, crowded planting, leaving infected leaves on the plant
The RHS’s dedicated hollyhock rust page walks through identification and treatment in detail, and our own pest and disease library covers rust on related mallow-family plants.
Stay ahead of rust now and you’ll spend far less time fighting it come spring.
The One Thing to Avoid: Composting Diseased Debris
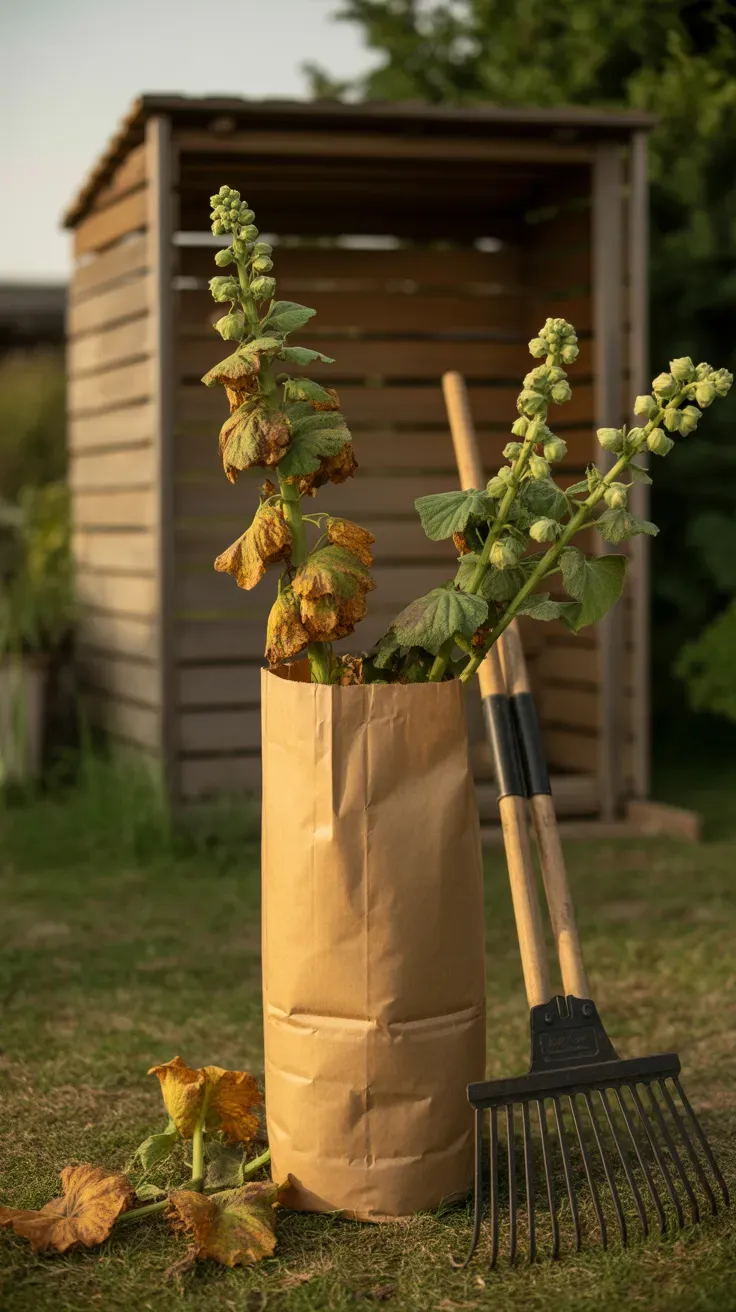
This is the mistake that undoes every other step on this list: tossing spent hollyhock foliage, stems, and fallen leaves onto the compost pile once the season winds down.
Hollyhock rust spores survive winter in exactly that kind of leftover plant debris, whether it’s on the ground under the plant or sitting in a home compost bin that never gets hot enough to kill fungal spores. Come spring, that same compost — or that same patch of soil — reinfects new growth almost immediately.
Bag every scrap of stem, leaf, and pod debris in household trash instead, especially from any plant that showed even mild rust spotting during the season. Rake the bare soil around the crown clean too, since spores cling to fallen leaf litter as easily as to the plant itself.
Pro Tip: If a particular plant had heavy rust this year, disinfect your pruners with rubbing alcohol between cuts before moving to the next hollyhock — this single step keeps you from spreading spores plant to plant on the blade itself.
Learn more in our fall garden cleanup and disease prevention checklist, and see the Penn State Extension’s notes on sanitation for perennial fungal diseases for the science behind why heat-composting alone often isn’t reliable at home.
Skip this step and you’re essentially planting next year’s rust problem yourself.
Mulch the Crown for Winter Protection
Once you’ve cut stalks back and cleared debris, a fresh layer of mulch over the low rosette protects the plant through winter dormancy.
Apply about 2 inches of shredded bark or straw mulch around — not directly on top of — the crown after the first light frost, once the ground has started to cool but before a hard freeze sets in. This moderates soil temperature swings that can heave shallow roots out of the ground.
Skip this step in mild winter climates where the ground rarely freezes; too much mulch in warm, humid regions can actually trap moisture against the crown and invite rot instead of preventing damage.
Our winterizing guide for cottage garden biennials covers mulch depth by climate zone. The Almanac’s first and last frost date lookup helps you time this to your specific area.
A well-timed mulch layer now means a stronger rosette pushing new growth come spring.
Stake Any Regrowth Before Fall Winds Arrive
If your cutback did trigger a second flush, that new growth is often thinner and less sturdy than the original spring stalk, and needs support before autumn storms roll through.
Drive a bamboo or wooden stake into the ground a few inches from the base, angled slightly away from the plant, and loosely tie the new stem with soft garden twine or plant tape in a figure-eight so it isn’t cinched tight. Add a second tie higher up if the stalk pushes past 3 feet.
Stalks I left unstaked in a second flush last September snapped clean at the base during one windy week, while a staked plant three feet away came through fine.
For staking technique that works across tall flowering perennials, see our guide to supporting top-heavy garden plants. The BHG staking and support roundup has good visuals of different tie methods.
A few minutes with stakes and twine now saves you a broken stalk during the first real fall storm.
Thin and Transplant Self-Sown Seedlings Next Spring
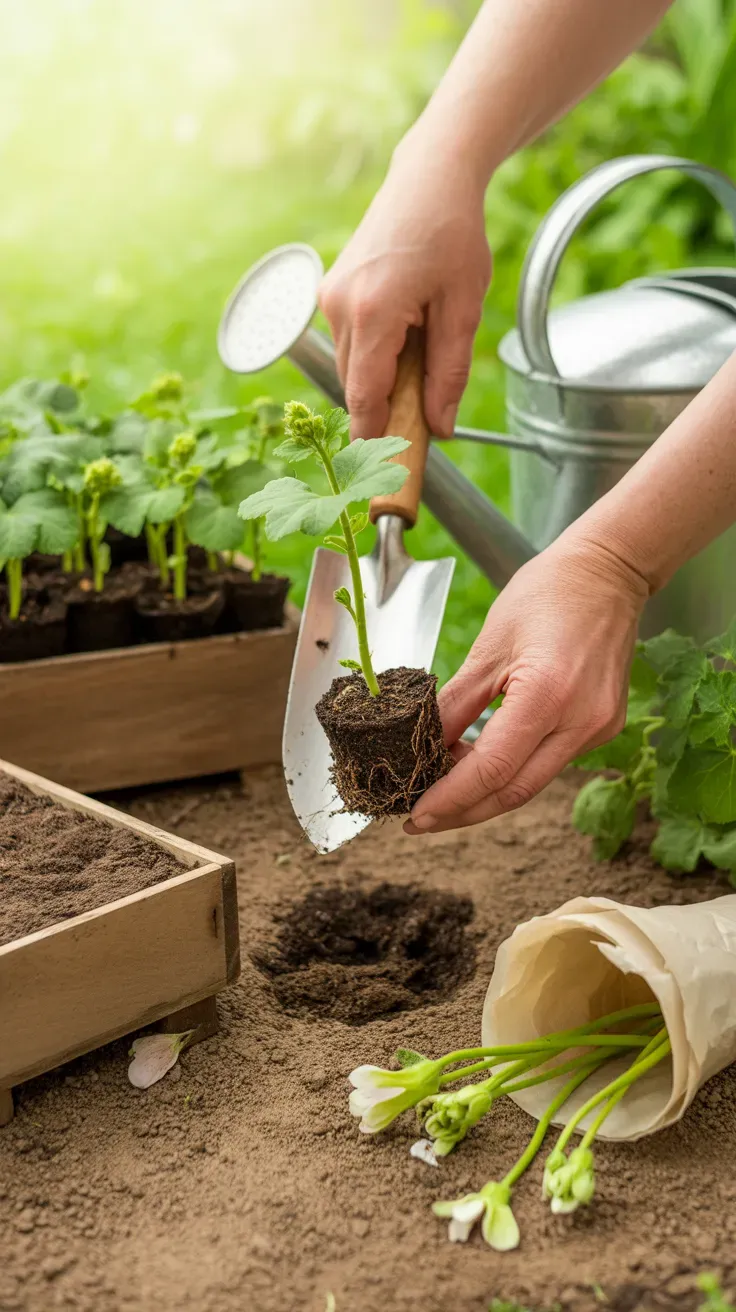
Any seeds that dropped naturally last fall will sprout into a crowded cluster of small rosettes by early spring, and thinning them now sets up a much stronger display.
Once seedlings have two or three true leaves, thin the cluster so plants stand at least 18 to 24 inches apart, moving extras to a new spot in the border with a trowel while their root systems are still small and easy to lift intact. Water thoroughly right after transplanting to settle the soil around disturbed roots.
Crowded seedlings left untouched will still grow, but they’ll be spindlier and more rust-prone than properly spaced plants, since poor airflow between crowded stems is exactly what fungal spores favor.
Explore our spring seedling thinning and transplanting basics for technique that applies across biennials and self-sowing annuals alike. The Gardeners’ World guide to pricking out and spacing seedlings is a useful companion read.
Thin generously in spring and you’ll get taller, healthier spikes with far less disease pressure by summer.
Getting Started With Hollyhock After-Bloom Care
The easiest first step is also the most overlooked one: as soon as a flower stalk finishes blooming top to bottom, cut it back to the basal rosette instead of leaving it standing. That single habit prevents more problems than anything else on this list.
The most common beginner mistake is treating deadheaded and diseased material the same way — tossing everything, healthy or rust-spotted, straight onto the compost pile. Separate it out from day one and you’ll avoid a spring rust outbreak entirely.
If you’re buying anything, get a decent pair of bypass pruners, a paper seed envelope or two for saving pods, and a bag of balanced granular fertilizer for the post-cutback feed. You don’t need specialty tools for any of this.
Realistically, expect to see whether a second flush is coming within two to three weeks of cutting back and feeding, assuming warm weather holds. Full results — a fuller, rust-free bed — show up the following summer, once this year’s cleanup habits have had a chance to pay off.
Frequently Asked Questions
Should I cut hollyhocks all the way to the ground after blooming?
No — cut the flower stalk down to just above the low leafy rosette at the base, not flush with the soil. That rosette is where the plant stores energy over winter, and removing it entirely can weaken or kill a biennial hollyhock before it gets a second year to bloom.
Will hollyhocks bloom again after I cut them back?
Sometimes — cutting back promptly after the first flush, combined with a light feed and consistent water, can trigger a second, shorter bloom within four to six weeks if at least six weeks of warm weather remain in your season. In shorter growing seasons, the plant usually puts that energy into roots instead.
How do I know if my hollyhock seeds are ready to collect?
Wait until the round, wheel-shaped seed pods turn fully brown and papery-dry on the stalk, usually four to six weeks after a flower fades. If the pod still shows any green or flexes rather than crackles when squeezed, it isn’t ready yet.
What’s the one thing you should never do with hollyhock foliage?
Never toss spent or rust-spotted hollyhock leaves and stems onto the compost pile. Home compost rarely reaches the sustained heat needed to kill fungal spores, so bagging debris for household trash is the safer route once the season ends.
Do hollyhocks come back every year on their own?
Not reliably as the same plant — hollyhocks are biennial in most climates, flowering in their second year and then declining. They do come back season after season through self-seeding, though, as long as you leave a few pods to mature and drop before winter.
A Few Final Thoughts
Hollyhocks reward a little late-season attention far more than most cottage garden flowers, and working through these 10 steps takes an afternoon at most. Prompt deadheading and a clean cutback buy you a shot at a second flush this year, while saving seed from the last blooms keeps the border going for free next season. The habit that matters most, though, is the simplest: keep diseased debris out of the compost pile and into the trash instead. Do that one thing consistently and you’ll spend far less time fighting rust next summer. Give your hollyhocks this small end-of-season routine, and that leaning, spent stalk in your border can become next year’s tallest, healthiest bloom.